
The Secret to a Designer Wedding on a Shoestring Budget
Let’s talk about the ‘wedding tax.’ The moment you mention the word ‘wedding’ to a vendor, prices seem to quadruple. But as a seasoned Trash-to-Treasure Guru, I know a secret: elegance isn’t about the price tag; it’s about the execution. You don’t need a $50,000 budget to have a reception that looks like it belongs in the pages of Vogue. In fact, one of the most impactful details of your tablescape—the table numbers—can be crafted for less than the price of a latte. By being resourceful, clever, and a bit budget-savvy, we can turn $1.25 items into high-end decor that will have your guests asking, ‘Where did you buy those?’ This guide is for the frugal DIYer who refuses to compromise on style. We’re going to dive into three distinct styles: Modern Minimalist, Rugged Industrial, and Vintage Chic, all while keeping our costs strictly under $5 per unit.
Budget Mantra: Your creativity is the most valuable currency you have. Don’t spend more; think more.
The Anatomy of an Expensive Look: Cost Breakdown and Material Strategy
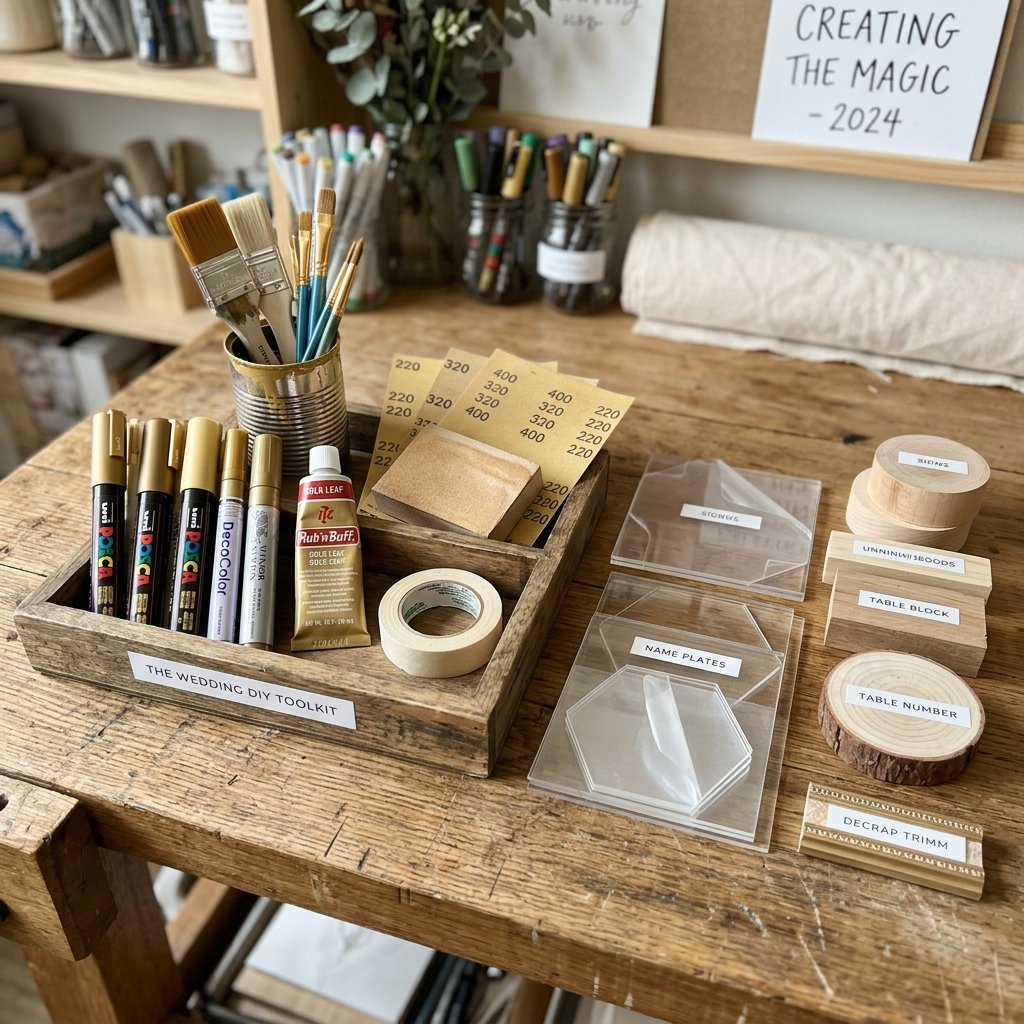
To achieve a high-end look, we must first understand what makes an item look ‘expensive.’ Usually, it comes down to texture, weight, and the absence of ‘cheap’ plastic finishes. We will be using materials like real wood, glass, acrylic, and metallic leaf. These materials catch the light and provide a tactile quality that screams luxury.
| Material Source | DIY Unit Cost | Retail/Rental Price | Total Savings (20 Tables) |
|---|---|---|---|
| Dollar Tree Acrylic Frames | $1.25 | $15.00 | $275.00 |
| Upcycled Scrap Wood Blocks | $0.00 | $12.00 | $240.00 |
| Thrift Store Vintage Frames | $2.00 | $25.00 | $460.00 |
The Essential Toolkit for the Budget Bride & Groom
- Paint Pens (Gold, White, Black): Essential for crisp, professional lettering.
- E6000 Adhesive: The industrial-strength glue every crafter needs.
- Sandpaper: To turn rough scrap wood into smooth, ‘masculine-elegant’ bases.
- Rub ‘n Buff: A tiny tube of metallic wax that turns plastic into ‘antique brass’ in 2 minutes.
Method 1: The Modern Minimalist Floating Acrylic Sign
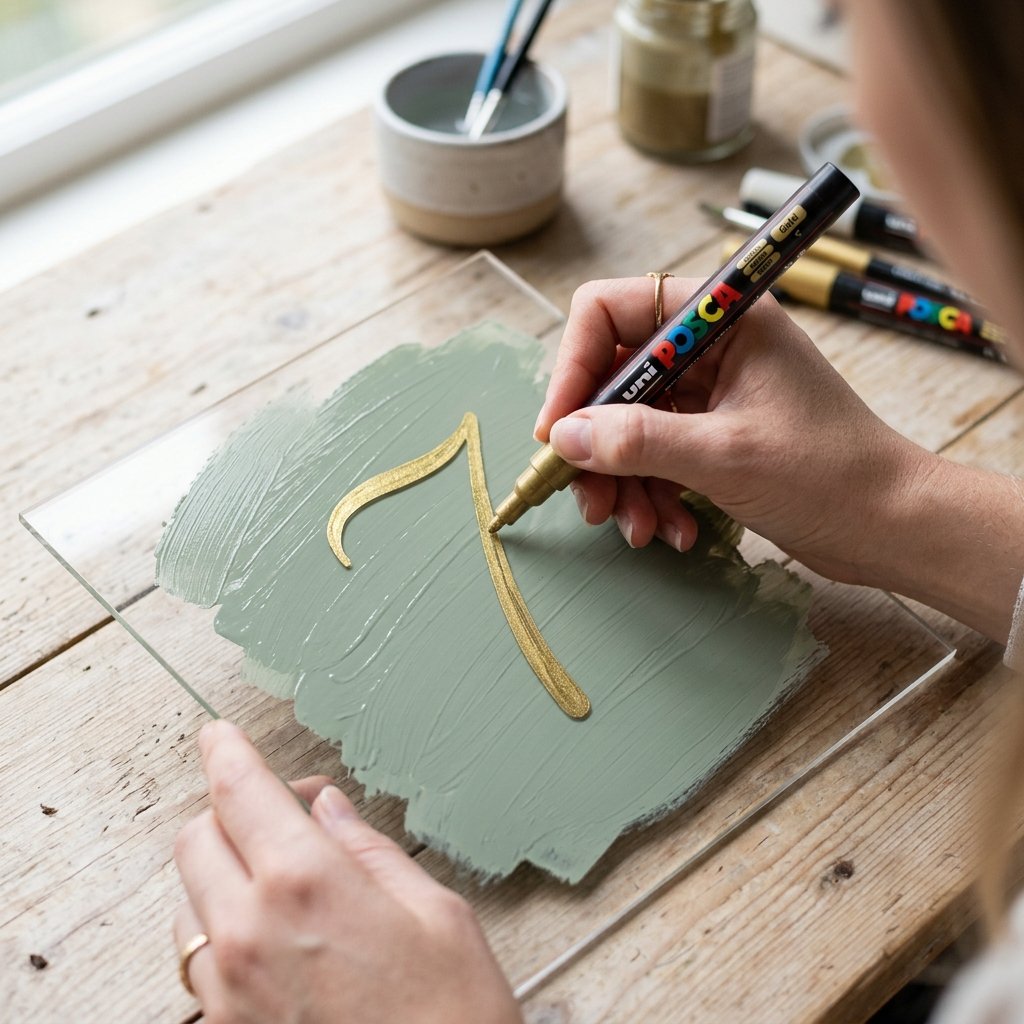
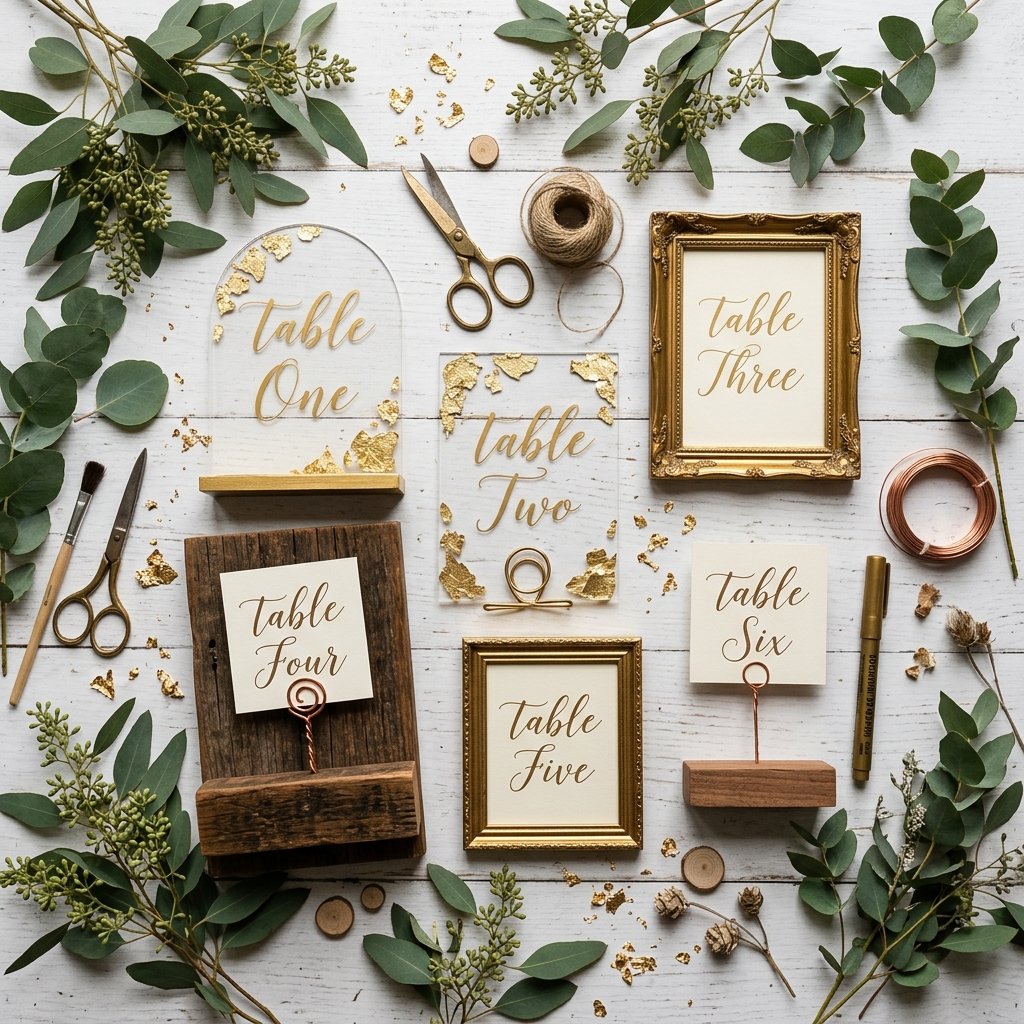
Acrylic is the darling of the modern wedding world. It’s sleek, clean, and sophisticated. While custom acrylic signs can cost $20+ online, we can hack this look using $1.25 clear frames from the dollar store.
Step-by-Step Assembly:
- Disassemble the Frame: Remove the clear plastic or glass insert from a basic 4×6 or 5×7 frame. Discard the cheap plastic backing.
- The Paint Trick: To add a ‘high-end’ touch, apply a ‘brushstroke’ of acrylic paint on the back side of the clear sheet. Use a muted tone like sage green, dusty rose, or terracotta. Leave the edges raw and organic.
- Lettering: Once the back is dry, flip it over. Use a gold oil-based paint pen to write the table number on the front.
Pro Tip: Print out the numbers in a font you love (like ‘Bodoni’ or ‘Montserrat’), place the paper under the acrylic, and trace. No artistic skills required!
- The Stand: Use a small wooden block (see Method 2) or use the original frame stand, but spray paint it a matte metallic color to hide the plastic origin.
Budget Breakdown:
- Acrylic Sheet (from frame): $1.25
- Acrylic Paint (backstroke): $0.50 (per 10 units)
- Paint Pen: $1.00 (per 10 units)
- Total: $2.75 per table
Method 2: Rugged Industrial Wood Blocks and Copper Wire
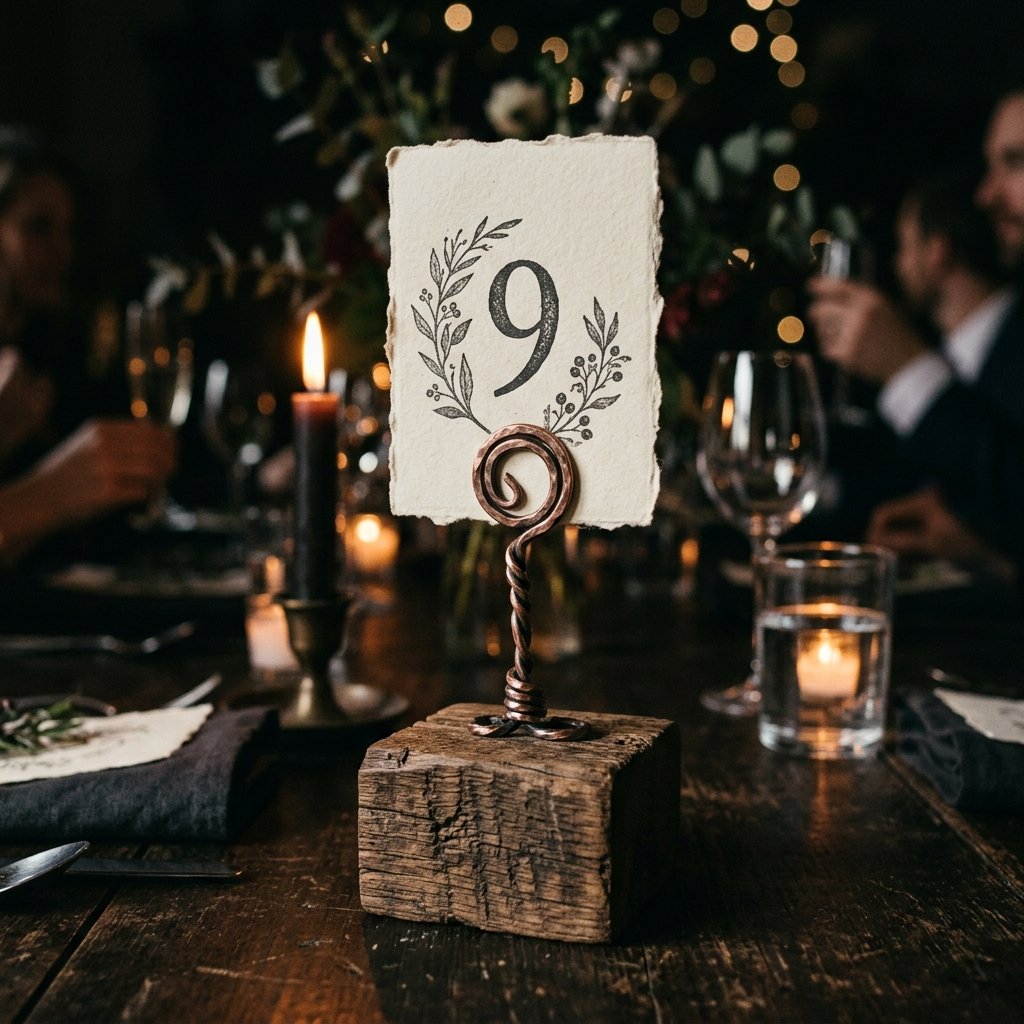
For those aiming for a more masculine-elegant or rustic vibe, wood and metal are your best friends. This method relies on upcycling scrap lumber—something you can often get for 100% free at local construction sites or hardware stores.
Construction Guide:
- Prep the Base: Cut a 2×4 or 4×4 scrap piece of wood into 3-inch cubes. Sand the edges until they are smooth to the touch but still retain their rugged character.
- Stain or Seal: Use a dark walnut stain or even used coffee grounds mixed with vinegar to give the wood a deep, weathered look.
- The Wire Holder: Take a 12-inch piece of 12-gauge copper or aluminum wire. Wrap one end around a spice jar twice to create a double loop. This will hold your number card.
- Marriage of Materials: Drill a tiny hole into the top of the wood block. Add a drop of E6000 glue and insert the straight end of the wire.
- The Card: Print your table numbers on heavy 110lb cardstock. For an extra touch, hand-tear the edges of the paper for a ‘deckled edge’ look.
Safety Note: When drilling into small wood blocks, always use a clamp to secure the wood. Never hold the block with your hand while drilling.
Method 3: The Gilded Gallery – Transforming Thrift Store Frames
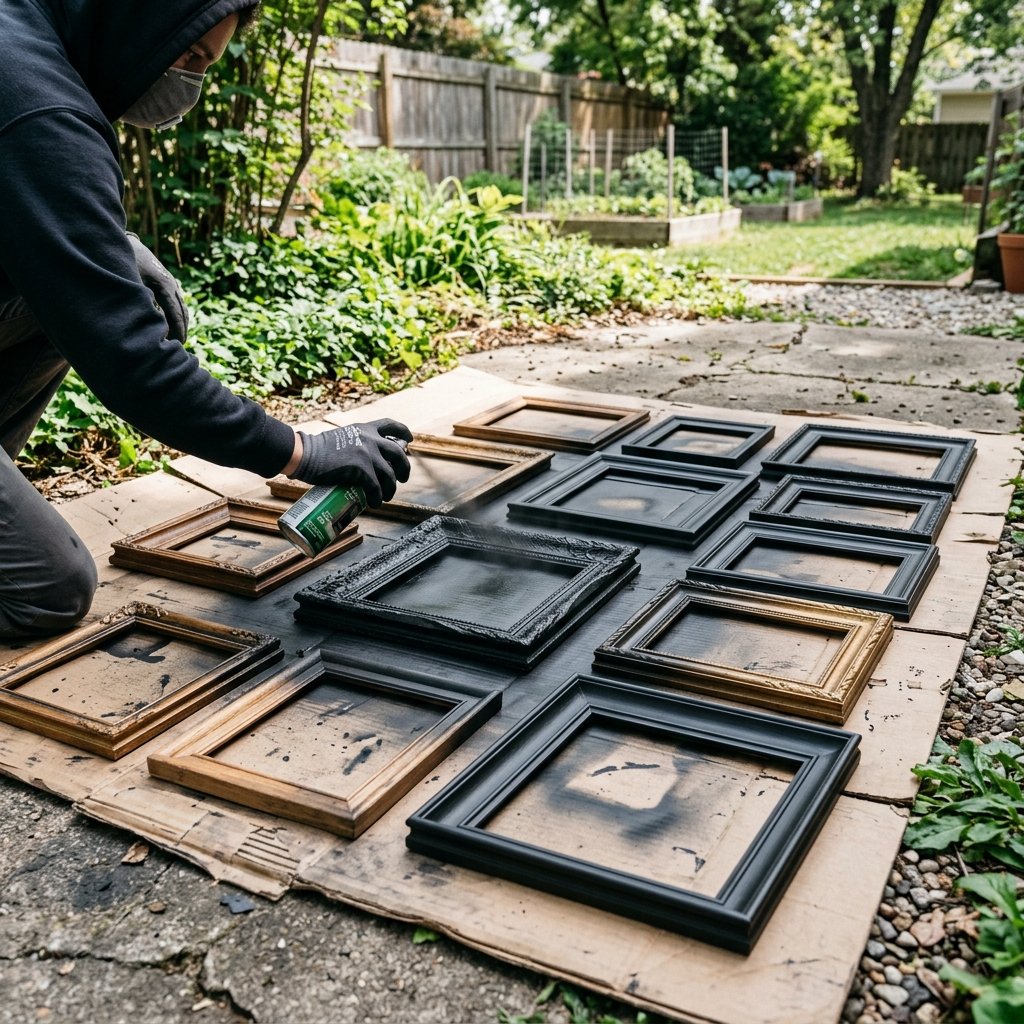
This is the ultimate ‘Trash-to-Treasure’ move. We are looking for those ‘ugly’ 4×6 frames found in the back of thrift stores for $0.50 to $2.00. The secret is that the shape matters, not the color.
The Transformation Process:
- The Hunt: Look for frames with interesting textures or ornate carvings. Don’t worry if they are scratched or neon pink.
- The Uniform Look: Remove the glass and spray paint all the frames in a single, cohesive color. A Matte Black or Champagne Gold works best to unify mismatched styles.
- The Insert: Instead of paper, consider using a piece of fabric (like leftover lace or velvet) as the background for your number.
- The Number: Use a chalkboard marker directly on the glass, or cut a number out of gold vinyl if you have a cutting machine.
| Frame Style | Best Aesthetic | Difficulty Level |
|---|---|---|
| Ornate/Baroque | Vintage/Regency Core | Easy (Spray & Go) |
| Clean Lines/Wood | Scandi/Modern | Medium (Stain) |
| Metal/Thin | Minimalist/Industrial | Easy (Rub ‘n Buff) |
Mastering the Script: Professional Lettering for the Artistically Challenged
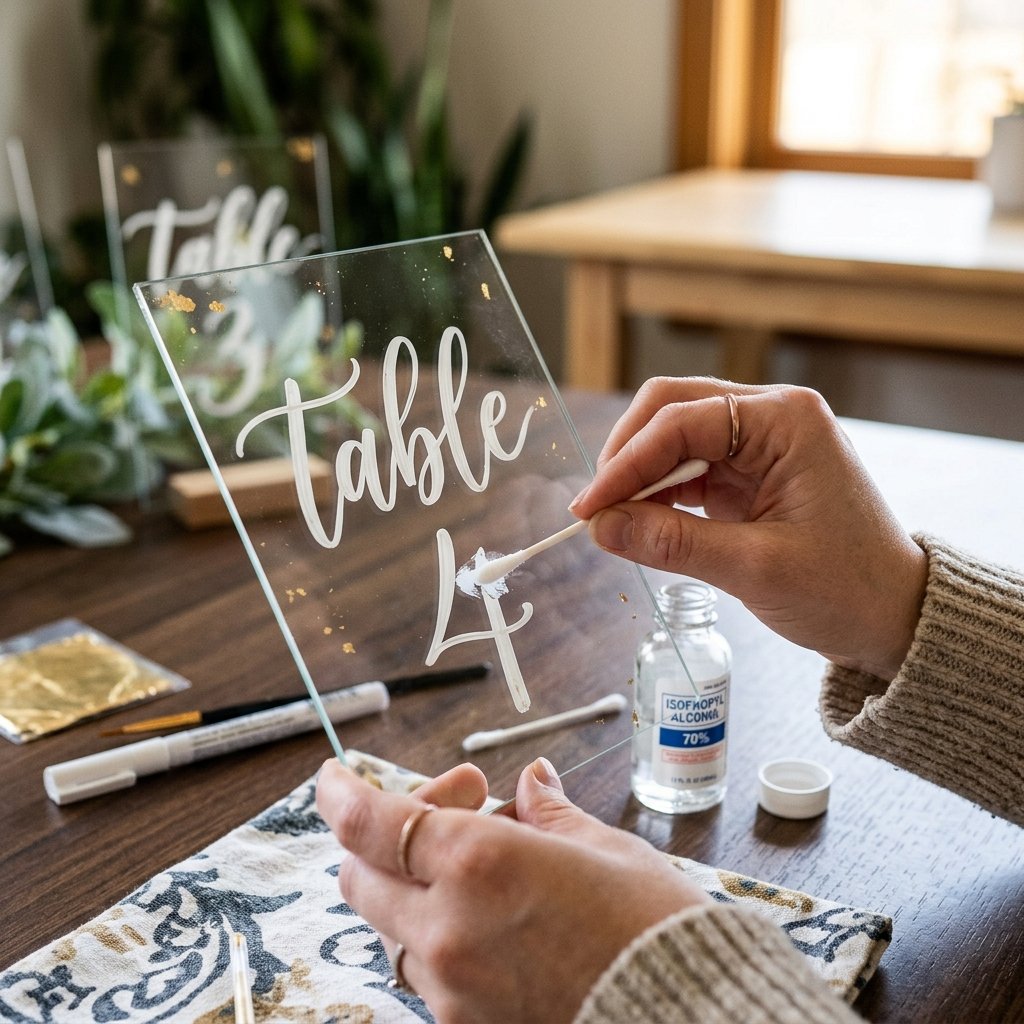
The biggest fear in DIY is ‘bad handwriting.’ You don’t need to be a calligrapher to produce high-end results. Here are three clever hacks to ensure your table numbers look like they were printed by a pro.
- The Carbon Paper Trick: Print your number, rub a pencil over the back of the paper, place it on your surface, and trace the outline. This leaves a faint lead line you can simply fill in with a paint pen.
- Stencils: Buy a set of elegant brass stencils. They provide a consistent, ‘masculine-elegant’ look that feels intentional and architectural.
- The ‘Wet Erase’ Method: If you are writing on glass, use a wet-erase marker first. It allows you to wipe away mistakes instantly. Once you love the design, trace over it with a permanent paint pen.
Crafty Expert Tip: Always keep a ‘correction’ kit nearby. For acrylic or glass, a Q-tip dipped in rubbing alcohol will erase a paint-pen mistake in 5 seconds without leaving a trace.
Assembly Line Efficiency: Making 20 Tables in One Afternoon
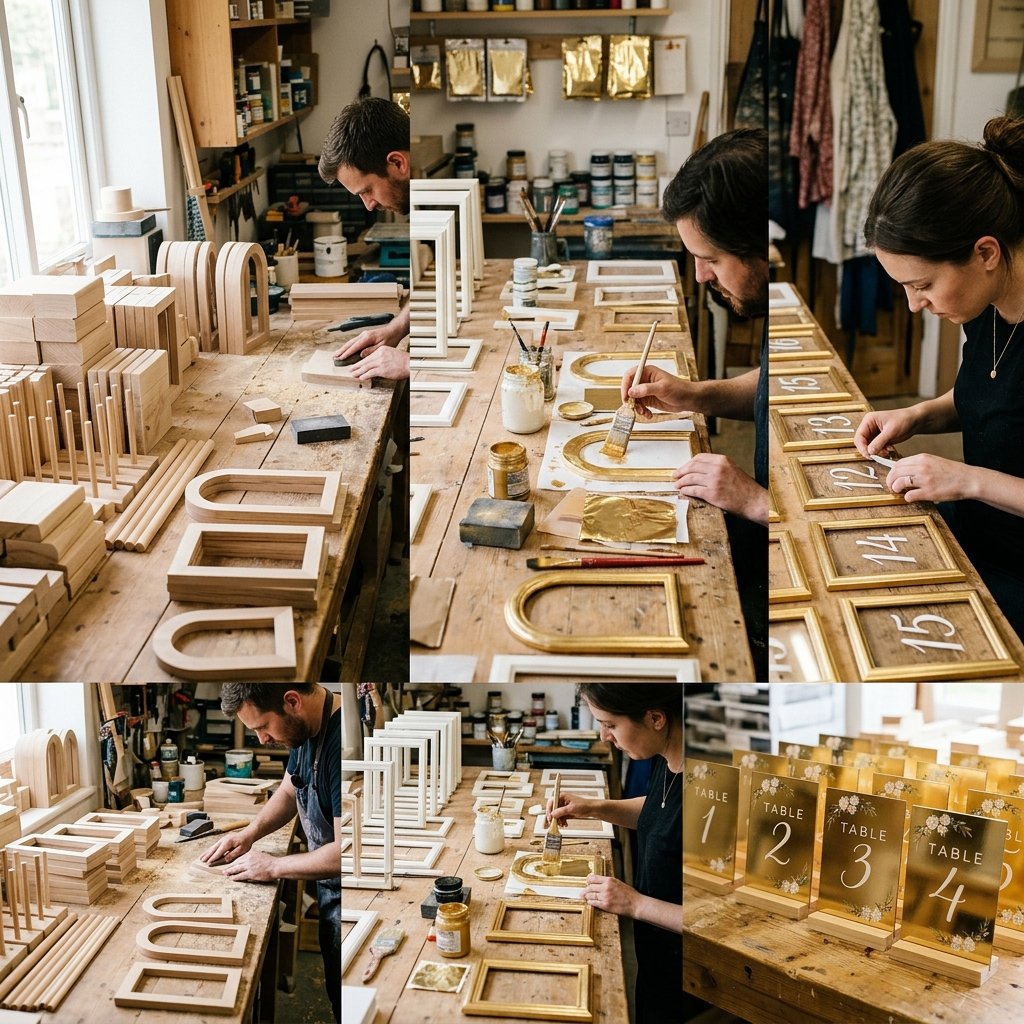
When you’re DIYing for a wedding, efficiency is key. Don’t make one table number from start to finish. Instead, use an assembly line approach to save hours of labor.
| Phase | Task | Estimated Time (20 Units) |
|---|---|---|
| Prep | Cleaning glass/sanding wood | 30 Minutes |
| Base Coat | Painting or staining bases/frames | 45 Minutes |
| Lettering | Tracing and filling numbers | 90 Minutes |
| Finishing | Assembly and quality check | 30 Minutes |
By batching these tasks, you ensure consistency. All your ‘Number 1s’ will look like your ‘Number 20s.’ This is the hallmark of a crafty expert.
Conclusion
Your High-End Wedding is Within Reach
Creating a breathtaking wedding doesn’t require a blank check; it requires a bit of grit, a dash of creativity, and the willingness to see the potential in the mundane. By upcycling scrap wood, hacking dollar store frames, and mastering simple lettering techniques, you’ve created table numbers that are not only beautiful but carry the story of your own handiwork. These under $5 projects prove that with a resourceful and clever approach, you can out-style the most expensive weddings while keeping your savings intact for what really matters: your future together. Now, go forth and craft—your guests are going to be obsessed!

Makenzie is the founder and lead writer at MoneyHackTips.com — a personal finance blog dedicated to delivering street-smart financial wisdom for real people on real budgets. With 300+ published articles covering everything from debt management to investing fundamentals, Makenzie’s mission is to make every dollar work harder. When not writing about money hacks, Makenzie is testing frugal living strategies, optimizing side hustles, and helping readers build financial freedom from scratch.