
The Pitmaster’s Command Center
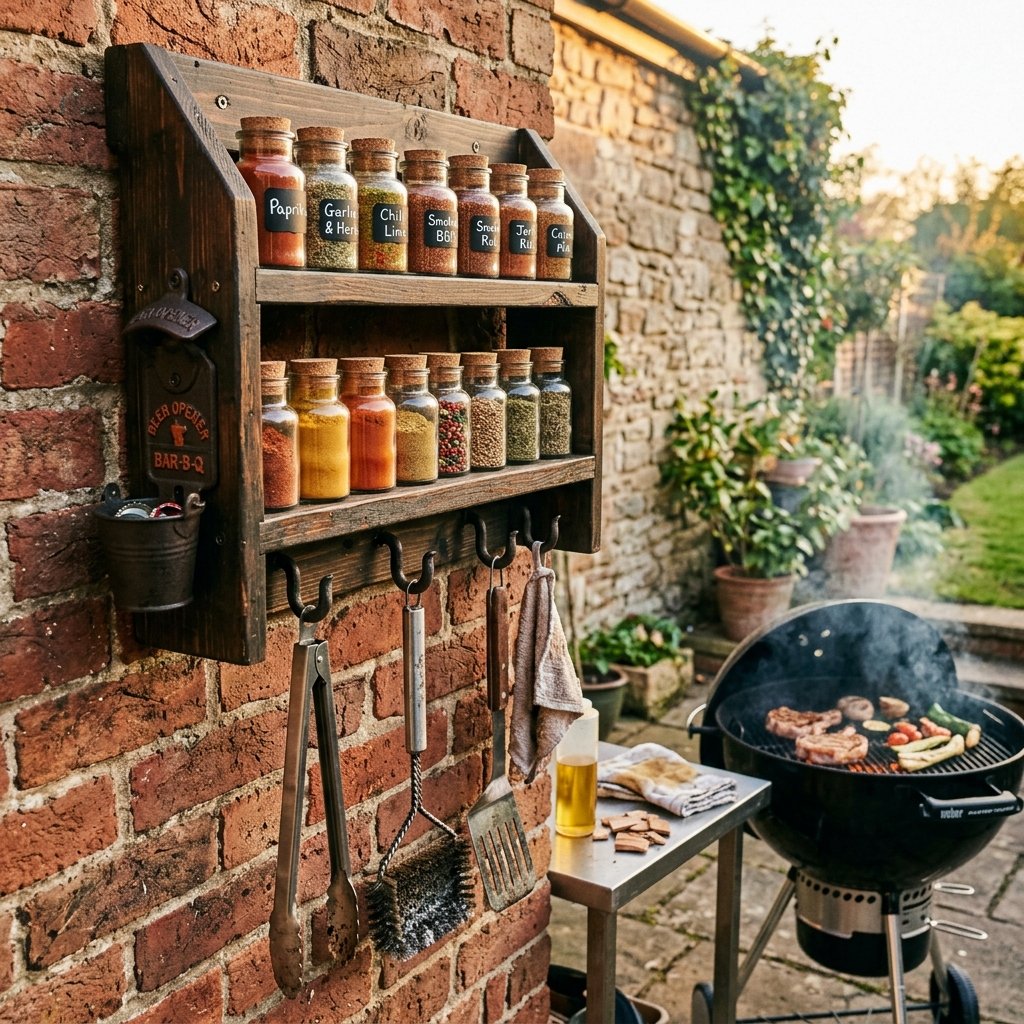
There is a specific kind of chaos that happens when the charcoal is white-hot, the ribs are hitting their internal temperature, and you realize the dry rub is sitting on the top shelf of the kitchen pantry, three rooms away. For the true BBQ obsessed, grilling isn’t just cooking; it’s a performance. And every performer needs a well-organized stage. This project is about reclaiming your outdoor space with a rugged, masculine-elegant spice rack that keeps your secret rubs, oils, and tools within arm’s reach. We aren’t talking about a flimsy plastic tray. We are building a sturdy, weather-resistant command center using resourceful upcycling techniques and simple joinery that even a novice can master in a single afternoon. By the time the sun sets, you’ll have a custom piece of functional art that looks like it cost $150 at a high-end outdoor living store, but only cost you a few bucks and some elbow grease.
The Blueprint: Designing for Heat, Smoke, and Utility
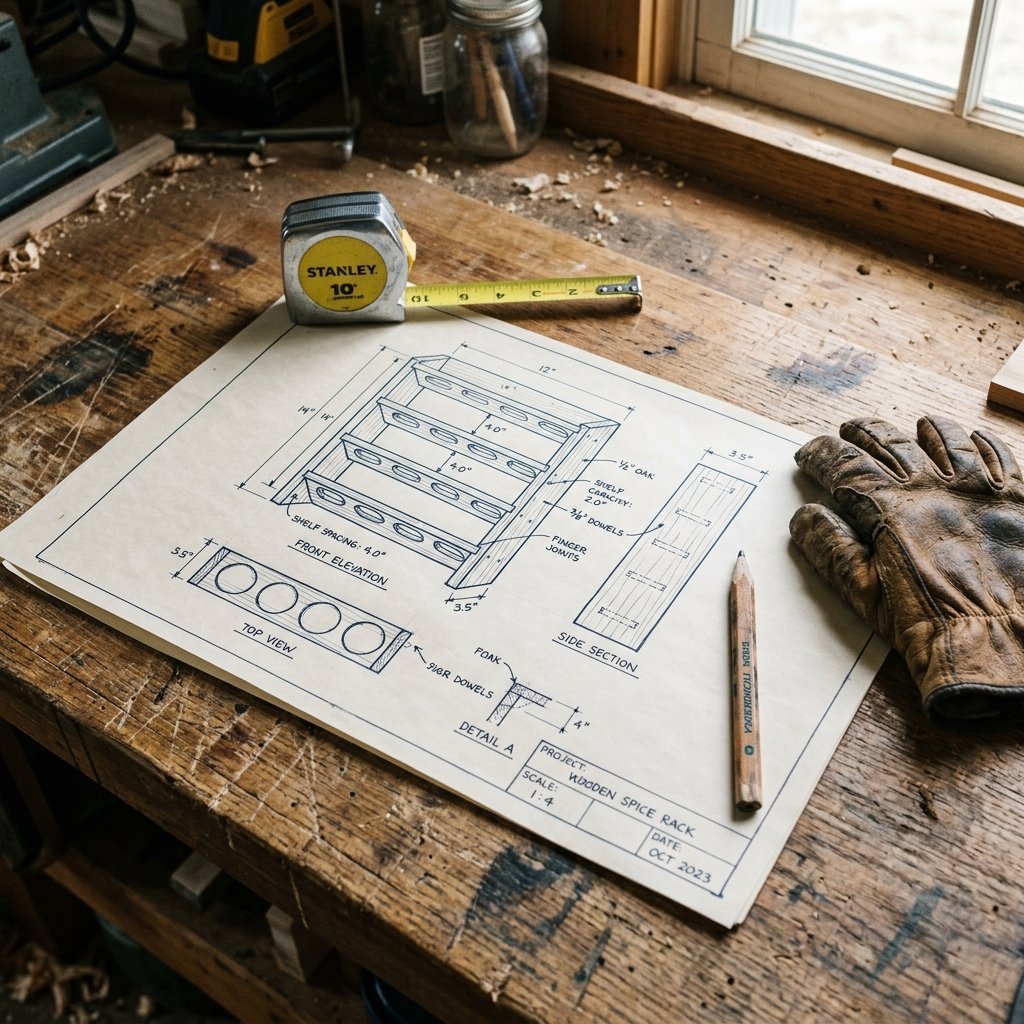
Before we pick up a saw, we need to understand the ‘why’ behind the design. A grilling rack faces tougher conditions than a kitchen cabinet. It deals with humidity, fluctuating temperatures, and the occasional splash of mop sauce. Our design focuses on vertical efficiency and heavy-duty durability. We want a rack that can hold at least six to eight large spice containers, a bottle of apple cider vinegar spray, and your essential heavy tools.
The Pitmaster’s Mantra: If you have to leave the grill to find the salt, you’ve already lost the sear. Build for speed, build for strength.
When planning your dimensions, aim for a shelf depth of at least 3.5 inches. This accommodates the standard ‘professional’ sized spice tins often found at warehouse clubs. We will also incorporate a 1-inch lip or a decorative metal guard rail to ensure your expensive rubs don’t take a dive onto the patio stones.
Sourcing the Scraps: The Zero-Budget Material Hunt
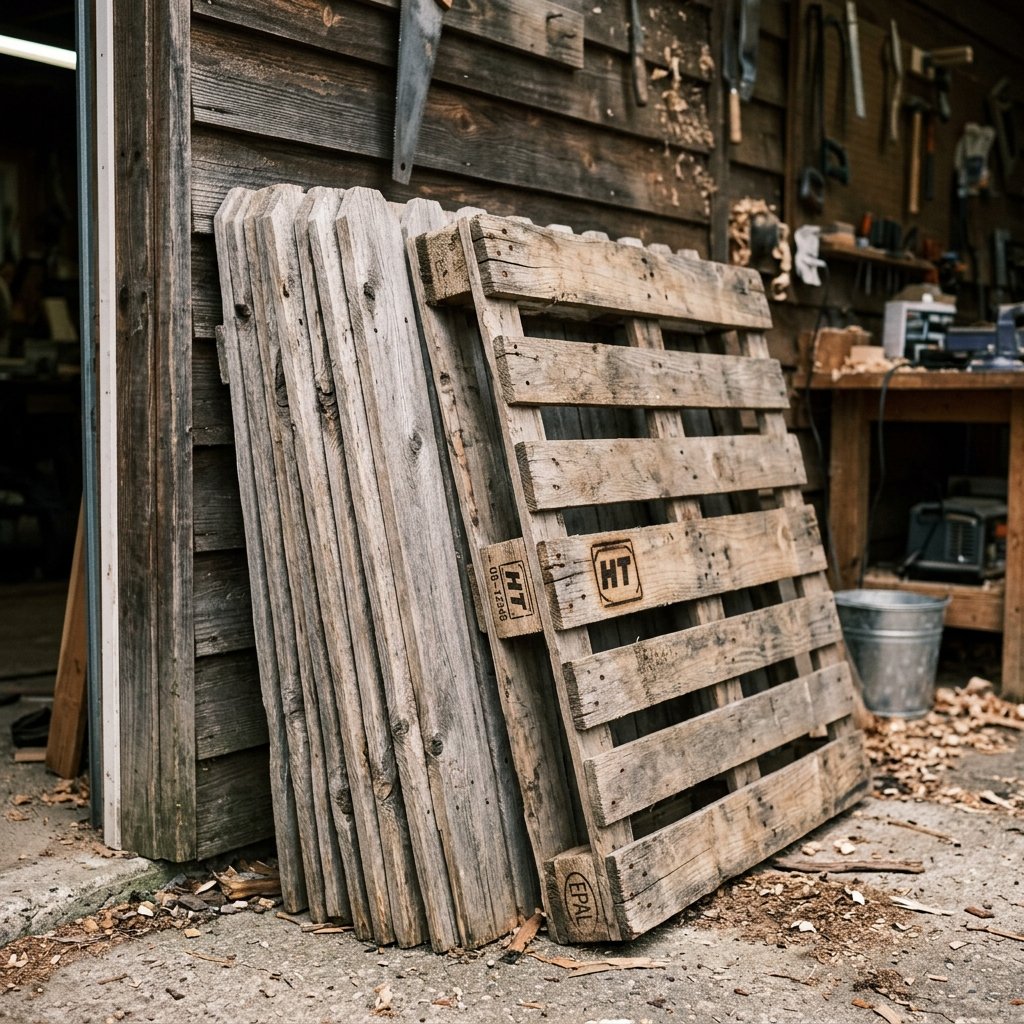
The beauty of this project lies in its budget-savvy nature. You don’t need to buy premium oak or walnut. In fact, the ‘weathered’ look of upcycled wood adds to the masculine aesthetic. Look for heat-treated (HT) pallets, old cedar fence pickets, or even scrap 1×4 pine boards from your last home improvement project. Cedar is the gold standard here because of its natural rot resistance and incredible aroma when heated by the nearby grill.
| Material | Source | Estimated Cost |
|---|---|---|
| Cedar Pickets or Pine 1x4s | Scrap pile / Local Fences | $0 – $5 |
| 1-inch Wood Screws | Hardware Drawer | $0 |
| Cast Iron Bottle Opener | Dollar Store / Online | $2 |
| S-Hooks for Tools | Hardware Store | $3 |
| Total Project Cost | Resourceful Sourcing | $5 – $10 |
Always check for the ‘HT’ stamp on pallets. This ensures the wood was heat-treated rather than chemically treated, making it safe for use around food-adjacent surfaces. If you’re using pine, we will apply a food-safe sealant later to protect it from the elements.
The Step-by-Step Build: From Raw Wood to Rugged Rack

Now, let’s get to work. This build requires only basic hand tools or a simple miter saw. Follow these steps to ensure a square, sturdy finish:
- Cut the Backing: Measure and cut three boards to 18 inches in length. Align them side-by-side to create a backboard that is roughly 10.5 to 11 inches wide.
- Create the Shelves: Cut two boards to the same width as your backboard (approx. 10.5 inches). These will be your main spice ledges.
- Side Supports: Cut two side pieces at 12 inches. These will ‘box in’ the shelves for a cleaner look.
- Sand for Character: Use 80-grit sandpaper to knock off the splinters, but don’t over-sand. We want to keep the rugged texture of the wood.
- Assembly: Use wood glue and 1-inch screws to attach the shelves to the backboards. Ensure you pre-drill your holes to prevent the wood from splitting—a common mistake when working with thin scrap wood.
- The Guard Rail: For a clever touch, use a thin strip of wood or even a piece of heavy-gauge copper wire across the front of the shelves to keep bottles secure.
Pro Tip: Use a ‘countersink’ bit so your screw heads sit flush or slightly below the surface. This allows you to fill them with wood putty or leave them exposed for an industrial, rugged look.
The Custom Finish: Weatherproofing for the Great Outdoors
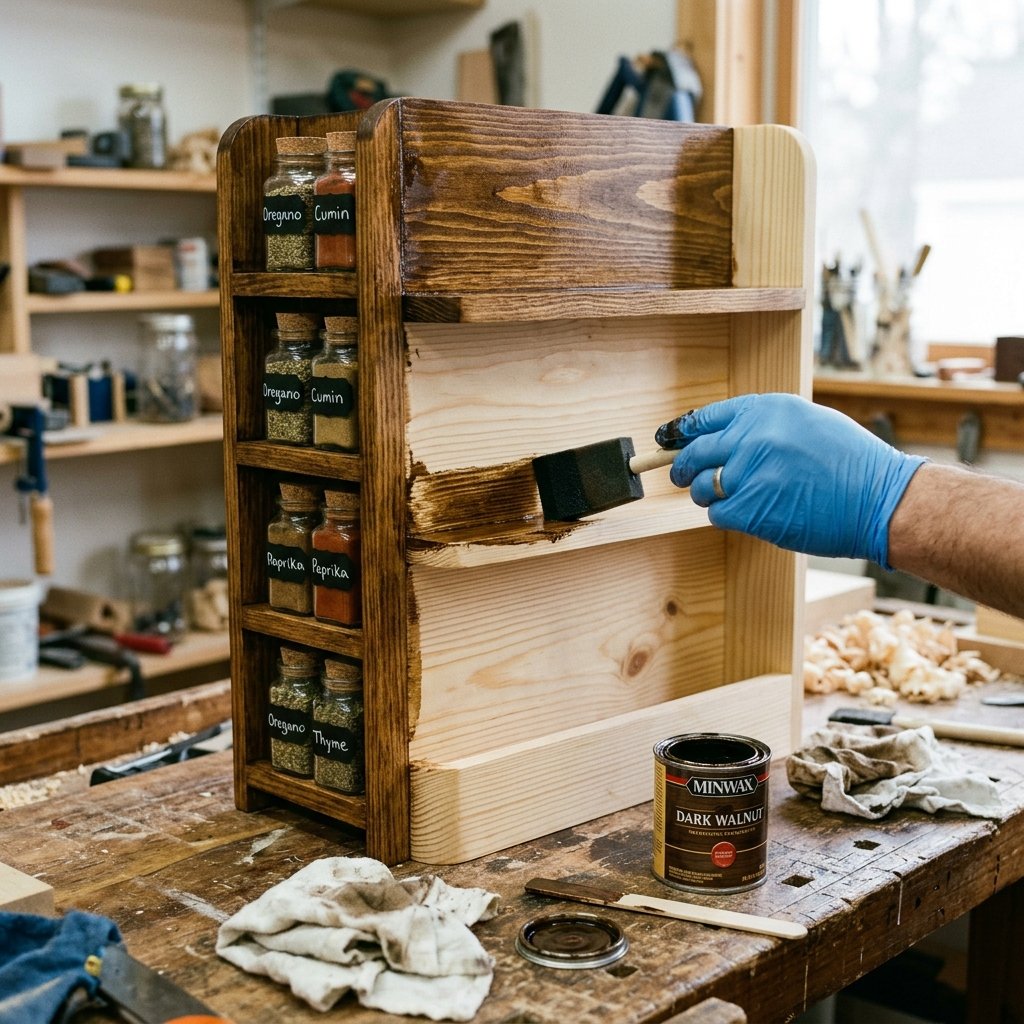
To achieve that masculine-elegant finish, we need to treat the wood. If you used pine, it will look ‘new’ and ‘yellow’—which isn’t the vibe we want. To fix this on a budget, you can make a homemade steel wool and vinegar stain. Simply soak a pad of steel wool in a jar of white vinegar for 24 hours. When brushed onto the wood, it reacts with the tannins to create a beautiful, aged charcoal-grey patina instantly.
Sealing for Longevity
Since this rack lives near the grill, it will be exposed to grease and smoke. Apply two coats of outdoor-rated spar urethane or a simple butcher block oil. Spar urethane provides a hard, plastic-like shell that is easy to wipe down, while oil provides a more natural, matte feel that requires re-application once a year.
- Step 1: Apply the stain and let it dry for 2 hours.
- Step 2: Lightly sand with 220-grit paper to smooth the grain.
- Step 3: Wipe with a tack cloth and apply the first coat of sealant.
- Step 4: Let dry for 4 hours, then add the final coat.
The Master Pitmaster’s Loadout: Stocking Your Rack
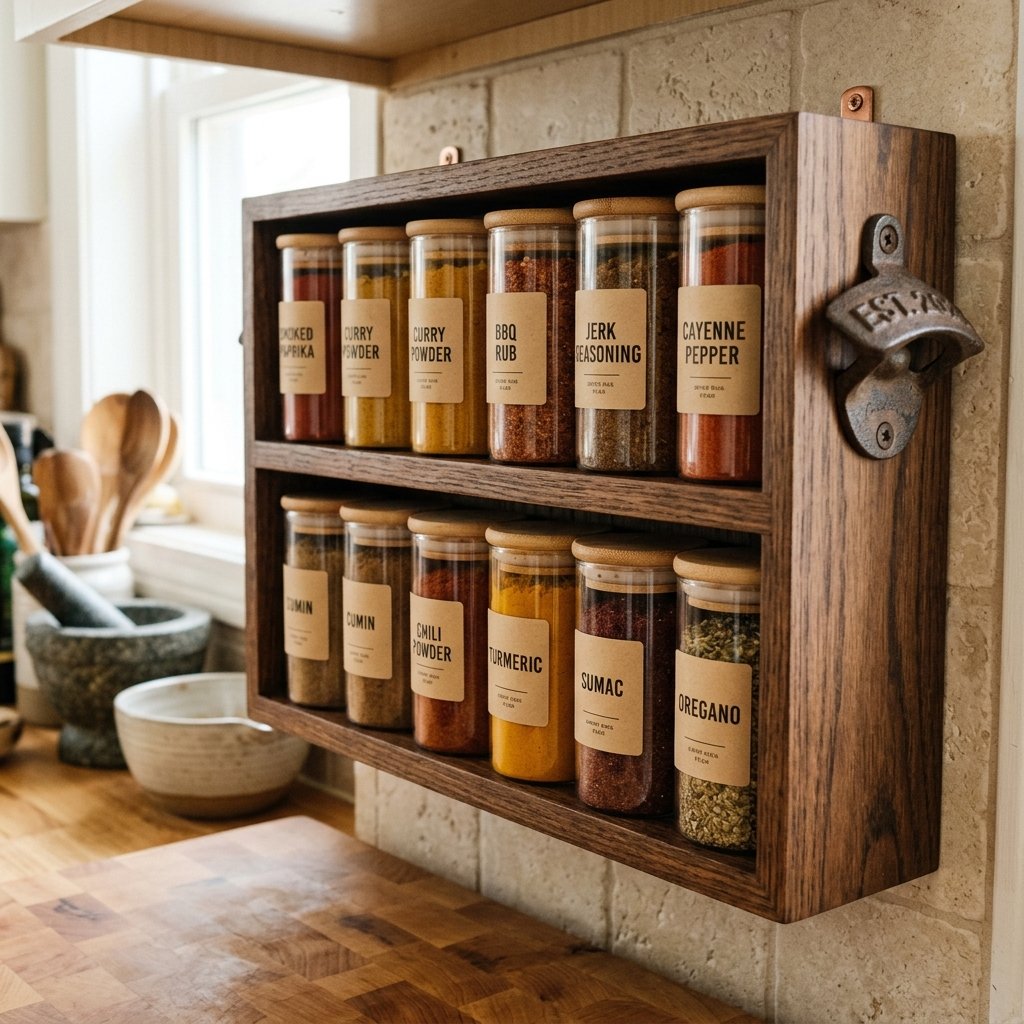
A rack is only as good as what it holds. To truly maximize your new build, you need a balance of dry rubs, wet binders, and essential tools. This is where you can save even more money by making your own blends rather than buying $12 ’boutique’ rubs.
| The Essential Rub Base | Ratio | Purpose |
|---|---|---|
| Kosher Salt | 1 Part | Flavor Enhancement |
| Coarse Black Pepper | 1 Part | The ‘Bark’ Builder |
| Smoked Paprika | 0.5 Part | Color and Earthiness |
| Garlic Powder | 0.5 Part | Savory Depth |
Install a cast iron bottle opener on the right side of the rack and three stainless steel hooks along the bottom edge. These hooks are perfect for your tongs, grill brush, and a heavy-duty apron. By keeping everything in one place, you transform your grilling area into a professional-grade station.
The Final Comparison: DIY vs. Retail
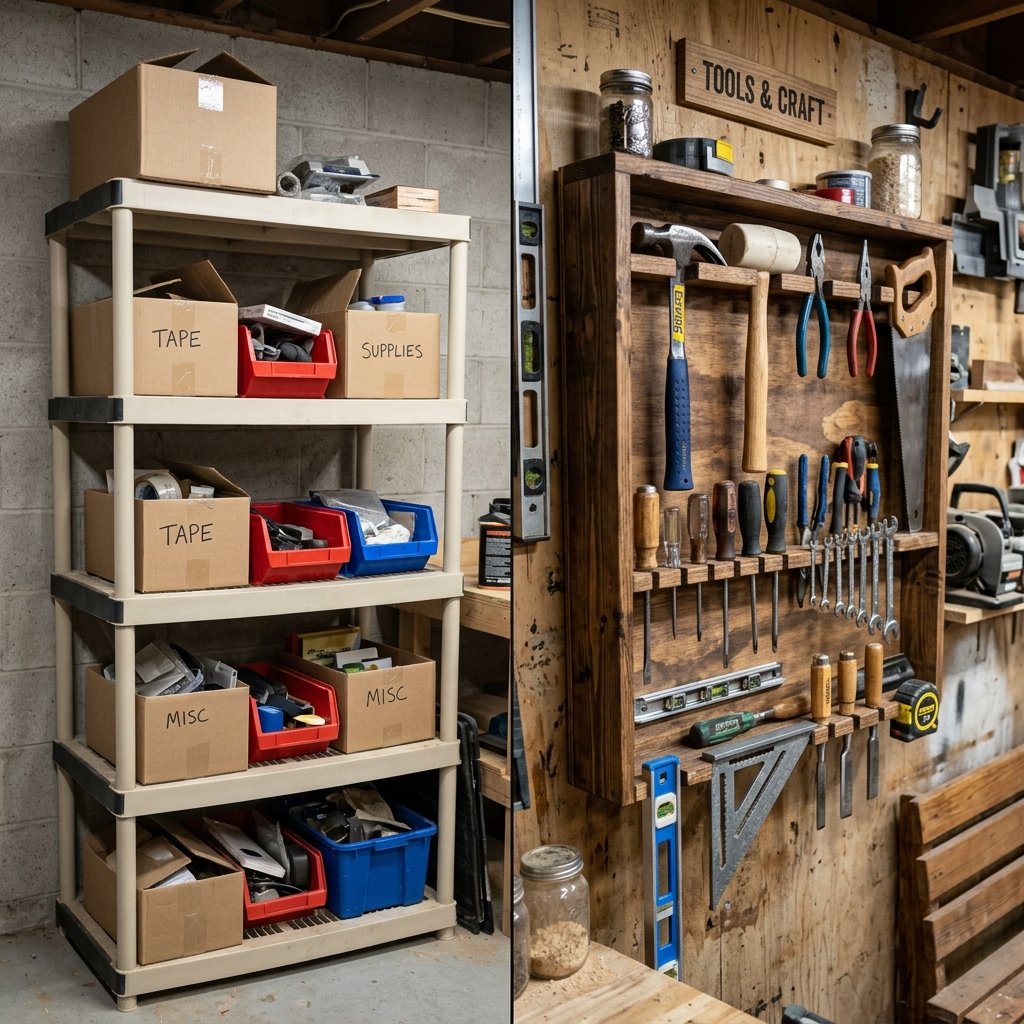
Let’s look at the numbers. If you were to walk into a high-end patio store or browse an artisan marketplace, a solid wood, weather-treated outdoor spice rack with integrated hardware would easily set you back a significant amount. By being resourceful and crafty, you’ve saved enough money to buy several prime-grade briskets.
| Feature | Store-Bought Premium | DIY Upcycled Rack |
|---|---|---|
| Material | Standard Pine/Plastic | Aged Cedar / HT Wood |
| Customization | None (Mass Produced) | Customized to Your Tools |
| Durability | Moderate | High (Over-engineered) |
| Price | $85 – $160 | $5 – $10 |
| Total Savings | — | Over $100 |
The satisfaction of looking at a piece of functional furniture and knowing you built it with your own hands—and for the price of a cup of coffee—is the ultimate reward for any frugal DIYer.
Conclusion
Ready to Fire Up the Pit?
Building your own grilling spice rack is more than just a woodworking project; it’s an upgrade to your lifestyle. In just one afternoon, you’ve taken discarded materials and transformed them into a practical, masculine-elegant centerpiece for your outdoor kitchen. You’ve saved over $100, organized your workflow, and created a conversation piece that will last for years of cookouts. Now, all that’s left to do is stock those shelves, light the coals, and show off your new pitmaster command center. Happy grilling!

Makenzie is the founder and lead writer at MoneyHackTips.com — a personal finance blog dedicated to delivering street-smart financial wisdom for real people on real budgets. With 300+ published articles covering everything from debt management to investing fundamentals, Makenzie’s mission is to make every dollar work harder. When not writing about money hacks, Makenzie is testing frugal living strategies, optimizing side hustles, and helping readers build financial freedom from scratch.