
The High Cost of Looking Sharp
We have all been there: you find the perfect pair of premium wool dress pants at a thrift store for $8, or perhaps you snag a high-end suit on clearance, only to realize the inseam is three inches too long. A trip to a professional tailor will easily set you back $25 to $40, especially for lined trousers. But what if I told you that the ‘professional’ finish you pay for is actually a simple, rugged skill you can master in your own living room? This isn’t just about saving money; it is about the self-reliance of a modern maker. Today, we are pulling back the curtain on the 10-minute secret to hemming lined dress pants by hand. We will use the same techniques employed by Savile Row apprentices to ensure your stitches are invisible from the outside and durable enough for daily wear. Whether you are a budget-savvy groom or a frugal professional, this guide will transform your wardrobe without touching a sewing machine.
The Tailor’s Toolkit: Essential Gear for a Professional Finish
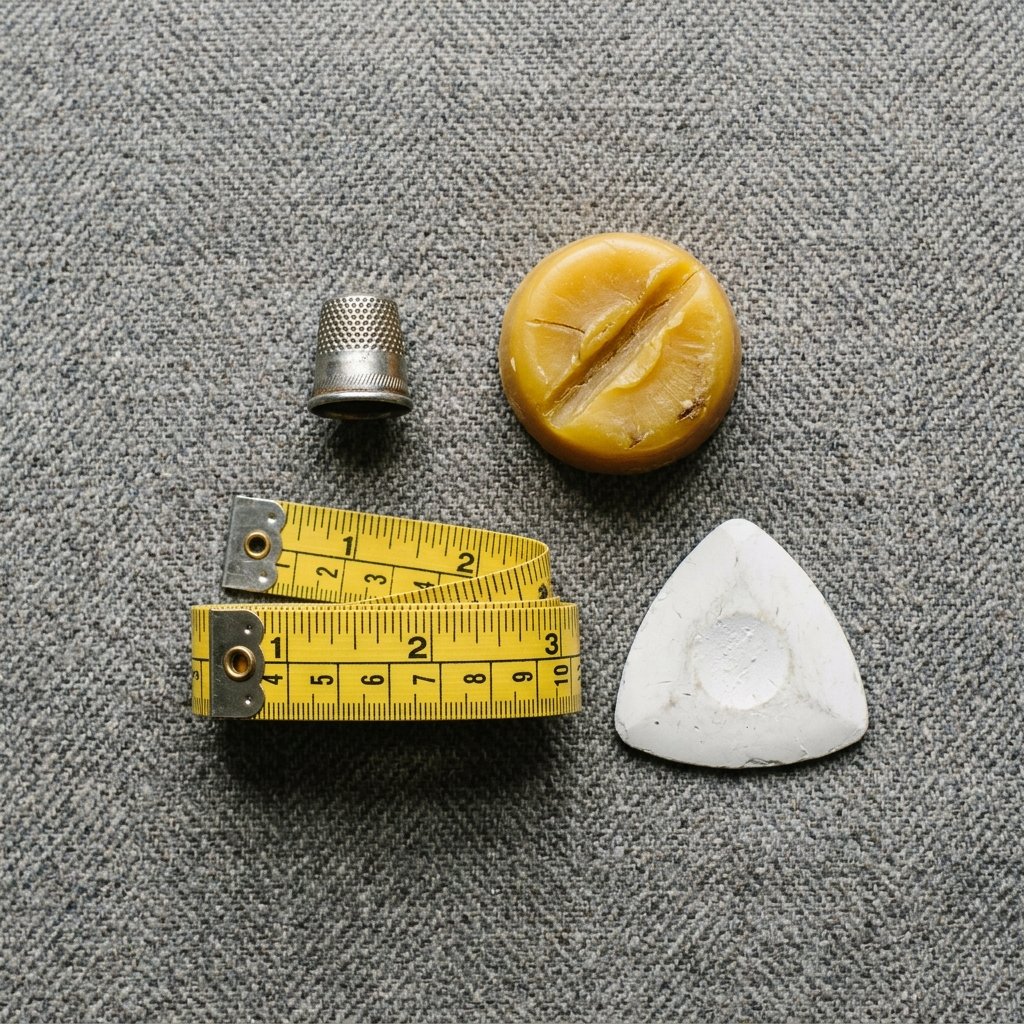
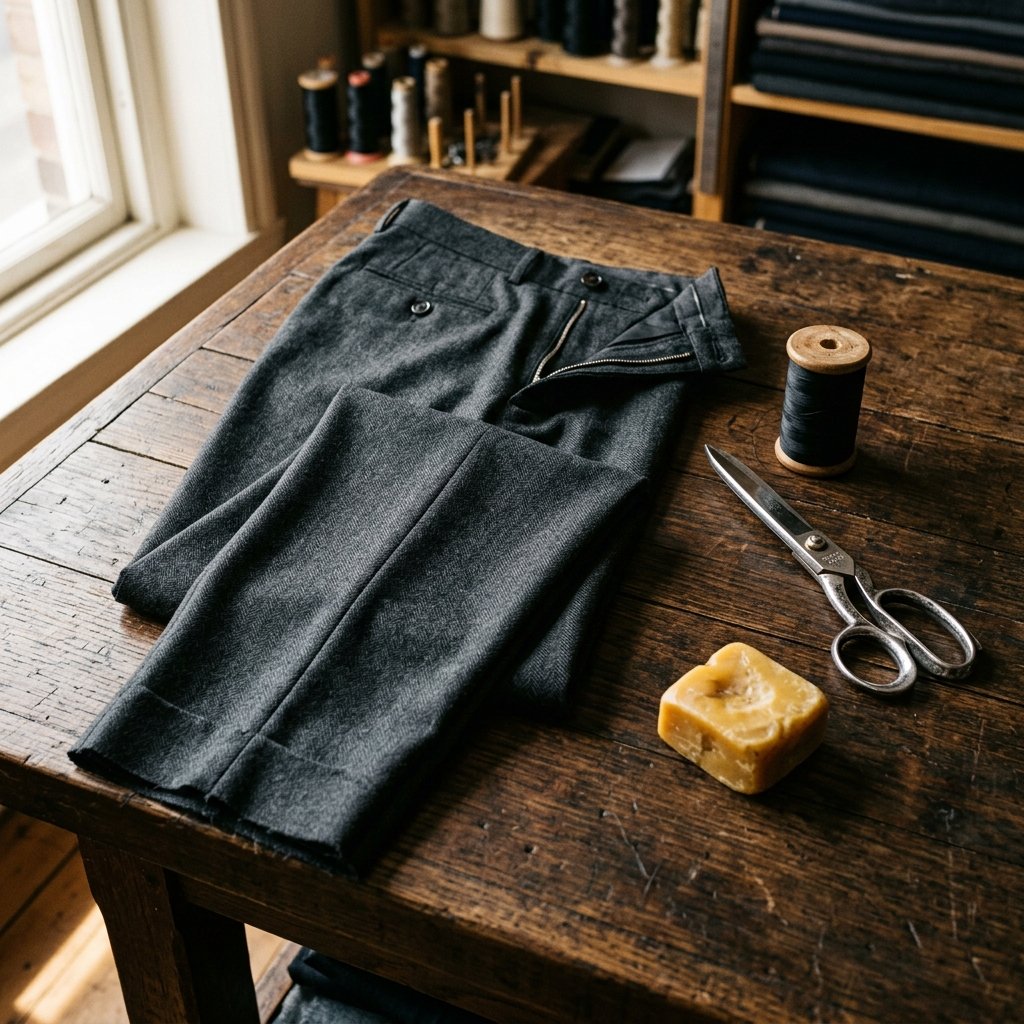
Before we make the first cut, we must assemble the right tools. A professional result requires more than just a standard needle and thread. To achieve that ‘invisible’ look, the quality of your materials matters. You don’t need a massive investment—most of these items are under $5—but they make the difference between a homemade hack and a bespoke finish.
| Tool | Purpose | Estimated Cost |
|---|---|---|
| Milliners Needle (Size 10) | Extra thin to avoid piercing the fabric face. | $2.50 |
| Silk or Polyester Thread | Matches fabric sheen and slides through wool easily. | $3.00 |
| Tailor’s Chalk/Soap | Marking the hemline without staining. | $1.50 |
| Beeswax | Coating the thread to prevent tangling and knots. | $2.00 |
| Measuring Tape | Ensuring both legs are perfectly symmetrical. | $1.00 |
The Tailor’s Mantra: Measure twice, mark once, and always coat your thread in beeswax. A smooth thread is a fast thread, and a fast thread is a 10-minute hem.
The Blueprint: Measuring the Perfect ‘Break’
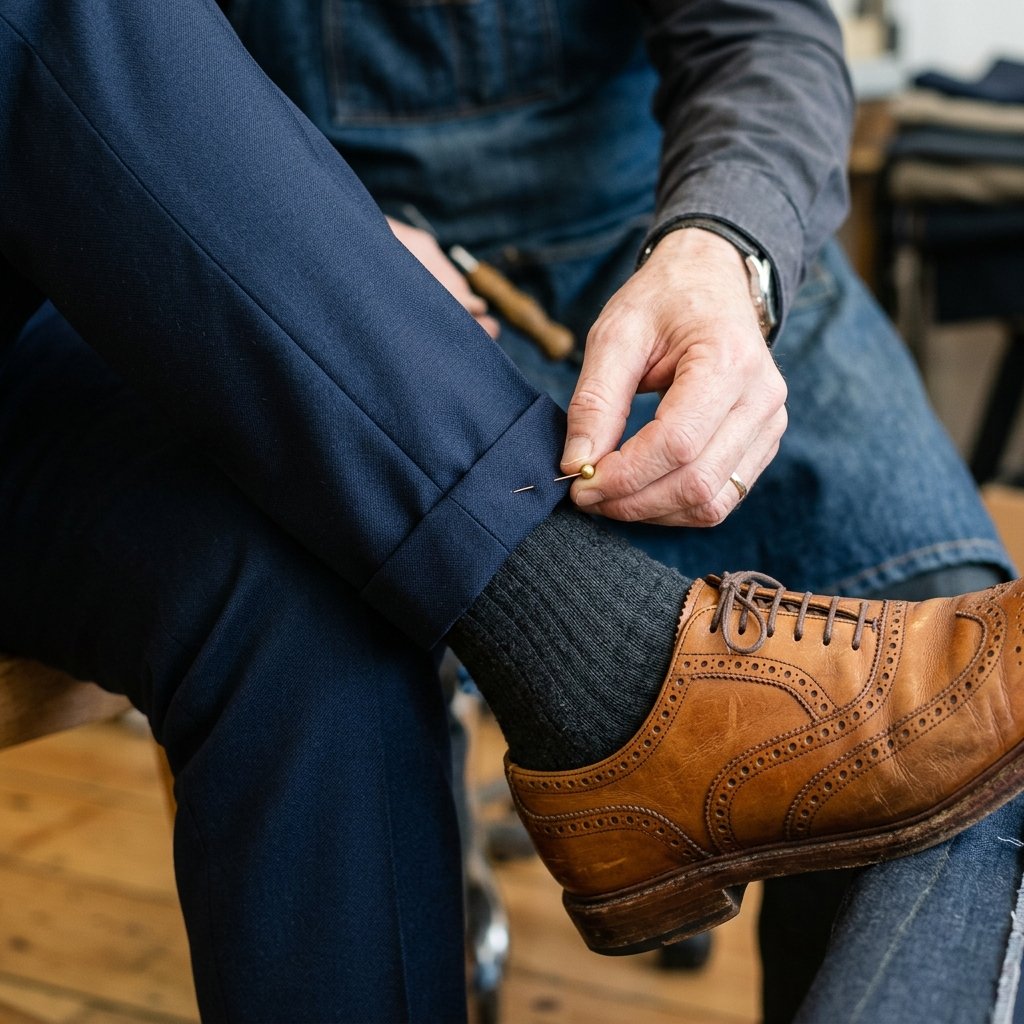
The ‘break’ is where your pants hit your shoes. Too long, and you look sloppy; too short, and you’re wearing high-waters. For a classic, masculine-elegant look, aim for a medium break where the fabric slightly indents at the front of the shoe but remains straight at the heel.
- Step 1: Wear the shoes you intend to pair with the pants. This is non-negotiable for accuracy.
- Step 2: Fold the excess fabric inward (to the inside of the leg) until the fold rests at the desired length.
- Step 3: Pin the hem in four places: front, back, and both side seams.
- Step 4: Walk around. Sit down. Ensure the drape feels natural.
Once you are satisfied, use your tailor’s chalk to mark the ‘fold line’ on the inside of the fabric. Then, mark a ‘cut line’ exactly 2 inches below the fold line. This 2-inch allowance provides enough weight for the hem to hang correctly.
Managing the Lining: The ‘Floating’ Hem Secret

Lined pants are intimidating because they have two layers of fabric. The secret is that the lining and the outer fabric should never be sewn together at the very bottom. They need to ‘float’ independently so the pants don’t pucker when you move. This is the hallmark of a professional job.
| Feature | Outer Fabric (Shell) | Inner Lining |
|---|---|---|
| Length | Should hit the shoe break. | Should be 1 inch shorter than the shell. |
| Stitch Type | Blind Catch Stitch. | Simple Running or Whip Stitch. |
| Attachment | Anchored to the seam allowance. | Free-floating or anchored at side seams only. |
First, trim the lining so it is 1 inch shorter than your final pant length. Hem the lining separately using a quick whip stitch. This ensures that the lining won’t peek out from under your trousers while you’re walking.
The Invisible Catch Stitch: Step-by-Step Execution

The catch stitch (also known as the herringbone stitch) is the ’10-minute secret.’ It creates an elastic, secure hold that is completely invisible from the outside. Unlike a straight stitch, it allows the fabric to stretch slightly as you move, preventing the thread from snapping.
- Thread your needle with about 20 inches of thread and run it through the beeswax. Knot the end.
- Start at the side seam. Anchor your thread into the seam allowance (the thick part of the inner fabric).
- The ‘Tiny Bite’: Pick up only 1 or 2 threads from the outer fabric. Move your needle from right to left, even if you are sewing toward the right.
- The ‘Bridge’: Move 1/2 inch to the right and take a larger ‘bite’ of the folded-over hem allowance (not the face of the pants).
- Repeat: This creates a series of ‘X’ shapes. The tension should be loose enough that the fabric doesn’t bunch, but tight enough to hold the weight.
Pro Tip: Do not pull the thread tight! The ‘float’ in the catch stitch is what makes the hem invisible. If you see dimples on the outside, your tension is too high.
The Final Press: Using Steam to Set the Memory
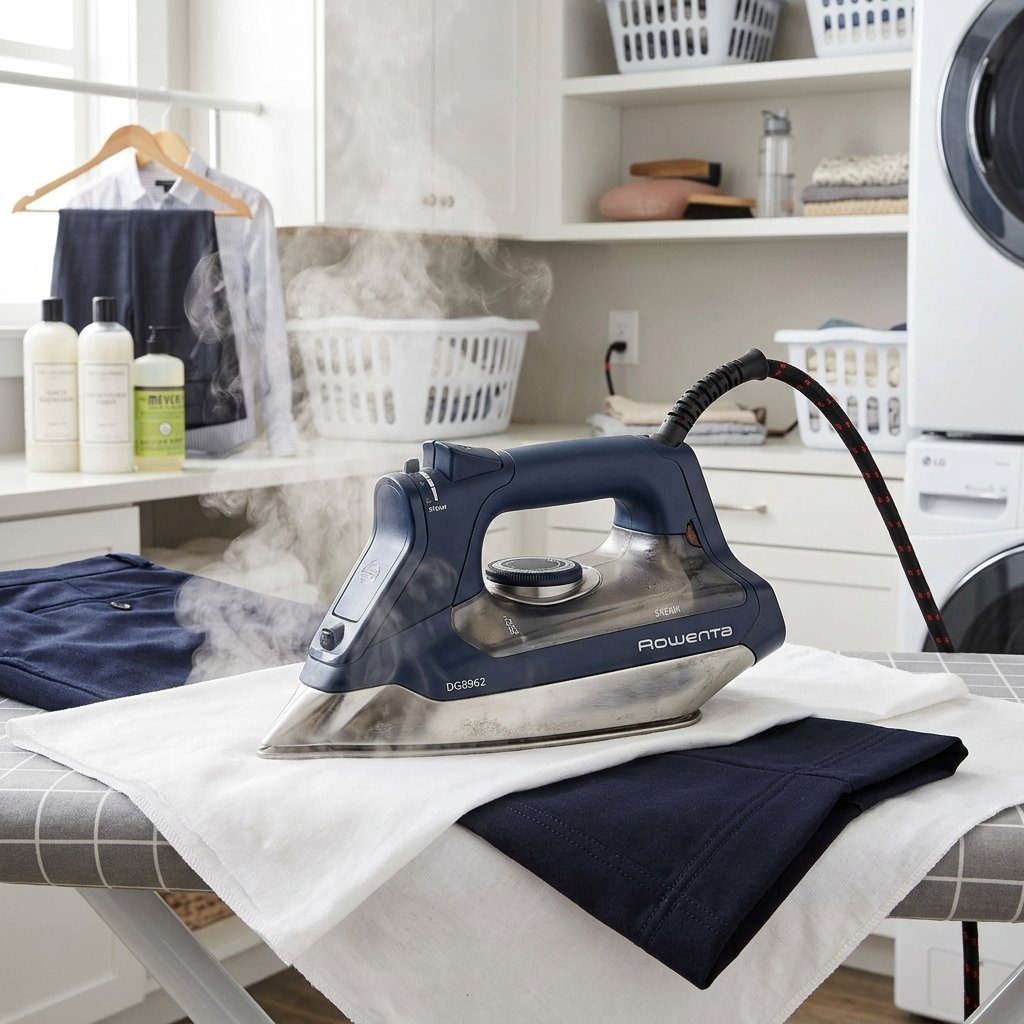
A tailor’s work isn’t done until the fabric is ‘set.’ The final press is what gives your DIY hem that crisp, store-bought edge. Without this step, the hem will look ‘puffy’ and homemade. You are essentially using heat and moisture to tell the fibers exactly where they now live.
- Use a Pressing Cloth: Place a clean cotton scrap (or an old pillowcase) between the iron and your pants. This prevents the wool from getting a ‘shiny’ or scorched look.
- Steam is Key: Use a high steam setting. Press the iron down firmly, hold for 5 seconds, and lift. Do not slide the iron back and forth, as this can stretch the hem.
- The Cool Down: Let the pants sit on the ironing board until they are completely cool. This ‘sets’ the memory of the fold.
Conclusion
Mastery in Your Hands
Congratulations! You have just saved yourself $30 and a week-long wait at the tailor. By mastering the invisible catch stitch and the floating lining technique, you’ve elevated your DIY game to a professional standard. This 10-minute secret is more than a cost-saving measure; it is a way to ensure your clothes fit exactly how you want them to. The next time you find a ‘diamond in the rough’ at a thrift store or a clearance rack, you won’t see a chore—you’ll see an opportunity. Wear your perfectly hemmed pants with the pride of a craftsman. After all, the best-dressed man in the room is often the one who knows how to handle a needle and thread.

Makenzie is the founder and lead writer at MoneyHackTips.com — a personal finance blog dedicated to delivering street-smart financial wisdom for real people on real budgets. With 300+ published articles covering everything from debt management to investing fundamentals, Makenzie’s mission is to make every dollar work harder. When not writing about money hacks, Makenzie is testing frugal living strategies, optimizing side hustles, and helping readers build financial freedom from scratch.