
The Ultimate Sanity-Saving Craft for Handy Parents
Let us face it, fellow handy parents, frugal DIYers, and crafty upcyclers: keeping kids entertained without resorting to screens or dropping a small fortune on flimsy plastic toys is an everyday battle. If you have been staring at that ever-growing mountain of delivery boxes in your garage, wondering how to repurpose them before recycling day, you are in the right place. Today, we are turning absolute trash into a treasured, brain-boosting activity that will keep your little ones occupied for hours. We are talking about the classic, universally loved Memory Matching Game, but built with the rugged durability of upcycled corrugated cardboard.
As a resourcefully-creative parent, you know that the best toys are often the ones you make yourself. Not only does building a DIY cardboard matching game save you $15 to $25 right off the bat, but it also allows you to customize the experience entirely to your child’s current interests. Whether they are obsessed with dinosaurs, construction tools, vibrant garden flowers, or learning their ABCs, this project puts the power of personalized education directly into your calloused, capable hands.
This is not just a cheap craft; it is a masterclass in budget-savvy parenting. By utilizing scrap materials you already have laying around the house, you are teaching your kids the invaluable lesson of resourcefulness. You are showing them that with a little elbow grease, a pair of scissors, and a spark of imagination, a discarded shipping box can become a source of endless joy. Grab your trusty utility knife, clear off the workbench or the kitchen table, and let us dive into the ultimate frugal weekend project!
Trash to Treasure: Why Cardboard is the Ultimate Crafting Medium
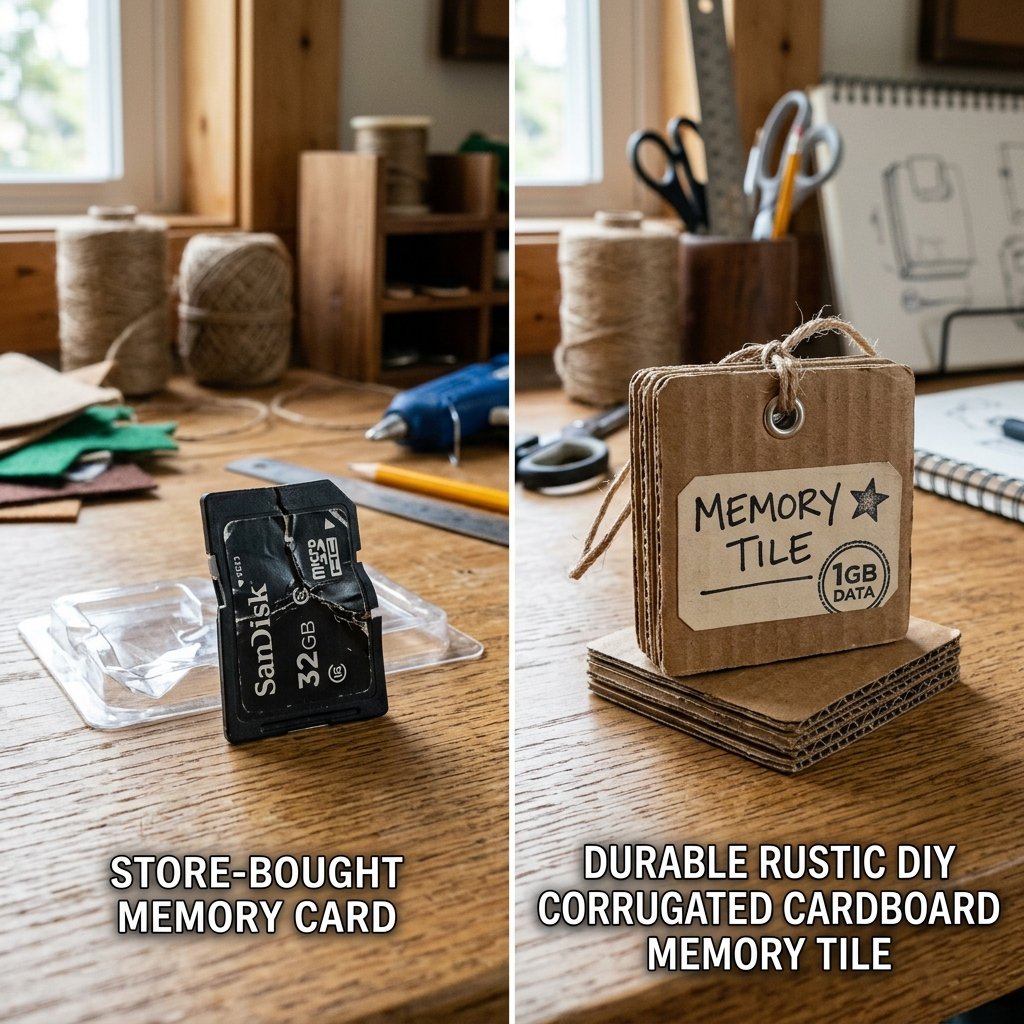
The Unsung Hero of the Recycling Bin
Before we start slicing and dicing, let us take a moment to appreciate the humble cardboard box. In the world of frugal crafting and DIY upcycling, corrugated cardboard is essentially free lumber. It is sturdy, structurally sound, incredibly forgiving, and best of all, it costs exactly $0.00. When you compare a DIY cardboard game to a store-bought version, the benefits become glaringly obvious. Store-bought memory games are often printed on thin, easily bent cardstock that a determined toddler can destroy in roughly 5 minutes. Corrugated cardboard, on the other hand, can withstand being stepped on, chewed on, and tossed across the room.
The Cost and Durability Breakdown
Let us look at the hard numbers. Being budget-savvy means knowing exactly where your hard-earned dollars are going. Here is a quick comparison of why taking the DIY route is the ultimate victory for your wallet.
| Feature | Store-Bought Game | Zero-Budget DIY Cardboard Game |
|---|---|---|
| Average Cost | $15.00 – $25.00 | $0.00 (Using household scraps) |
| Durability | Flimsy cardstock, easily creased | Rugged corrugated cardboard, highly resilient |
| Customization | Stuck with the manufacturer’s theme | 100% customizable to your child’s interests |
| Replacement Cost | Must buy a whole new game if pieces are lost | Free – Just cut a new piece of cardboard! |
| Environmental Impact | New plastic packaging, shipping footprint | Eco-friendly, upcycled, zero waste |
Beyond the financial savings, memory games are incredible cognitive tools for growing minds. They improve short-term memory, enhance visual recognition, teach concentration, and help kids learn to categorize objects. By crafting this game yourself, you are not just making a toy; you are building an educational tool tailored to your child’s exact developmental stage.
“The most valuable things we can give our children are our time, our resourcefulness, and the knowledge that they have the power to create their own fun.” – The Frugal Crafter’s Mantra
Raiding the Recycling Bin: Materials and Tools Needed
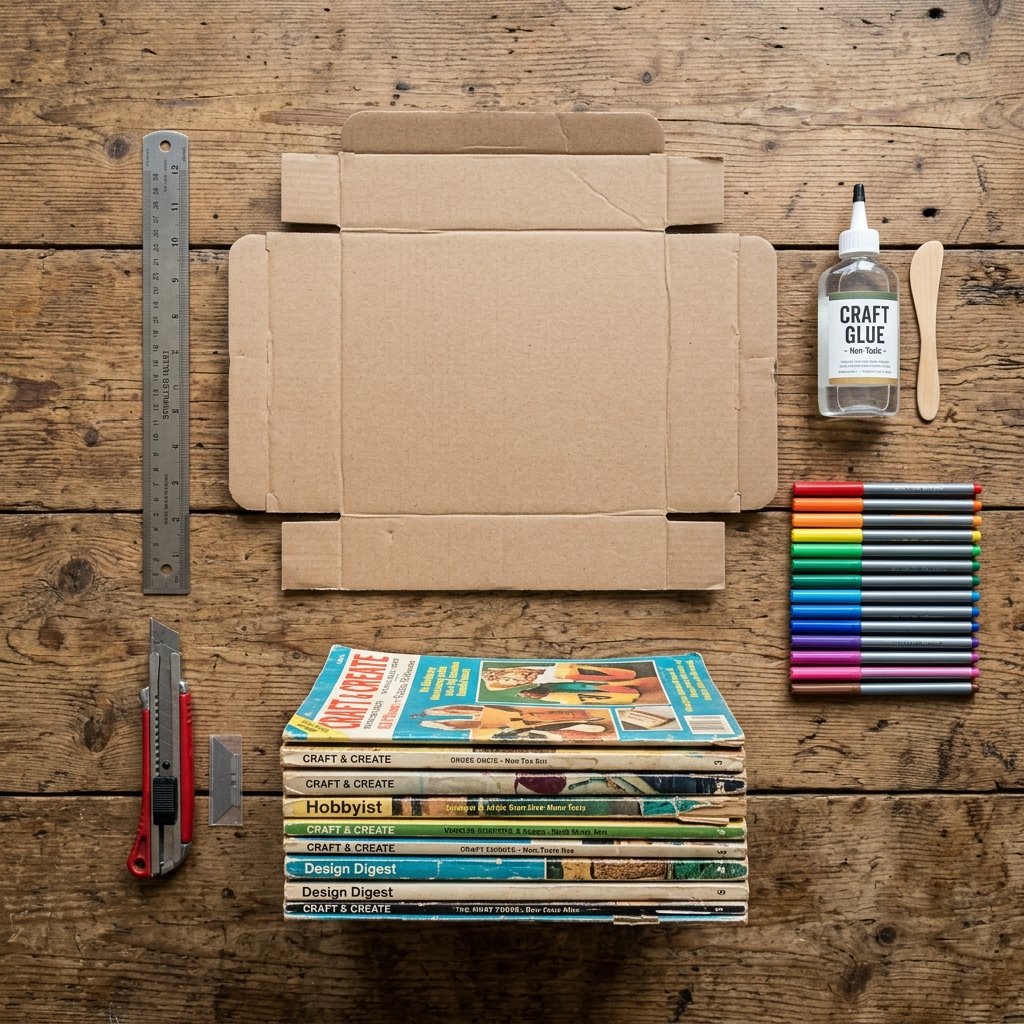
Gathering Your Upcycling Arsenal
Every good craftsman knows that a successful project begins with gathering the right materials. The beauty of this budget-savvy endeavor is that you likely do not need to step foot inside a craft store. We are shopping directly from our own recycling bins and junk drawers. Here is what you need to assemble your DIY cardboard matching memory game.
The Core Materials
- Scrap Cardboard: The star of the show. Look for medium-thickness corrugated boxes (like standard Amazon delivery boxes). Cereal boxes work in a pinch, but they lack the rugged, satisfying chunkiness of corrugated board. You will need enough to cut out at least 24 to 48 squares, depending on the age of your child.
- Decorating Mediums: This is where you get creative. You can use old magazines for collaging, junk mail catalogs, printed family photos, colorful markers, acrylic paints, or even leftover stickers.
- Adhesive: A standard glue stick, school glue, or a frugal DIY Mod Podge (a mixture of 50% school glue and 50% water) will work perfectly for adhering your images to the cardboard.
The Handy Tools
- A Sharp Cutting Tool: A heavy-duty utility knife (box cutter) is ideal for getting clean, crisp edges on corrugated cardboard. A good pair of heavy-duty craft scissors will also work, though they may crimp the edges slightly.
- A Metal Ruler or Straight Edge: Essential for measuring and guiding your utility knife for perfectly straight cuts.
- A Cutting Mat or Scrap Board: Protect your kitchen table or workbench from your blade! A large piece of scrap wood or an extra layer of thick cardboard works perfectly.
- Clear Packing Tape (Optional but Recommended): The ultimate frugal lamination tool to waterproof and bulletproof your tiles against sticky toddler fingers.
Once you have your materials laid out like a true craftsman preparing for a build, it is time to move on to the precision engineering phase.
Precision Engineering: Measuring and Cutting Uniform Tiles
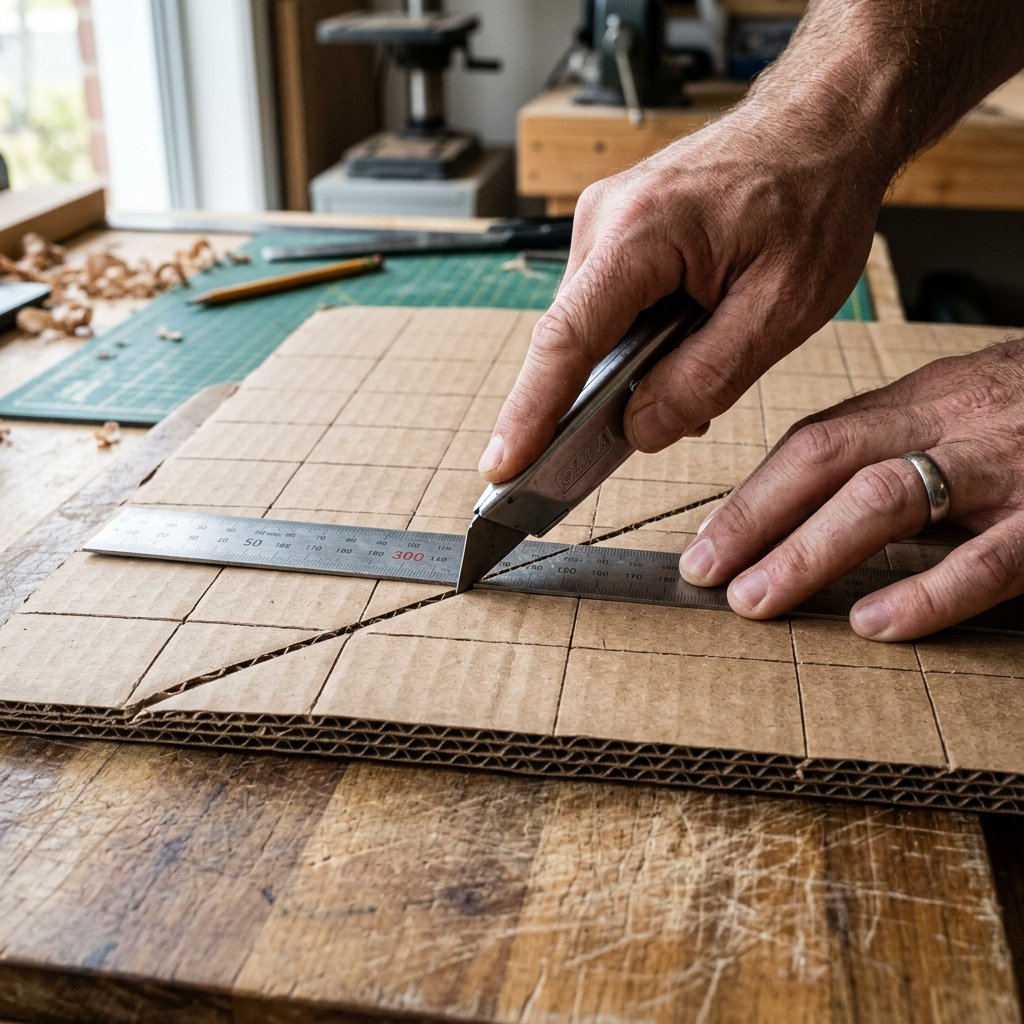
Measuring Twice, Cutting Once
For a memory game to work properly, every tile needs to look identical from the back. If one tile is noticeably larger or has a jagged edge, your clever little ones will quickly memorize the shape of the card rather than the image on the front! This step requires a bit of that rugged, practical precision.
Step-by-Step Cutting Instructions
- Flatten the Canvas: Break down your cardboard box completely. Cut along the seams to remove the flaps, leaving you with large, flat panels of cardboard. Choose the pieces with the fewest dents or creases.
- Determine Your Grid Size: For toddlers, a larger tile is easier to handle. A 3×3 inch or 4×4 inch square is perfect. For older kids, a 2×2 inch square provides a more challenging, densely packed game.
- Mark the Grid: Using your metal ruler and a pencil, draw a grid on the blank side of the cardboard. If you are making a 24-piece game (12 pairs), map out 24 identical squares. Take your time here; accuracy pays off.
- The Score and Snap Method:
“Safety First: Always cut away from your body, keep your free hand clear of the blade’s path, and use a sharp blade—a dull blade requires more force and is more likely to slip.”
Place your metal ruler along your pencil lines. Using your utility knife, apply medium pressure to score the top layer of the cardboard. Do not try to cut all the way through on the first pass. Make a second or third pass until you slice cleanly through. This prevents the cardboard from tearing or crimping.
- Inspect the Blanks: Once all your squares are cut, stack them up. Discard any that are noticeably misshapen or have identifying marks on the back (like a barcode or a weird stain). You want the backs to be completely uniform.
You now have a stack of blank, rugged cardboard tiles ready to be transformed into a masterpiece of childhood entertainment. The hard labor is done; now we move on to the creative magic.
The Creative Engine: Designing Engaging Matching Pairs
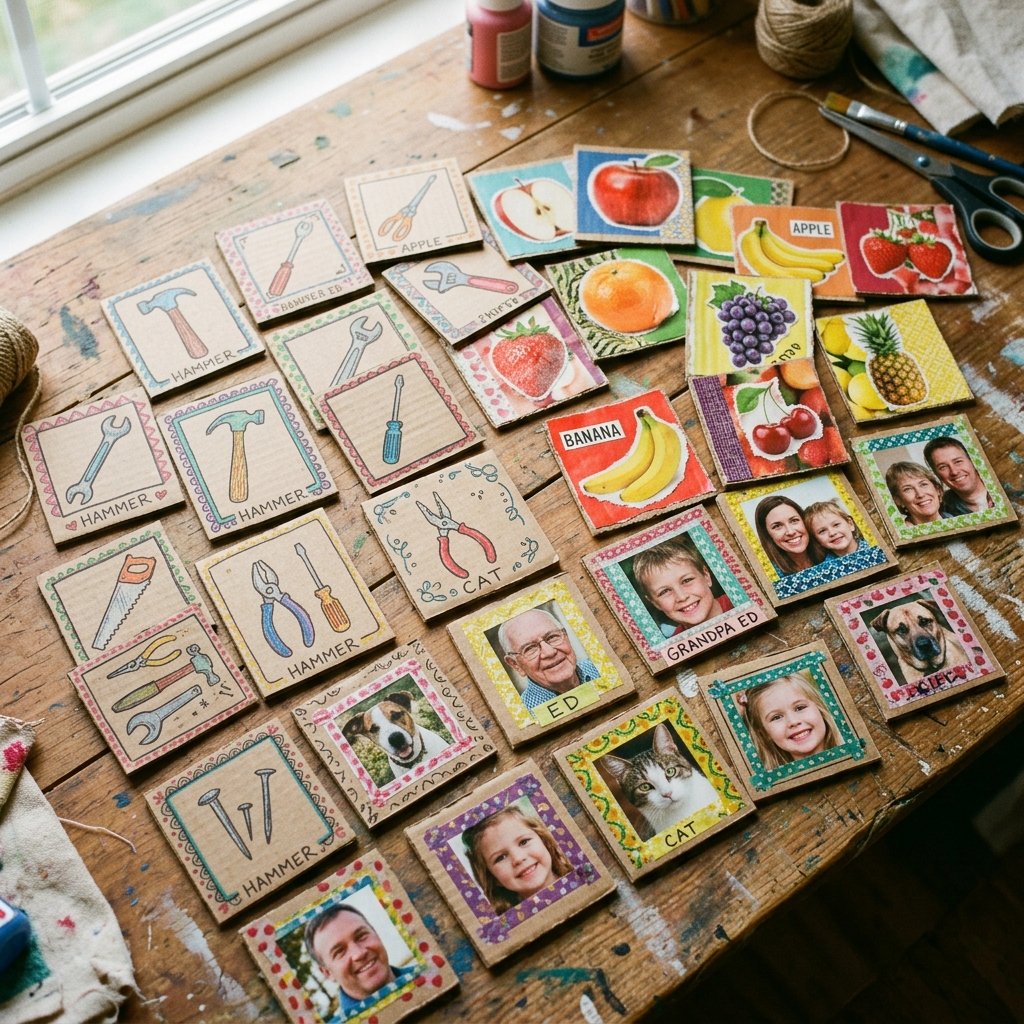
Injecting Personality into Your Game
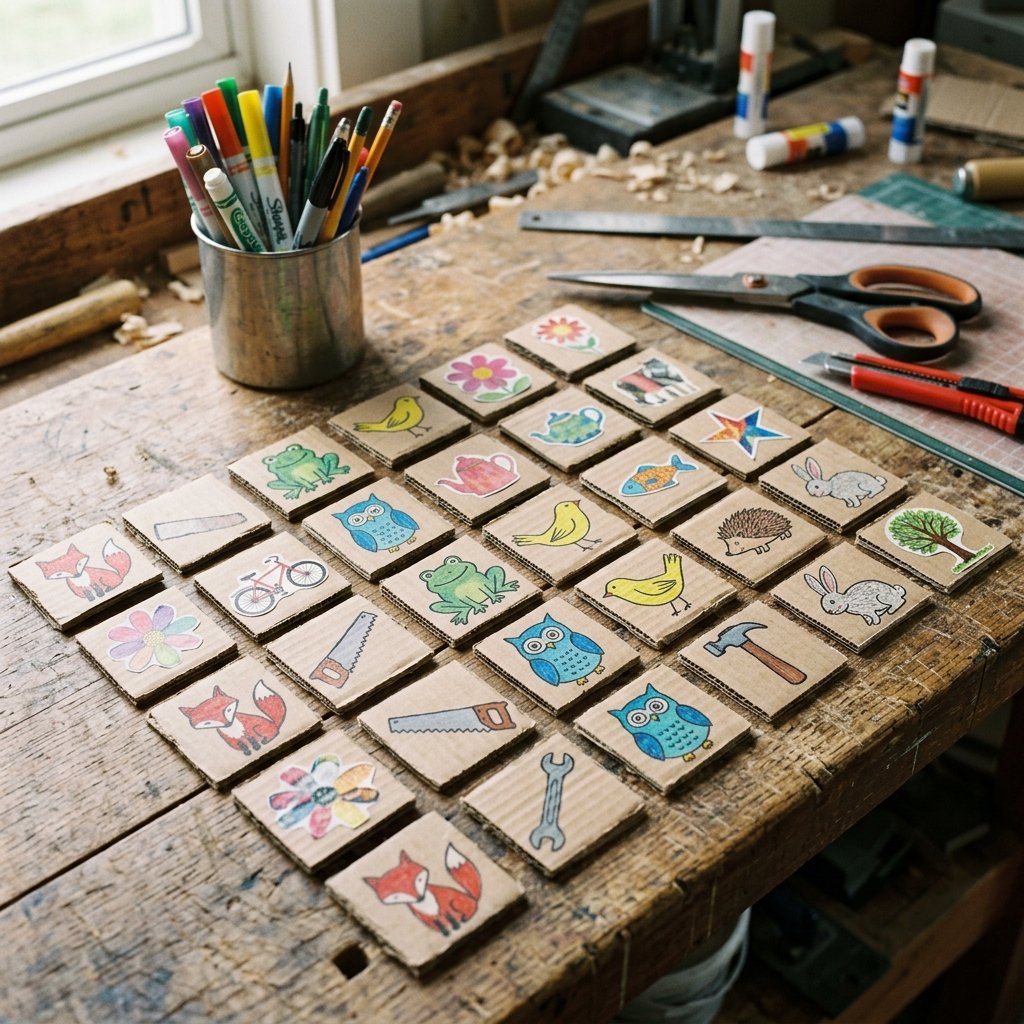
Here is where your crafty-expert status truly shines. Because you are making this from scratch, you are not limited to generic farm animals or cartoon characters. You can design a game that perfectly aligns with your child’s current passions, making the game infinitely more engaging. Remember, you need to create exactly two identical tiles for every design.
Resourceful Theme Ideas for Every Age
- The Handyman’s Tool Deck: Perfect for the kid who loves to shadow dad in the garage. Draw or cut out pictures of a hammer, screwdriver, wrench, tape measure, and drill. It is a great way to teach them the names of practical tools!
- The Family Tree Deck: Print out duplicate photos of family members—grandparents, aunts, uncles, cousins, and pets. This is incredibly special for toddlers learning to identify family members, especially those who live far away.
- The Junk Mail Catalog Hunt: Put those annoying grocery store flyers and toy catalogs to good use! Cut out identical pictures of apples, cereal boxes, or bicycles. It is a brilliant, zero-budget way to get high-quality, colorful images.
- The Color and Shape Deck: For early learners, keep it simple. Cut out basic shapes (circles, squares, triangles) from different colored construction paper or simply draw them with thick markers.
- The Nature Walk Deck: Take the kids outside to collect flat leaves, pressed flowers, or take photos of interesting rocks and bark. Glue the pressed items directly to the cardboard for a highly tactile, sensory experience.
Application Techniques
If you are drawing directly onto the cardboard, use thick, bold markers. If you are using cutouts from magazines or photos, apply a thin, even layer of glue stick to the back of the image. Avoid using large globs of liquid school glue, as it will cause the paper to wrinkle and warp as it dries. Smooth the image down from the center outward to push out any air bubbles. Let the tiles dry completely for at least 30 minutes before moving on to the final sealing phase.
Bulletproofing Your Craft: Sealing and Protecting the Tiles
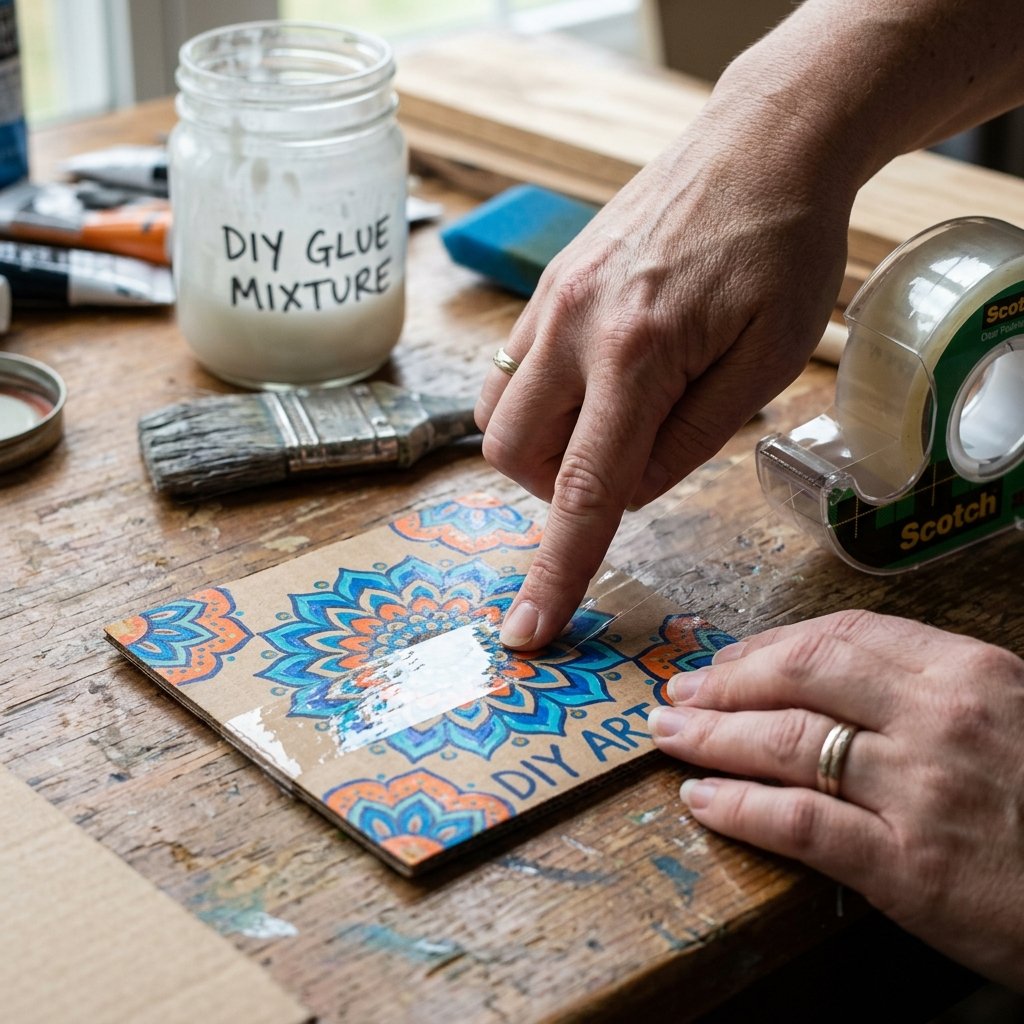
The Frugal Finisher’s Secret to Longevity
You have put the time, love, and elbow grease into creating these beautiful tiles. The last thing you want is for a spilled sippy cup or sticky peanut butter fingers to ruin your hard work. To make this game last for years, we need to bulletproof it. Store-bought games peel and fray at the edges, but we are going to seal ours using clever, budget-savvy methods.
Method 1: The Packing Tape Lamination Hack
This is the ultimate frugal parent’s secret weapon. Heavy-duty clear packing tape costs pennies per yard and provides a brilliant, waterproof seal that mimics expensive heat lamination.
- Lay your finished, dry cardboard tile face up on your workspace.
- Cut a strip of clear packing tape that is slightly longer than your tile.
- Carefully lay the tape over the front of the tile, smoothing it down firmly to eliminate air bubbles. If your tile is wider than the tape, use two slightly overlapping strips.
- Fold the excess tape over the edges onto the back of the tile. This seals the vulnerable corrugated edges and prevents the top layer from peeling back.
Method 2: The DIY Mod Podge Glaze
If you prefer a more matte, painted-on finish, create a frugal sealing glaze.
“Frugal Formula: Mix 1 part standard white PVA school glue with 1 part water. Stir until it reaches the consistency of heavy cream.”
Brush a thin, even layer of this mixture over the top of your images. It will look milky at first but will dry completely clear, creating a hard, protective shell over the paper. Allow them to dry overnight for the best results.
By taking these extra 15 minutes to seal your tiles, you are ensuring that your upcycled creation can survive the rugged terrain of a playroom floor, outdoor picnics, and endless rounds of enthusiastic gameplay.
Leveling Up: Gameplay Variations and DIY Storage
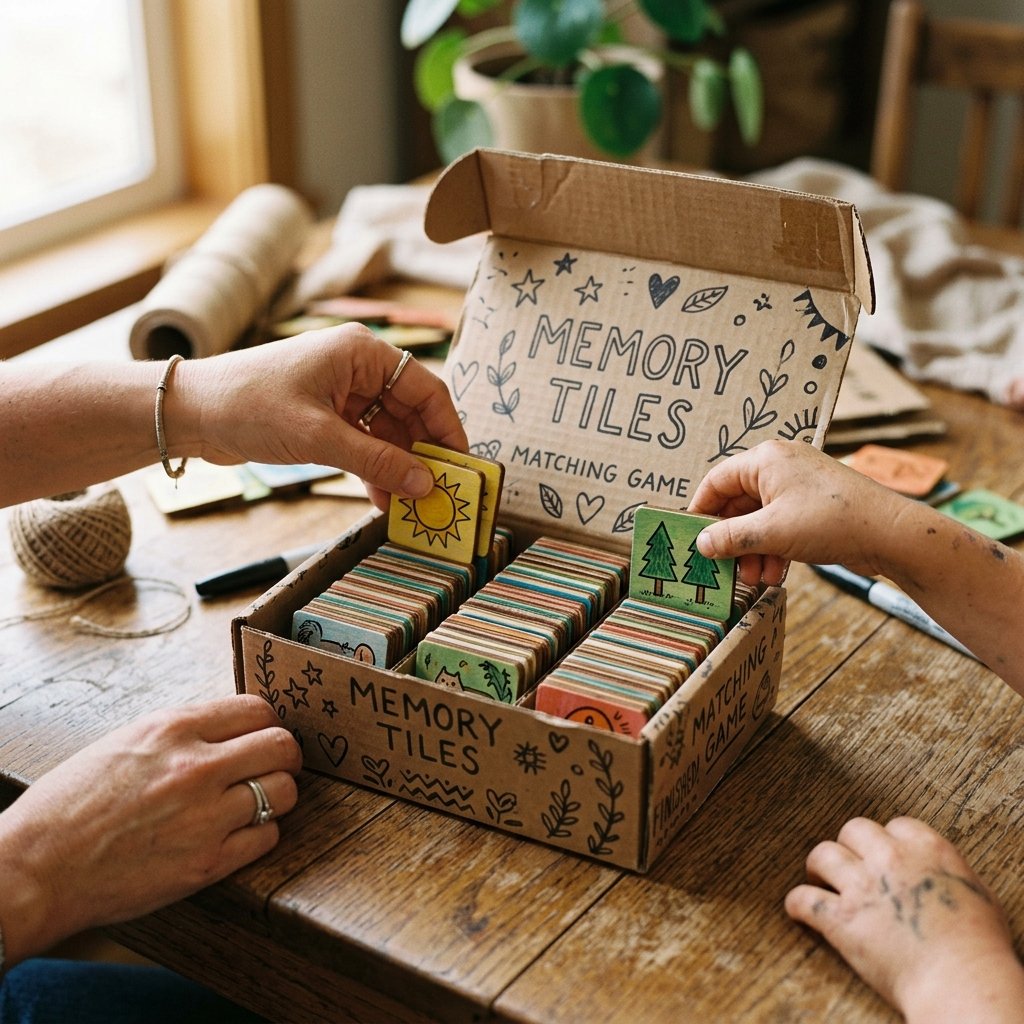
Maximizing the Fun and Organizing the Chaos
Now that your rugged, zero-budget memory game is complete, it is time to unleash it! The standard rules apply: shuffle the tiles, lay them face down in a grid, and take turns flipping over two at a time to find a match. But as a creative parent, you can stretch this activity to keep kids busy for even longer.
Clever Gameplay Variations
- The Scavenger Hunt: Hide one set of the tiles around the house or yard. Give your child the matching half of the deck and have them run around searching for the corresponding pairs. This burns serious physical energy!
- Storytelling Mode: Have your child draw three random tiles and challenge them to invent a silly story incorporating all three images. This boosts creativity and verbal skills.
- Speed Matching: For older kids, lay all the cards face up. Time them with a stopwatch to see how fast they can physically pair up all the matches. Encourage them to beat their own high score.
Crafting the Perfect Storage Box
A true upcycler leaves no scrap behind! Take the leftover pieces of your cardboard box and quickly fashion a custom storage container. Cut a simple rectangular base, fold up four small walls, and secure the corners with hot glue or your trusty packing tape. You can even have your kids decorate the outside of the box with markers or leftover magazine clippings.
Having a dedicated, sturdy box teaches kids the importance of cleaning up and taking care of their toys. Plus, it slides neatly onto a bookshelf, looking like a rustic, charming, custom-made piece of childhood joy. You have successfully turned a piece of recycling into an heirloom-quality game that cost you absolutely nothing but a little time and love.
Conclusion
The Frugal Crafter’s Victory Lap
Congratulations! You have just executed the ultimate frugal parenting hack. By taking an everyday piece of scrap cardboard and applying a little resourcefulness, you have created a durable, educational, and deeply personal game that will keep your kids busy for hours. You bypassed the commercial toy aisle, saved your hard-earned money, and reduced your household waste, all while flexing your creative DIY muscles.
Projects like this Easy DIY Cardboard Matching Memory Game prove that you do not need a massive budget or a professional crafting studio to make magic for your family. The rugged charm of upcycled materials combined with your own two hands creates something far more valuable than anything you could buy in a store. So, the next time a delivery box lands on your porch, do not just break it down for the recycling bin. Look at it as a blank canvas, a zero-budget opportunity, and your next great weekend project. Stay crafty, stay budget-savvy, and enjoy the well-deserved peace and quiet while the kids play!

Makenzie is the founder and lead writer at MoneyHackTips.com — a personal finance blog dedicated to delivering street-smart financial wisdom for real people on real budgets. With 300+ published articles covering everything from debt management to investing fundamentals, Makenzie’s mission is to make every dollar work harder. When not writing about money hacks, Makenzie is testing frugal living strategies, optimizing side hustles, and helping readers build financial freedom from scratch.