
The Ultimate Trash-to-Treasure Wedding Hack
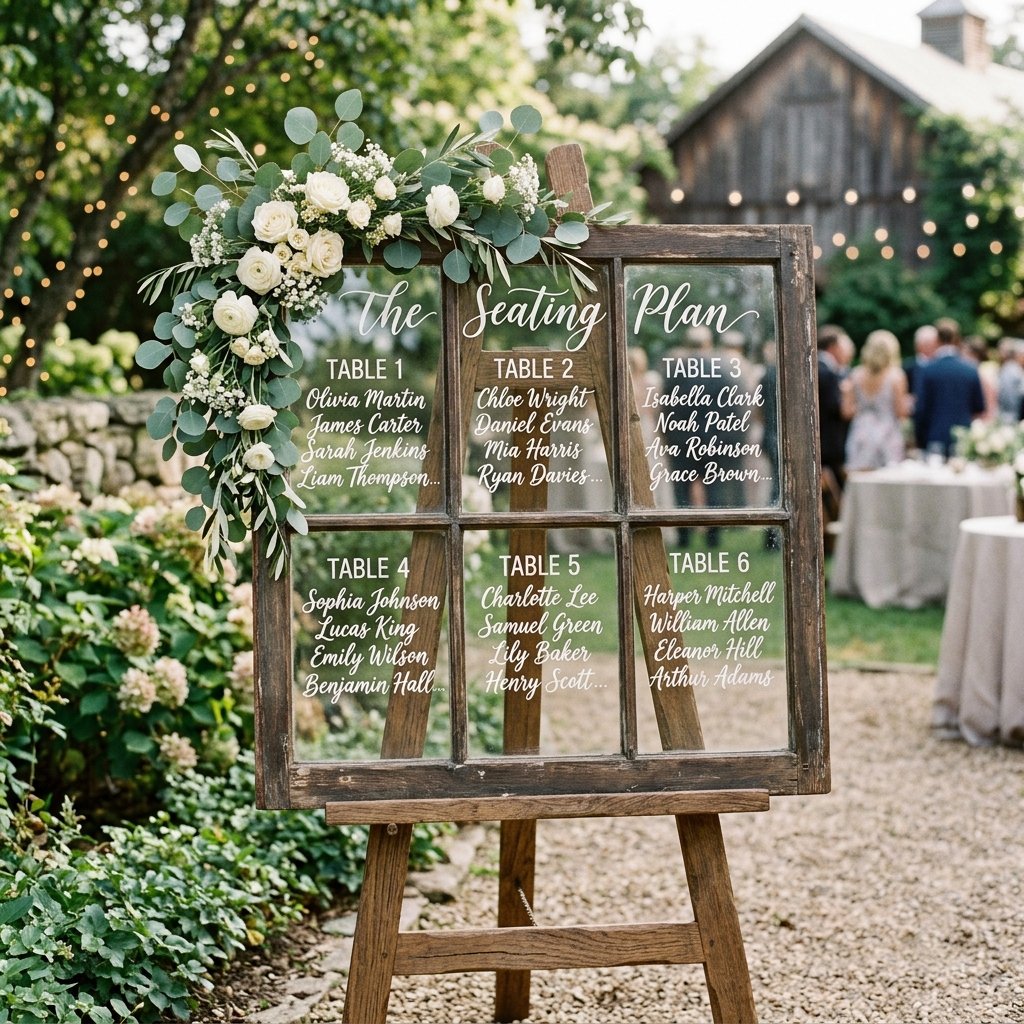
Let us talk about the infamous ‘wedding tax.’ The moment you attach the word ‘wedding’ to any rental item, the price magically quadruples. A standard acrylic seating chart from a professional calligrapher or rental house can easily run you upwards of $300 to $500. But what if I told you that with a little elbow grease, some rugged ingenuity, and a weekend of crafting, you could create a jaw-dropping, masculine-elegant masterpiece for under $40? Welcome to the ultimate frugal DIYer’s dream: turning a dirty, forgotten thrift store window into a high-end, bespoke wedding seating chart.
There is something profoundly satisfying about upcycling. It is the thrill of the hunt, the vision to see past decades of grime, and the hands-on satisfaction of restoring wood and glass to their former glory. This project perfectly marries rustic charm with elegant sophistication. Whether you are a handy parent helping out with wedding prep, a crafty bride on a strict budget, or a groom looking to flex some DIY woodworking skills, this project is your golden ticket to high-impact, low-cost wedding decor.
“True elegance isn’t about how much money you spend; it’s about the resourcefulness and love you pour into the details. A salvaged window doesn’t just hold guest names; it holds history.”
In this comprehensive guide, we are going to walk through every single step of the process. From safely sourcing and restoring vintage wood frames to mastering the art of faux-calligraphy without needing a steady hand, you will learn the insider secrets to faking high-end luxury on a Dollar Tree budget. Grab your work gloves, a scraper, and your favorite paint pen—it is time to make some magic.
The Hunt: Sourcing the Perfect Salvaged Window
Scouring for Salvage: Where to Look
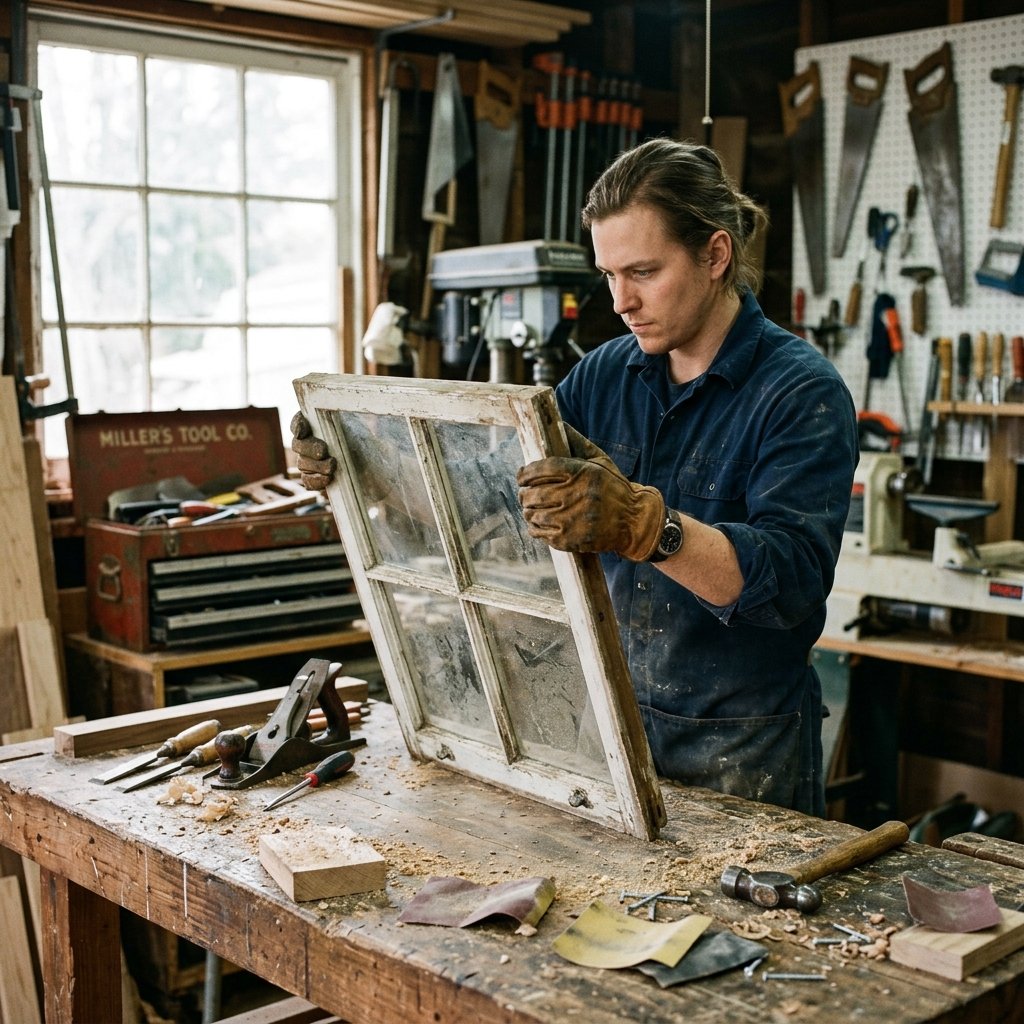
The first step in our upcycling journey is the hunt. You are not going to find authentic, weathered, multi-pane windows at your local big-box hardware store. You need to hit the architectural salvage yards, Habitat for Humanity ReStores, local thrift shops, antique malls, and the holy grail of budget sourcing: Facebook Marketplace. When searching, use keywords like ‘salvaged window,’ ‘antique sash,’ ‘multi-pane window,’ or ‘farmhouse decor.’
What to Look For in a Frame
Not all old windows are created equal. You are looking for a piece with strong structural integrity. Give the frame a gentle shake; if the wood feels rotted or the glass rattles dangerously, leave it behind. You want ‘true divided lights’—meaning each pane of glass is separated by actual wooden mullions, rather than a single large sheet of glass with a snap-in plastic grid. The number of panes is crucial. Count your estimated guest list and divide it by the number of panes to ensure you have enough room. A classic 6-pane or 8-pane window is usually the sweet spot for a wedding of 100 to 150 guests.
Safety First: Vintage windows built before 1978 have a high probability of containing lead-based paint. If the paint is chipping or alligatoring, handle it with extreme care. Wear a properly fitted N95 mask, work outdoors, and use wet-sanding techniques to prevent toxic dust from going airborne. When in doubt, seal the old paint with a clear topcoat rather than sanding it down to bare wood.
| Wedding Rental/Store-Bought | Zero-Budget / Frugal DIY |
|---|---|
| Custom Acrylic Chart: $250 – $400 | Thrifted Window: $10 – $25 |
| Professional Calligraphy: $150+ | Oil-Based Paint Pens: $6 |
| Delivery/Setup Fees: $50 – $100 | Elbow Grease & Pride: 100% Free |
| Total Store-Bought: $450 – $650+ | Total DIY Cost: $16 – $31 |
Grime to Shine: Deep Cleaning and Glass Restoration
The Art of the Scraping Blade
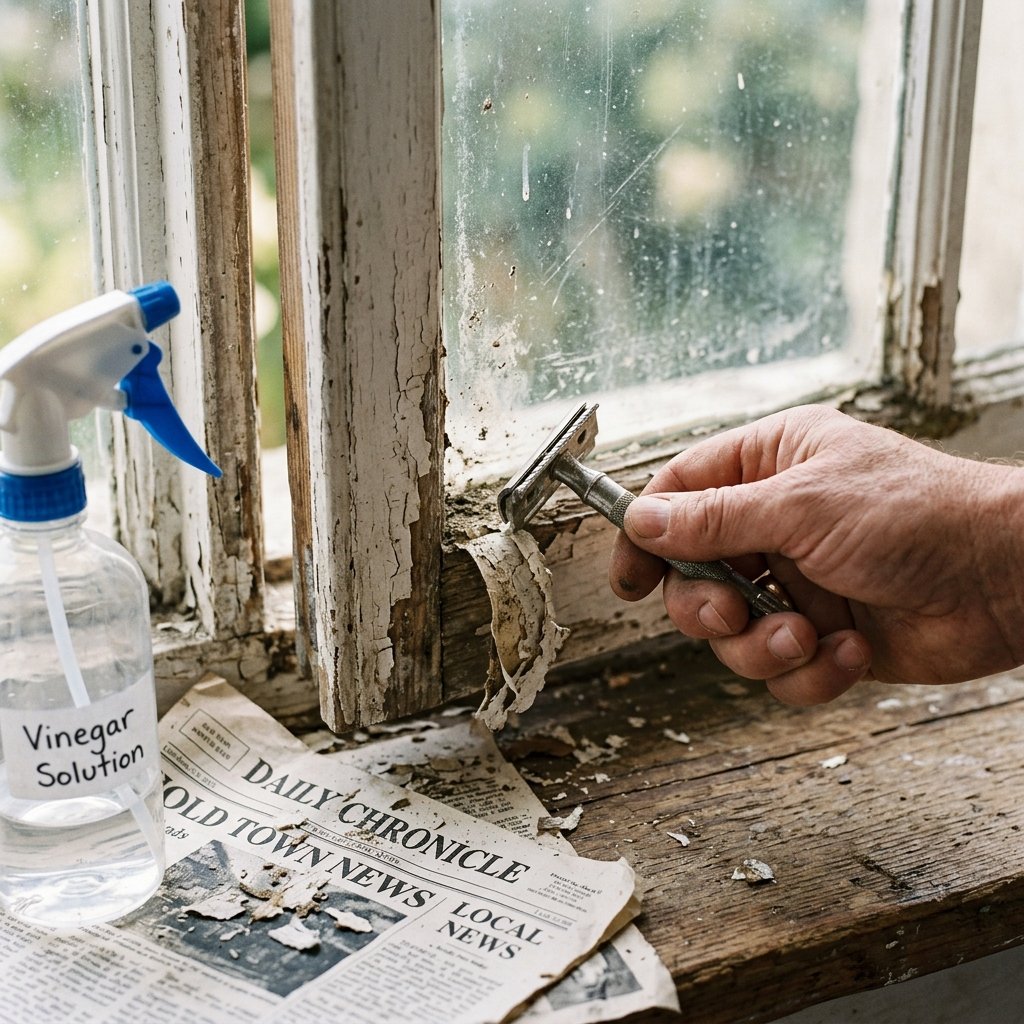
Once you have secured your treasure, it is time to face the grime. Thrifted windows often come with decades of dirt, hardened paint splatters, and petrified glazing putty. This is where the practical, rugged work begins. Do not reach for the paper towels just yet; you need heavy-duty intervention.
Step-by-Step Glass Restoration
- The Dry Scrape: Take a fresh, sharp razor blade in a safety scraper tool. Hold it at a 45-degree angle against the glass and gently push forward. This will shave off old paint drips, stubborn sap, and calcified dirt without scratching the glass. Always push away from the wood trim to avoid gouging the frame.
- The Putty Check: Inspect the glazing putty holding the glass in place. If it is crumbling and falling out, you may need to apply a fresh bead of window glazing compound. If it is solid, leave it alone.
- The Vinegar Soak: Mix equal parts distilled white vinegar and hot water in a spray bottle. Spray the glass generously and let it sit for 5 minutes. The acidity of the vinegar cuts through ancient grease better than standard blue glass cleaners.
- The Newspaper Polish: Wipe the glass down using crumpled black-and-white newspaper or a lint-free microfiber cloth. Newspaper leaves zero lint behind and provides a streak-free, crystal-clear shine that will make your lettering pop.
Spend extra time detailing the corners of the panes where dirt loves to hide. A wooden toothpick wrapped in a thin cloth is perfect for digging out the edges. The cleaner the glass, the better your paint pens will adhere later.
Woodworking 101: Sanding, Staining, and Sealing the Frame
Bringing the Wood Back to Life
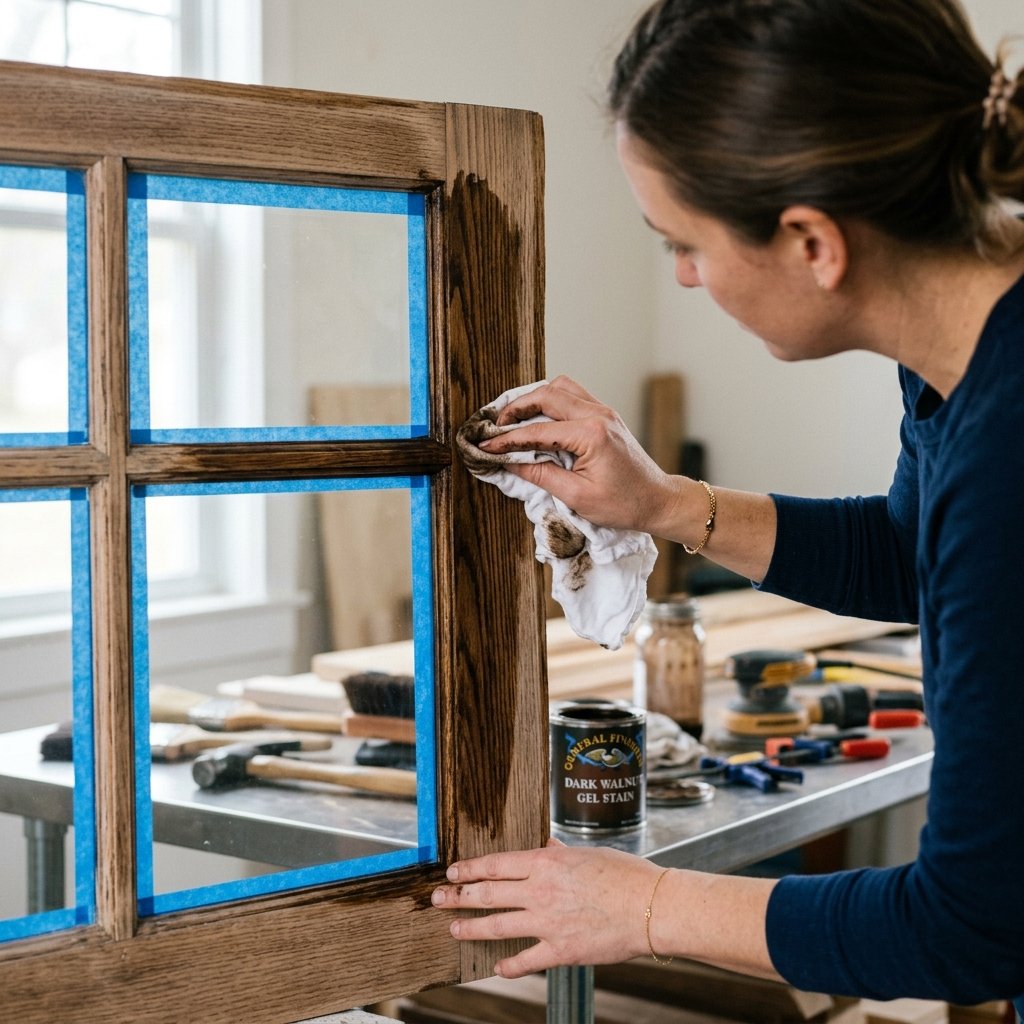
With the glass sparkling, turn your attention to the frame. The goal here is masculine-elegant—we want it to look refined enough for a wedding, but rugged enough to maintain its vintage charm. If your window has beautiful, chippy paint (and you have confirmed it is lead-free or you are sealing it), you can leave it as-is for a shabby-chic look. But for a more polished, high-end vibe, sanding and staining is the way to go.
Prepping and Staining
- Sanding: Start with an 80-grit sanding block to knock down rough splinters and old, loose finishes. Move to a 120-grit, and finish with a 220-grit for a buttery smooth texture. Be incredibly careful not to let the sandpaper scratch the glass. You can use painter’s tape to protect the glass edges.
- Cleaning the Dust: Vacuum the frame thoroughly and wipe it down with a tack cloth. Any leftover sawdust will ruin your stain.
- Applying Stain: For a rich, elegant look, I recommend a gel stain in a shade like Dark Walnut or Jacobean. Gel stain sits on top of the wood rather than soaking in completely, which is perfect for old, unpredictable salvaged wood. Apply it with a lint-free rag, let it sit for 3 to 5 minutes, and wipe off the excess.
- Sealing: Once the stain is completely dry (usually 24 hours), seal the wood with a matte or satin spray polyurethane. This protects the wood, locks in any remaining old paint, and gives it a professional, finished look.
This restoration process transforms a piece of literal trash into a bespoke piece of furniture. It is budget-savvy upcycling at its absolute finest.
The Blueprint: Planning Your Seating Layout
Strategic Spacing and Digital Mockups
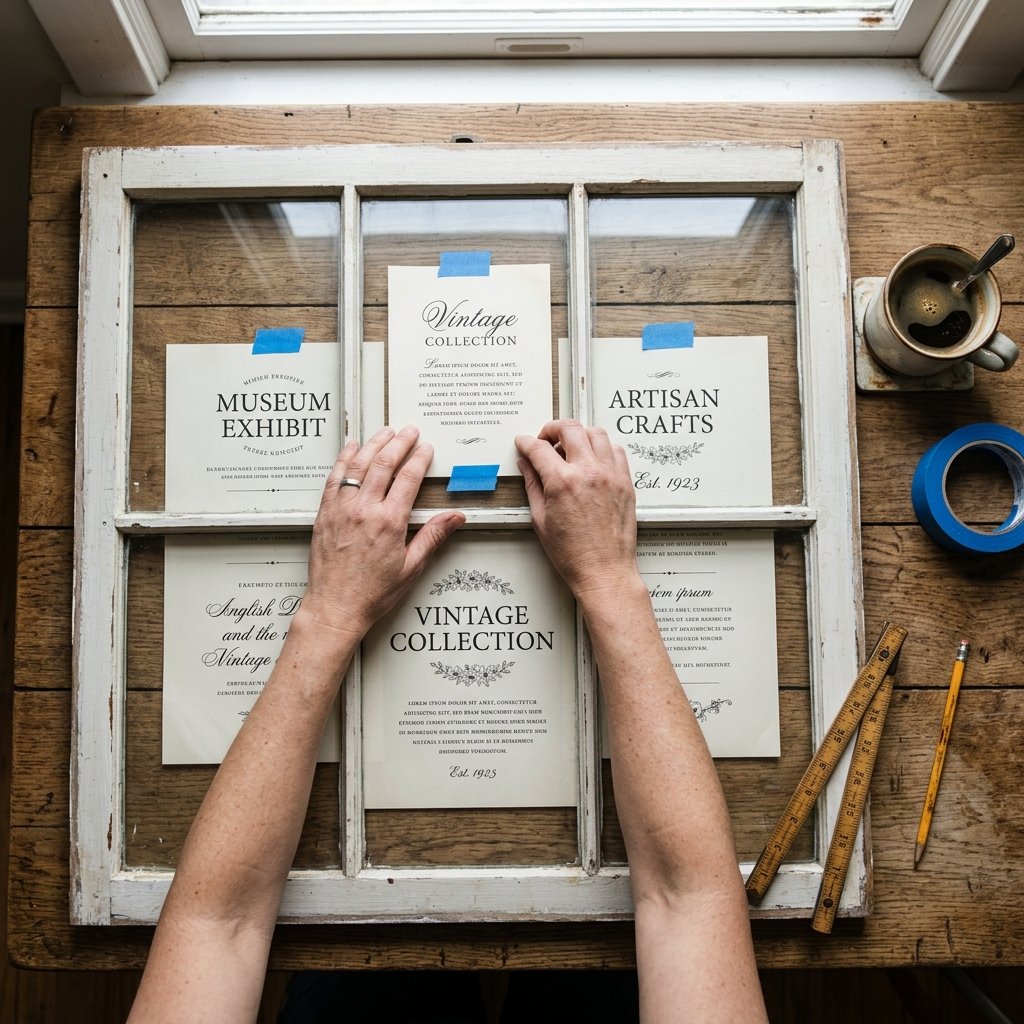
Now that your canvas is prepped, you need a blueprint. Do not just take a paint pen to the glass and hope for the best—that is a one-way ticket to crooked lines and running out of space. You need to approach this like a master tailor mapping out a pattern.
Alphabetical vs. By Table
First, decide how you will list your guests. Listing guests alphabetically (with their assigned table number next to their name) is significantly easier for guests to navigate than listing them by table number. However, listing by table number often looks more symmetrical on a multi-pane window. Choose the layout that best fits your window’s configuration.
The Reverse-Glass Tracing Hack
Here is the ultimate crafty-expert secret: you do not need to know calligraphy to make this look professional. You are going to use the reverse-glass tracing method.
- Measure the Panes: Measure the exact width and height of the exposed glass in one pane.
- Design Digitally: Open a free design program like Canva or Microsoft Word. Set your page size to match the exact dimensions of your glass pane.
- Choose Your Fonts: Select a high-end, elegant script font for the headers (e.g., ‘Table One’ or the letters of the alphabet) and a clean, readable serif or sans-serif font for the guest names. Ensure the names are at least 36pt font so they are legible from a distance.
- Print and Tape: Print out your designed lists. Tape these printed sheets to the back side of the glass panes so the text shows through to the front. Make sure they are perfectly level!
By doing this, you have created a perfect, foolproof stencil. All you have to do is trace.
| Window Configuration | Best Layout Strategy |
|---|---|
| 4 Panes | Alphabetical (A-F, G-L, M-R, S-Z) |
| 6 Panes | By Table (Tables 1-2, 3-4, etc.) or Alphabetical with Top Panes for a Welcome Message |
| 8 Panes | By Table (Perfect for 8 large tables) |
| Single Large Pane | Columns. Use a T-square to ensure your taped templates are perfectly aligned. |
Lettering Magic: Transfer Techniques for Flawless Calligraphy
The Frugal Calligrapher’s Secret Weapon
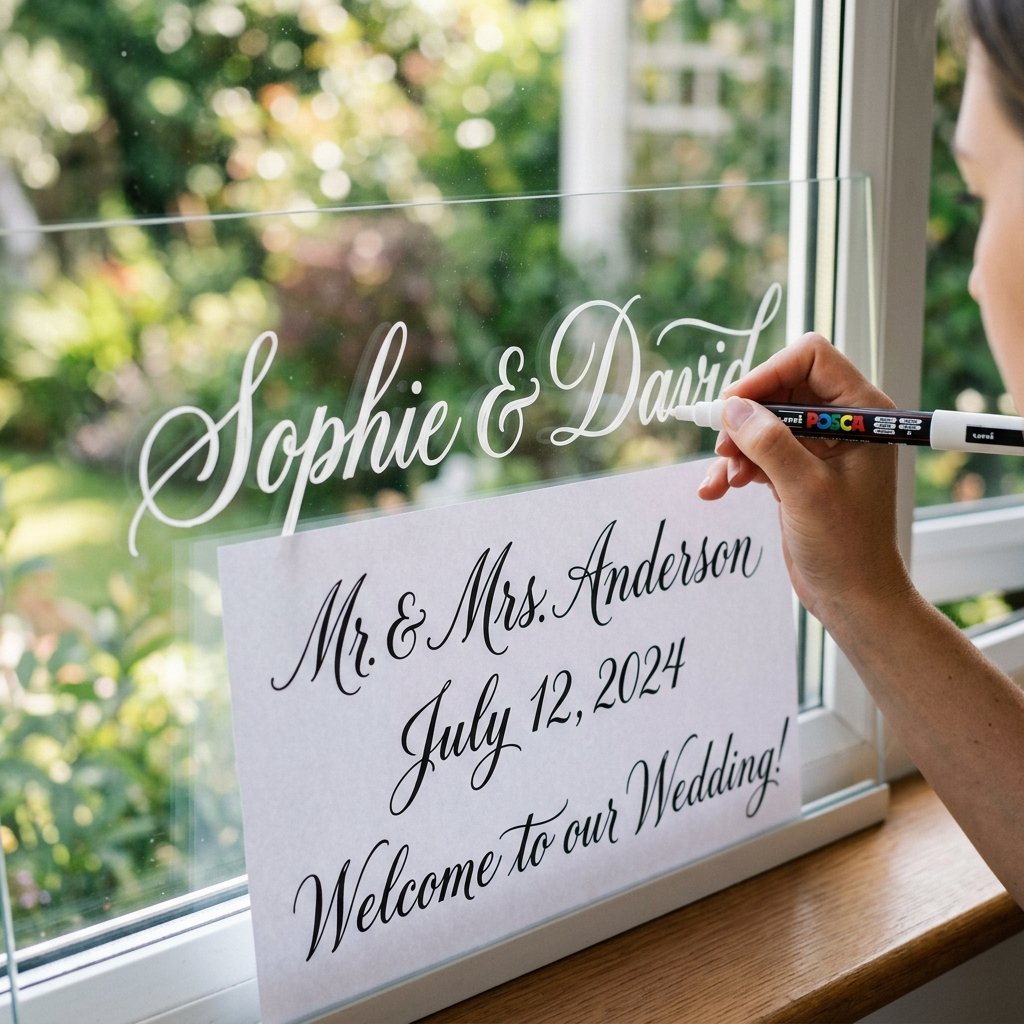
With your templates taped securely to the back of the window, it is time for the main event. While some budget brides opt to cut vinyl decals using a Cricut machine, vinyl can sometimes look like stickers up close. For a truly high-end, hand-painted look that mimics professional calligraphy, you need an oil-based paint pen.
Choosing the Right Pen
Do not use water-based chalk markers; they will smudge if someone brushes past them or if it is a humid day. You want an oil-based paint marker (like Sharpie Oil-Based or Uni Posca). Fine tip is best for guest names, while medium tip works well for the larger headers. White paint provides the best contrast against dark backgrounds, but gold or copper can add a stunning metallic warmth.
The Tracing Process
- Prime the Pen: Shake the pen vigorously with the cap on. Press the tip down on a piece of scrap paper repeatedly until the paint flows smoothly.
- Trace with Confidence: Look straight down through the glass at your template. Trace the letters smoothly. Do not grip the pen too tightly; keep your hand relaxed to avoid shaky lines.
- Thicken the Downstrokes: To achieve that expensive faux-calligraphy look, go back over every downward stroke of your script letters and make the line twice as thick. This mimics the pressure of a real calligraphy nib.
- Fixing Mistakes: Made a typo? Spelled Aunt Susan’s name wrong? Do not panic. Because you used oil-based paint on glass, you can simply dip a Q-tip in rubbing alcohol or nail polish remover and wipe the mistake away instantly. Dry the spot with a microfiber cloth and try again.
“The beauty of glass is its forgiveness. Unlike paper, a mistake on glass is just a temporary smudge. Wipe it away, take a breath, and trace again.”
Display & Styling: Elevating Your Masterpiece on the Big Day
Staging Your Upcycled Treasure
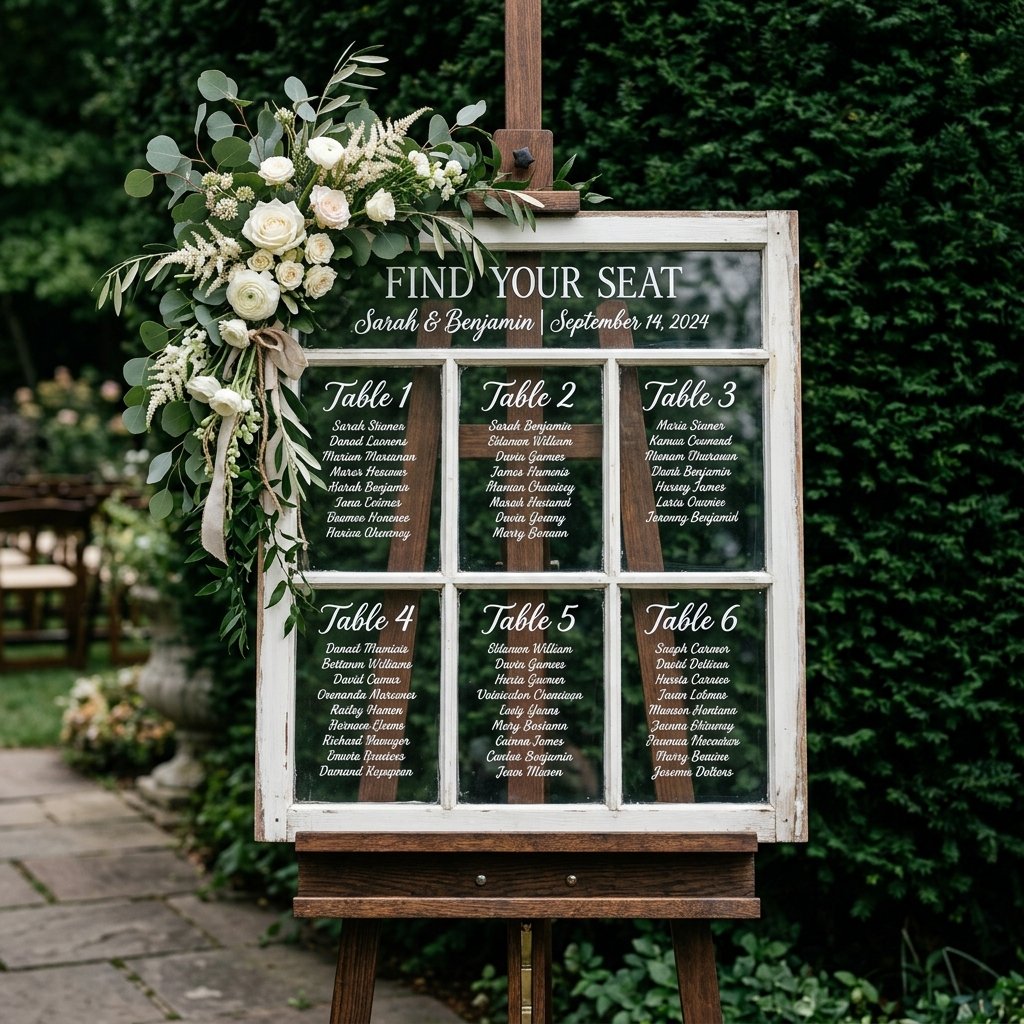
You have successfully transformed a dirty, thrifted window into a breathtaking piece of art. But a high-end seating chart needs high-end staging. You cannot just lean this heavy piece of glass and wood against a folding chair and call it a day. Proper display is what bridges the gap between ‘DIY project’ and ‘luxury wedding decor.’
The Easel and Hardware
Old windows are exceptionally heavy. A flimsy craft store easel will collapse under the weight. You need a heavy-duty, solid wood studio easel, or a wrought-iron display stand. If you are handy, you can build a rugged A-frame easel out of 1×2 pine boards for under $15. To ensure the window does not slide off the easel, consider adding two small L-brackets to the bottom ledge of the easel for the window to sit securely inside.
Adding Floral Swags and Lighting
To soften the rugged edges of the wood and tie the piece into your wedding theme, add a floral swag to the top left or top right corner of the frame. You do not need an expensive florist for this. Grab some floral wire, a few sprigs of faux or fresh eucalyptus, and a couple of statement blooms (like roses or peonies) and wire them tightly to the corner of the frame.
Finally, consider the background. Because the glass is transparent, whatever is behind the window will show through. Position the seating chart against a solid, dark background—like a lush hedge, a dark wood paneled wall, or a velvet drape—so the white lettering pops. If your reception is outdoors or in a dim venue, place a small, warm-toned LED spotlight at the base of the easel, angling up to illuminate the glass. The light will catch the white paint and make the names glow beautifully.
| Styling Element | Frugal Sourcing Tip | Estimated Cost |
|---|---|---|
| Heavy-Duty Easel | Thrifted, Facebook Marketplace, or DIY Wood Build | $10 – $20 |
| Floral Swag | Trader Joe’s fresh greens or Dollar Tree faux florals wired together | $5 – $12 |
| Lighting | Battery-operated LED up-light from Amazon | $8 |
| Background | Position against existing venue foliage or brick wall | Free |
Conclusion
From Trash to Treasured Heirloom
And there you have it! By combining the thrill of thrifting with a little rugged woodworking and some clever tracing hacks, you have completely bypassed the wedding tax. You have taken a forgotten, dirty window and breathed new life into it, creating a high-end, bespoke seating chart that will leave your guests absolutely speechless. The best part? After the wedding, this does not have to go into storage. You can easily clean off the paint with rubbing alcohol, replace the glass with mirrors, or add clips to the panes to turn it into a beautiful photo display for your new home.
This project is the very essence of frugal crafting. It requires patience, a bit of elbow grease, and the vision to see the potential in what others have thrown away. So be proud of those slightly paint-stained fingers and that perfectly sanded wood grain. You didn’t just save hundreds of dollars; you crafted a beautiful piece of history to welcome your loved ones on the best day of your life. Now, step back, admire your handiwork, and get ready to celebrate!

Makenzie is the founder and lead writer at MoneyHackTips.com — a personal finance blog dedicated to delivering street-smart financial wisdom for real people on real budgets. With 300+ published articles covering everything from debt management to investing fundamentals, Makenzie’s mission is to make every dollar work harder. When not writing about money hacks, Makenzie is testing frugal living strategies, optimizing side hustles, and helping readers build financial freedom from scratch.