
The Hidden ‘Wooden Toy Tax’ and the Cardboard Revolution
Let’s be honest: the ‘Montessori’ label has become a marketing goldmine. Walk into any high-end boutique and you’ll see simple wooden sorting trays retailing for $35 to $60. While wood is beautiful, the pedagogical value lies in the function, not the price tag. As a frugal DIYer, you know that the most sustainable, rugged, and practical material is already sitting in your recycling bin: double-walled corrugated cardboard.
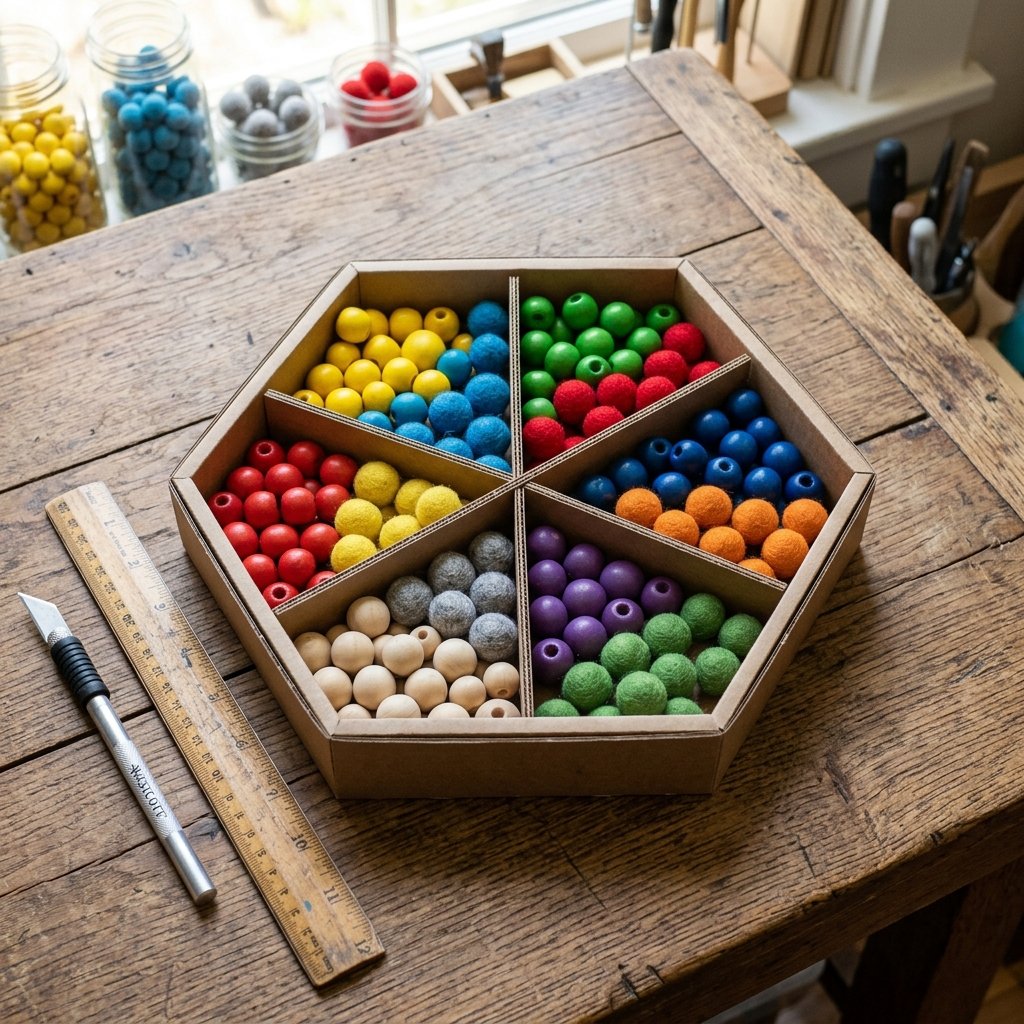
Today, we aren’t just making a ‘box.’ We are engineering a durable, aesthetically pleasing, and highly functional sorting tray that rivals any heirloom piece. We’re talking about precision cuts, reinforced walls, and a finish so clean your guests will ask where you bought it. This project is for the handy parent who values resourcefulness over consumerism. Let’s turn that shipping box into a developmental powerhouse.
Budget Mantra: ‘The value of a toy is measured by the child’s engagement, not the parent’s receipt.’
The Economics of Play: Store-Bought vs. The DIY Hustle
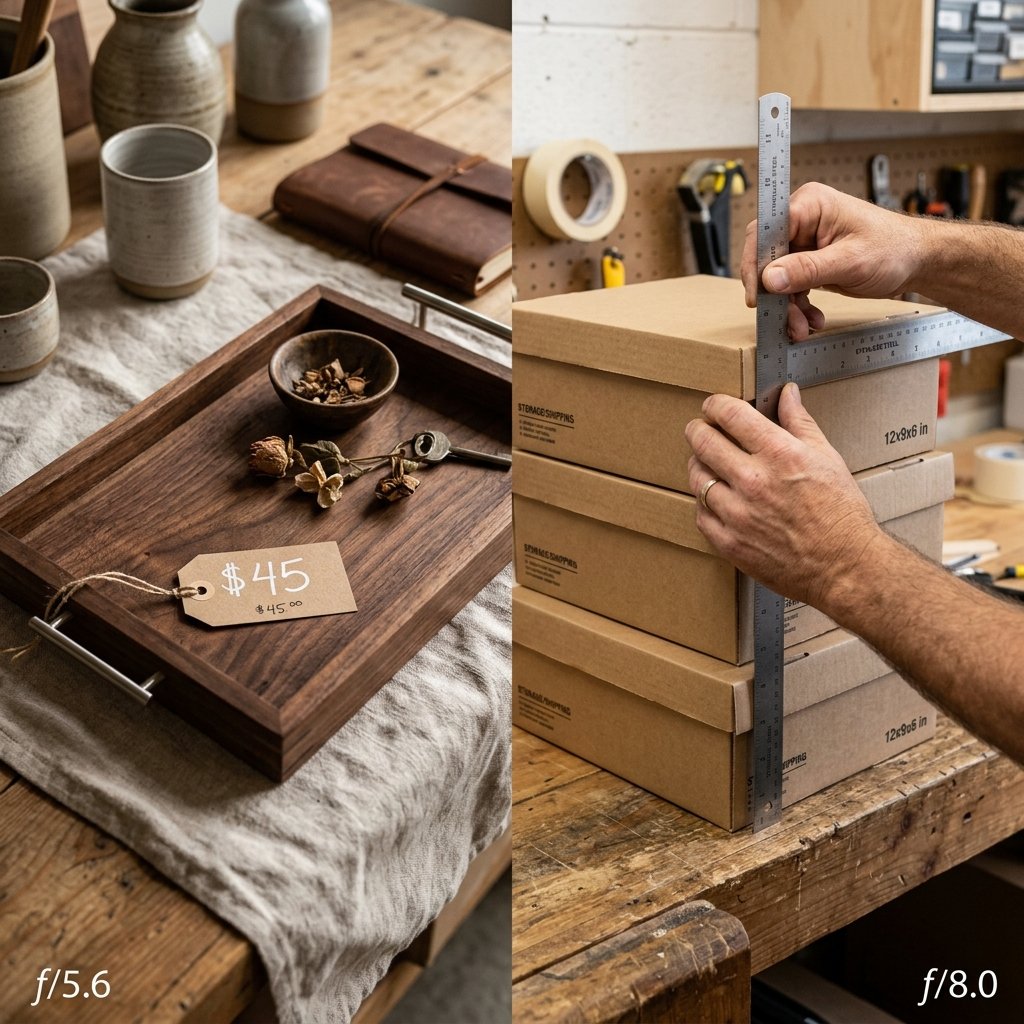
Before we pick up the blade, let’s look at the numbers. A standard 6-compartment wooden sorting tray from a leading educational brand costs roughly $42.00 plus shipping. Our build? It costs exactly $0.00 if you have basic household supplies, or roughly $1.50 if you need to buy a fresh stick of hot glue.
| Feature | Store-Bought Wooden Tray | DIY Cardboard Masterpiece |
|---|---|---|
| Material Cost | $35.00 – $60.00 | $0.00 (Upcycled) |
| Time to Acquire | 5-7 Business Days | 30-45 Minutes |
| Durability | High (but heavy) | Medium-High (Reinforced) |
| Customization | Fixed Dimensions | Fully Bespoke |
| Eco-Impact | New Lumber Harvested | 100% Diverted Waste |
By choosing the DIY route, you aren’t just saving $40; you’re modeling resourcefulness for your children. You’re showing them that we don’t just ‘buy’ solutions—we build them.
The Materials: Sourcing the ‘Good Stuff’
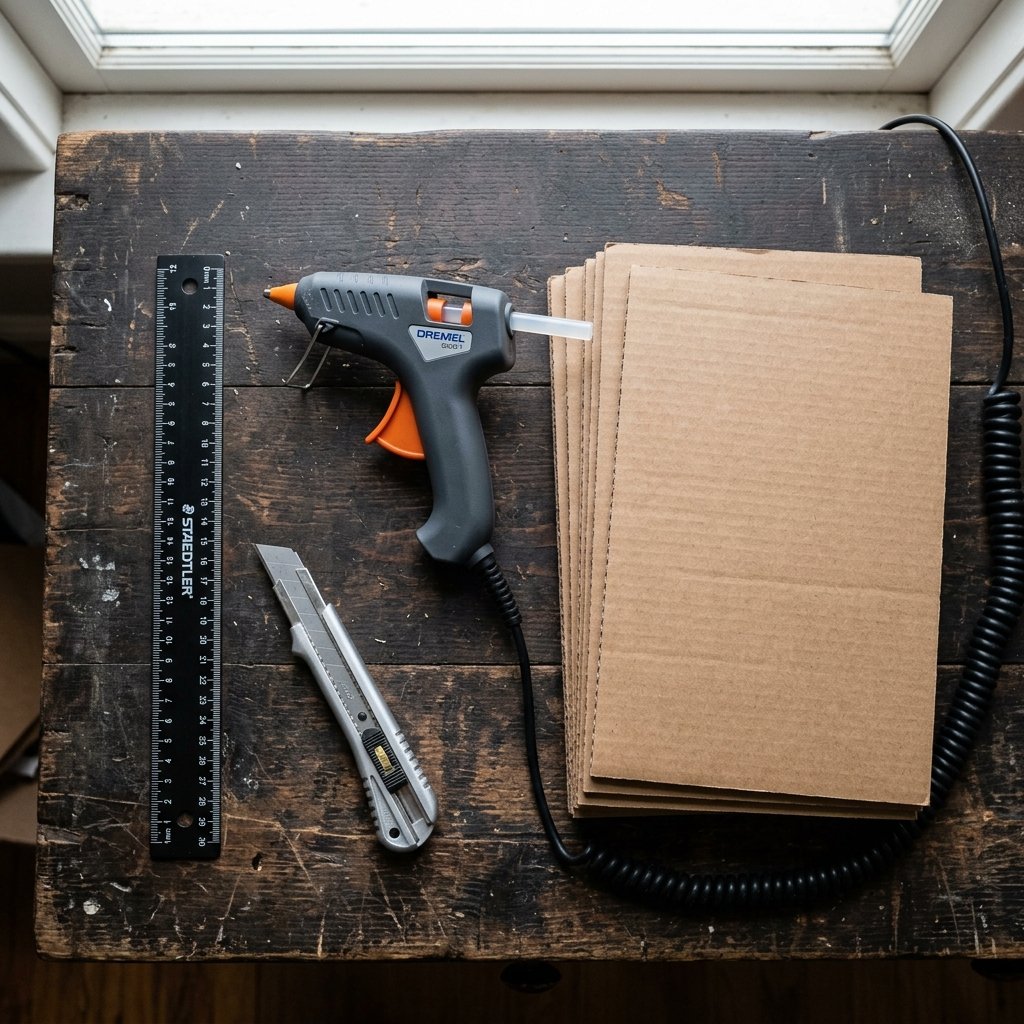
Not all cardboard is created equal. For a sorting tray that survives the ‘toddler stress test,’ you need materials with structural integrity. Look for double-wall corrugated cardboard (often found in heavy appliance boxes) or high-density shipping boxes from premium electronics.
Essential Tool Kit
- Precision Utility Knife: Ensure the blade is brand new. A dull blade tears cardboard; a sharp blade glides through it.
- Metal Ruler: Essential for straight edges and as a cutting guide. Plastic rulers will get nicked by the knife.
- High-Temp Hot Glue Gun: This provides the ‘structural weld’ for our joints.
- Wood Glue (Optional): For a professional, rock-hard finish on the edges.
- Sandpaper (220 Grit): Yes, you can sand cardboard to get those ‘masculine-elegant’ smooth edges.
Pro Tip: ‘Always cut on a self-healing mat or a sacrificial piece of plywood. Never trust your kitchen table to a utility knife.’
Step-by-Step Engineering: The Box-Joint Method
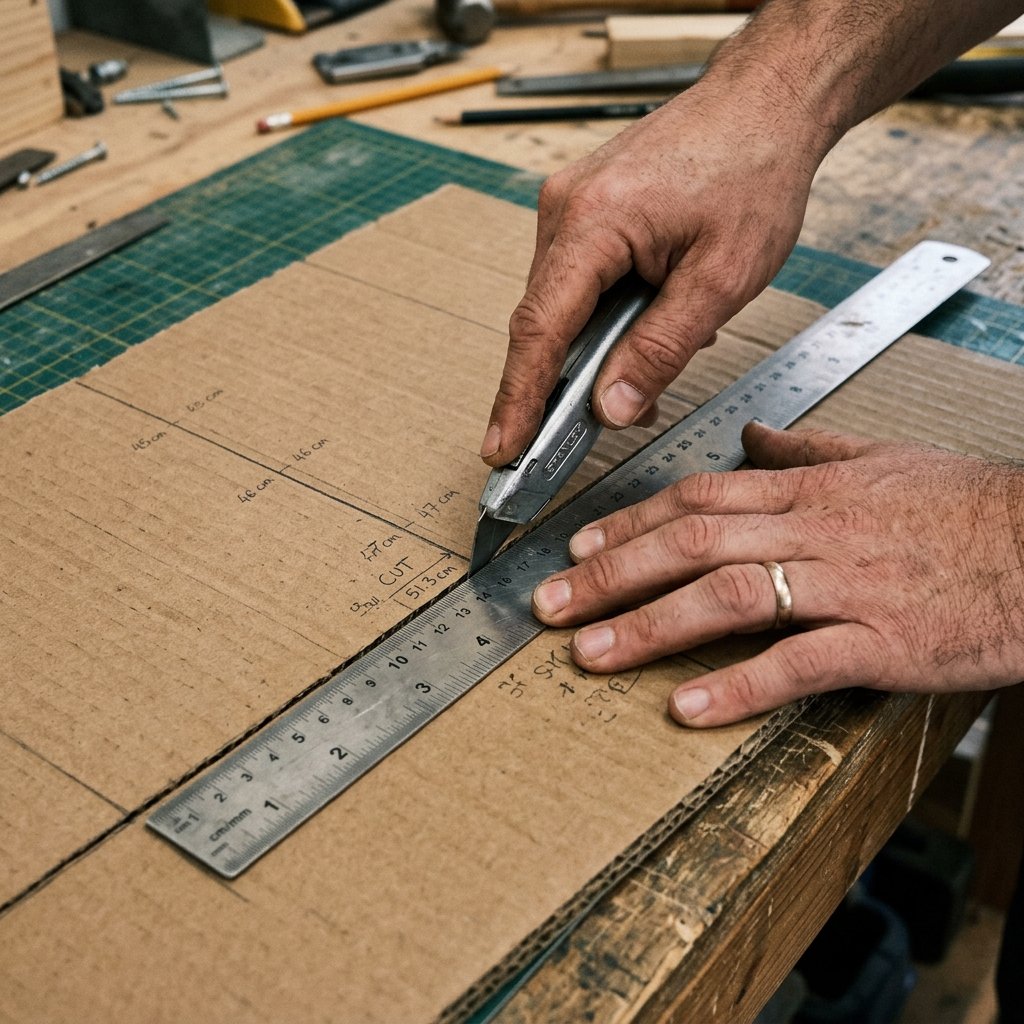
We aren’t just taping sides together. We are using a simplified butt-joint construction reinforced with internal dividers to create a rigid frame. Follow these steps for a 9×12 inch tray.
1. The Base Plate
Cut one rectangle of heavy cardboard measuring 9″ x 12″. This is your foundation. Ensure the ‘grain’ (the internal corrugation) runs lengthwise for maximum strength.
2. The Perimeter Walls
Cut two strips at 12″ x 2″ and two strips at 8.5″ x 2″ (accounting for the thickness of the cardboard). Use your metal ruler to ensure every cut is exactly 90 degrees.
3. The Internal Dividers
This is where the magic happens. For a 6-compartment tray, cut one long divider (11.5″ x 1.75″) and two short dividers (4″ x 1.75″). Notice these are slightly shorter than the outer walls—this creates a sophisticated ‘recessed’ look.
4. The Assembly
- Apply a thin, consistent bead of hot glue to the edge of the base plate.
- Press the 12″ side walls into place, holding for 15 seconds.
- Fit the 8.5″ end walls between them.
- Dry-fit your dividers before gluing to ensure the compartments are perfectly square.
The ‘High-End’ Finish: Hiding the Corrugation

The biggest giveaway of a ‘cheap’ cardboard project is the visible ‘holes’ on the edges. We’re going to fix that with a crafty-expert secret: the ‘Brown Paper Wrap’ or ‘Sanded Edges’ technique.
The Mending Technique
Take strips of brown kraft paper (from a grocery bag) or masking tape. Coat the strip in a 50/50 mix of water and wood glue. Wrap this over the exposed corrugated edges. Once dry, this creates a seamless, wood-like surface that can be sanded smooth.
Aesthetic Upgrades
- Baking Soda Paint: Mix 1 cup of acrylic paint with 1/4 cup baking soda. This creates a ‘ceramic’ or ‘stone’ texture that feels incredibly premium.
- Natural Beeswax: Rub a bit of beeswax onto the raw cardboard. It deepens the color to a rich ‘rugged oak’ tan and adds a layer of water resistance.
- Contact Paper: Line the bottom of each compartment with marble or wood-grain contact paper for an instant $40 look.
Curating the Experience: Montessori Sorting Activities
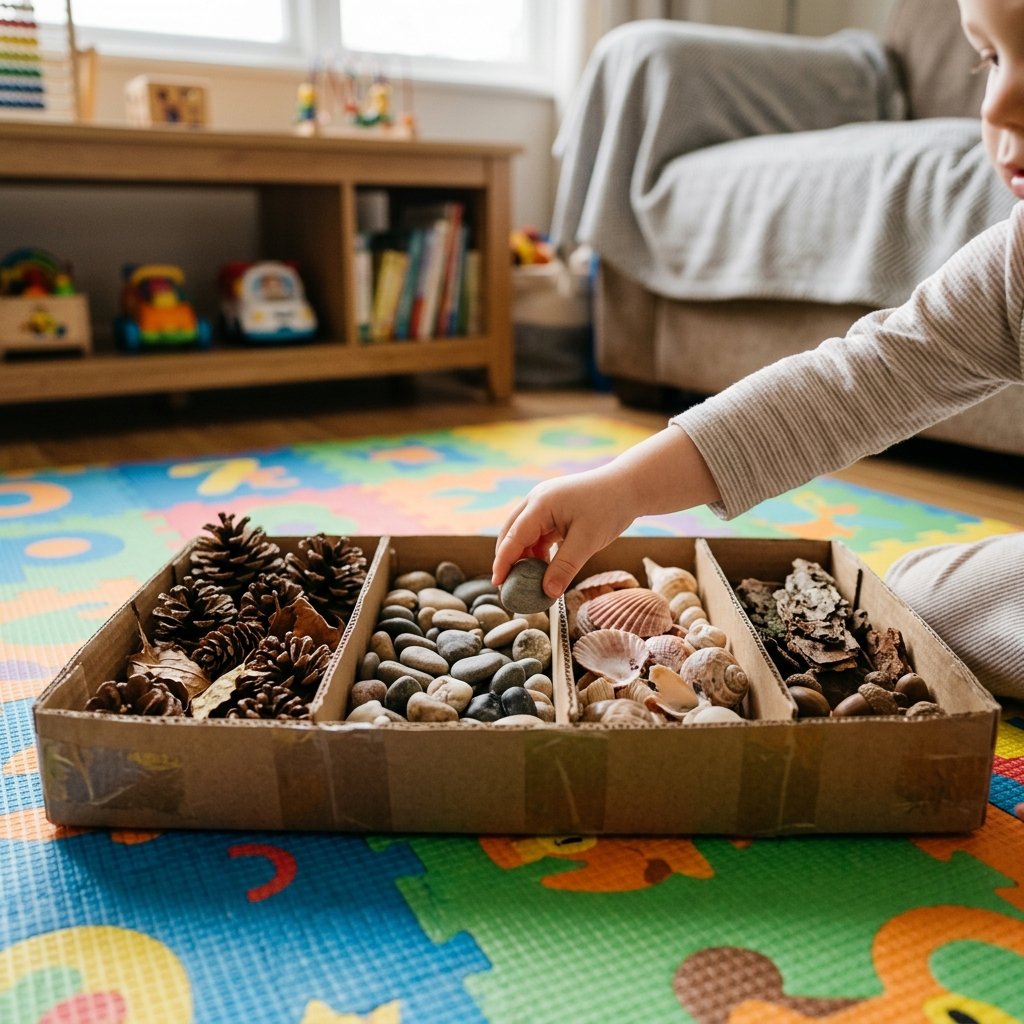
Now that your tray is built, it’s time to put it to work. The sorting tray is a tool for visual discrimination and fine motor development. Here are three ways to use it today:
1. The Nature Sort (The Rugged Approach)
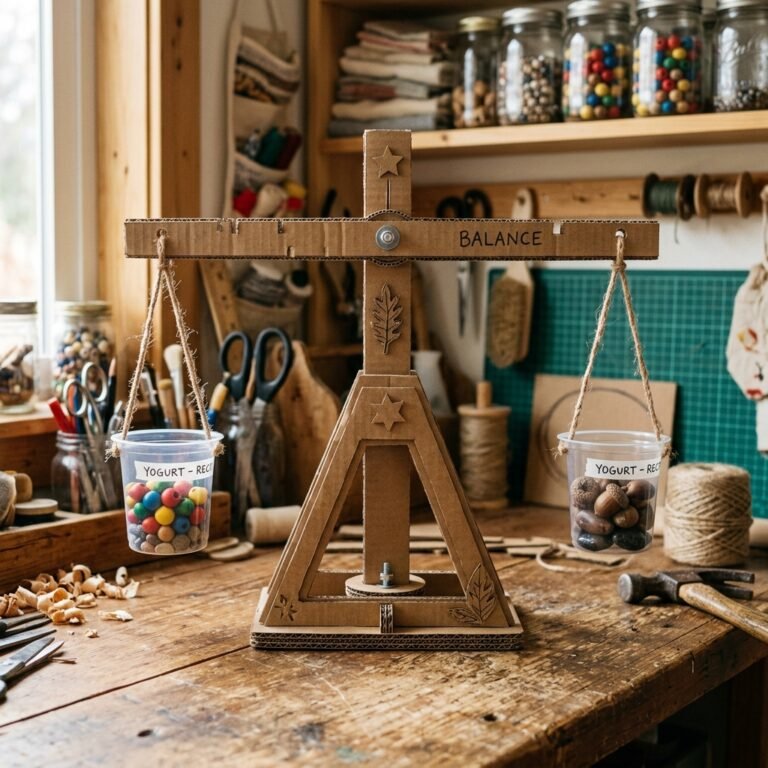
Head to the backyard. Collect acorns, smooth stones, dried leaves, and twigs. Have your child sort them by texture or size. The earthy tones of the cardboard tray perfectly complement natural materials.
2. The Color Gradient (The Visual Masterclass)
Gather household items: blue buttons, red LEGO bricks, yellow felt scraps. Place one ‘anchor’ item in each compartment and have the child match the rest. This builds chromatic awareness.
3. The ‘Found Object’ Hunt
Give the child the tray and ask them to find ‘six things that are round’ or ‘six things that are made of metal.’ This encourages critical thinking and spatial awareness.
Safety Note: ‘Always ensure sorting items are age-appropriate. For children under 3, avoid small beads or stones that could pose a choking hazard.’
Conclusion
The Power of the Proactive Parent
You didn’t just build a tray today; you reclaimed your budget and proved that creativity is the ultimate currency. This cardboard Montessori sorting tray is a testament to the fact that high-quality educational tools don’t require a high-end paycheck. They require a sharp blade, a steady hand, and the willingness to see the potential in what others throw away.
As your child grows, this tray will evolve. It will hold beads, then seeds, then perhaps small hardware in your workshop. It is rugged, it is practical, and best of all, it was made by you. Now, take that $40 you saved and put it toward your next big DIY project—or better yet, a high-quality set of tools that will last a lifetime. Happy building!

Makenzie is the founder and lead writer at MoneyHackTips.com — a personal finance blog dedicated to delivering street-smart financial wisdom for real people on real budgets. With 300+ published articles covering everything from debt management to investing fundamentals, Makenzie’s mission is to make every dollar work harder. When not writing about money hacks, Makenzie is testing frugal living strategies, optimizing side hustles, and helping readers build financial freedom from scratch.