
Stop Letting Your Dryer Burn a Hole in Your Pocket
Hey there, fellow frugal hackers! If you’re looking at your monthly utility bill and feeling a bit of sticker shock, I have a secret for you: the biggest ‘energy vampire’ in your home isn’t your lightbulbs or your phone charger. It’s that big, rumbling white box in your laundry room. The clothes dryer is one of the most energy-intensive appliances in the modern household. But I get it—the idea of hanging wet laundry inside your living room feels like a recipe for a damp, musty mess, or worse, a breeding ground for mold. Well, I’ve got good news. You can absolutely slash your electric bill by air drying indoors, provided you do it the correct way. In this guide, we’re going to break down the math, the gear, and the science of airflow so you can keep your cash and your health intact.
The Math: Why Your Dryer is a Financial Drain
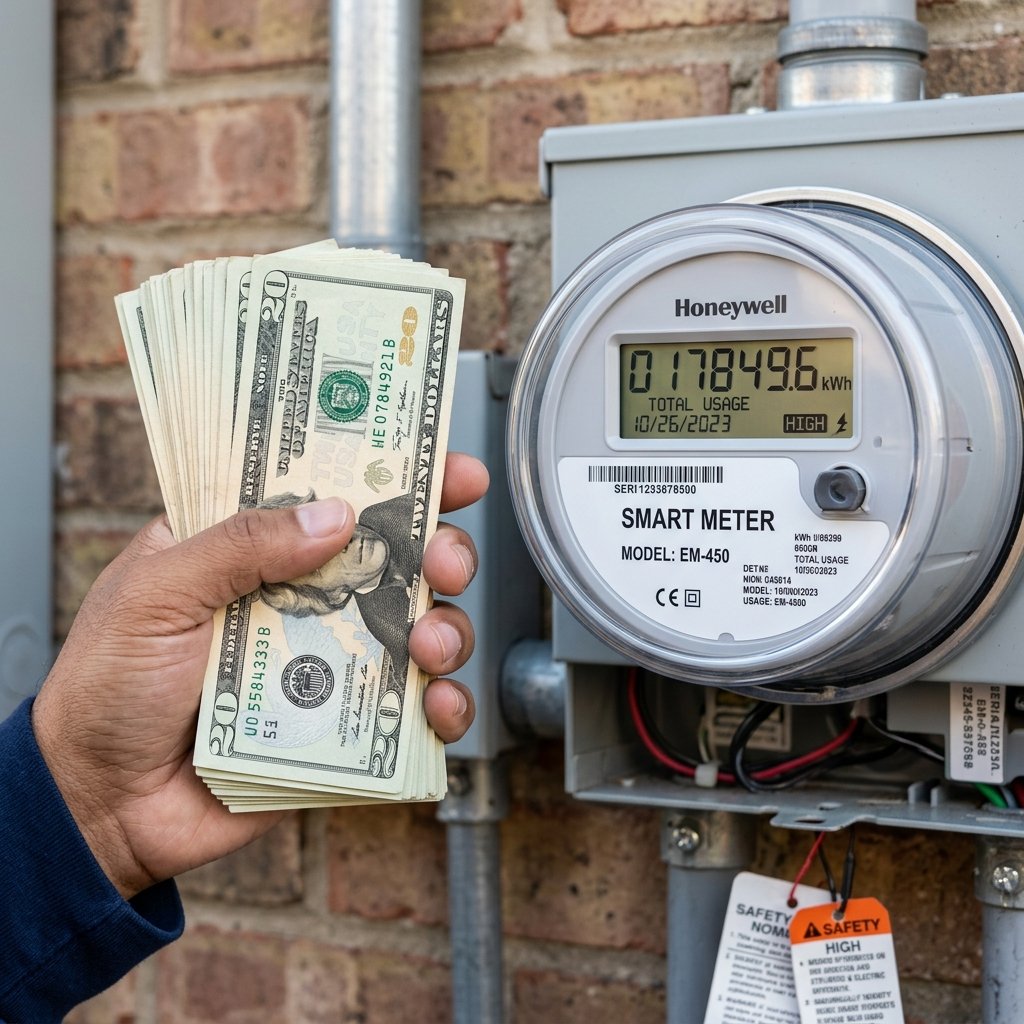
Before we get into the ‘how,’ let’s talk about the ‘why.’ Most people don’t realize just how much it costs to run a standard electric dryer. On average, a dryer uses between 3,000 and 5,000 watts per load. Depending on your local utility rates, that adds up fast.
| Frequency | Average Dryer Cost | Air Drying Cost | Total Savings |
|---|---|---|---|
| Per Load | $0.45 – $0.75 | $0.00 | $0.75 |
| Weekly (5 Loads) | $2.25 – $3.75 | $0.00 | $3.75 |
| Monthly | $9.00 – $15.00 | $0.00 | $15.00 |
| Yearly | $108.00 – $180.00 | $0.00 | $180.00 |
But wait, there’s more! The dryer doesn’t just eat electricity; it eats your clothes. The lint you clean out of the trap? That’s literally your clothes disintegrating. By air drying, you extend the life of your wardrobe by up to 40%, saving you even more money on replacements over time.
The Frugal Hacker Rule: If an appliance generates heat, it’s costing you a fortune. Air is free; heat is expensive.
The Setup: Essential Gear for Indoor Drying
Choosing the Right Drying Rack
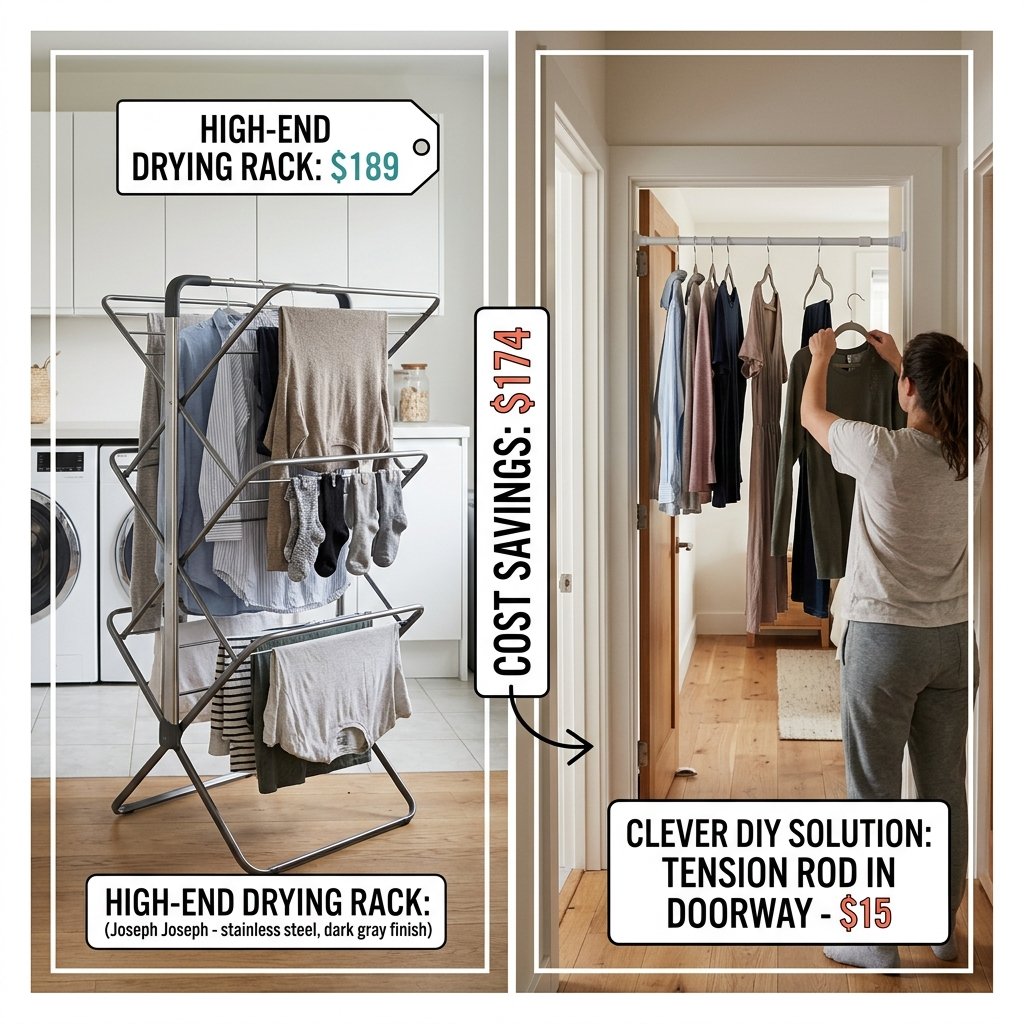
You don’t need a fancy setup, but you do need equipment that maximizes surface area. Look for ‘gullwing’ racks or tiered towers that allow for vertical space usage. If you’re in a tiny apartment, a retractable clothesline over the bathtub is a game-changer.
Cost Breakdown: DIY vs. Store Bought
| Item | Store Bought (New) | Frugal Hacker Version | Savings |
|---|---|---|---|
| Large Drying Rack | $45.00 | $5.00 (Thrifted) | $40.00 |
| Clip Hangers (for socks) | $15.00 | $2.00 (Dollar Store) | $13.00 |
| Small Electric Fan | $25.00 | $0.00 (Already Own) | $25.00 |
| Total | $85.00 | $7.00 | $78.00 |
Don’t overlook the humble plastic hanger. Hanging shirts directly on hangers and hooking them onto a doorway or a dedicated rod saves space and reduces wrinkles, meaning you won’t have to waste energy ironing later!
The Science of Moisture: Preventing Mold and Mildew
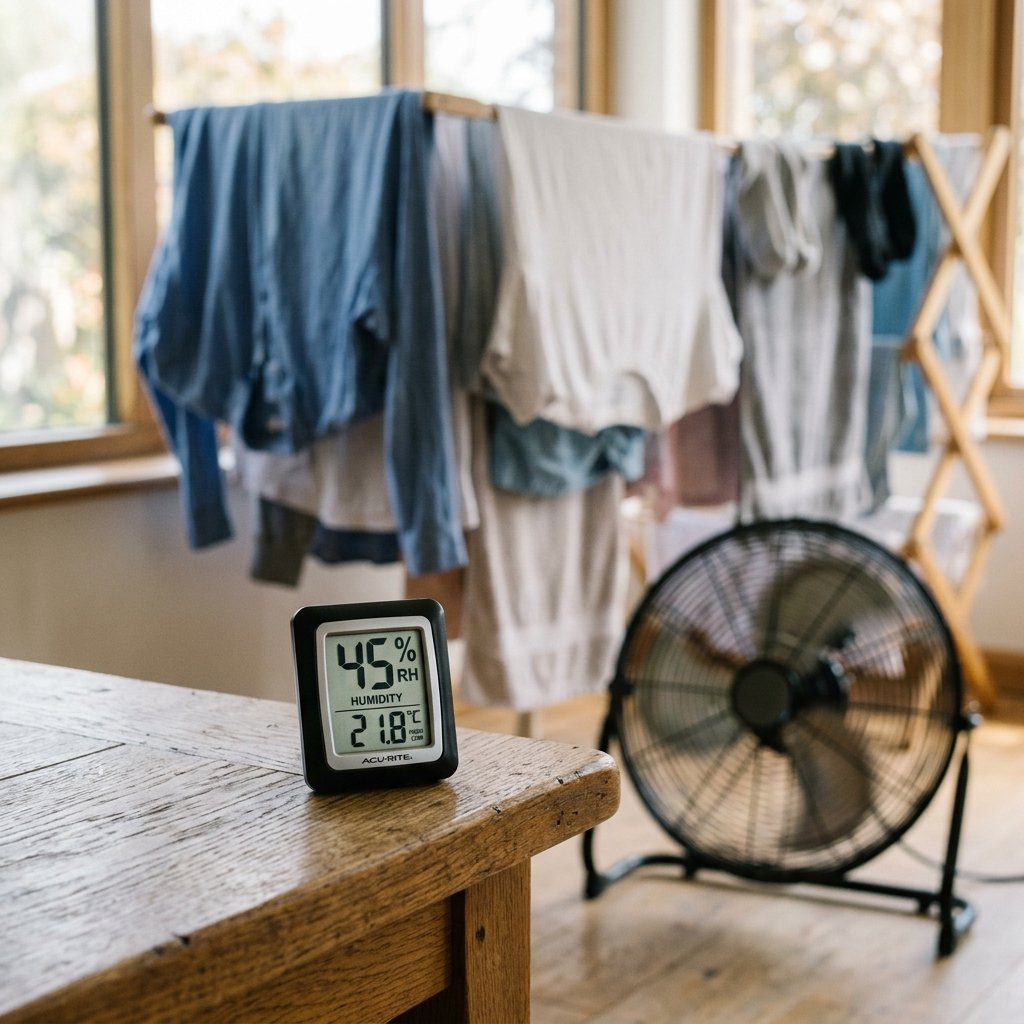
The biggest fear with indoor drying is mold. When water evaporates from your clothes, it stays in the air. If that air becomes stagnant, it settles on your walls and creates a problem. Here is how to prevent that like a pro:
- Monitor Humidity: Buy a cheap hygrometer (usually under $10). Keep your indoor humidity below 60%.
- The Airflow Secret: Always use a small fan or crack a window. You don’t need heat; you need moving air. A fan uses about 25 watts, which is a tiny fraction of a dryer’s 4,000 watts.
- Strategic Placement: Place your rack near a vent, a window, or in a room with high ceilings.
Scam Warning: Don’t fall for expensive ‘electric heated’ drying racks. They use significant power and often don’t dry clothes much faster than a standard rack with a cheap box fan.
Step-by-Step: The Correct Way to Hang
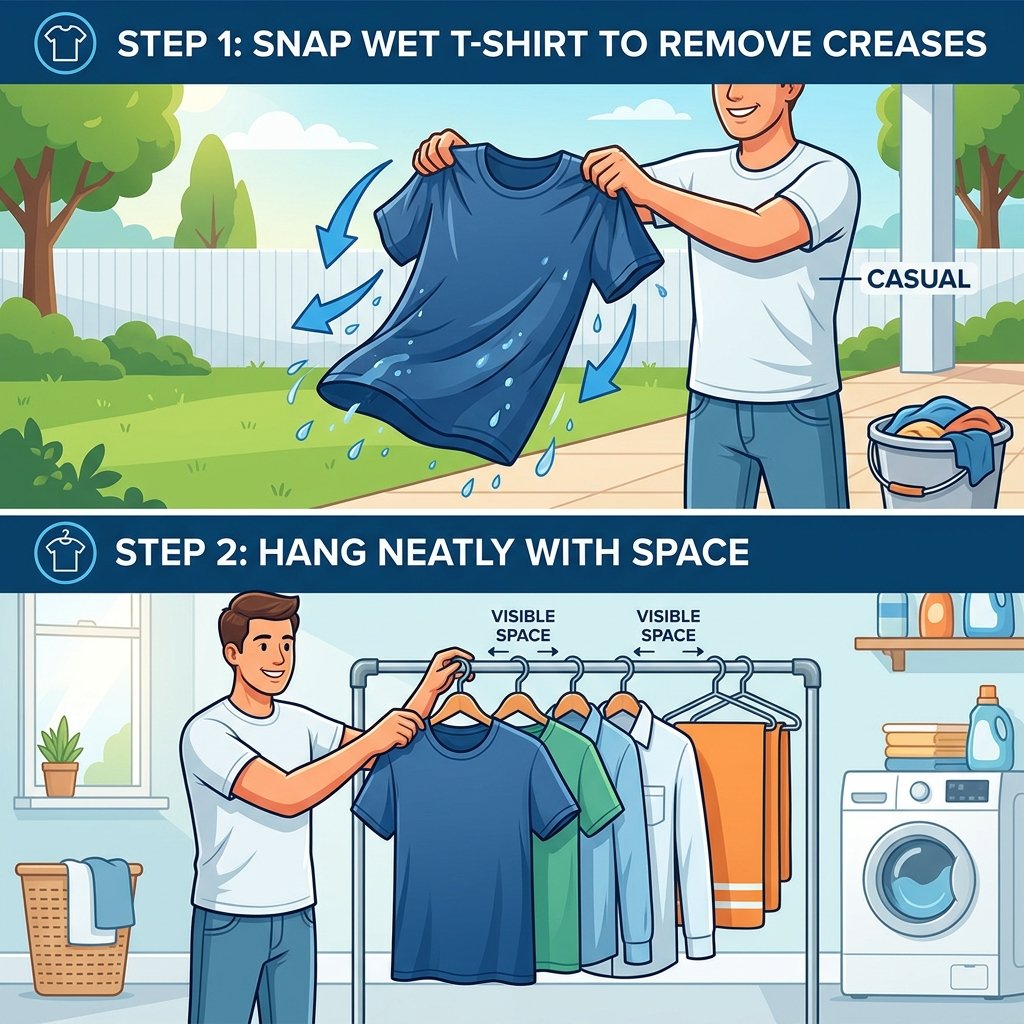
Follow this process to ensure your clothes dry fast and smell fresh:
- The Extra Spin: Run your washing machine on its highest spin setting to extract as much water as possible before taking the clothes out.
- The Snap: Give every item a vigorous ‘snap’ or shake before hanging. This opens up the fibers and prevents the ‘stiff’ feeling air-dried clothes sometimes get.
- Space it Out: Leave at least 2 inches of space between garments. If they touch, they won’t dry, and they’ll start to smell.
- The Hanger Trick: Dry heavy items like jeans across two bars of the rack to allow air to flow through the legs.
- Timing is Everything: Start your wash in the morning so clothes have the whole day to dry while you’re moving around the house, which naturally circulates air.
Advanced Hacks for Faster Drying

The Dehumidifier Combo
If you live in a naturally damp climate, running a dehumidifier in the same room as your drying rack is a secret weapon. It pulls the moisture directly out of the fabric. While it uses some electricity, it’s still significantly cheaper than a dryer because it serves two purposes: drying your clothes and protecting your home’s structure.
Seasonal Strategy
In the winter, air drying is actually beneficial. Indoor air gets incredibly dry when the heater is on. Drying your clothes inside acts as a natural humidifier, making your home more comfortable and potentially allowing you to turn the thermostat down a degree or two.
| Season | Best Location | Pro Tip |
|---|---|---|
| Winter | Near a radiator/vent | Adds moisture to dry air |
| Spring/Fall | Near an open window | Uses natural cross-breezes |
| Summer | Highest point in house | Heat rises; use the attic or upstairs |
Conclusion
Join the Air-Dry Revolution
Transitioning away from your dryer is one of the easiest ways to keep $150 to $300 in your pocket every year. It requires a small shift in your routine, but the rewards—lower bills, longer-lasting clothes, and a smaller carbon footprint—are well worth it. Remember, the key is airflow, not heat. Keep that fan moving, space those clothes out, and watch your utility meter slow down. You’ve got this, frugal hackers! Go forth and save.

Makenzie is the founder and lead writer at MoneyHackTips.com — a personal finance blog dedicated to delivering street-smart financial wisdom for real people on real budgets. With 300+ published articles covering everything from debt management to investing fundamentals, Makenzie’s mission is to make every dollar work harder. When not writing about money hacks, Makenzie is testing frugal living strategies, optimizing side hustles, and helping readers build financial freedom from scratch.