
Welcome to the Frugal Gaming Revolution
Welcome, frugal hackers! If you have been drooling over high-end gaming setups on Twitch or YouTube, but your bank account is screaming at the thought of dropping two grand, I have some fantastic news for you. You do not need to empty your savings to get high frame rates. Building a beast gaming PC for under $500 is completely possible, and I am going to show you exactly how to do it. The tech industry wants you to believe that you need the latest, shiniest, and most expensive parts to enjoy modern games. They want you to pay the ‘RGB tax’ and shell out your hard-earned cash for pre-built machines that come with massive markups. But we are smarter than that. We are bypassing the overpriced pre-builts and diving headfirst into the world of smart shopping, refurbished parts, and a little bit of DIY elbow grease.
Building your own PC might sound intimidating if you have never done it before, but I promise you, it is essentially just expensive LEGOs for adults. Everything plugs into a specific spot, and there are countless resources to guide you. By taking the DIY route, you are not just saving money; you are gaining a valuable skill, understanding how your technology works, and giving yourself the power to upgrade individual parts in the future instead of throwing the whole machine away. We are going to leverage the used market, hunt down the best price-to-performance components, and assemble a rig that will run your favorite e-sports titles at blazing speeds and handle modern AAA games with ease. Grab your screwdriver, put on your haggling hat, and let’s start hacking your way to an epic gaming experience without breaking the bank!
The Frugal Hacker’s Parts Strategy
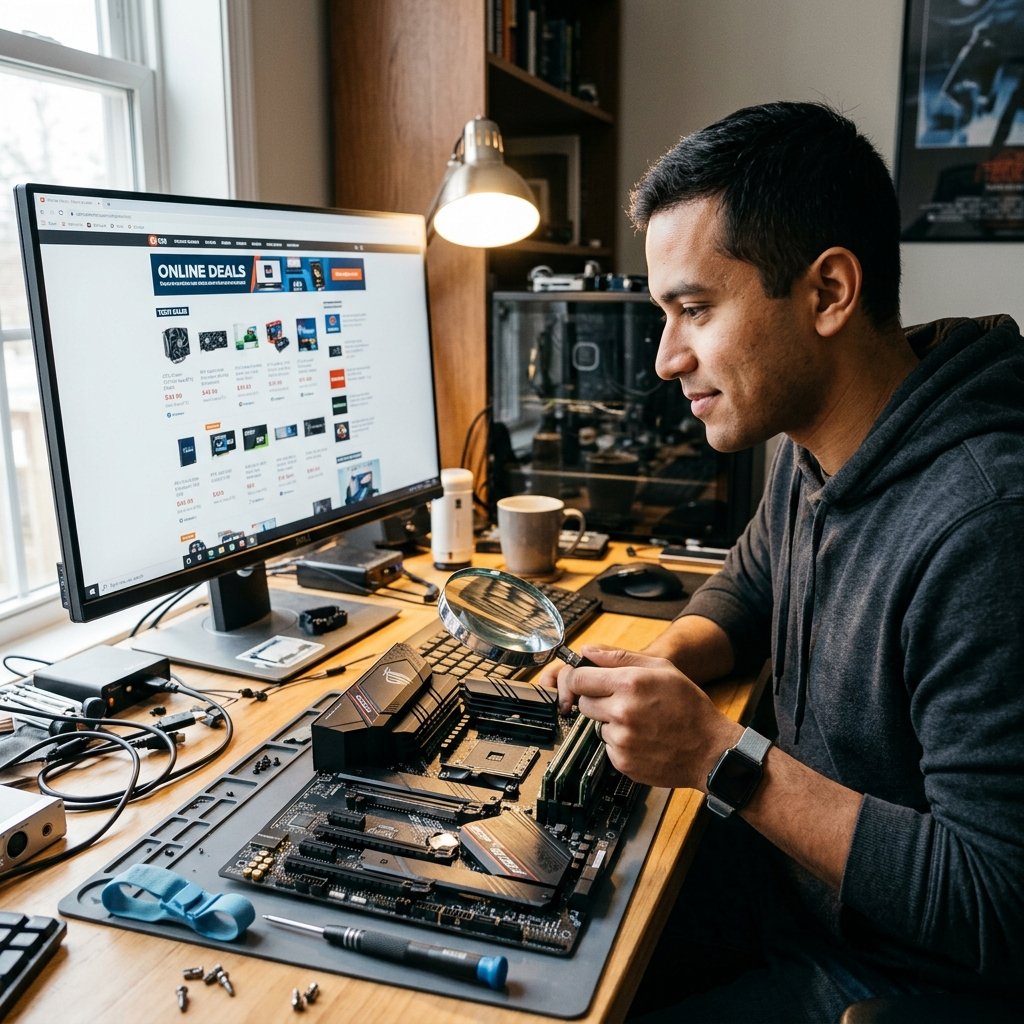
Mastering the Used Market
To build a beast for under $500, you have to be willing to step away from the shiny new retail boxes. The secret sauce of budget PC building is the used market. Platforms like eBay, Facebook Marketplace, and even AliExpress are goldmines for frugal tech enthusiasts. Hardware depreciates incredibly fast. A processor or graphics card that cost $400 three years ago might only cost $100 today, yet it still packs enough punch to run modern games beautifully. However, navigating the used market requires a strategy to ensure you do not get burned.
The Golden Rules of Used Tech
- Always test before you buy: If you are buying locally, ask to see the component working.
- Use buyer protection: When buying online, use platforms like eBay or pay via PayPal Goods and Services so you can get a refund if the part is dead on arrival.
- Never skimp on the Power Supply: This is the one part you should buy brand new. A faulty used power supply can fry your entire system.
The Frugal Hacker’s Rule of Thumb: Buy your CPU, GPU, and RAM used. Buy your Power Supply and Storage (SSD) brand new. Cases can be found anywhere, even repurposed from old office PCs!
When negotiating on local marketplaces, always be polite but firm. Many sellers list items higher than they expect to get. Use this script to score a deal:
“Hi there! I am building a budget PC and I am very interested in your graphics card. I have $120 cash in hand and can pick it up today whenever you are free. Let me know if that works for you!”
Cost Breakdown: Our DIY Build vs. Store Bought Pre-Built
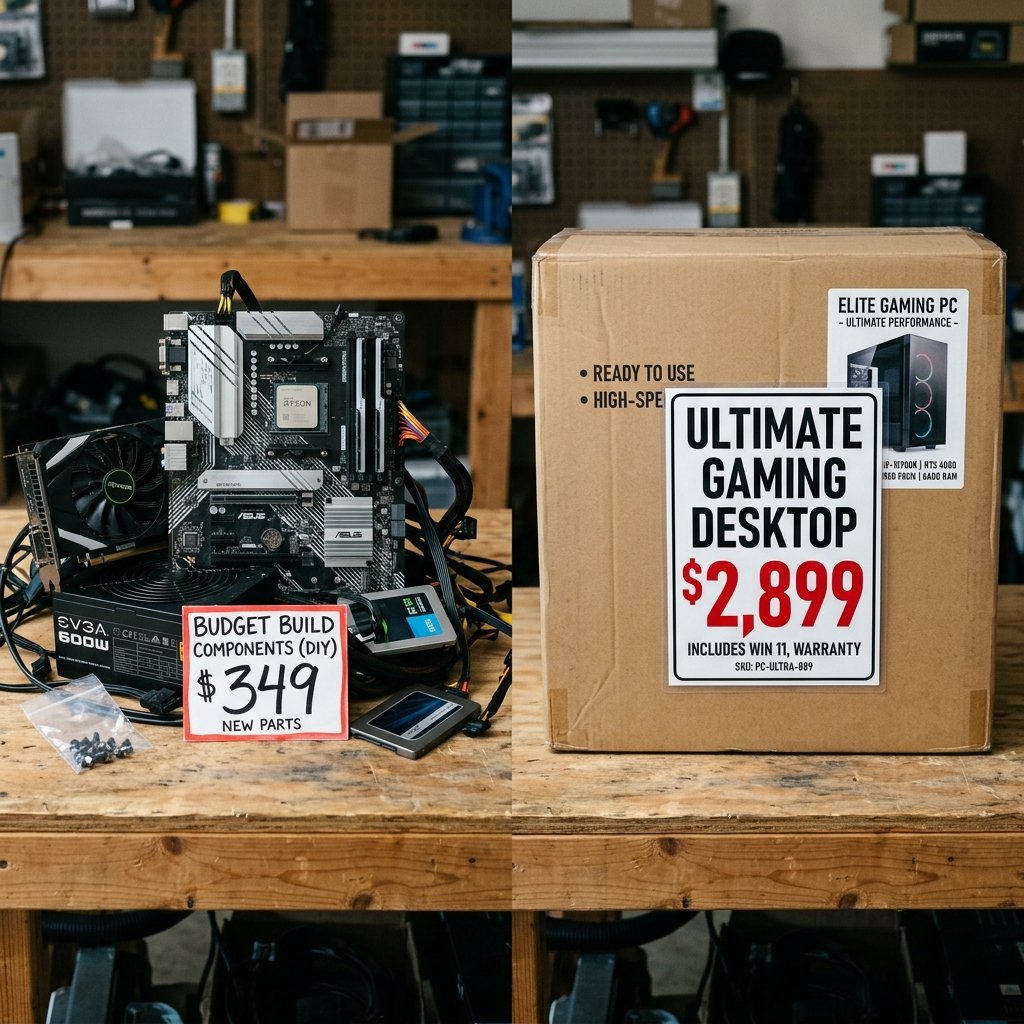
The Math Does Not Lie
Let’s look at exactly why we are building this ourselves. Pre-built gaming PCs are notorious for hidden costs. You are paying for the parts, the labor to build it, the shipping, the company’s marketing budget, and a hefty profit margin. Furthermore, pre-built companies often cut corners on parts you cannot easily see, like the motherboard or power supply, while flashing a recognizable processor name to get your attention. Below is a breakdown of what our frugal hacker parts list looks like compared to an entry-level pre-built PC from a big box store.
| Component / Expense | Our DIY Frugal Build | Typical Store Pre-Built |
|---|---|---|
| CPU (Processor) | $80 (Used Ryzen 5 3600) | $150 (Included in total) |
| GPU (Graphics Card) | $150 (Used RX 5700 XT) | $250 (Included in total) |
| Motherboard | $60 (Used B450) | $80 (Included in total) |
| RAM (Memory) | $35 (Used 16GB DDR4) | $50 (Included in total) |
| Storage (SSD) | $40 (New 1TB NVMe) | $60 (Included in total) |
| Power Supply | $50 (New 600W 80+) | $60 (Included in total) |
| Case & Fans | $45 (Budget New or Used) | $80 (Included in total) |
| Labor & Markup | $0 (Sweat Equity!) | $200+ (Company Profit) |
| Total Estimated Cost | $460 | $930 |
By sourcing the parts yourself, you are saving nearly $500! That is enough money to buy a high-refresh-rate monitor, a mechanical keyboard, a great mouse, and a whole library of games on Steam during a sale. The savings are undeniable, and the performance of our DIY build will often outpace the pre-built because we allocated our budget to the parts that actually matter for gaming.
Hunting for the Core Components: CPU, Motherboard, and RAM
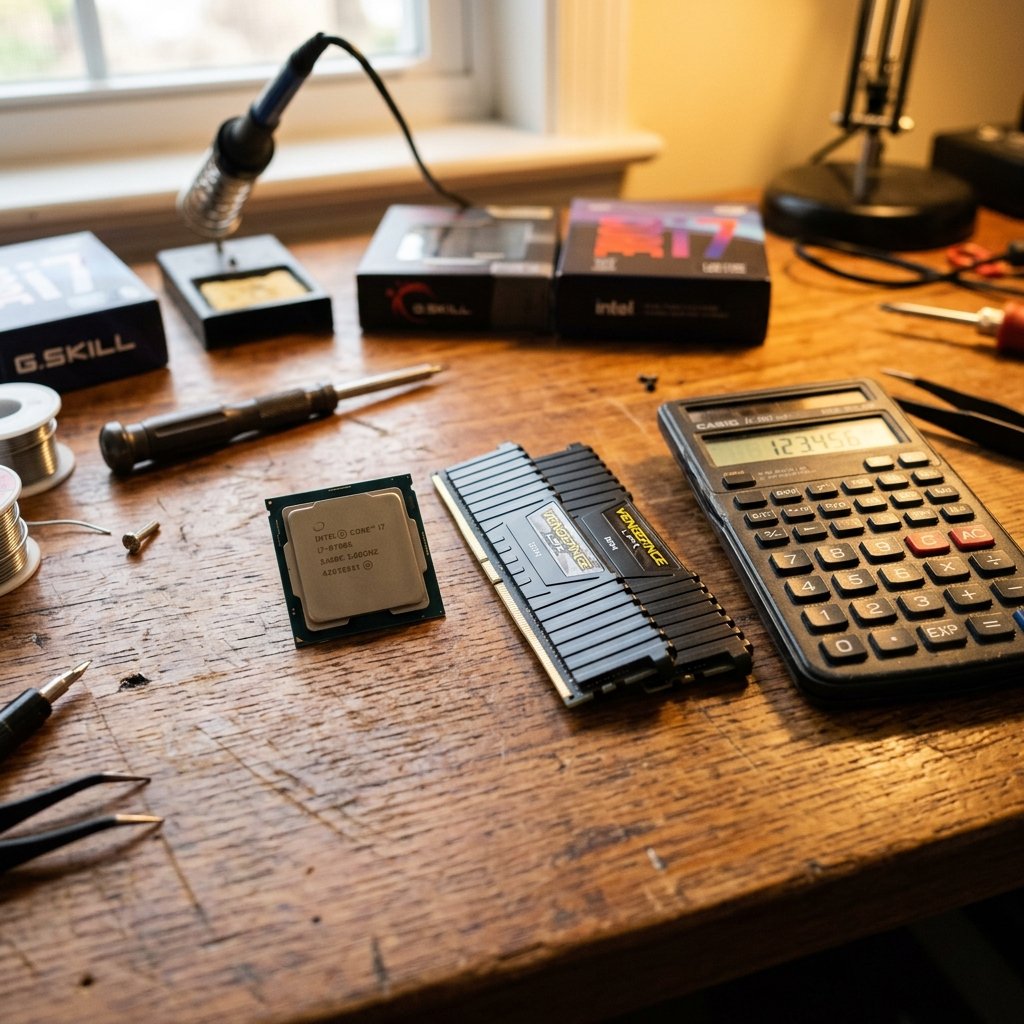
The Brains of the Operation
The core of your PC dictates its overall platform and upgradeability. For a budget under $500, the absolute king of value is the AMD AM4 platform. The AMD Ryzen 5 3600 is a legendary processor that can be found used for around $80 or less. It has 6 cores and 12 threads, which is more than enough for modern gaming and multitasking. Pair this with a used B450 motherboard. These boards are incredibly common, reliable, and support a wide range of processors if you ever decide to upgrade in the future.
Finding the Sweet Spot for Memory
When it comes to RAM, 16GB is the current sweet spot for gaming. Do not settle for 8GB, as modern games will stutter, and do not overspend on 32GB unless you find an incredible deal. Look for a used kit of 16GB (2x8GB sticks) DDR4 RAM running at 3200MHz. You can easily find these on eBay for around $35. Why two sticks instead of one? Because PCs run memory in ‘dual channel’ mode, which significantly boosts performance when two identical sticks are used together.
Scam Warning: When buying used motherboards, always ask for a clear, close-up picture of the CPU socket. Bent pins on a motherboard (for Intel) or on the CPU itself (for AMD) can completely ruin the part and are incredibly difficult to fix. If the seller refuses to provide a clear picture, walk away immediately!
Another frugal hack is to look for ‘combo deals’ on local marketplaces. Often, gamers will upgrade their entire core system at once and sell their old CPU, Motherboard, and RAM together as a bundle. You can frequently negotiate a much better price for a bundle than buying the parts individually, sometimes scoring the whole trifecta for under $150.
Scoring a Beastly Graphics Card on a Budget
Where the Magic Happens
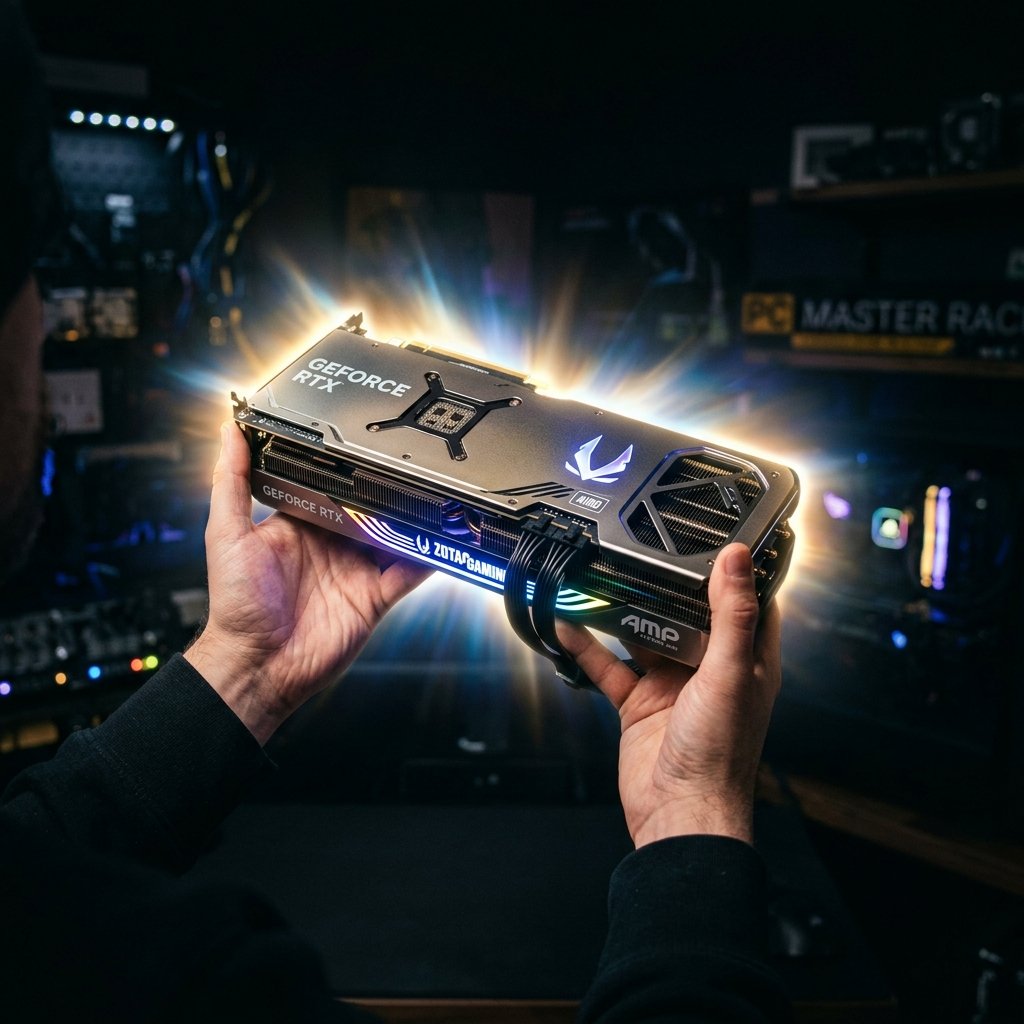
If you want high frame rates and beautiful graphics, the Graphics Processing Unit (GPU) is where you need to invest the largest chunk of your budget. For a $500 build, you should aim to spend around $140 to $170 on the GPU. This is where the used market truly shines. Cards like the AMD Radeon RX 5700 XT or the NVIDIA RTX 2060 Super are absolute beasts for 1080p gaming and can easily be found in this price range on eBay or local marketplaces.
Don’t Fear the Mining Cards
Many frugal builders are terrified of buying graphics cards that were used for cryptocurrency mining. Here is a street-smart secret: mining cards are often better cared for than cards used purely for gaming. Miners typically undervolt their cards (run them at lower power) to save on electricity, and keep them in temperature-controlled environments. A gamer might shove their PC in a dusty carpeted corner and let it overheat for years. As long as the card passes a stress test, a former mining card can be an incredible bargain.
- Ask for a Benchmark: Before buying a used GPU, ask the seller to run a benchmark program like FurMark or 3DMark and send you a screenshot of the temperatures and score.
- Check the Fans: Listen closely for any rattling or grinding noises from the fans. Replacement fans are cheap, but it is a hassle you want to avoid if possible.
- Repaste if Necessary: If you buy an older used card and it runs a bit hot, spending $8 on a tube of thermal paste and reapplying it to the GPU die can drop temperatures dramatically and improve performance.
By securing a powerful used GPU, you are ensuring that your budget rig will punch way above its weight class, delivering smooth gameplay in titles like Cyberpunk 2077, Call of Duty, and Apex Legends.
Step-by-Step: Assembling Your Budget Beast
Putting the Puzzle Together
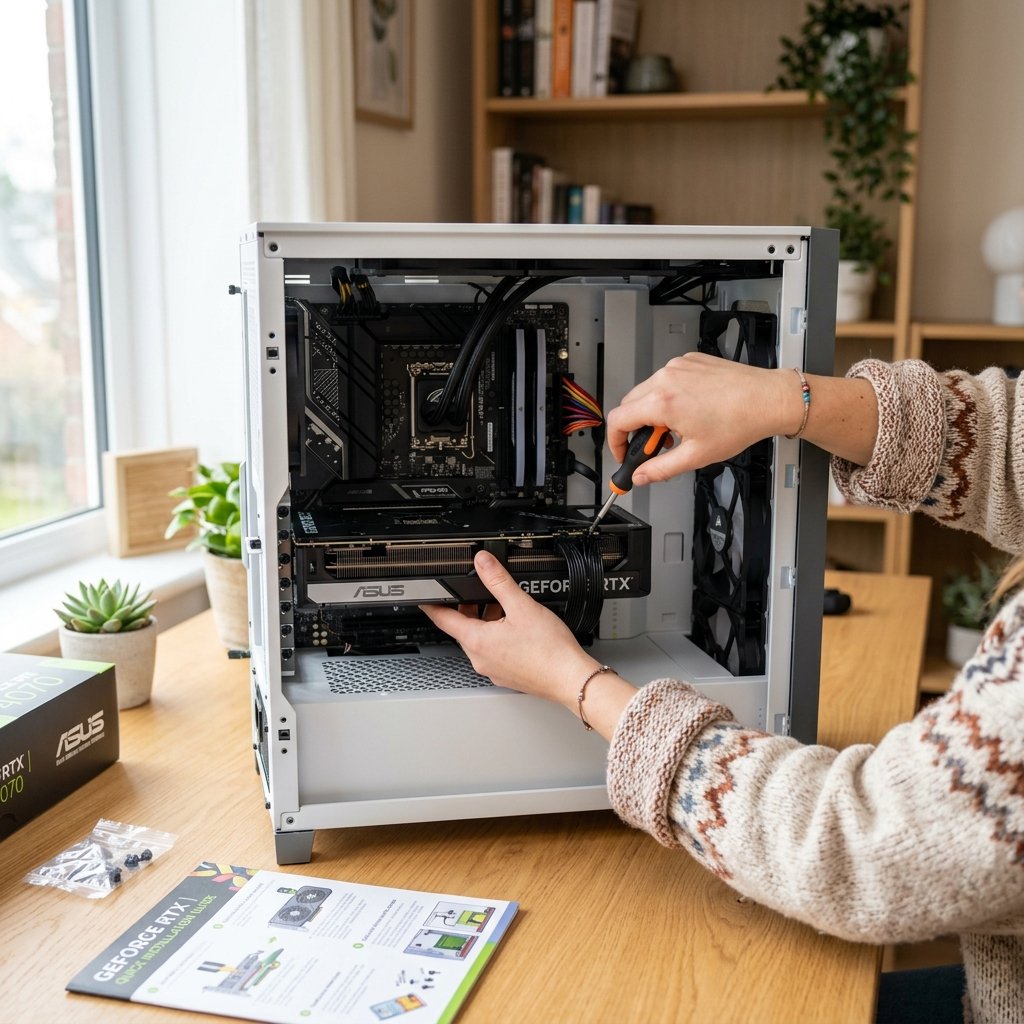
You have hunted down all the deals, and your parts have arrived. Now comes the fun part: assembly. Do not panic; take your time, clear a large workspace (a wooden or glass table is best to avoid static), and grab a magnetic Phillips-head screwdriver. Here is your frugal tutorial for putting it all together.
- Prep the Motherboard: Before putting anything in the case, lay the motherboard on top of its cardboard box. Lift the retention arm on the CPU socket, gently drop the CPU in (matching the golden triangle on the corner), and lock the arm down. Next, push your RAM sticks into the slots until they click. Usually, you use the 2nd and 4th slots away from the CPU.
- Mount the Cooler: Apply a pea-sized drop of thermal paste to the center of the CPU (if your cooler doesn’t have it pre-applied) and screw the CPU cooler down securely. Plug the cooler’s fan cable into the ‘CPU_FAN’ header on the motherboard.
- Install the Power Supply (PSU): Slide your brand new power supply into the bottom of your PC case and secure it with four screws at the back. Route the thick cables to the back of the case to keep things tidy.
- Mount the Motherboard: Carefully place the motherboard into the case, ensuring the ports line up with the metal shield at the back. Screw it down into the standoffs.
- Connect the Wires: Plug in the massive 24-pin power cable to the motherboard, and the 8-pin CPU power cable at the top left. Connect your storage drive and the tiny, annoying front panel cables (power button, reset button) using your motherboard’s manual as a guide.
- Slot in the GPU: Remove the metal expansion slot covers at the back of the case. Push the graphics card into the top long PCIe slot on the motherboard until it clicks. Screw it into the case bracket to support its weight, and plug in the required PCIe power cables from your power supply.
Double-check all your connections, plug the monitor into the graphics card (NOT the motherboard), and hit the power button. If the fans spin and the screen lights up, congratulations! You have just built a beastly gaming PC.
Conclusion
Time to Power Up and Play
And there you have it! By being a savvy shopper, negotiating like a pro, and being willing to put in a little DIY effort, you have just built a beastly gaming rig for under $500. Not only did you save yourself around $400 to $500 compared to buying an equivalent pre-built machine, but you also gained the invaluable skill of building a PC from scratch. You now know every single component inside that case, which means when it is time to upgrade in a few years, you will know exactly what to do.
Now it is time to install your operating system, download your favorite games, crank up those graphics settings, and enjoy the fruits of your frugal labor. Remember, being frugal is not about giving up the things you love; it is about finding smarter, more efficient ways to get them. You proved that high-end gaming does not have to be a luxury reserved for the wealthy. Keep this frugal hacker mindset with you, whether you are upgrading your tech, fixing your car, or managing your grocery budget. Happy gaming, enjoy those high frame rates, and keep on hacking those savings!
Disclaimer: I am a frugal living enthusiast and tech hobbyist, not a certified financial advisor or professional technician. Building a PC involves working with electrical components. Always unplug your power supply before working inside your computer, and proceed at your own risk.

Makenzie is the founder and lead writer at MoneyHackTips.com — a personal finance blog dedicated to delivering street-smart financial wisdom for real people on real budgets. With 300+ published articles covering everything from debt management to investing fundamentals, Makenzie’s mission is to make every dollar work harder. When not writing about money hacks, Makenzie is testing frugal living strategies, optimizing side hustles, and helping readers build financial freedom from scratch.