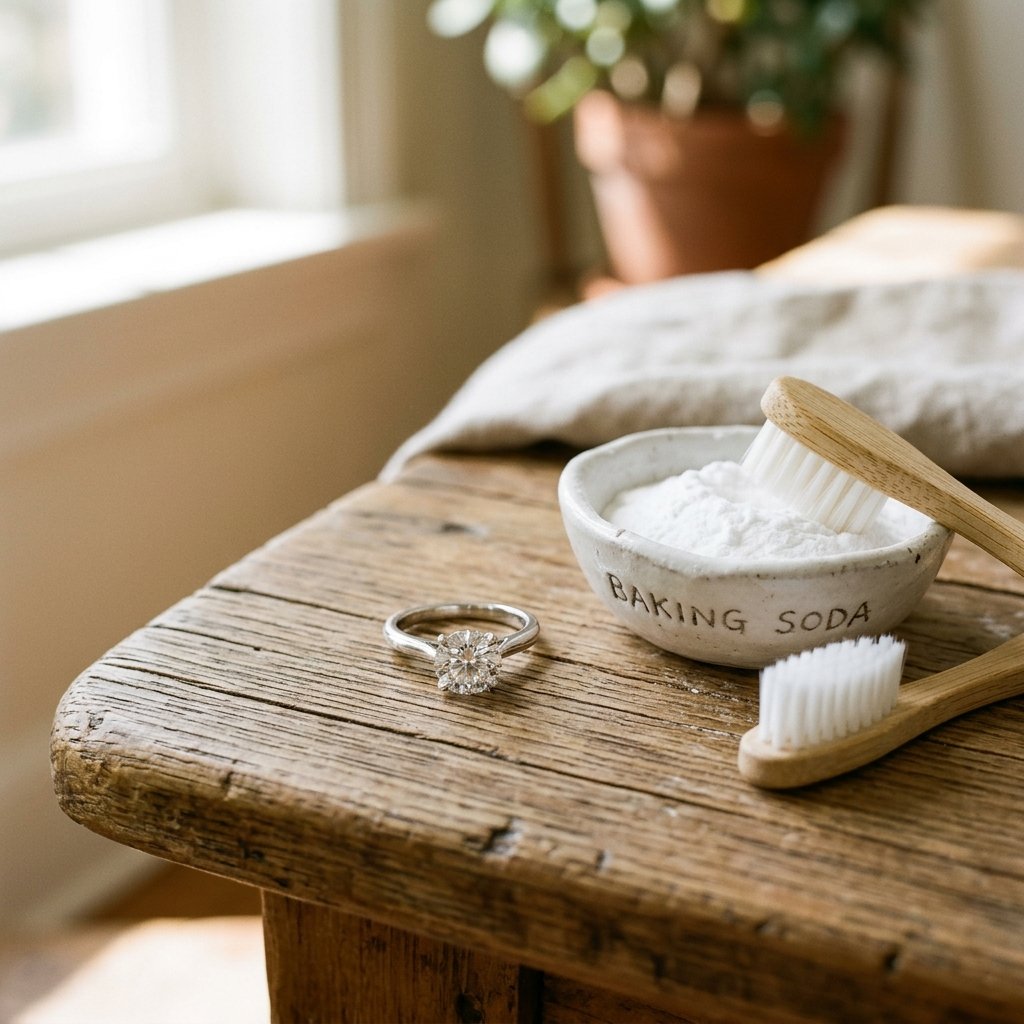

Hey there, frugal friends! Let’s talk about that jewelry box sitting on your dresser. You know, the one holding your favorite rings, necklaces, and earrings that have unfortunately lost a bit of their luster over the years. We all love a good sparkle, but taking your pieces to a professional jeweler or buying those tiny, overpriced jars of chemical cleaner can seriously dent your budget. What if I told you that you already have the ultimate jewelry cleaning solution sitting right in your kitchen pantry? That’s right! Today, we are diving into a street-smart, incredibly cheap hack that will make your bling look brand new in minutes.
As your resident Frugal Hacker, I am all about finding ways to keep our lives shiny without spending our hard-earned cash. We are going to use a simple, everyday ingredient to create a chemical reaction that literally lifts tarnish away without any scrubbing. Get ready to save money, skip the harsh chemicals, and restore that gorgeous shine to your favorite accessories!
The Secret Ingredient Revealed
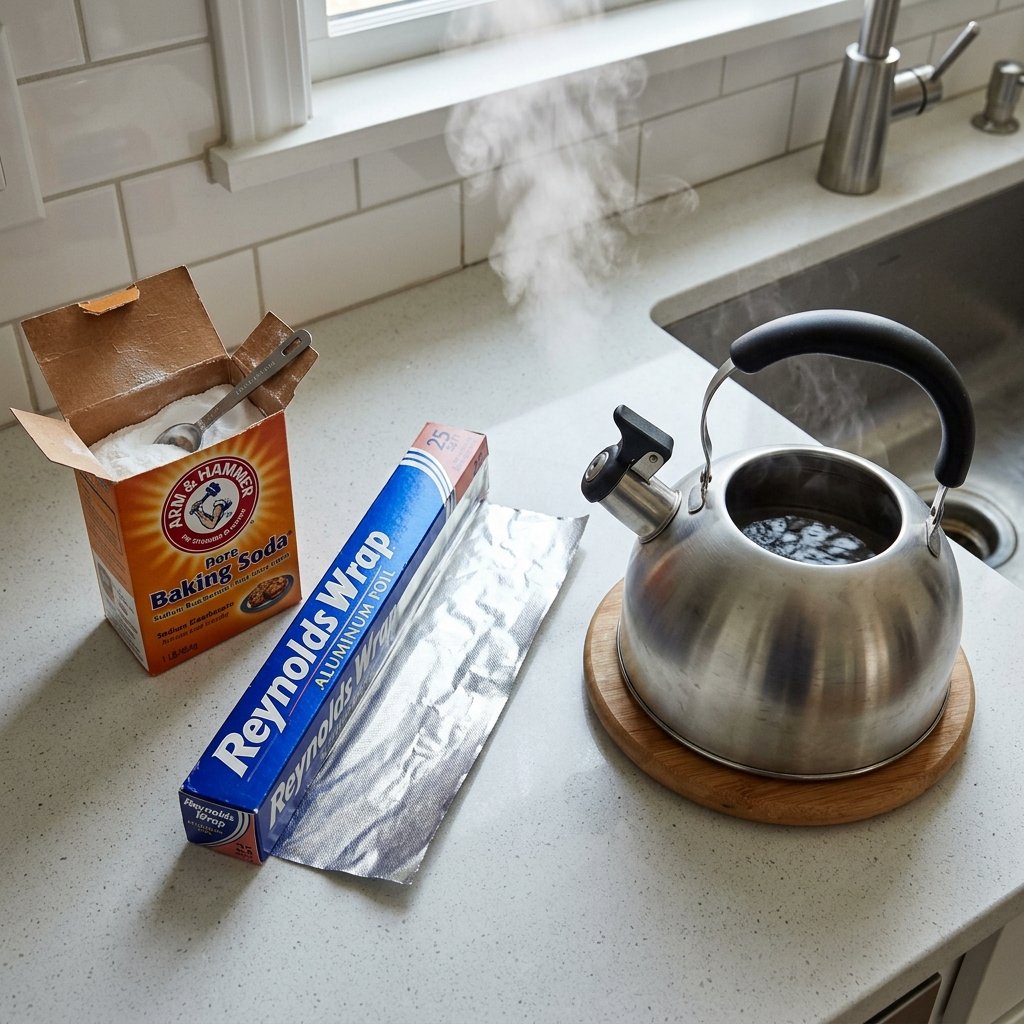
You might be thinking, what is this magical kitchen ingredient? It is none other than good old-fashioned baking soda. But wait, it gets better. When you combine baking soda with a piece of aluminum foil and some hot water, you create a safe, non-toxic ion exchange that reverses tarnish on silver and gold. It is basically a high school science experiment that saves you serious money!
Commercial cleaners charge a premium for fancy packaging and harsh chemicals, but this DIY method costs mere pennies. Plus, it is incredibly empowering to know you can maintain your favorite accessories without relying on expensive services. Baking soda is a staple in any frugal household, and its cleaning power extends far beyond the refrigerator and the kitchen sink.
The Science Behind the Shine
When silver tarnishes, it combines with sulfur in the air to form silver sulfide (that black, dull coating). The aluminum foil has a stronger affinity for sulfur than silver does. By adding baking soda and hot water, you create a conductive solution that allows the sulfur atoms to transfer from your jewelry straight onto the aluminum foil. It is not magic; it is just smart, frugal science!
Cost Breakdown: DIY vs Store Bought
Let’s look at the numbers because, as frugal hackers, we know the math never lies. Here is a breakdown of what you would typically spend on commercial jewelry cleaners versus our DIY kitchen method. Why pay for fancy packaging when you can get the exact same result for pennies?
| Cleaning Method | Average Cost per Use | Time Required | Chemicals Used |
|---|---|---|---|
| Professional Jeweler Cleaning | $15.00 – $30.00 | 1-3 Days (Drop off/Pick up) | Industrial Solvents |
| Store-Bought Chemical Dip | $8.00 – $12.00 | 5 Minutes | Harsh, smelly chemicals |
| DIY Baking Soda Hack | $0.05 | 10 Minutes | Baking soda, water, foil |
By switching to this DIY method, you could easily save over $50 a year if you clean your jewelry regularly. That is money that can go straight into your emergency fund, your investment portfolio, or towards a fun weekend outing with the family!
The Frugal Tutorial: Step-by-Step Instructions
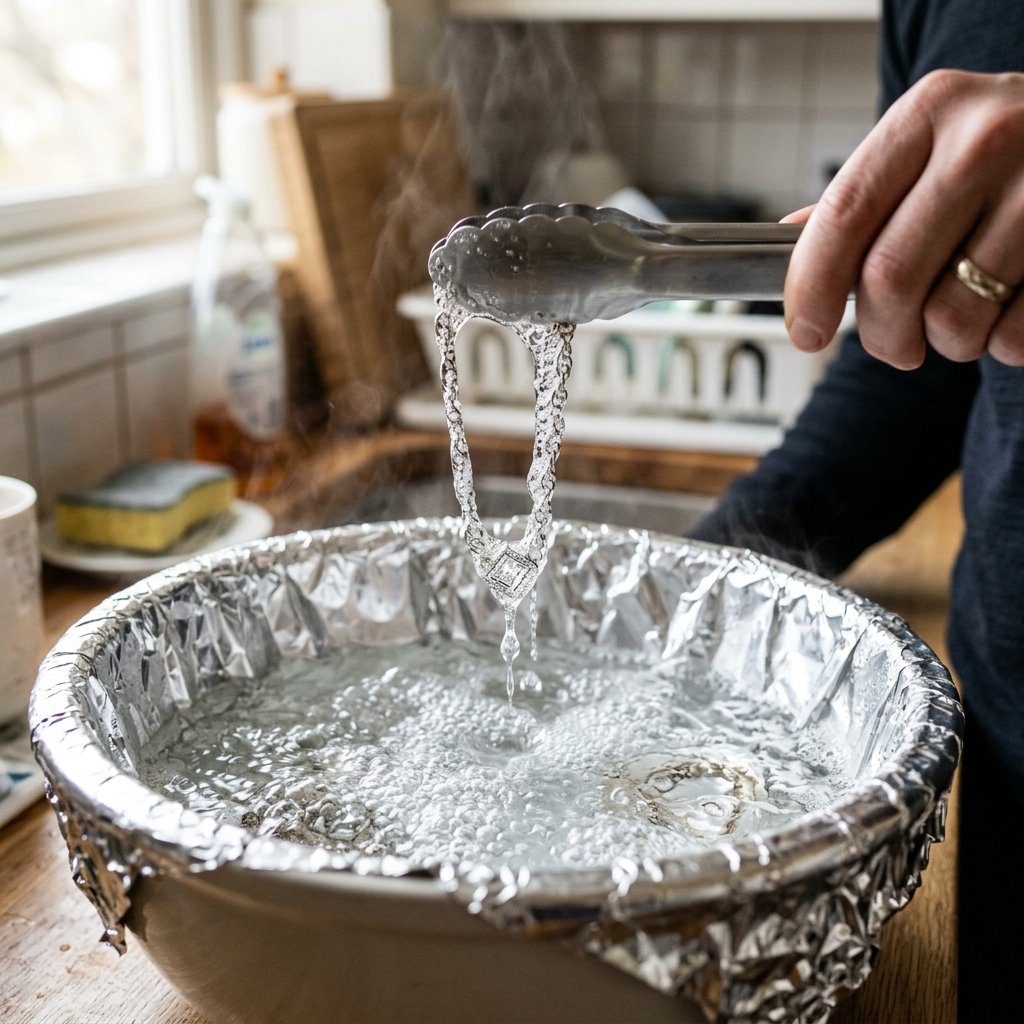
Ready to see the magic happen? Grab your tarnished pieces and let’s get to work. Here is the exact process to get your jewelry shiny again without leaving your house.
- Prep your bowl: Line a small ceramic or glass bowl with a sheet of aluminum foil. Make sure the shiny side of the foil is facing UP. This is crucial for the chemical reaction to work effectively.
- Add the jewelry: Place your tarnished silver or solid gold jewelry directly onto the foil. Make sure every piece of jewelry is physically touching the foil.
- Sprinkle the magic ingredient: Generously sprinkle about one tablespoon of baking soda directly over the jewelry.
- Pour the hot water: Carefully pour boiling hot water into the bowl until all the jewelry is completely submerged. You will immediately hear a slight fizzing sound and might smell a faint sulfur scent—that is the tarnish transferring from your jewelry to the foil!
- Let it sit: Leave the jewelry in the hot bath for about 5 to 10 minutes. For heavily tarnished pieces, you might need to leave it a bit longer or repeat the process once more.
- Rinse and buff: Carefully remove the jewelry (use tongs or a fork so you do not burn your fingers), rinse it thoroughly under cool tap water, and gently buff it dry with a soft microfiber cloth.
Just like that, your pieces will look like they were just pulled out of the jewelry store display case!
Crucial Warning: What NOT to Clean
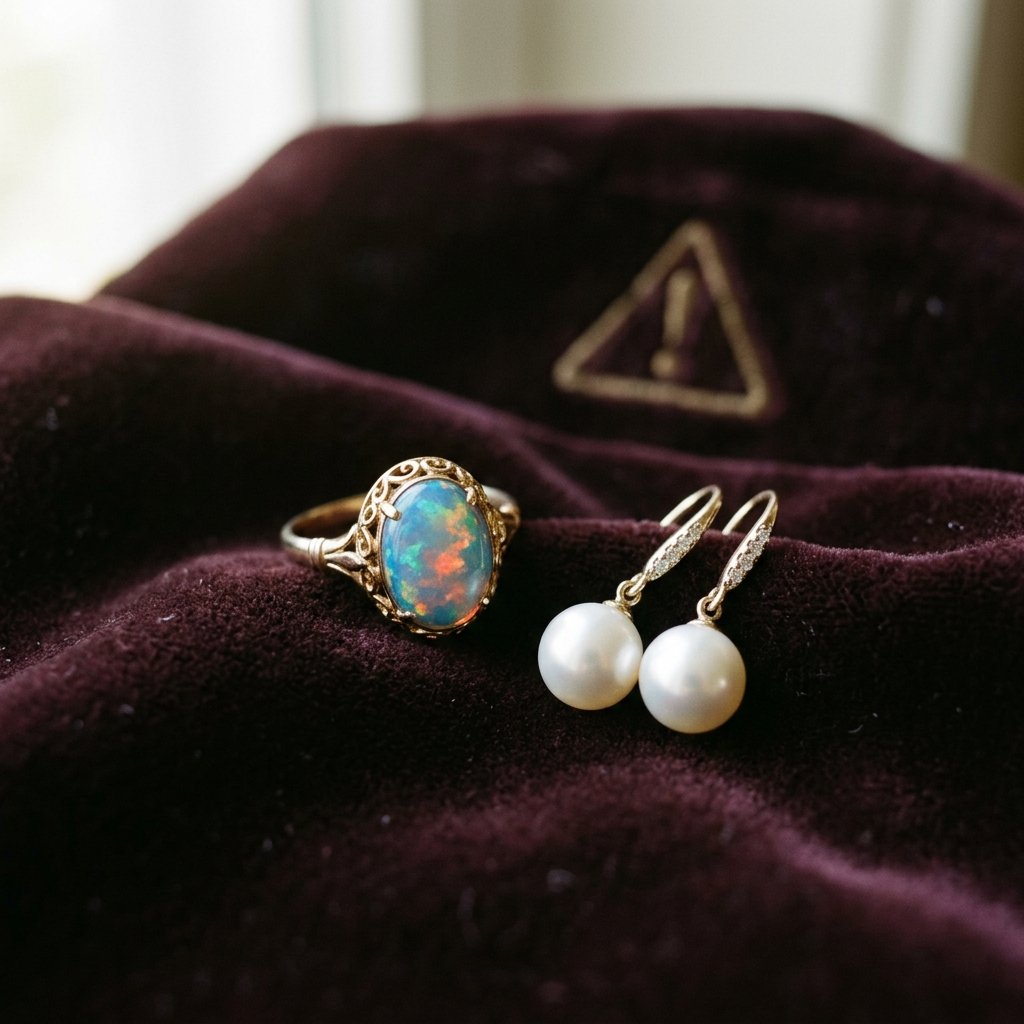
As much as I love this hack, part of being street-smart is knowing when to hold back. This baking soda and foil trick is incredibly effective for sterling silver, solid gold, and gold-filled items. However, it is NOT safe for everything in your jewelry box.
THE GOLDEN RULE OF DIY CLEANING: Never use hot water or baking soda baths on soft, porous gemstones. This includes pearls, opals, emeralds, turquoise, coral, and amber. The intense heat can crack them, and the alkaline baking soda can ruin their delicate, natural finish!
Furthermore, if you have costume jewelry, brass, or pieces with glued-in stones, skip the hot water bath entirely. The boiling water can melt the jeweler’s glue, causing your stones to fall out. For these delicate or cheaper items, simply wiping them with a damp microfiber cloth and a tiny drop of mild dish soap is your safest, most frugal bet.
Maintaining That Sparkle on a Budget
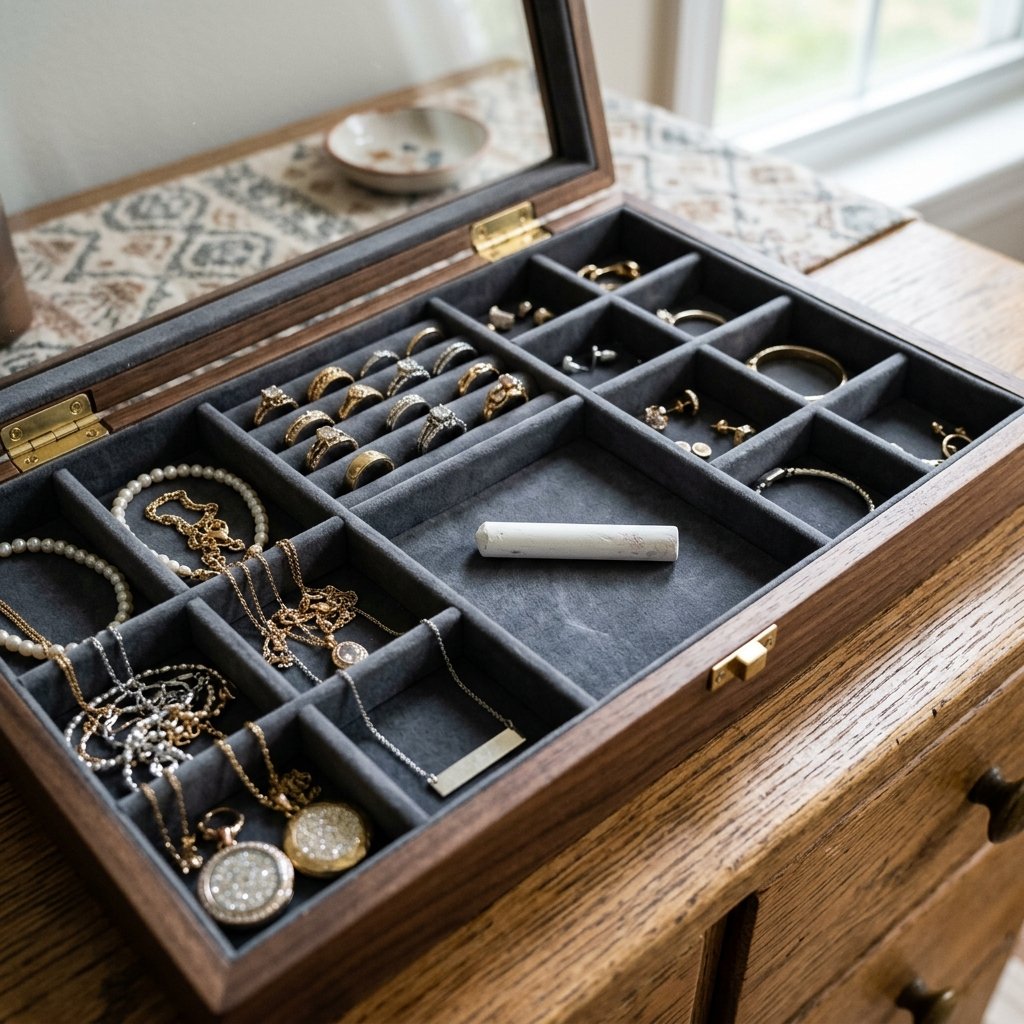
Now that your jewelry is blindingly shiny again, how do we keep it that way without spending extra cash? Prevention is the ultimate frugal hack. Tarnish happens when metals react with sulfur and moisture in the air. Here is how to stop it before it starts.
- Keep it dry: Always remove your rings and necklaces before showering, swimming, applying lotion, or doing the dishes. Water and chemicals speed up the tarnishing process.
- Store it smartly: Store your silver pieces in small, airtight ziplock bags. It might not look like a fancy velvet box, but it blocks out the air that causes tarnish!
- Chalk it up: Throw a piece of regular blackboard chalk into your jewelry box or drawer. The chalk absorbs excess moisture in the air, keeping your jewelry tarnish-free for much longer. A box of chalk costs about $1.00 and will last you for years.
These simple, practically free habits will stretch the time between cleanings and keep your collection looking pristine year-round.
Conclusion
There you have it—the ultimate frugal hack for getting your jewelry shiny again instantly! By utilizing the simple science of baking soda, aluminum foil, and hot water, you easily bypass the ridiculous jewelry store markups and the harsh chemicals of store-bought cleaners. You get to keep your favorite pieces sparkling while keeping your budget perfectly intact.
Remember, living a frugal lifestyle is not about depriving yourself of nice things; it is about finding smarter, more resourceful ways to take care of what you already own. So head into your kitchen right now, grab that box of baking soda, and give your jewelry the luxurious spa day it deserves for literally pennies. Stay savvy, stay shiny, and keep hacking your way to a richer life!

Makenzie is the founder and lead writer at MoneyHackTips.com — a personal finance blog dedicated to delivering street-smart financial wisdom for real people on real budgets. With 300+ published articles covering everything from debt management to investing fundamentals, Makenzie’s mission is to make every dollar work harder. When not writing about money hacks, Makenzie is testing frugal living strategies, optimizing side hustles, and helping readers build financial freedom from scratch.