
The Thrill of the Thrift and the Reality of the ‘Ugly’
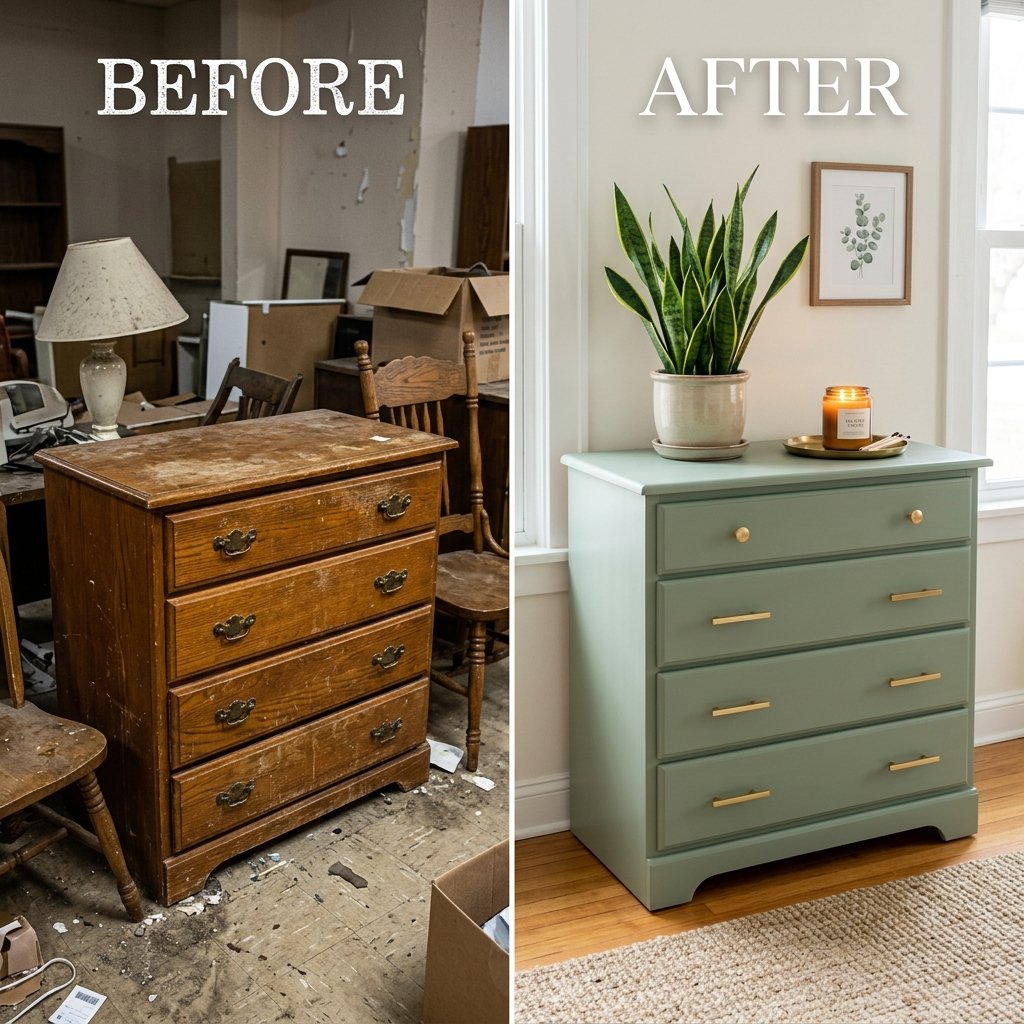
Welcome, fellow frugal hackers! If you are anything like me, you get a massive hit of dopamine the second you walk into a local thrift store. There is something magical about the smell of old wood and the potential hidden beneath layers of dust. But let’s be honest: most of what we find isn’t exactly ‘Pinterest-ready.’ We’re talking about that dreaded 1980s orange oak, scratched-up laminate, and finishes that look like they survived a small war. You see a $15 dresser that has amazing ‘bones,’ but the color is enough to make you turn and run. You want that high-end, matte-finish look you see in designer catalogs, but you certainly don’t want to pay $40 for a tiny quart of boutique chalk paint.
What if I told you that you could achieve that exact same velvet-smooth, designer finish for less than $10? Yes, you heard me right. We aren’t just talking about a cheap coat of paint that’s going to peel off in a week. We are talking about a durable, professional-looking transformation using a simple hack that high-end flippers have been keeping secret for years. Today, I’m pulling back the curtain and showing you how to turn junk into jewels without breaking your budget. This isn’t just about saving money; it’s about the empowerment that comes with creating a beautiful home on your own terms. Let’s dive into the ultimate frugal furniture hack!
The Secret Ingredient: Why This Hack Works
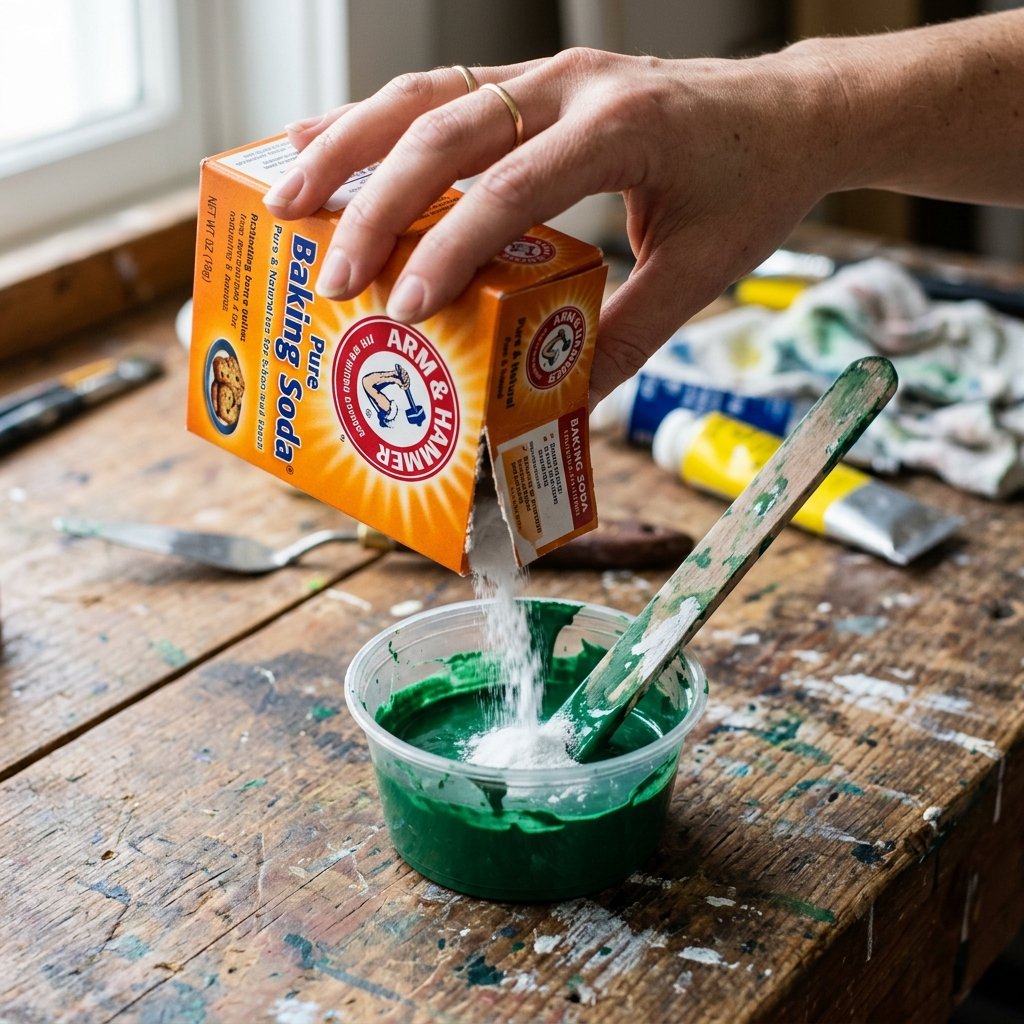
The Chemistry of the $10 Hack
So, what is this magical secret? It’s likely sitting in your kitchen cupboard right now: Baking Soda. When you mix ordinary latex paint with baking soda, a chemical reaction occurs that changes the texture and adhesive properties of the paint. It creates a ‘faux chalk paint’ that mimics the expensive brands like Annie Sloan or Magnolia Home. Standard latex paint is often too thin and shiny for furniture, showing every brush stroke and failing to grip the surface. By adding baking soda, you create a thicker, grittier (initially) paint that levels out beautifully as it dries, leaving behind a matte, stone-like finish that looks incredibly expensive.
Why Not Just Buy Chalk Paint?
The math is simple. A quart of name-brand chalk paint will run you anywhere from $35 to $45. Add in the specialized waxes and brushes, and you’ve spent $70 before you even start. With our hack, you can buy a sample pot of high-quality paint from a big-box hardware store for about $5 or $6, and a box of baking soda for $1. You are getting the same professional result for a fraction of the cost.
The Frugal Hacker’s Rule: Never pay for a brand name when you can replicate the chemistry for pennies on the dollar.
This hack works on wood, laminate, and even metal. It fills in minor scratches and provides a level of coverage that standard paint simply can’t match. Plus, because you are using sample pots, you can experiment with trendy colors like terracotta, charcoal, or sage green without the financial commitment of a full gallon.
Sourcing Your Canvas: How to Pick the Best ‘Ugly’ Furniture

The Art of the Thrift Store Hunt
Before you can apply the hack, you need the right piece. Not all furniture is created equal. When you’re at the thrift store, Goodwill, or browsing Facebook Marketplace, you need to look past the ‘ugly.’ Don’t look at the color; look at the silhouette.
- Solid Wood is King: Look for heavy pieces. If it’s heavy, it’s usually solid wood or high-quality plywood rather than particle board. Solid wood is more forgiving and holds paint better.
- Check the Hardware: Are the handles original? Are they metal? Even if they are ugly, you can spray paint them for $4 to look like high-end brass or matte black.
- Sniff Test: This sounds weird, but smell the drawers. If a piece smells heavily of smoke or mold, it’s often more work than it’s worth to get the scent out.
- Structural Integrity: Give it a wiggle. A wobbly leg is an easy fix with a $2 bracket, but a warped frame is a nightmare.
Negotiating Like a Pro
If you find a piece you love but it’s priced a bit high, don’t be afraid to talk to the manager.
Script: ‘Hi there! I love this dresser, but I noticed it has some pretty deep gouges on the side and one of the drawers sticks. Since it’s been here for a few days, would you be willing to take $20 instead of $35 so I can afford the materials to fix it up?’
Most thrift stores would rather move inventory than let it sit. Being polite and pointing out specific flaws can easily save you $10 to $20 on your purchase.
The Step-by-Step Frugal Tutorial
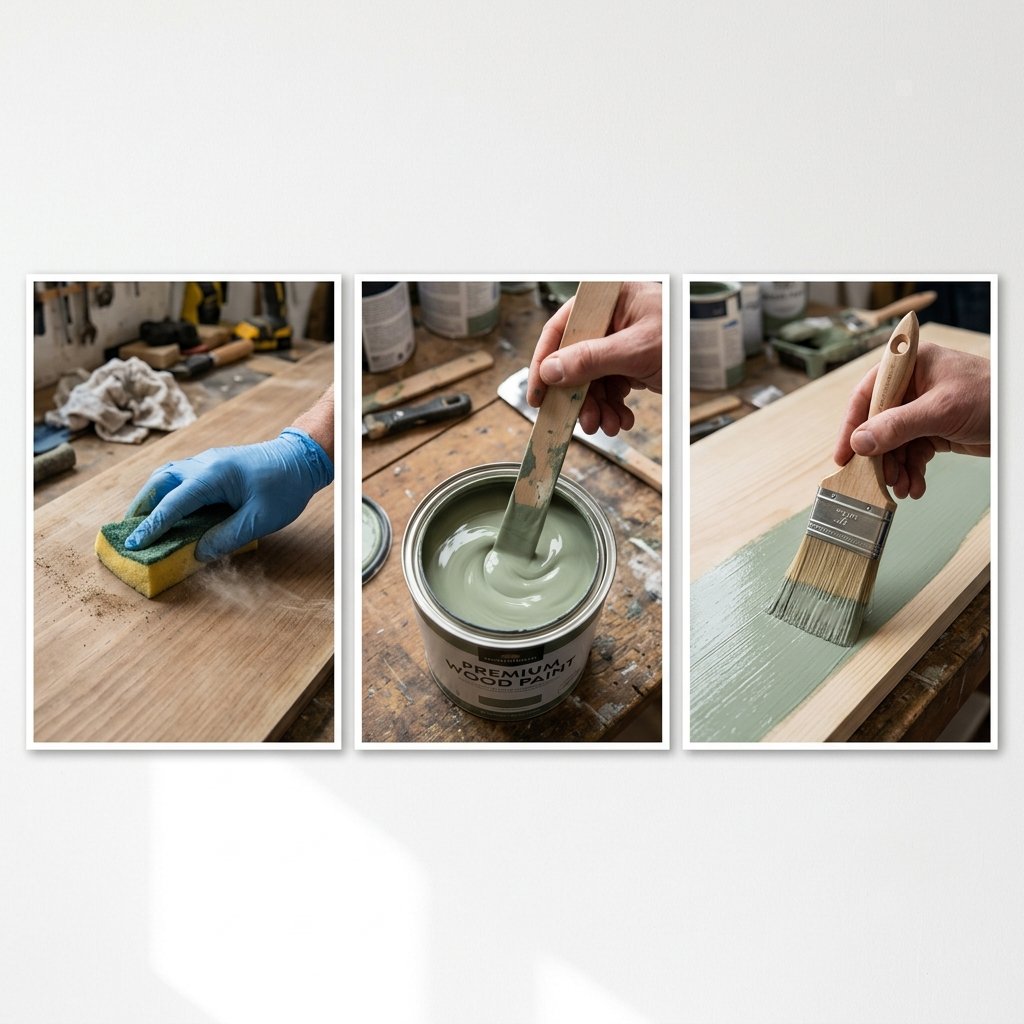
How to Execute the $10 Paint Hack
Now for the fun part. Follow these steps exactly to ensure a finish that looks like it came from a high-end boutique.
Step 1: Prep and Clean
The biggest mistake people make is painting over dirt. Mix a little dish soap with water and scrub the piece down. If the piece is very shiny (like a laminate finish), give it a quick scuff-sand with 220-grit sandpaper. You don’t need to strip the finish; you just need to ‘break’ the shine so the paint has something to grab onto.
Step 2: The Recipe
Mix your paint. The ratio is key:
- Pour 1 cup of latex paint (flat or eggshell works best) into a mixing container.
- Add 1/4 cup of baking soda.
- Add 1 tablespoon of warm water to help dissolve any clumps.
- Stir vigorously until the mixture is the consistency of thick pancake batter.
Step 3: Application
Apply the first coat using a synthetic brush. Don’t worry if it looks a bit ‘textured’ while wet. As the baking soda reacts and dries, it will level out. Let the first coat dry for at least 2 hours. Usually, two coats are all you need for full coverage.
Scam Warning: Don’t fall for ‘all-in-one’ paints that cost $30 a jar. They often require just as much prep and don’t offer the same matte finish as this DIY recipe.
Step 4: The Finish
Once the final coat is dry (wait 24 hours), you can lightly sand it with 400-grit sandpaper for a buttery-smooth feel. To protect your work, apply a thin coat of water-based polycrylic or furniture wax. This will protect it from water rings and scratches.
Cost Breakdown: DIY vs. Store Bought

The Math of Savings
Let’s look at the cold, hard numbers. When you choose to hack your furniture instead of buying new or using boutique supplies, the savings are staggering. You could easily do five or six small side tables for the price of one ‘pro’ kit.
| Item/Service | Big Brand/Store Cost | DIY Paint Hack Cost | Total Savings |
|---|---|---|---|
| Furniture Piece | $450.00 (New) | $15.00 (Thrifted) | $435.00 |
| Paint (Quart) | $38.00 (Chalk Paint) | $6.00 (Sample Pot) | $32.00 |
| Additives/Prep | $12.00 (Special Primer) | $1.00 (Baking Soda) | $11.00 |
| Hardware | $40.00 (New Knobs) | $4.00 (Spray Paint) | $36.00 |
| Grand Total | $540.00 | $26.00 | $514.00 |
As you can see, you are saving over $500 on a single piece of furniture. If you were to furnish an entire bedroom this way, you’re looking at savings of over $2,000. That is money that can go toward your emergency fund, a vacation, or paying down debt!
Earning Potential: The Furniture Flip Side Hustle
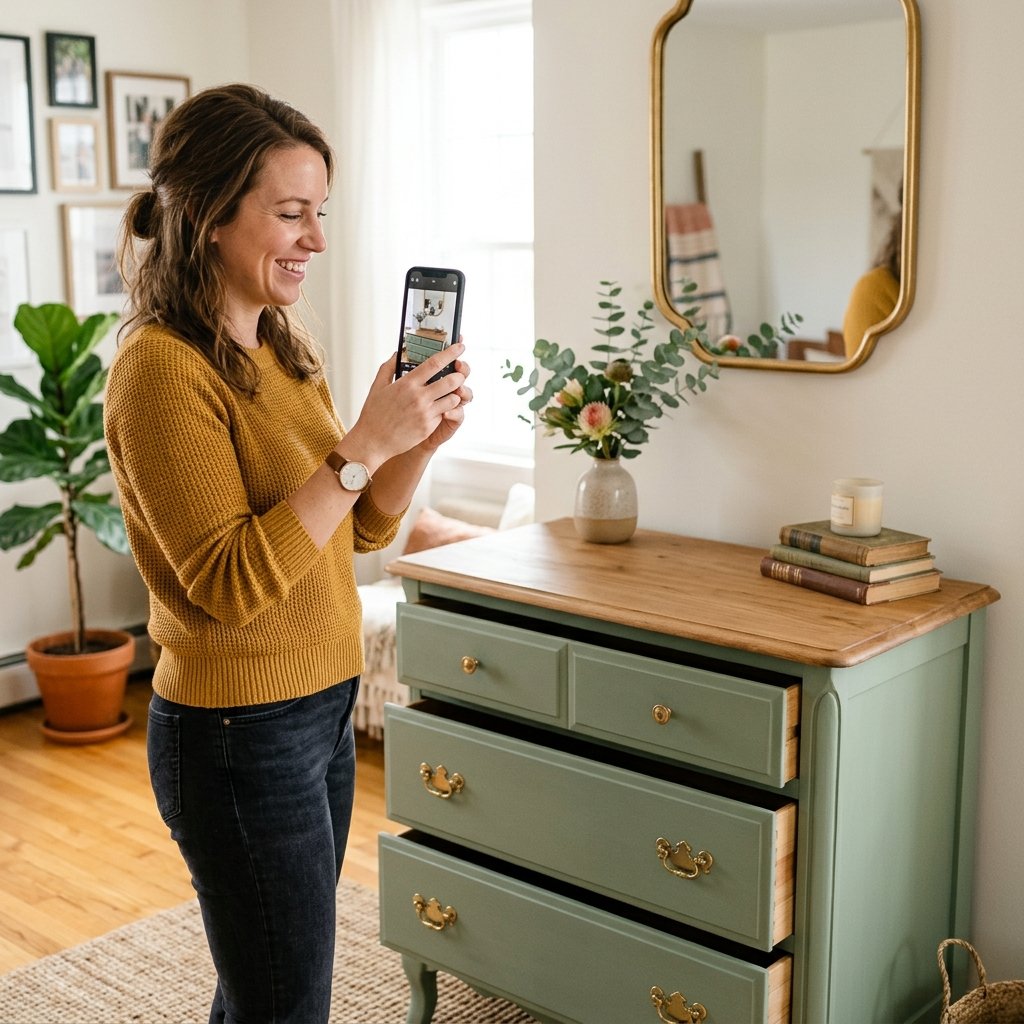
Turn Your Hobby Into a Paycheck
Once you master this $10 paint hack, you aren’t just a frugal decorator; you are a potential business owner. The ‘Furniture Flipping’ market is booming. People want the ‘farmhouse’ or ‘mid-century modern’ look but don’t have the time or skills to do it themselves. They are willing to pay a premium for your labor.
Realistic Earning Potential
- Small Side Tables: Buy for $5, flip for $50. Profit: $45.
- Dressers: Buy for $20, flip for $150-$250. Profit: $130-$230.
- Dining Sets: Buy for $50, flip for $400+. Profit: $350.
If you flip just two dressers a month, you are looking at an extra $300 to $500 of income. That covers a car payment or a significant chunk of groceries. The best part? Your overhead is incredibly low because of the $10 paint hack. You are leveraging your creativity to create value out of ‘trash.’
Pro Tip: Take high-quality photos of your finished pieces in natural light with a few ‘staged’ items like a book or a vase. Good photography can add $50 to your asking price on Facebook Marketplace.
Conclusion
Your Beautiful, Frugal Home Awaits
Transforming your home doesn’t require a massive bank account; it requires a bit of imagination and a box of baking soda. This $10 paint hack is a game-changer for anyone who wants to live a high-end life on a low-end budget. By seeing the potential in the ‘ugly’ and using smart, frugal techniques, you can create a space that reflects your personality without the financial stress of retail prices. So, the next time you pass that beat-up wooden nightstand at the thrift store, don’t walk away. Grab it, grab your paint, and start hacking your way to a more beautiful home. You’ve got the tools, you’ve got the secret recipe, and now you’ve got the inspiration. Happy flipping!

Makenzie is the founder and lead writer at MoneyHackTips.com — a personal finance blog dedicated to delivering street-smart financial wisdom for real people on real budgets. With 300+ published articles covering everything from debt management to investing fundamentals, Makenzie’s mission is to make every dollar work harder. When not writing about money hacks, Makenzie is testing frugal living strategies, optimizing side hustles, and helping readers build financial freedom from scratch.