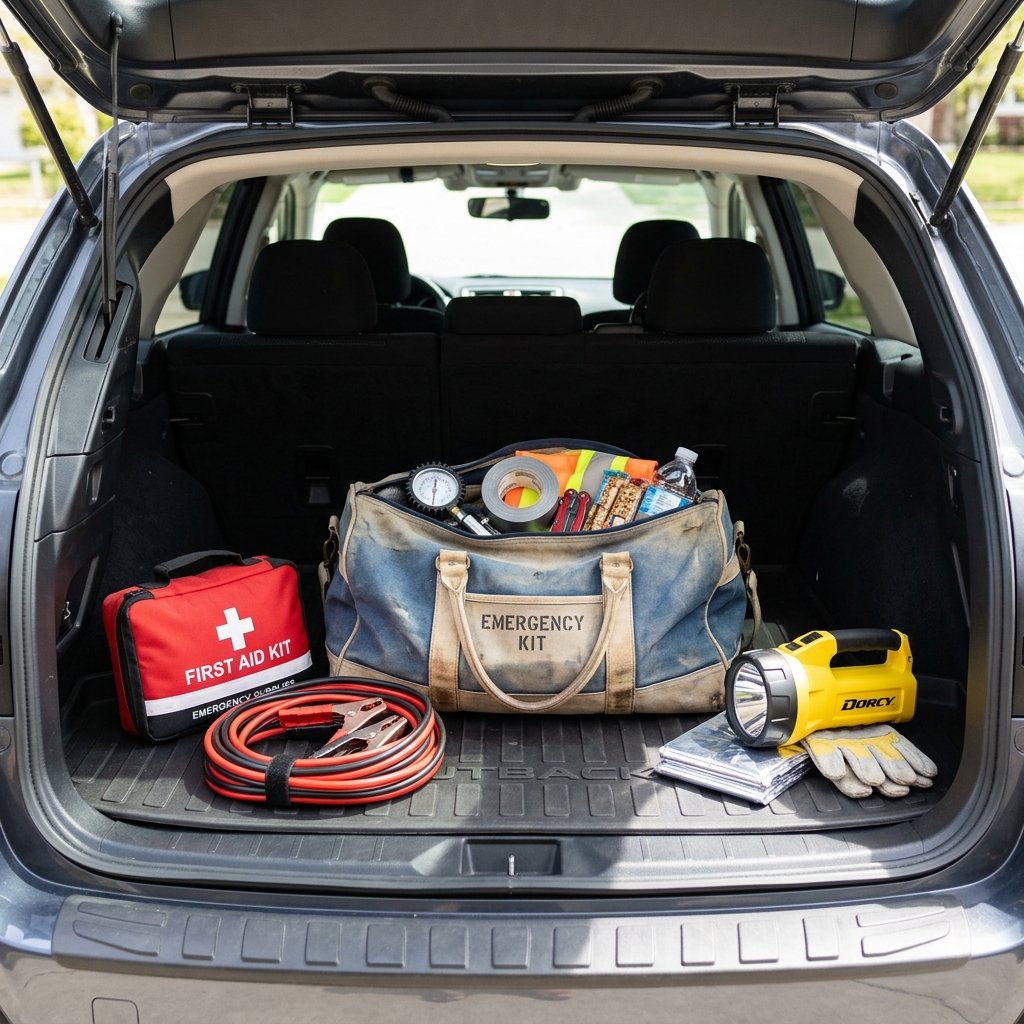

Picture this: It is 11:00 PM, you are driving down a poorly lit stretch of highway, and suddenly, you hear that dreaded *thump-thump-thump* of a flat tire. Or worse, your engine sputters and dies, leaving you coasting to the shoulder in the dead of winter. Panic sets in. You pop the trunk, praying you have what you need to get out of this mess, only to find an empty fast-food bag and a single, broken ice scraper.
We have all been there, or at least, we all fear being there. As your resident Ultimate Frugal Hacker, I am here to tell you that getting stranded is a nightmare, but going broke trying to prepare for it is just as bad. If you walk into a big-box auto store right now, you will see pre-made “Emergency Roadside Kits” selling for $80, $120, or even $200. And let’s be real—half of the stuff in those fancy branded bags is cheap, flimsy filler you will never actually use.
You do not need to drop a Benjamin to stay safe on the road. Building your own car emergency kit is not just a smart financial move; it is actually a safer move. When you DIY your kit, you know exactly what is inside, you know how to use it, and you can tailor it to your specific climate and vehicle. Today, we are going to break down exactly how to assemble a bulletproof, street-smart car emergency kit on a shoestring budget. Grab a cup of coffee, pull up your budgeting app, and let’s start hacking your roadside safety!
The Bare Minimum: What You Actually Need To Survive
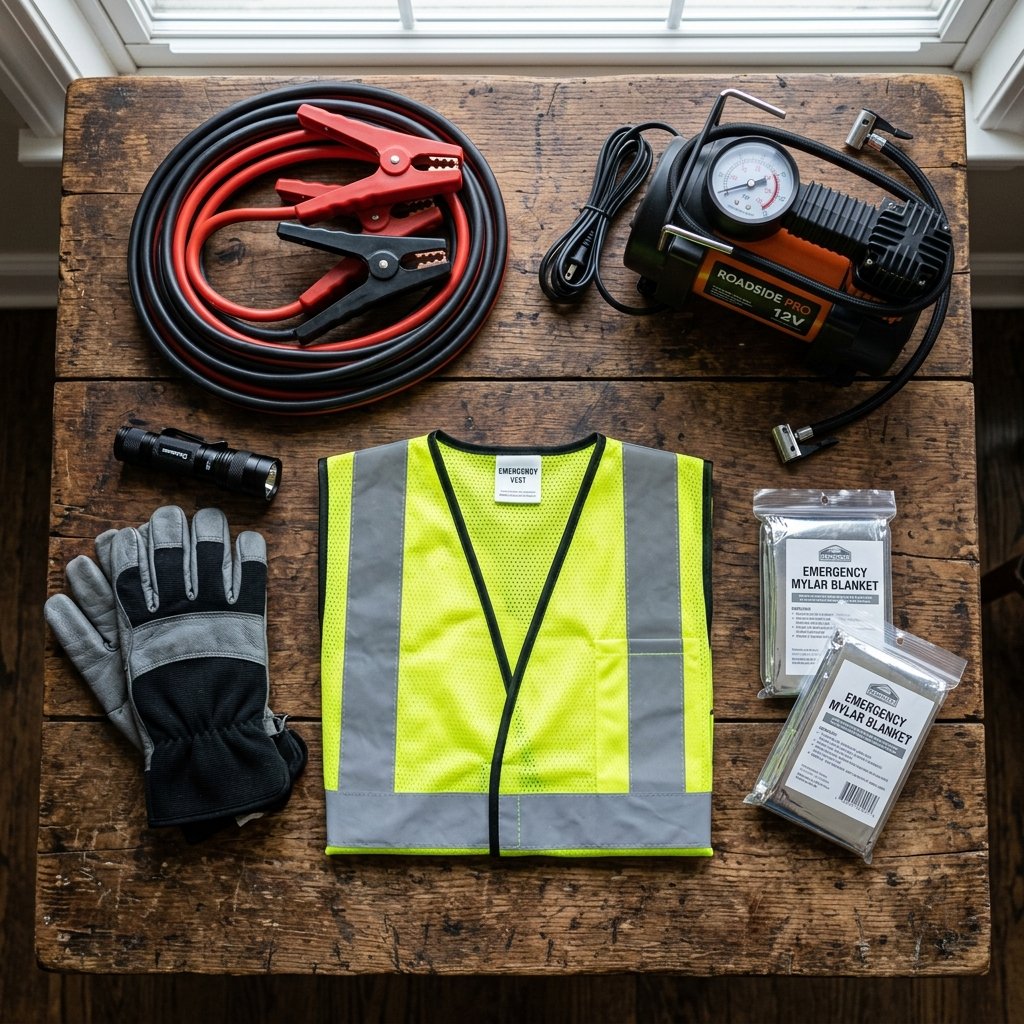
Before we go shopping, we need a game plan. The biggest mistake people make when building a car emergency kit is packing for the apocalypse instead of packing for a Tuesday night breakdown. You do not need a multi-tool with 47 attachments or a tactical survival shovel. You need practical, reliable items that solve the most common roadside problems: dead batteries, flat tires, minor injuries, and staying warm while waiting for a tow truck.
1. The Power & Repair Essentials
These are the non-negotiables. If your car dies, these are the tools that will bring it back to life or at least get it off the road.
- Jumper Cables: Do not skimp here. Look for 4-gauge or 6-gauge cables. The flimsy 10-gauge ones in pre-made kits will melt before they jump a V8 engine.
- Tire Pressure Gauge & Portable Inflator: A basic stick gauge costs $2. A plug-in 12V tire inflator can be found for under $20 on sale. This combo alone will save you from 90% of tire-related strandings.
- Basic Toolkit: You need a Phillips head screwdriver, a flathead screwdriver, an adjustable wrench, and a pair of pliers. Do not buy a 100-piece set; just grab the basics.
- Duct Tape & Zip Ties: The holy grail of frugal hacking. These can temporarily hold up a dragging bumper or secure a loose hose until you reach a mechanic.
2. Visibility & Safety
If you are stuck on the side of the road, your number one priority is not getting hit by another driver.
- Reflective Warning Triangles or LED Flares: Traditional flares expire and are dangerous. Reusable LED flares or simple reflective triangles are cheap and last forever.
- A Real Flashlight (with extra batteries): Skip the dollar-store plastic lights. Invest $10 in a solid LED tactical flashlight.
- High-Visibility Reflective Vest: These cost about $5 and are literal lifesavers if you have to change a tire in the dark.
3. First Aid & Comfort
While you wait for help, you need to be safe, warm, and relatively comfortable.
- DIY First Aid Kit: Bandages, antiseptic wipes, gauze, and pain relievers. We will talk about how to hack this for pennies in the next section.
- Emergency Mylar Blankets: These “space blankets” reflect your body heat back to you. They cost about $1 each and take up zero room.
- Bottled Water & Non-Perishable Snacks: Think protein bars or trail mix. Avoid chocolate (it melts in the summer) and canned goods (they can freeze and burst in the winter).
Dollar Store & Thrift Shop Hacks for Your Kit
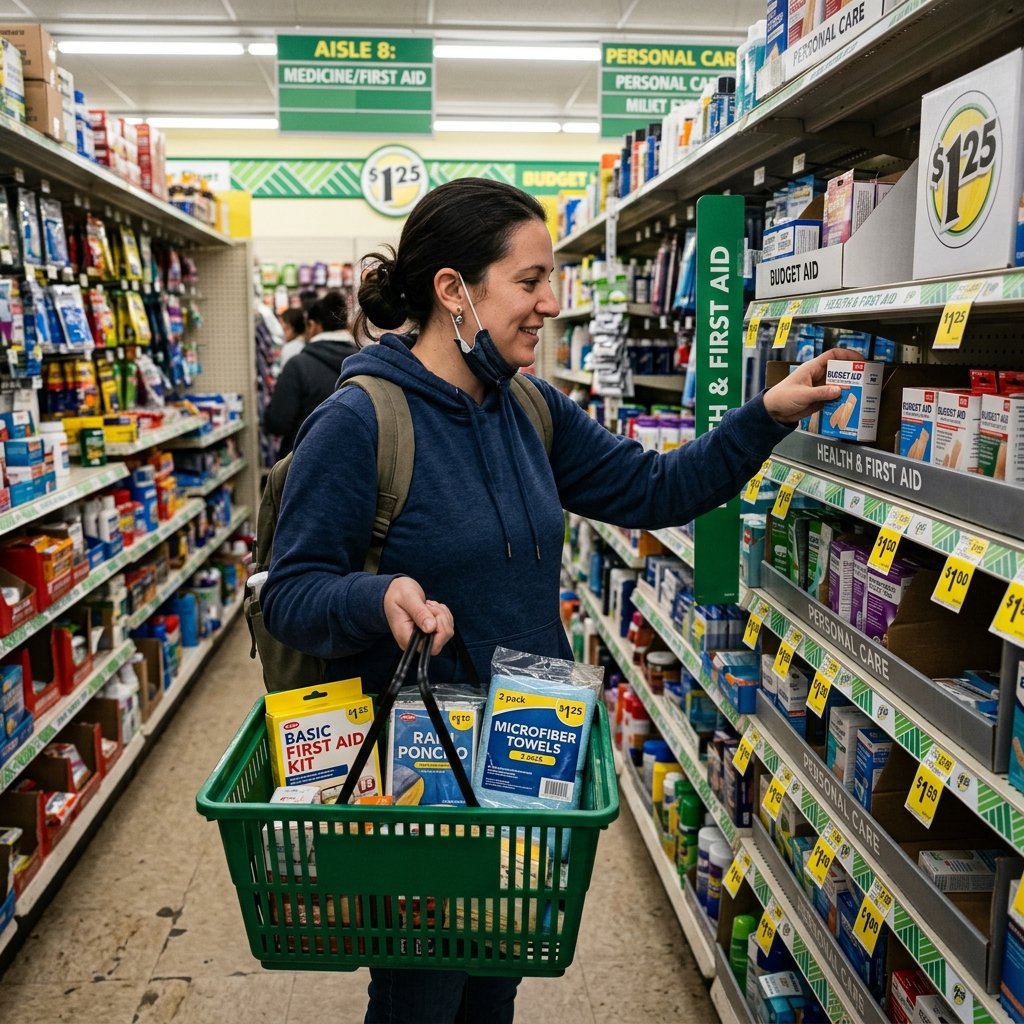
Now that we know what we need, let’s talk about where to get it without draining your bank account. The secret to frugal living isn’t just buying cheap things; it is knowing *when* to buy cheap things and when to invest in quality. As your Frugal Hacker guide, I have scoured the aisles to figure out exactly how to game the system.
The Frugal Hacker’s Key Rule: Never cheap out on the critical tools that save your car (like jumper cables or tire inflators), but absolutely cheap out on the comfort and storage items (like blankets, bandages, and the bag itself).
The Dollar Store Haul
Your local dollar store is a goldmine for the comfort and first-aid sections of your kit. Here is exactly what you should buy there:
- First Aid Supplies: You can build a robust first-aid kit by buying a box of generic bandages, a bottle of rubbing alcohol, cotton pads, and generic ibuprofen. Total cost? Around $5.00. A comparable pre-made first aid kit at a pharmacy would cost $15.00 to $20.00.
- Storage Containers: Buy a small plastic Tupperware container to keep your first aid supplies dry and organized.
- Ponchos & Gloves: Grab a two-pack of cheap plastic rain ponchos and a pair of basic gardening/work gloves. Changing a tire in the rain is miserable; doing it without gloves is a recipe for busted knuckles.
- Microfiber Towels & Hand Sanitizer: Cars get dirty. You will want something to wipe your hands on after checking your oil or changing a tire.
The Thrift Shop Treasure Hunt
Next stop: the thrift store. This is where you save massive amounts of money on the bulky items.
- The Bag Itself: Pre-made kits charge you a premium for a cheap, branded nylon bag. Go to a thrift store and buy a sturdy, used canvas duffel bag or an old backpack for $3.00 to $5.00. It will be higher quality and hold much more.
- Warm Blankets: While mylar blankets are great for emergencies, having a real fleece blanket is fantastic for comfort. Thrift stores sell thick, warm blankets for pennies on the dollar. Just wash it in hot water before packing it away!
- Basic Hand Tools: Thrift stores often have bins of loose tools. You can usually find a perfectly good screwdriver or wrench for $0.50 each.
The Math: Cost Breakdown of DIY vs. Store-Bought
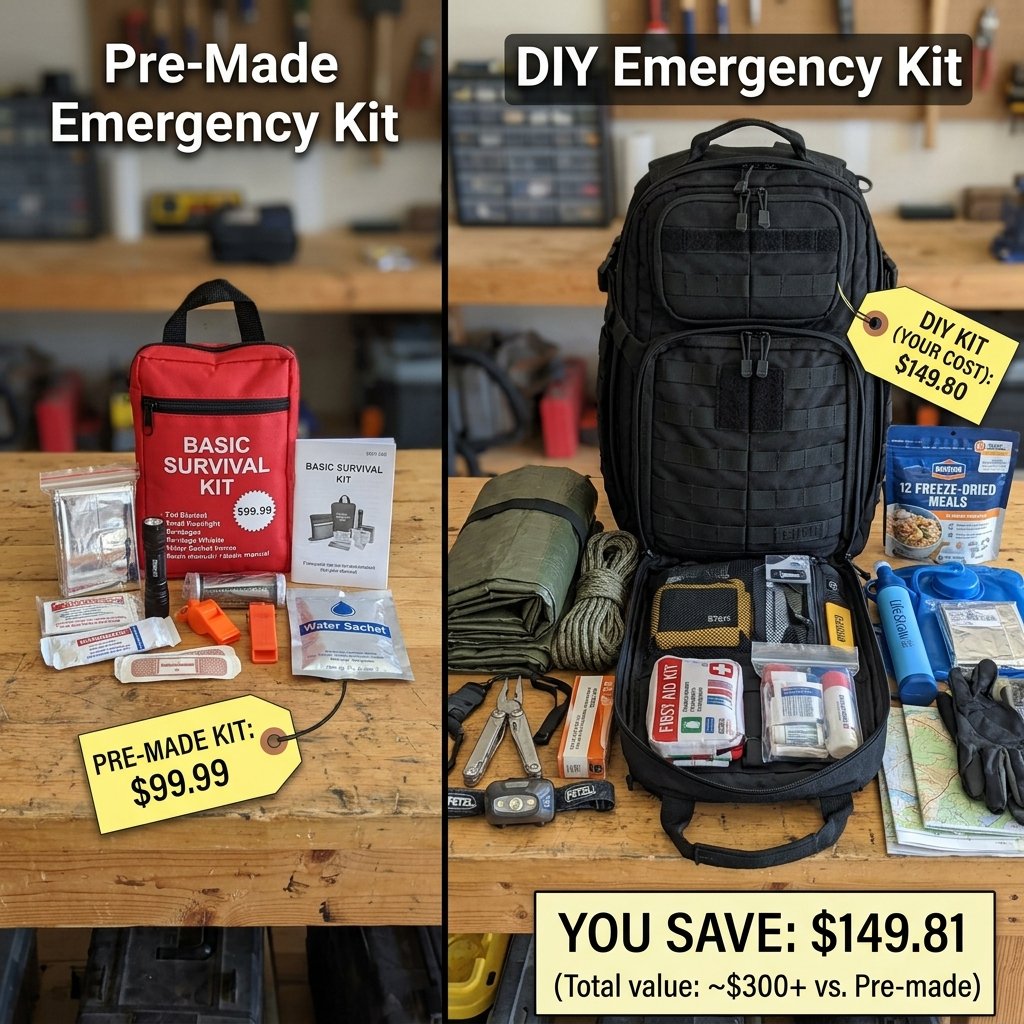
You know I love to show you the receipts. The frugal lifestyle is all about the numbers, so let’s break down exactly how much money you are saving by hacking this kit yourself instead of clicking ‘Add to Cart’ on a generic, overpriced pre-made kit.
In this breakdown, we are comparing a highly-rated, mid-tier “Roadside Emergency Kit” found at a major auto parts retailer (which retails for $85.00) against our street-smart DIY approach.
| Item / Category | Store-Bought Kit Cost | Frugal DIY Cost |
|---|---|---|
| Storage Bag | Included (Low Quality Nylon) | $4.00 (Thrifted Backpack) |
| Jumper Cables | Included (10-gauge, weak) | $18.00 (6-gauge, Heavy Duty) |
| First Aid Supplies | Included (Bare bones, 10 items) | $5.00 (Dollar Store, 50+ items) |
| Flashlight & Batteries | Included (Squeeze-powered, dim) | $8.00 (LED Tactical + Batteries) |
| Warmth (Blankets/Ponchos) | Included (1 Mylar blanket) | $4.00 (Thrifted Fleece + Ponchos) |
| Tools (Screwdriver/Pliers) | Not Included | $3.00 (Thrifted loose tools) |
| Safety Vest & Triangles | Included (1 tiny triangle) | $6.00 (Vest + 3 Reflectors online) |
| Duct Tape & Zip Ties | Not Included | $2.00 (Dollar Store) |
| Total Estimated Cost | $85.00 (Plus Tax) | $50.00 (Plus Tax) |
Look at that! Not only are you saving $35.00 right off the bat, but your DIY kit is infinitely superior. You have heavy-duty jumper cables that will actually start a dead truck, a real blanket to keep you warm, tools that won’t snap in half, and a bag that won’t rip at the seams. You are paying less money for a significantly higher survival value. That is the definition of a successful frugal hack!
Step-by-Step: Assembling Your Frugal Kit
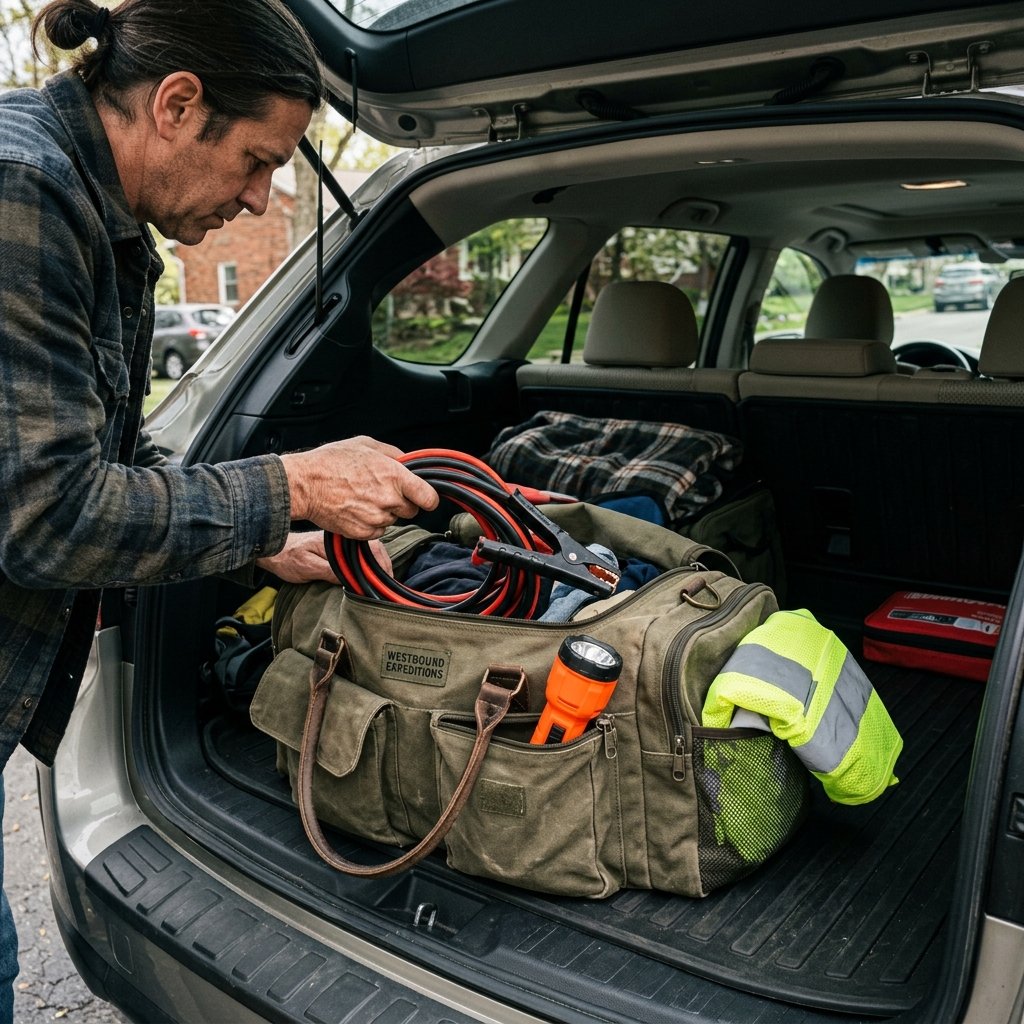
Alright, you have done the math, you have hit the thrift stores, and you have your pile of supplies. Now it is time to put it all together. How you pack your kit is almost as important as what is in it. If you throw everything loosely into your trunk, it will rattle around, get crushed, or go missing right when you need it.
Follow this step-by-step guide to assemble a kit that is organized, accessible, and ready for anything:
- Audit Your House First: Before you spend a single dime, walk through your house. Do you have an old flashlight in a junk drawer? Extra band-aids in the bathroom? Half a roll of duct tape in the garage? An old backpack you haven’t used since college? Gather these free items first. You will be shocked at how much of your kit you already own.
- Waterproof the Vulnerable Items: Cars leak, trunks get damp, and condensation happens. Take your first aid supplies, matches, batteries, and spare clothes, and put them inside Ziploc bags. This simple $0.10 hack ensures your gear isn’t ruined by moisture.
- Pack Heavy Items on the Bottom: Place your jumper cables, tools, and tire inflator at the bottom of your thrifted bag. This gives the bag a solid base and prevents heavy metal items from crushing your snacks or first aid supplies.
- Keep Immediate Needs on Top: Your flashlight, reflective vest, and rain poncho should be at the very top of the bag, or in an outside pocket. If you break down at night in the pouring rain, you do not want to be digging through jumper cables in the dark to find your flashlight.
- Secure the Bag in Your Trunk: Don’t let your new kit slide around every time you take a sharp turn. Use a bungee cord (another dollar store find!) to strap the bag to a tie-down hook in your trunk, or tuck it securely into the spare tire wheel well if you have the space.
Seasonal Swaps: Winter vs. Summer Prep
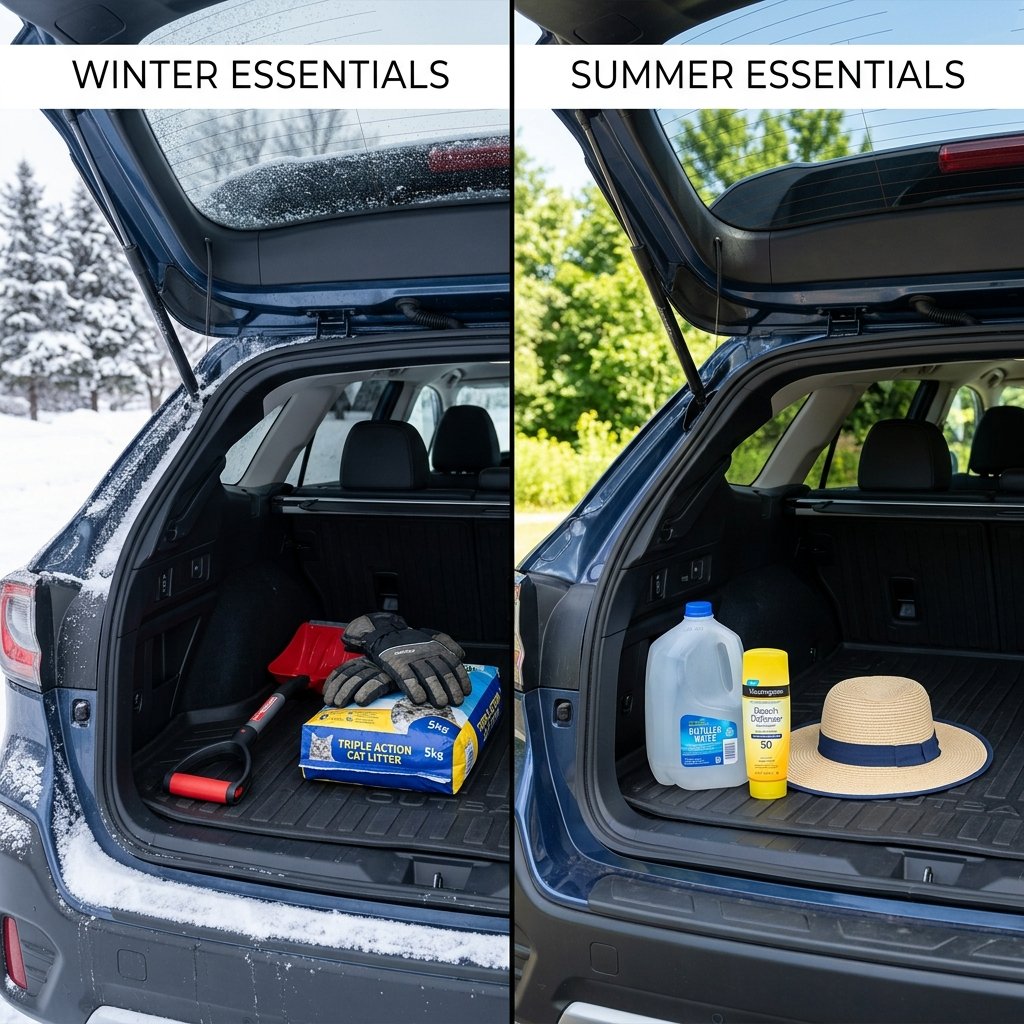
One of the biggest mistakes people make with emergency kits is the “set it and forget it” mentality. The trunk of your car is an extreme environment. In the summer, it can reach over 140 degrees Fahrenheit. In the winter, it can drop well below freezing. A truly street-smart frugal hacker knows that a kit must evolve with the seasons.
The Winter Kit Expansion
Winter breakdowns are arguably the most dangerous. When the snow starts falling, you need to add a few seasonal specific items to your bag. The good news? These are also incredibly cheap.
- Kitty Litter or Sand: If your tires are spinning on ice, pouring a little non-clumping kitty litter under the treads provides instant traction. You can buy a small bag for about $3.00.
- Compact Snow Shovel: Don’t buy a fancy collapsible tactical shovel. Go to a hardware store at the end of winter and buy a small, plastic garden shovel on clearance for $2.00. It works perfectly for digging snow out from behind your tires.
- Extra Warmth: Throw an old beanie, a pair of thick wool socks, and some chemical hand warmers (a dollar store staple) into your bag.
The Summer Kit Expansion
Summer brings its own set of problems, mainly heat exhaustion and overheating engines.
- Extra Coolant and Water: Keep a gallon of distilled water in the trunk. It costs $1.50 and can be used to top off an overheating radiator or to keep you hydrated while you wait for a tow.
- Sun Protection: Throw a cheap bottle of sunscreen and a wide-brimmed thrift store hat into your kit. Standing on the asphalt of a highway shoulder in July will burn you faster than you think.
- Remove Melting Hazards: Take out any lip balms, ointments, or snack bars with chocolate that you packed during the winter. They will melt into a disastrous, sticky mess in a hot trunk.
Don’t Set It and Forget It: Maintenance & Expiration
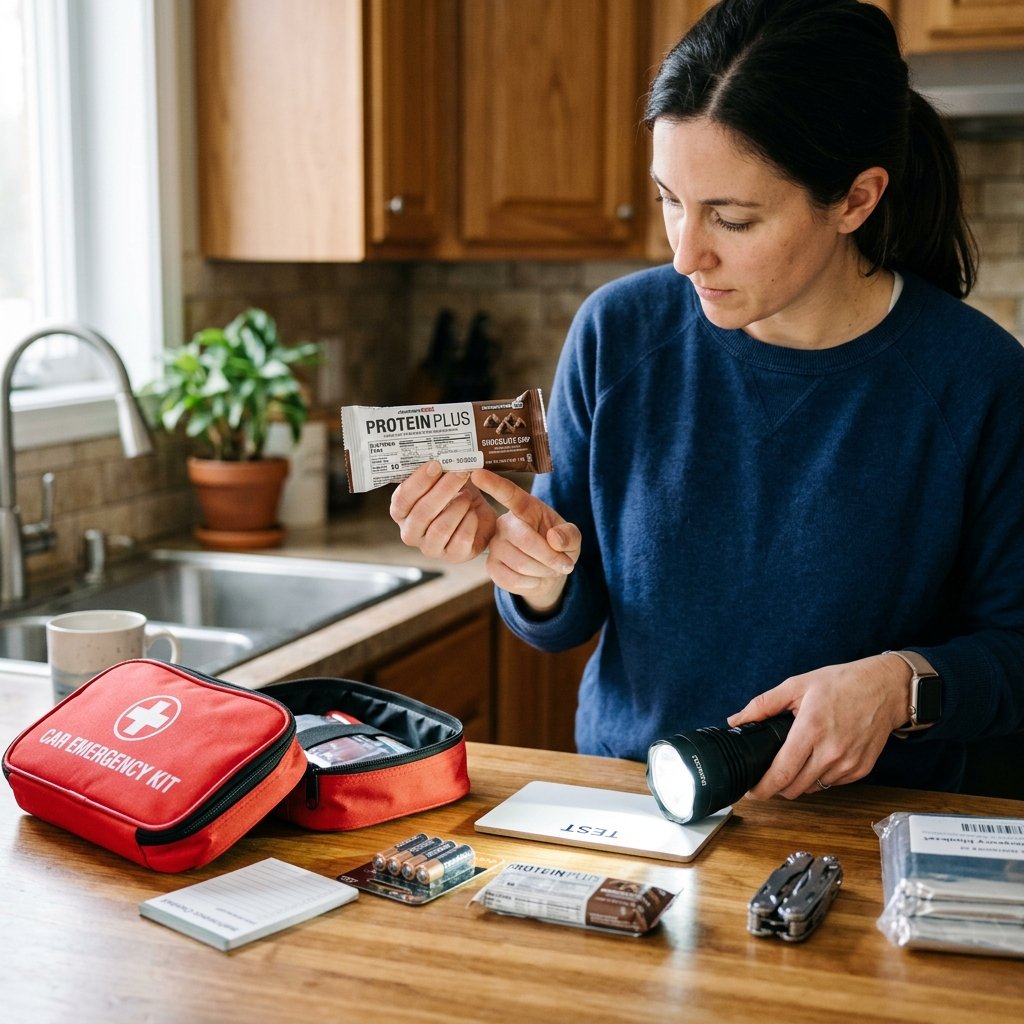
You have built the ultimate frugal emergency kit. It is sitting in your trunk, looking organized and ready for action. But your job isn’t quite done yet. Just like you need to change your car’s oil, you need to perform routine maintenance on your emergency kit. Doing this ensures that your frugal investment actually pays off when an emergency strikes.
Scam Warning: Beware of cheap, generic batteries sold in bulk online. They are notorious for leaking acid and ruining flashlights. Stick to name-brand alkaline or lithium batteries for your emergency kit, even if they cost a few dollars more. A ruined flashlight is a waste of money!
Set a recurring alarm on your phone for every six months (coinciding with daylight saving time is a great trick!). When that alarm goes off, bring your kit inside and do a 15-minute audit:
- Check the Batteries: Turn on your flashlight. Is it dim? Replace the batteries. Even if you haven’t used them, batteries slowly discharge over time. *Pro-hack: Store the batteries outside of the flashlight in a small plastic baggie to prevent corrosion.*
- Rotate the Snacks and Water: Bottled water plastic degrades over time, especially in a hot car, and protein bars turn into rocks. Eat the snacks, drink the water, and replace them with fresh ones from your pantry.
- Inspect First Aid Expirations: Yes, bandages and ointments expire! The adhesive on cheap bandages will turn to dust after a few years in a hot trunk. Swap out anything that looks questionable.
- Test the Tire Inflator: Plug your portable air compressor into your car’s 12V outlet and make sure it still turns on. You do not want to discover a blown fuse on the device while stranded on the side of a highway.
By taking 15 minutes twice a year, you guarantee that your kit will function flawlessly. It is the ultimate insurance policy, and it costs you absolutely nothing to maintain.
Conclusion
There you have it, my fellow frugal hackers! Building a comprehensive, reliable car emergency kit does not require a massive budget or a trip to an overpriced specialty auto store. By focusing on the absolute essentials, leveraging the power of dollar stores and thrift shops, and applying a little bit of DIY ingenuity, you can create a kit that outperforms the expensive store-bought versions for a fraction of the cost.
Remember, the goal of frugal living isn’t just to hoard pennies; it is to spend your money wisely so you can live a stress-free, secure life. Having a well-stocked emergency kit in your trunk gives you incredible peace of mind. Whether you are facing a dead battery in a freezing parking lot or a flat tire on a summer road trip, you will know exactly what to do and have the tools to do it.
So, what are you waiting for? Grab that old backpack from your closet, hit up your local dollar store this weekend, and start building your kit. Stay safe out there, keep hacking your budget, and never let a roadside emergency drain your wallet again!
Disclaimer: I am a frugal living enthusiast, not a certified mechanic or financial advisor. The tips provided in this article are for informational purposes. Always use your best judgment and consult with a professional mechanic for serious vehicle repairs or roadside assistance needs.

Makenzie is the founder and lead writer at MoneyHackTips.com — a personal finance blog dedicated to delivering street-smart financial wisdom for real people on real budgets. With 300+ published articles covering everything from debt management to investing fundamentals, Makenzie’s mission is to make every dollar work harder. When not writing about money hacks, Makenzie is testing frugal living strategies, optimizing side hustles, and helping readers build financial freedom from scratch.