
Hey there, frugal friends! We have all experienced that dreaded, slow-motion moment of sheer terror. You are wearing your absolute favorite shirt—the one that fits just right, makes you feel incredibly confident, and maybe even cost you a pretty penny—and suddenly, disaster strikes. A rogue drop of morning coffee, a splash of evening red wine, or a sneaky splatter of olive oil from your dinner lands right dead center on the front of your chest. Panic instantly sets in. You might think that shirt is destined for the rag bin, or worse, that you need to spend $15.00 at the specialty dry cleaner or buy an overpriced $8.00 chemical stain spray from the supermarket that barely even works.
Well, I am here to tell you to put your wallet away and take a deep breath. As the Ultimate Frugal Hacker, I am going to share my absolute favorite, battle-tested, street-smart secret with you. We are going to save your wardrobe and your budget with a miracle stain removal hack that costs less than $1.00 to make. Yes, you heard that right! For just a few pennies per use, utilizing items you probably already have sitting in your kitchen and bathroom cabinets, you can obliterate the toughest stains known to laundry kind. This is not just about saving money; it is about taking control of your resources, extending the life of your clothing, and refusing to fall victim to the clever marketing of the cleaning product industry. Let us dive into the magic formula that will change how you do laundry forever and keep your hard-earned cash right where it belongs: in your pocket!
The Heartbreak of the Stubborn Stain (And Why Store-Bought Removers Are a Rip-Off)
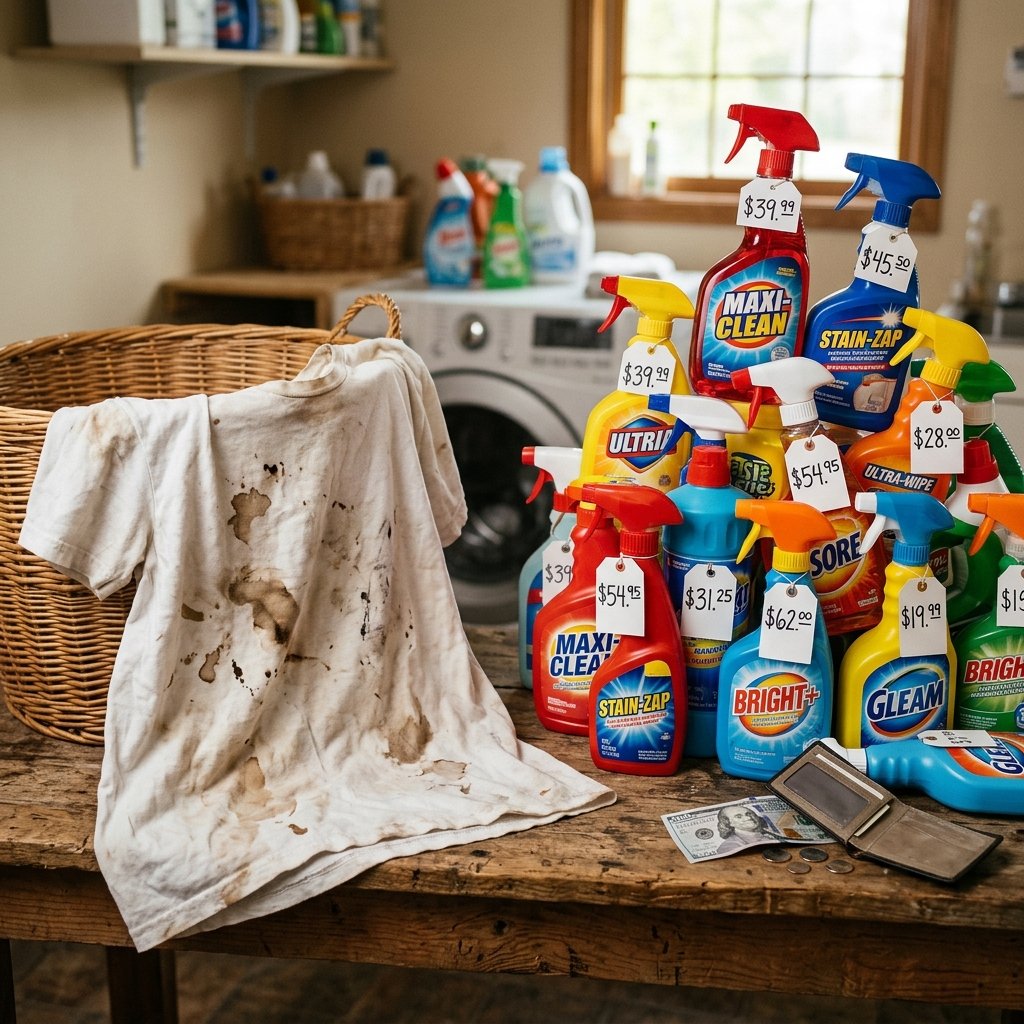
Let us talk about the real cost of clothing stains. When you ruin a shirt, you are not just losing a piece of fabric; you are losing the initial investment you made in that garment. If you bought a nice button-down for $40.00 and wear it twice before ruining it with mustard, your cost-per-wear is a painful $20.00. That is the exact opposite of frugal living! The natural reaction for most people is to rush to the store and buy a brand-name stain remover. But let us look at the reality of those products. They are often packed with harsh chemicals, strong artificial fragrances, and they come with a premium price tag simply because of the brand name slapped on the plastic bottle. You are paying for marketing, packaging, and shipping water across the country.
Furthermore, many of these commercial sprays are highly specialized. You need one for grease, one for organic stains, and another for ink. Before you know it, you have spent $25.00 on a whole arsenal of plastic bottles cluttering up your laundry room shelf. As a frugal hacker, you have to recognize this as a trap. The cleaning industry wants you to believe that you need their expensive, proprietary formulas to keep your clothes clean. But the truth is, basic chemistry is all you need. By understanding how different household ingredients interact with stains, you can create a universal, powerhouse solution that outperforms the expensive stuff at a fraction of the cost. It is time to stop throwing away perfectly good clothes and stop throwing away perfectly good money on overpriced sprays.
The $1 Miracle Formula: What You Need
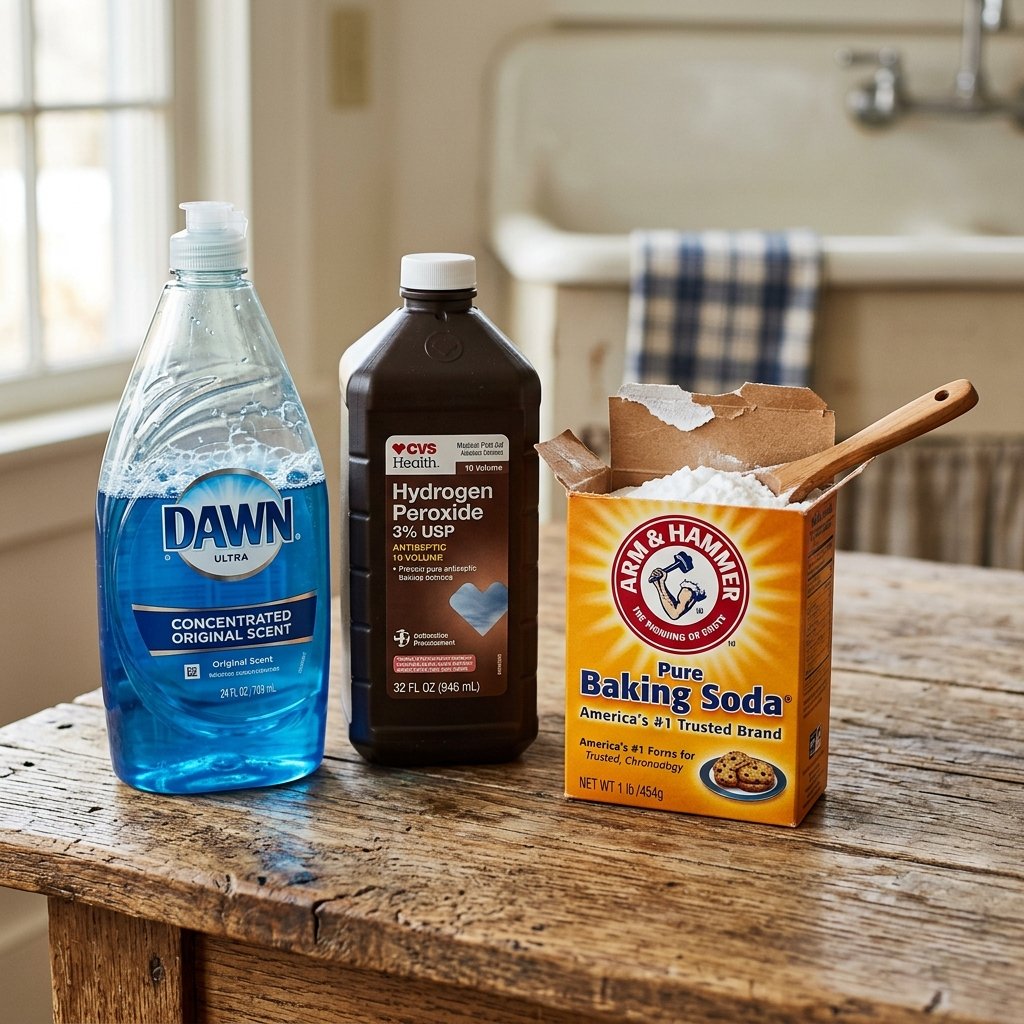
You do not need a degree in chemistry to pull off this miracle hack. The beauty of this DIY stain remover is its absolute simplicity. You only need three powerhouse ingredients, and I can almost guarantee you already have them in your home right now. If you do have to buy them, they are incredibly cheap and will last you for months, if not years, of stain-fighting action.
- Original Blue Dawn Dish Soap: This is the undisputed champion of grease-cutting. It is so gentle yet effective that wildlife rescuers use it to clean oil off baby ducks, so you know it is safe for your fabrics. It breaks down the lipid barriers in oil and grease stains like absolute magic.
- 3% Hydrogen Peroxide: You know those brown bottles sitting in your medicine cabinet? That is your color-safe bleach alternative. Hydrogen peroxide is fantastic at breaking down organic stains like blood, wine, coffee, and sweat. It lifts the pigmentation right out of the fibers without stripping the dye from your clothes.
- Baking Soda (Sodium Bicarbonate): This is the ultimate scrubbing agent and odor neutralizer. Baking soda provides a very gentle abrasion to help lift the stain physically from the fabric weave, and it absorbs any lingering smells associated with the spill.
When you combine these three ingredients, you create a chemical reaction that cuts through fat, lifts color, and scrubs away residue all at once. It is a triple-threat approach that commercial brands charge top dollar for, but you are going to make it for pennies.
Cost Breakdown: DIY vs. Store-Bought
You know we do not do anything around here without running the numbers first! As a frugal living enthusiast, your greatest weapon is math. Let us look at the cold, hard numbers of why making your own stain remover is the ultimate frugal flex. We will compare the cost of standard store-bought options against our miracle DIY formula.
| Stain Remover Type | Cost Per Ounce | Total Estimated Cost (16oz) |
|---|---|---|
| Name Brand Spray (OxiClean, Shout) | $0.35 | $5.60 |
| Specialty Dry Cleaner (Per Garment) | N/A | $15.00+ |
| The $1 Miracle Hack | $0.06 | $0.96 |
Look at that table! By switching to our DIY method, you are saving nearly $5.00 every single time you mix up a 16-ounce batch. Over the course of a year, if you do a lot of laundry or have messy kids, that can easily equate to a savings of $50.00 to $100.00 annually just on stain remover. And when you factor in the cost of the clothing you are saving from the trash bin—let us say you save just three $30.00 shirts a year—you are keeping an extra $90.00 in your bank account. Frugality is all about these small, smart substitutions that compound into massive savings over time.
Step-by-Step Guide to Saving Your Shirt
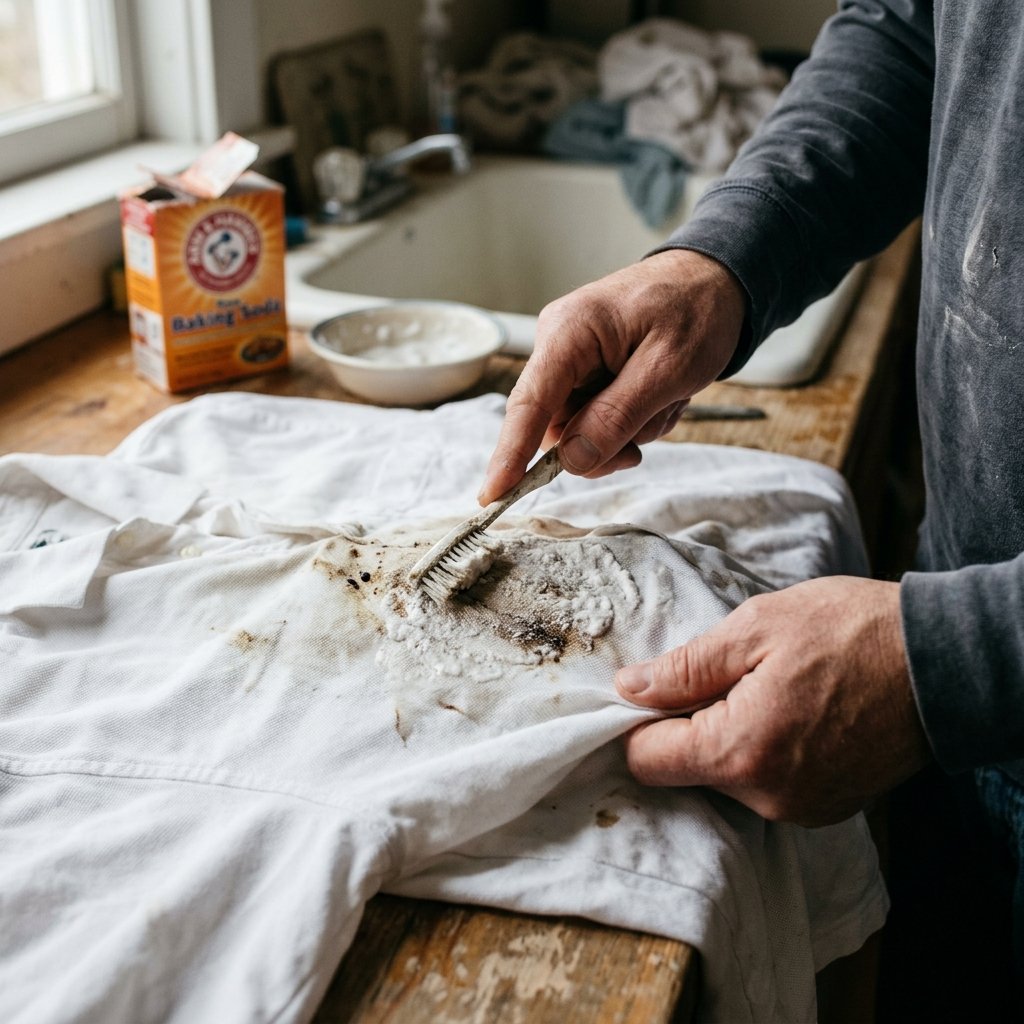
Alright, let us get our hands dirty (or clean, in this case). Here is the exact, foolproof process for lifting that nasty stain out of your favorite garment. Follow these steps closely for the best results.
- Act Fast and Blot: The moment the spill happens, do not rub it! Rubbing pushes the stain deeper into the fibers. Instead, take a clean, dry cloth or paper towel and gently blot the area to absorb as much excess liquid or grease as possible.
- Mix the Miracle Potion: In a small bowl, combine 1 part Dawn dish soap with 2 parts hydrogen peroxide. (For example, 1 tablespoon of Dawn and 2 tablespoons of peroxide). Add just enough baking soda to create a runny paste. You want it thick enough to sit on the stain, but wet enough to penetrate the fabric.
- Apply the Paste: Spoon the mixture directly onto the stain. Ensure the entire stained area is completely covered with a generous layer of your DIY paste.
- The Gentle Scrub: Take an old, soft-bristled toothbrush (another great way to repurpose and save money!) and gently work the paste into the fibers using small, circular motions. Do not scrub too aggressively, or you risk damaging the fabric weave.
- Let It Marinate: This is the most crucial step. Let the garment sit for at least 30 minutes. For older, set-in stains, let it sit for an hour or even overnight. The chemical reaction needs time to break down the molecular bonds of the stain.
- Wash as Normal: Toss the shirt into the washing machine and wash it on the coldest setting recommended for that fabric. Cold water prevents any remaining proteins from cooking into the fabric.
The Ultimate Frugal Hacker Rules for Stain Removal
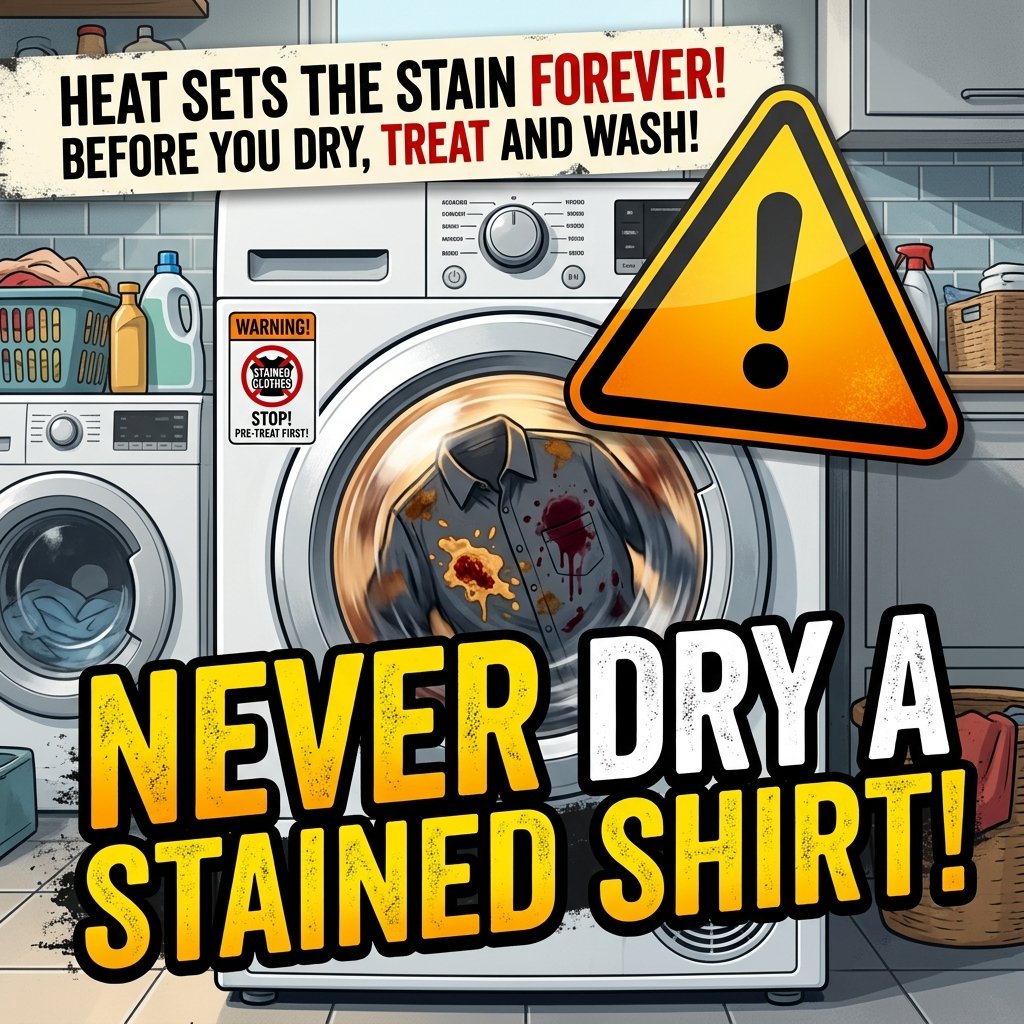
Before you go scrubbing away like a laundry maniac, you need to know the golden rules of stain removal. Even the best $1 hack can fail if you do not follow the proper protocols. As a frugal hacker, avoiding mistakes is just as important as finding the right solution.
Key Rule #1: Never, ever put a stained garment in the dryer! The high heat of a tumble dryer will literally bake the stain into the fibers permanently. Always let the garment air dry after washing. Once it is completely dry, inspect it in natural sunlight. If the stain is still there, repeat the hack. Only put it in the dryer when you are 100% sure the stain is obliterated.
Key Rule #2: Always patch test first. While hydrogen peroxide is color-safe for the vast majority of modern fabrics, it can occasionally lighten vintage dyes or delicate silks. Apply a tiny dot of your mixture to an inconspicuous area (like the inside hem) and wait ten minutes to ensure there is no color bleaching.
By following these rules, you ensure that your frugal efforts do not accidentally result in a ruined garment. Patience and precision are your best friends here.
Bonus: Tackling Specific Nightmare Stains
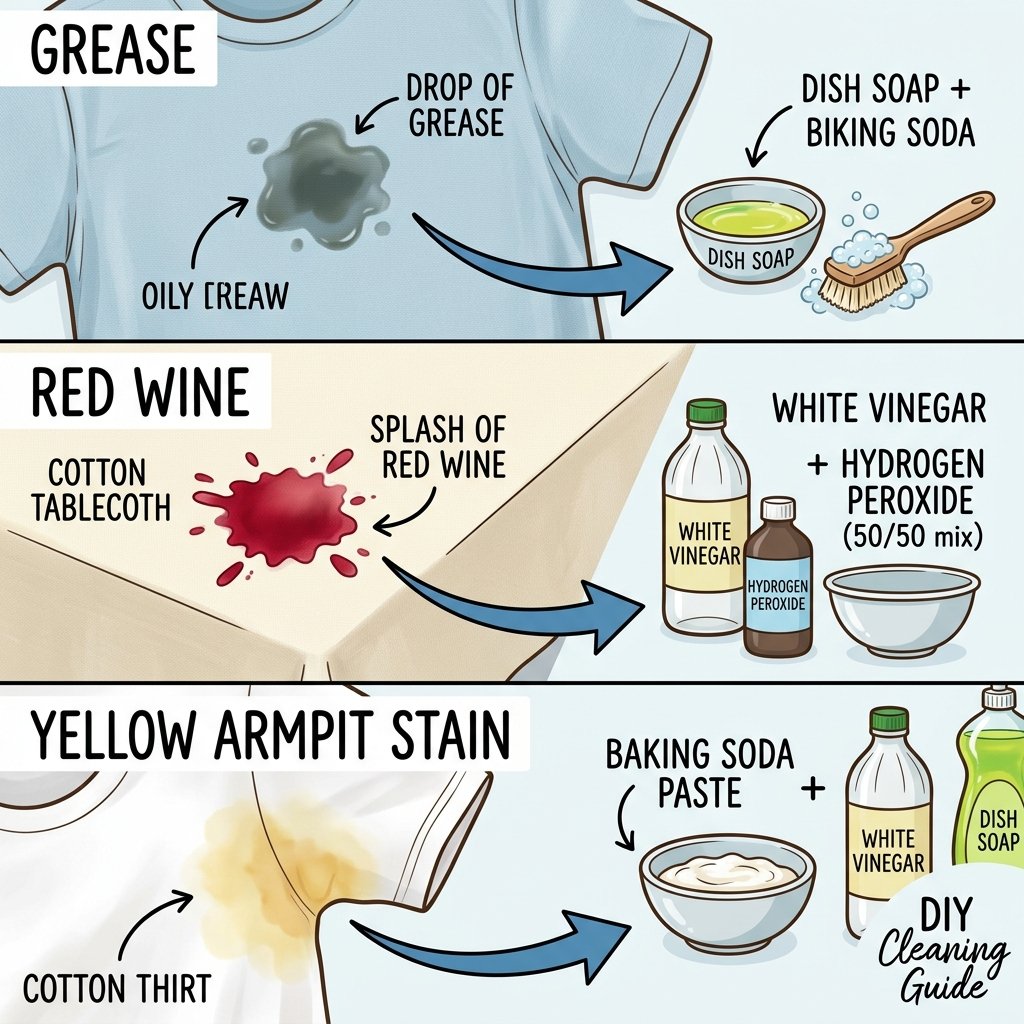
While our $1 miracle hack is a fantastic all-purpose weapon, sometimes you need to tweak your approach based on the specific enemy you are facing. Here is how to handle the worst offenders.
Grease and Oil Stains
Whether it is salad dressing, motor oil, or bacon grease, lipids are notoriously difficult. If the stain is fresh, before applying the wet mixture, sprinkle a heavy layer of plain baking soda or cornstarch directly onto the oil spot and let it sit for 15 minutes. The dry powder will act like a sponge, pulling the oil up out of the fabric. Shake it off, and then apply the $1 dish soap mixture. The dish soap will easily conquer whatever grease is left behind.
Red Wine and Berries
For these intense organic dyes, hydrogen peroxide is your best friend. If the stain is fresh, pull the fabric taut over a bowl and pour boiling water directly through the stain from a height of about a foot. This physically pushes the pigments out. Then, follow up with the $1 miracle hack, leaning a bit heavier on the hydrogen peroxide ratio to lift the remaining purple or red hues.
Sweat and Deodorant Pit Stains
Those yellow, crusty armpit stains are a combination of protein (sweat) and aluminum (from deodorant). They ruin perfectly good white shirts! To hack this, make your $1 paste but add a splash of white vinegar. The vinegar helps break down the mineral buildup from the deodorant, while the peroxide lifts the yellow discoloration. Scrub it in well, let it sit for an hour, and watch your white shirts come back to life!
Conclusion
There you have it, my frugal friends! You now possess the ultimate knowledge to save your favorite shirts, pants, and dresses from the trash bin. By utilizing the simple, inexpensive power of Dawn dish soap, hydrogen peroxide, and baking soda, you are not just cleaning clothes; you are taking a stand against unnecessary spending. Why hand over $8.00 to a massive corporation for a bottle of chemicals when you can mix up a superior, miracle solution for less than $1.00 in your own kitchen?
Frugal living is all about empowerment. It is about looking at everyday problems and finding smart, cost-effective solutions that keep your budget intact. Every time you rescue a garment using this hack, give yourself a pat on the back. You are reducing waste, saving money, and mastering the art of household hacking. So, the next time you spill coffee on your favorite top, do not panic. Just smile, head to your kitchen, and mix up a batch of the $1 miracle. Happy hacking, and may your laundry always be spotless and your wallet always be full!

Makenzie is the founder and lead writer at MoneyHackTips.com — a personal finance blog dedicated to delivering street-smart financial wisdom for real people on real budgets. With 300+ published articles covering everything from debt management to investing fundamentals, Makenzie’s mission is to make every dollar work harder. When not writing about money hacks, Makenzie is testing frugal living strategies, optimizing side hustles, and helping readers build financial freedom from scratch.