Let us face a frustrating, seasonal truth: summer footwear is an absolute racket. Every year, the weather warms up, and suddenly we are expected to shell out $40 to $80 for a few strips of leather or synthetic plastic glued to a foam sole. If you are outfitting a whole family, or simply trying to stick to a tight budget, buying new summer sandals can quickly drain your wallet. But what if I told you that the secret to gorgeous, custom-fit, and incredibly comfortable summer shoes is currently sitting at the bottom of your donation pile?
Welcome to the ultimate trash-to-treasure footwear revolution. As a frugal crafter and upcycling fanatic, I am always looking for ways to turn what we already have into what we desperately need. Today, we are going to take those stained, stretched out, or unworn cotton tees and transform them into brilliant DIY T-Shirt Yarn Sandals. Not only is this project incredibly budget-savvy, but it takes barely 20 minutes to complete. Whether you are a handy parent trying to replace a blown-out flip-flop on the fly, a crafty gift-giver looking for a unique handmade present, or just someone who appreciates a clever, ruggedly practical life hack, this tutorial is going to change the way you look at footwear forever.
The Anatomy of a Zero-Budget Summer Sandal

Before we start snipping and tying, let us break down the brilliant economics of this project. The beauty of the DIY T-shirt yarn sandal lies in its sheer resourcefulness. We are taking a base that is either dirt cheap or entirely free, and combining it with homemade textile yarn. The result? A bespoke piece of footwear that rivals high-end bohemian boutiques, but costs less than your morning cup of coffee.
Materials Needed:
- One old T-shirt: 100% cotton works best. Look for seamless bodies (no side seams) if possible, though seamed shirts will still work with a slight bump in the yarn.
- A pair of base soles: You can use $1.25 Dollar Tree flip-flops, or rescue an old pair of sandals where the top straps have broken but the sole is still good.
- Heavy-duty fabric scissors: For clean, crisp cuts.
- A crochet hook or chopstick: To help push the yarn through the sole holes.
Let us take a look at the hard numbers. When you embrace the frugal DIY lifestyle, the savings are undeniable.
| Footwear Option | Estimated Cost | Lifespan / Comfort Level |
|---|---|---|
| Store-Bought Fashion Sandals | $35.00 – $75.00 | 1-2 seasons / Often causes blisters initially |
| Basic Cheap Flip-Flops | $5.00 – $10.00 | Blows out in weeks / Uncomfortable plastic straps |
| DIY T-Shirt Yarn Sandals | $0.00 – $1.25 | Easily re-tied / Custom fit, ultra-soft cotton comfort |
The Frugal Upcycler’s Mantra: Why buy new when your closet is already full of raw materials? Every stain, tear, or stretched neckline is just an invitation to create something entirely new.
Step 1: The Magic Snip – Creating Continuous T-Shirt Yarn

Making your own T-shirt yarn (often called ‘tarn’ in crafting circles) is a foundational skill for any serious budget-saver. It turns a useless garment into yards and yards of durable, stretchy, and soft cord. For this project, we need about 10 to 15 yards of yarn, which you can easily get from a single adult-sized large tee.
How to Cut the Yarn:
- Prep the Shirt: Lay your T-shirt flat on a table. Cut off the bottom hem and discard it (or save it for a rugged shop rag). Cut straight across the shirt just under the armpits. You are now left with a tube of fabric.
- Fold with a Gap: Fold one side of the tube over to the other side, but leave a 1-inch gap at the top edge. You do not want the edges to perfectly meet.
- Cut the Strips: Starting from the folded bottom, cut strips about 1 inch to 1.5 inches wide, cutting all the way up past the fold, but stopping at that 1-inch uncut gap at the top. Do this across the entire width of the shirt.
- The Diagonal Magic: Open up the uncut gap section. You will see a series of slits. To make it one continuous strand, cut diagonally from the first slit on the left to the second slit on the right. Continue this diagonal cutting pattern all the way down.
- Stretch and Roll: This is the most satisfying part! Take your long, continuous strip of fabric and pull it tight. The raw edges will magically roll inward, creating a smooth, tubular yarn. Roll it into a ball, and you are ready to weave!
Safety & Crafting Note: Always use sharp, dedicated fabric scissors. Dull scissors will chew the jersey knit, causing fraying instead of a clean, rolling edge. Keep your fingers clear of the blades when making those precise diagonal cuts!
Step 2: Prepping Your Base Sole for the Upcycle
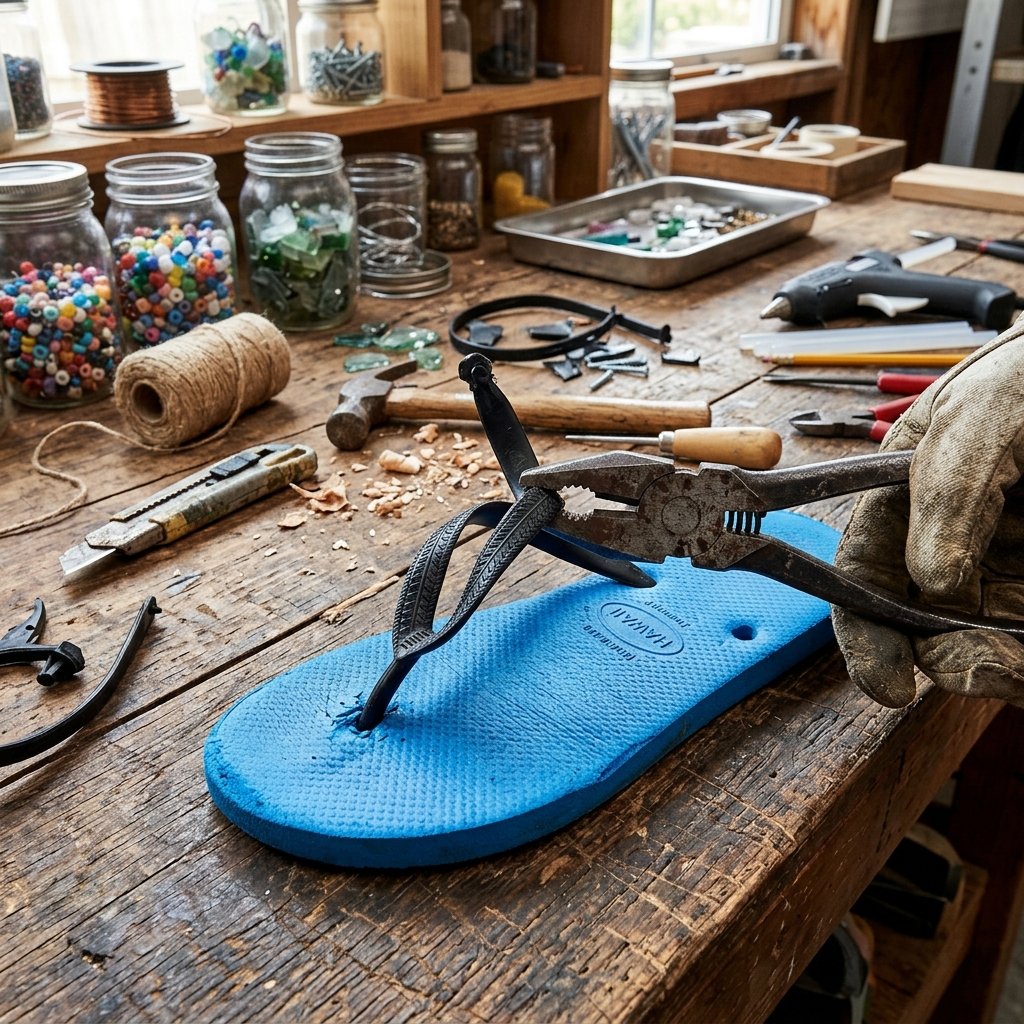
Now that we have our premium, zero-cost yarn, we need a foundation. If you are using an old pair of flip-flops where the toe plug blew out (the classic summer footwear tragedy), you are already halfway there. If you bought a cheap foam pair from the dollar store to use as blanks, we need to do a little demolition first.
Removing the Plastic Straps:
- Flip the sandal over to look at the bottom tread. You will see three circular plastic plugs holding the straps in place.
- Using your heavy-duty scissors or a pair of rugged pliers, snip the plastic plugs off as close to the foam as possible.
- Pull the plastic straps out from the top of the sandal. You should now be left with a completely blank foam sole featuring three perfectly sized holes.
Do not throw those plastic straps away just yet! A clever, resourceful crafter knows that thick plastic can be melted down or repurposed into plant markers, heavy-duty twist ties, or spacers for other DIY projects around the house.
Step 3: The 20-Minute Weave – Tying Your Custom Sandals

This is where the magic happens and where your shoes go from trash to high-end boutique treasure. There are countless ways to tie your sandals, from a simple V-strap to an intricate gladiator wrap. Today, we are focusing on the Braided Slingback, which offers exceptional support, rugged durability, and a clean, masculine-elegant or boho-chic aesthetic depending on your color choice.
The Braided Slingback Method:
- Anchor the Toe: Cut three strands of your t-shirt yarn, each about 4 feet long. Push one end of all three strands down through the top toe hole. Flip the sole over, tie a thick, secure knot, and pull it tight so the knot recesses slightly into the foam tread.
- Braid the Top: Flip the shoe back over. You now have three strands coming up between your toes. Braid these three strands together until the braid reaches the top of your foot (your instep).
- Split and Anchor the Sides: Once you reach the instep, separate the three strands. Take one strand and push it down through the left side hole. Take another strand and push it down through the right side hole. Leave the third strand loose for a moment.
- Secure the Base: Put your foot on the sole to gauge the tension. It should be snug but comfortable. Once sized, tie off the left and right strands under the sole with thick knots, just like you did at the toe. Trim any excess under the shoe.
- The Ankle Wrap: Take that third loose strand from your braid, wrap it around the back of your heel to create a slingback, and tie it securely to the side anchors. For a gladiator look, cut an extra 5-foot piece of yarn, loop it through the side anchors, and crisscross it up your calf!
Because t-shirt yarn is made of jersey knit cotton, it will stretch slightly as you walk. Tie your initial knots just a bit tighter than you think you need to. Within 10 minutes of wearing them, they will mold perfectly to the unique shape of your foot.
Customizing Your Kicks: Rugged Upgrades and Elegant Embellishments
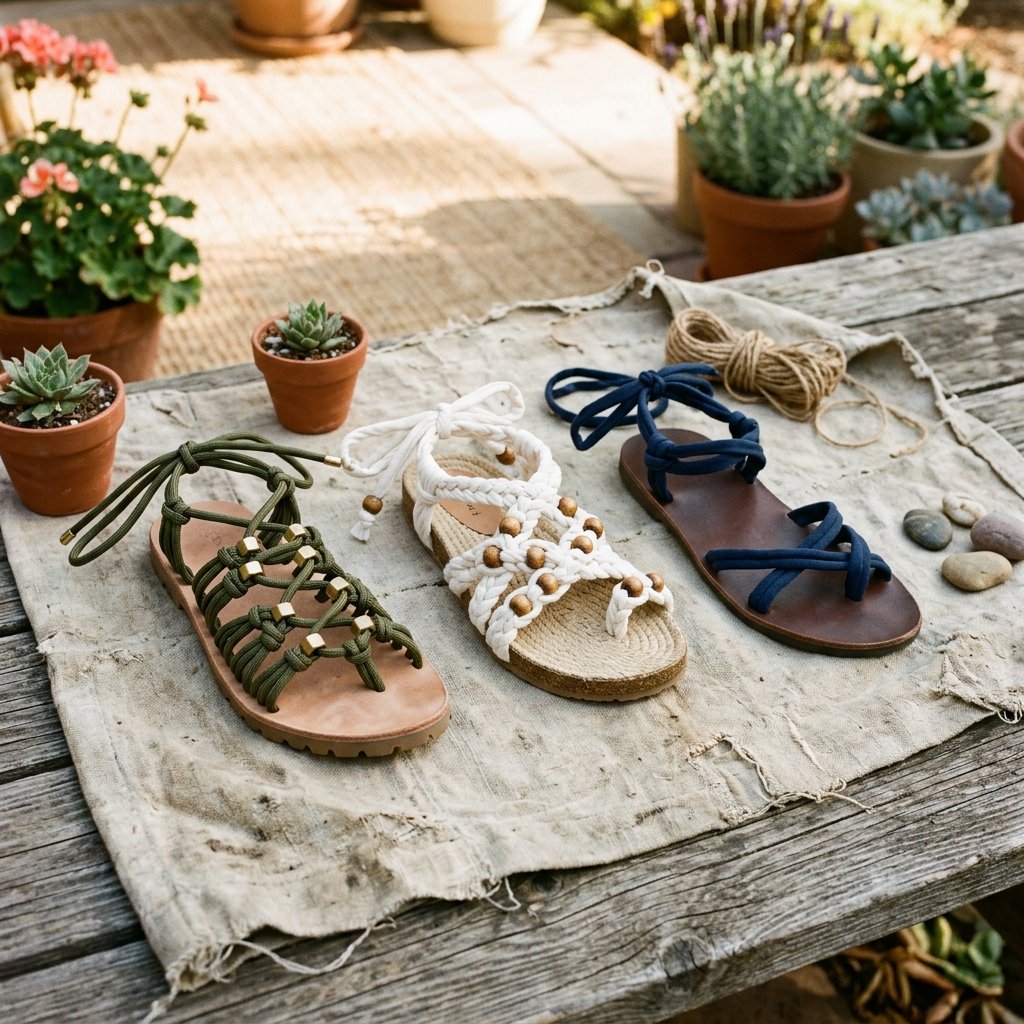
The basic T-shirt yarn sandal is a masterpiece of frugal engineering, but why stop there? As resourceful makers, we can elevate this simple design to suit any style, from a rugged camping sandal to a chic wedding-guest flat. By diving into our craft stashes or repurposing other household items, we can add incredible value and durability without spending an extra dime.
Elevate Your Design:
- The Rugged Outdoorsman: Swap the t-shirt yarn for 550 Paracord. Paracord is incredibly strong, rot-resistant, and gives the sandal a tactical, masculine-elegant vibe. Use a lighter to singe the ends of the paracord so they do not fray. You can even weave in a few hex nuts from the garage as heavy-duty metal beads.
- The Boho Bride on a Budget: If you are planning a beach wedding or need cheap, comfortable dancing shoes for bridesmaids, use white seamless t-shirts. Braid in some faux pearls, wooden beads, or small silk flowers. At less than $2 a pair, you can make matching sandals for the entire bridal party!
- Leather Reinforcements: If you have an old leather purse or jacket you are upcycling, cut small leather circles, punch a hole in the center, and use them as ‘washers’ between the foam sole and your yarn knots on the bottom of the shoe. This prevents the knot from pulling through the foam over time, doubling the lifespan of your sandal.
Pro-Tip for Handy Upcyclers: Want extra grip on those cheap foam soles? Take a hot glue gun and draw zigzag tread patterns on the bottom of the sandal. Once the glue dries, it acts as a phenomenal non-slip rubberized grip for wet summer sidewalks!
Conclusion
And there you have it, my fellow frugal innovators! In the time it takes to watch a sitcom episode, and for less money than you can find in your couch cushions, you have engineered a stunning, custom-fit pair of summer sandals. You have kept textiles out of the landfill, bypassed the fast-fashion footwear industry, and created something uniquely yours.
The next time you are tempted to throw away a stained tee or toss a pair of blown-out flip-flops, remember the power of the magic snip and a simple braid. Keep experimenting with different fabrics, weaving patterns, and embellishments. Share this clever hack with your fellow parents, budget brides, and crafty friends, and let’s make this summer the season of zero-budget, high-style footwear. Now, slip on those gorgeous DIY kicks and step out into the sunshine with the pride of a true master upcycler!

Makenzie is the founder and lead writer at MoneyHackTips.com — a personal finance blog dedicated to delivering street-smart financial wisdom for real people on real budgets. With 300+ published articles covering everything from debt management to investing fundamentals, Makenzie’s mission is to make every dollar work harder. When not writing about money hacks, Makenzie is testing frugal living strategies, optimizing side hustles, and helping readers build financial freedom from scratch.