
Welcome, fellow frugal DIYers, resourceful gift-givers, and crafty upcyclers! If you are reading this, you are likely intimately familiar with the ultimate holiday and birthday struggle: finding a thoughtful, genuinely appreciated gift for the notoriously hard-to-shop-for man in your life. We all know the guy. He is the dad who insists he does not need anything, the husband who immediately buys whatever he wants before you can wrap it, or the rugged brother whose tastes lean toward the practical, the savory, and the masculine. You are tired of settling for generic hardware store gift cards, overpriced grooming kits, or another pair of novelty socks. It is time to roll up your sleeves and tap into your budget-savvy creativity.
Enter the DIY Homemade Beef Jerky Gift Kit. This is not just a snack; it is a meticulously crafted, masculine-elegant culinary experience that you can create in your own kitchen for a fraction of the cost of those overpriced, store-bought artisan meat crates. By combining the skills of a frugal home chef with the aesthetic eye of a Dollar Tree interior designer, you can transform inexpensive cuts of beef and basic pantry staples into a high-end, mouth-watering gift that looks like it came from a boutique rustic smokehouse.
In this comprehensive masterclass, we are going to break down every single step of the process. We will cover the absolute best budget-friendly cuts of meat, the secret to slicing without a commercial meat slicer, three foolproof, rugged marinade recipes that will blow his mind, and the zero-equipment dehydration methods that require nothing more than your standard kitchen oven. Finally, we will channel our inner crafty-expert to package this savory treasure using upcycled glass jars, custom-stamped leather tags, and rustic kraft paper. Get ready to create the ultimate trash-to-treasure, high-impact gift that will have the meat lover in your life begging for refills!
The Anatomy of a Rugged Jerky Kit: Materials & Budget Breakdown

Before we dive into the marinades and the meat, let us talk about the economics of beef jerky. If you have ever browsed the snack aisle or looked at those targeted ads for men’s exotic meat crates, you know that artisanal beef jerky is shockingly expensive. A tiny, 2-ounce bag of craft jerky can easily set you back $8 to $12. A pre-assembled jerky gift crate? You are looking at upwards of $75 to $100 for what essentially amounts to a few handfuls of dried meat and some cardboard packaging.
As frugal DIYers, we know better. We know that with a little elbow grease, some clever sourcing, and a weekend afternoon, we can produce a massive, visually stunning batch of premium jerky for a fraction of that cost. The beauty of this project lies in its scalability and its reliance on pantry staples you likely already have. Below is a detailed breakdown of the materials you will need, juxtaposed with the staggering savings you will achieve by taking the DIY route.
| Gift Component | Store-Bought Artisan Crate Cost | Frugal DIY Estimated Cost |
|---|---|---|
| The Meat (2 lbs yielded jerky) | $60.00 (Multiple small artisanal bags) | $15.00 (Eye of Round Roast on sale) |
| The Marinades (Spices & Sauces) | Included in meat cost above | $3.00 (Using existing pantry staples) |
| The Packaging (Jars, Tags, Twine) | $25.00 (Branded wooden crate/box) | $4.00 (Upcycled mason jars, thrifted leather scraps, Dollar Tree twine) |
| Bonus Add-ins (Toothpicks, Mints) | $10.00 (Overpriced filler items) | $1.50 (Bulk toothpicks, dollar store mints) |
| Total Estimated Cost | $95.00+ | $23.50 |
By stepping into your resourceful, crafty-expert persona, you are saving over $70 while delivering a product that is infinitely more thoughtful, customizable, and free of the artificial chemical preservatives found in commercial brands. You are not just giving him dried meat; you are giving him your time, your effort, and a bespoke flavor profile tailored specifically to his rugged palate.
The Foundation: Selecting and Slicing the Perfect Cut of Beef

The secret to incredible, artisanal beef jerky does not lie in buying the most expensive cut of meat. In fact, fatty, high-end cuts like Ribeye or Wagyu make absolutely terrible jerky because the fat will go rancid during the drying process and ruin the texture. As a budget-savvy maker, this is music to your ears! The absolute best cuts for jerky are the leanest, most affordable, and often toughest cuts on the cow. You are looking for maximum muscle fiber and minimum marbling.
Top Frugal Meat Choices:
- Eye of Round: The undisputed king of homemade jerky. It is incredibly lean, easy to trim, and usually one of the cheapest roasts in the butcher’s case. It has a long, distinct grain that makes slicing a breeze.
- Top Round & Bottom Round: Close runners-up to the Eye of Round. Slightly less uniform in shape, but equally lean and budget-friendly.
- Flank Steak: While slightly more expensive, flank steak offers a phenomenal, robust beef flavor and a very distinct grain that yields a wonderfully chewy jerky. Look for manager’s specials or bulk warehouse deals to keep costs down.
The Master Tailor’s Guide to Slicing Meat
Just as an expert mender knows the importance of cutting fabric along the bias, a jerky craftsman must understand the grain of the meat. The grain refers to the direction that the muscle fibers run. How you slice the meat relative to these fibers determines the final texture of your jerky.
The Golden Rule of Slicing: Slice with the grain for a tough, rugged, long-lasting chew. Slice against the grain for a tender, easier-to-bite jerky that breaks apart cleanly. For most hard-to-shop-for guys who love a traditional, masculine snack, slicing against the grain at a thickness of exactly 1/4 inch provides the perfect balance of chew and tenderness.
Step-by-Step Slicing Technique:
- The Deep Freeze Hack: Place your raw roast in the freezer for exactly 45 to 60 minutes before slicing. You do not want it frozen solid, but you want it firm enough that it does not squish under the pressure of your knife. This is the ultimate clever hack for getting commercial-slicer-quality cuts by hand.
- Trim the Fat: Using a sharp boning knife or a smaller utility knife, meticulously trim away any visible white fat or silver skin from the outside of the roast. Fat is the enemy of jerky shelf-life.
- Identify the Grain: Look closely at the meat to see which way the long muscle fibers are running.
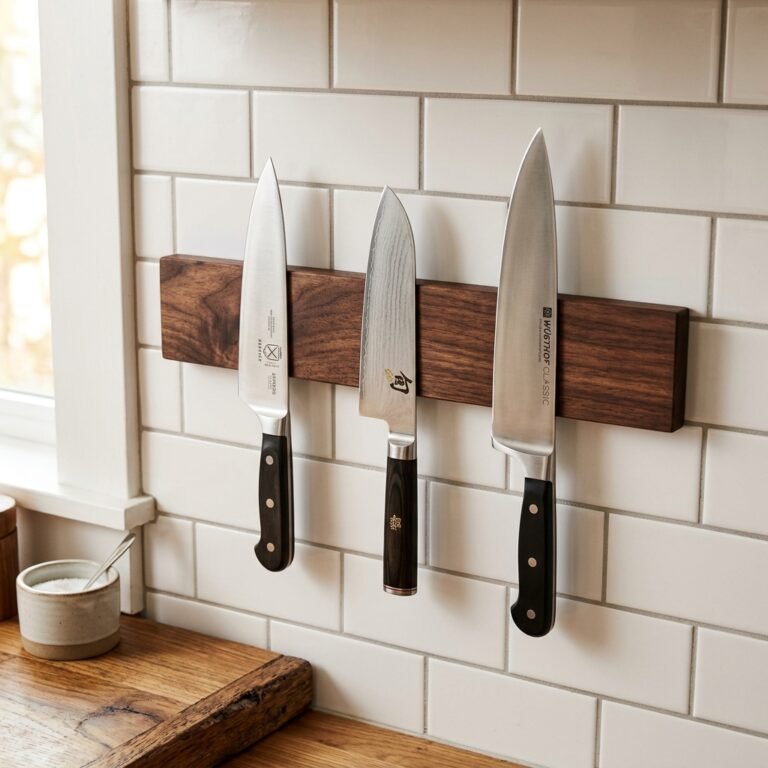
- The Precision Cut: Using your sharpest, longest chef’s knife, slice the meat into strips that are between 1/8 inch and 1/4 inch thick. Consistency is key here! If some pieces are thick and others are thin, they will dry at completely different rates, leaving you with some burnt pieces and some raw pieces.
Flavor Profiles: Crafting Rugged, Mouth-Watering Marinades

Now that your meat is perfectly prepped, it is time to build the flavor. This is where you can truly customize the gift to match his personality. Does he love spicy, sweat-inducing heat? Is he a fan of rich, smoky BBQ? Or does he prefer the classic, peppery pioneer style? Below are three distinct, high-end marinade recipes that utilize basic pantry staples, proving that you do not need to buy expensive, pre-made packets to achieve gourmet results.
Each recipe below is formulated to marinate exactly 1 pound of raw, sliced beef. If you are making a massive 3-pound batch, simply triple the ratios!
| Ingredient Category | The Classic Black Pepper (Rugged & Traditional) | The Smoky Bourbon BBQ (Rich & Southern) | The Spicy Sriracha Teriyaki (Sweet & Fiery) |
|---|---|---|---|
| The Base (Salty/Umami) | 1/2 cup Soy Sauce, 1/4 cup Worcestershire | 1/2 cup Soy Sauce, 2 tbsp Apple Cider Vinegar | 1/2 cup Soy Sauce, 1/4 cup Pineapple Juice |
| The Sweetness | 1 tbsp Brown Sugar | 1/4 cup Dark Brown Sugar, 1 tbsp Molasses | 2 tbsp Honey, 1 tbsp Brown Sugar |
| The Aromatics | 1 tsp Garlic Powder, 1 tsp Onion Powder | 1 tsp Smoked Paprika, 1 tsp Garlic Powder | 1 tbsp Fresh Minced Ginger, 1 clove Minced Garlic |
| The Kick | 1.5 tbsp Coarse Freshly Cracked Black Pepper | 1/4 cup Bourbon Whiskey, 1 tsp Liquid Smoke | 2 tbsp Sriracha, 1 tsp Red Pepper Flakes |
The Marination Process
Combine your chosen ingredients in a medium bowl and whisk vigorously until the sugars are completely dissolved. Place your perfectly sliced beef strips into a large, heavy-duty zip-top bag (or a reusable silicone bag if you are an eco-conscious upcycler). Pour the marinade over the meat, squeeze out as much air as humanly possible, and seal it tight. Massage the bag thoroughly to ensure every single fiber of meat is coated in that liquid gold.
Place the bag flat in the refrigerator. For the absolute best flavor penetration, you must let it marinate for a minimum of 12 hours, though 24 hours is the sweet spot. If you are a handy parent balancing a million tasks, you can easily prep this on a Friday night and let it sit until Saturday afternoon. Just be sure to flip and massage the bag every few hours when you open the fridge to grab a snack!
The Dehydration Process: No Fancy Equipment Needed
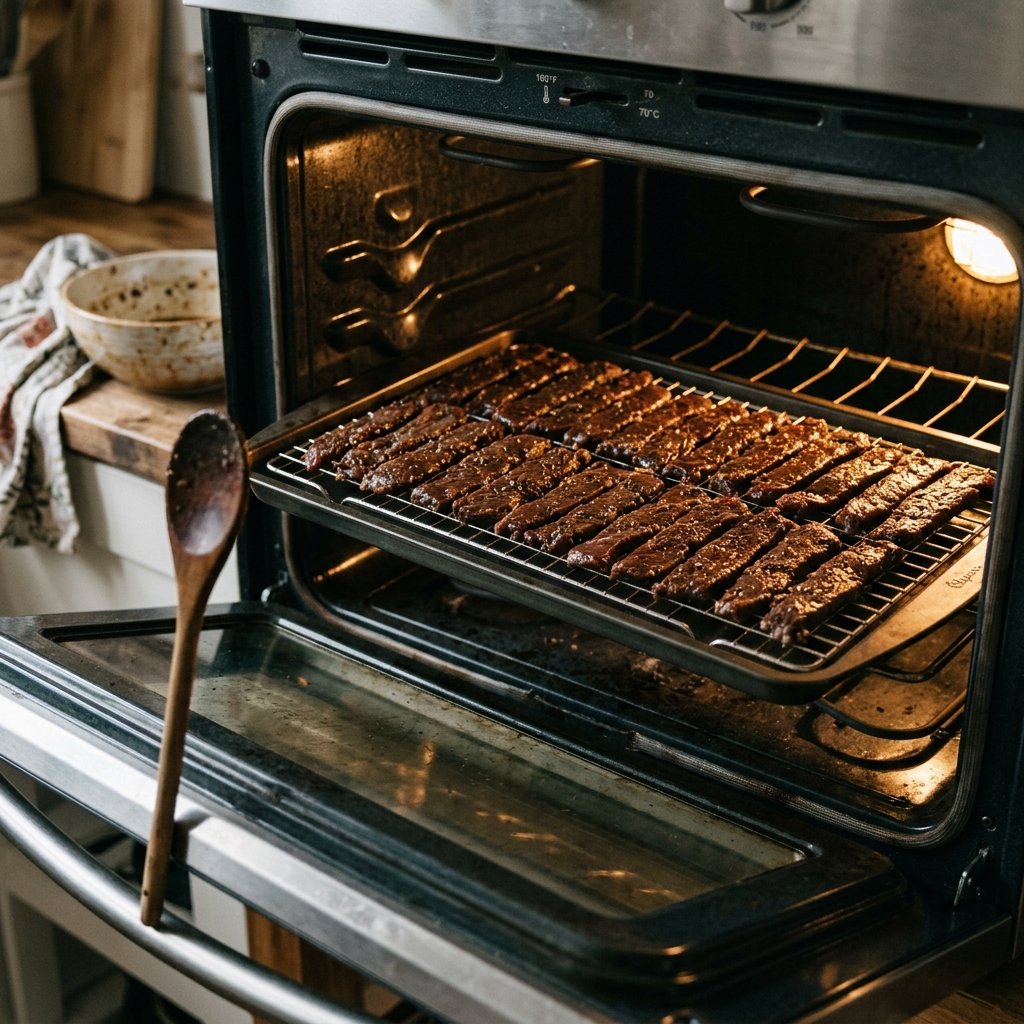
Many people assume that to make authentic beef jerky, you need to drop hundreds of dollars on a massive, space-consuming commercial dehydrator. As a resourceful, budget-savvy creator, you know that is simply not true! Your standard kitchen oven is a highly capable dehydration chamber if you know how to use it correctly. We are going to use the low-and-slow oven method to achieve that perfect, leathery chew.
Important Safety Note: When drying meat, the goal is to remove moisture while ensuring the meat reaches an internal temperature of at least 160°F (71°C) to kill any potential bacteria. Always ensure your oven can maintain a low, steady heat, and practice excellent kitchen hygiene when handling raw beef.
Step-by-Step Oven Dehydration
- Prep the Oven: Preheat your oven to its lowest possible setting. For most modern ovens, this is between 150°F and 170°F. If your oven has a convection fan setting, turn it on! Airflow is the secret weapon of dehydration.
- Drain and Pat Dry: Remove the marinated beef strips from the bag and place them in a colander to drain excess liquid. Next, lay the strips out on paper towels and pat them completely dry. This is a crucial step! If the meat goes into the oven wet, it will steam instead of dry, ruining the texture.
- The Rack Setup: To mimic a dehydrator, you need air to circulate entirely around the meat. Place wire cooling racks directly on top of large baking sheets. If you do not have wire racks, you can get incredibly crafty: roll up small balls of aluminum foil and place them on the baking sheet, then rest the meat strips on top of the foil balls to elevate them.
- Arrange the Meat: Lay the strips flat on the wire racks. Ensure they are close together but not touching. They need breathing room.
- The Wooden Spoon Hack: Place the baking sheets into the oven. To allow the evaporating moisture to escape (which is vital for drying), prop the oven door open just a crack—about an inch or two—using the handle of a wooden spoon. This turns your oven from a baking box into a massive dehydrator.
- The Waiting Game: Let the jerky dry for anywhere from 3 to 6 hours. The exact time will depend on the thickness of your cuts and the humidity in your home. Check the meat after 3 hours. You are looking for a piece that bends and cracks slightly when folded, but does not snap completely in half. It should look dark, leathery, and have zero soft, squishy spots.
Once done, remove the jerky from the oven and let it cool completely on the racks at room temperature for at least an hour. As it cools, it will firm up further, giving you that iconic, masculine chew.
Masculine Packaging & Presentation: The Dollar Tree Designer Touch
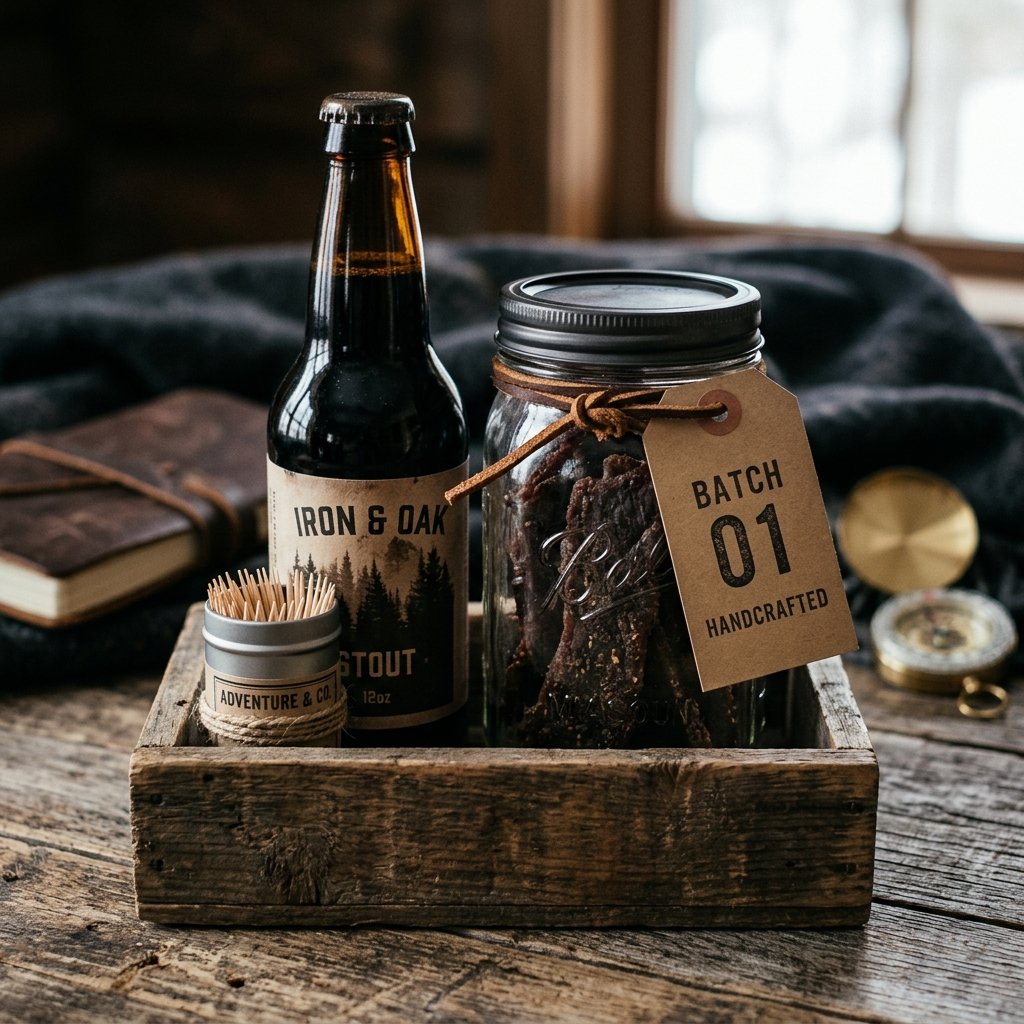
You have crafted a culinary masterpiece; now it is time to elevate it from “meat in a Ziploc bag” to a high-end, bespoke gift experience. This is where your Dollar Tree interior designer skills and frugal crafting expertise truly shine. Men appreciate practical, rugged aesthetics—think leather, dark wood, heavy glass, and bold typography. We are going to build a presentation that looks like it came from an exclusive wilderness outfitter, all for under $5.
The Vessel: Upcycled Glass Jars
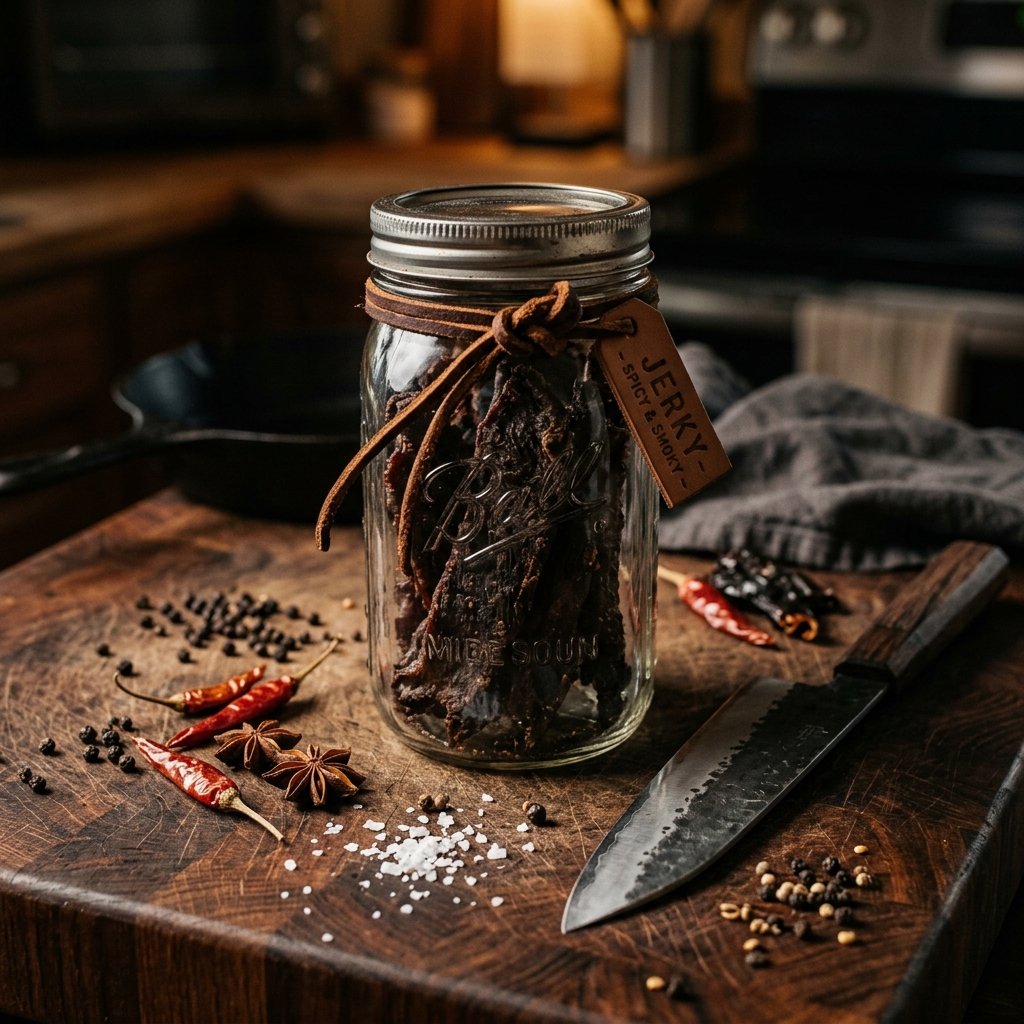
Ditch the plastic bags. Glass mason jars are the ultimate vessel for gifting jerky. They are airtight, completely reusable (hello, zero-waste upcycling!), and they look incredibly rustic. You can buy a case of mason jars cheaply, or better yet, thoroughly clean and sanitize old spaghetti sauce or pickle jars. To remove stubborn adhesive labels from upcycled jars, use a mixture of baking soda and cooking oil—a classic frugal home hack!
The Labels: Distressed Kraft Paper & Stamping
Instead of printing glossy, cheap-looking labels, use heavy-weight brown kraft paper (often found in the packing aisle at the dollar store). Cut the paper into rugged tag shapes. If you want to go the extra mile, use a basic letter stamp kit with black ink to stamp the flavor profile directly onto the tag (e.g., “BATCH No. 4: SMOKED BOURBON”). To give the tags an aged, weathered look, lightly crinkle them up in your hands, smooth them out, and lightly rub the edges with a used, damp tea bag to stain the paper.
The Hardware: Leather Scraps and Butcher’s Twine
To attach the tag to the jar, avoid shiny ribbons. Instead, use natural jute twine, heavy butcher’s twine, or—for the ultimate masculine touch—strips of thrifted leather. You can often find old, beat-up leather belts or purses at thrift stores for a dollar. Cut the leather into thin cords and use it to tie the stamped kraft tag around the neck of the mason jar.
Building the Ultimate Meat Lover’s Crate
If you want to present the jars in a larger gift format, find a cheap wooden crate at a craft store (always use a 40% off coupon!). Stain the crate using a budget-friendly DIY stain made from steel wool dissolved in apple cider vinegar (a classic crafty-expert woodworking trick that creates a gorgeous, weathered gray/brown finish). Line the bottom of the crate with crumpled kraft paper or natural wood excelsior. Nest your jars of jerky inside, and flank them with thoughtful, budget-friendly additions: a bottle of his favorite local craft stout beer, a tin of high-quality flavored toothpicks, and perhaps a small, homemade jar of rugged beard oil or a solid cologne if you are feeling extra ambitious!
Troubleshooting, Food Safety & Pro-Tips for the Perfect Chew
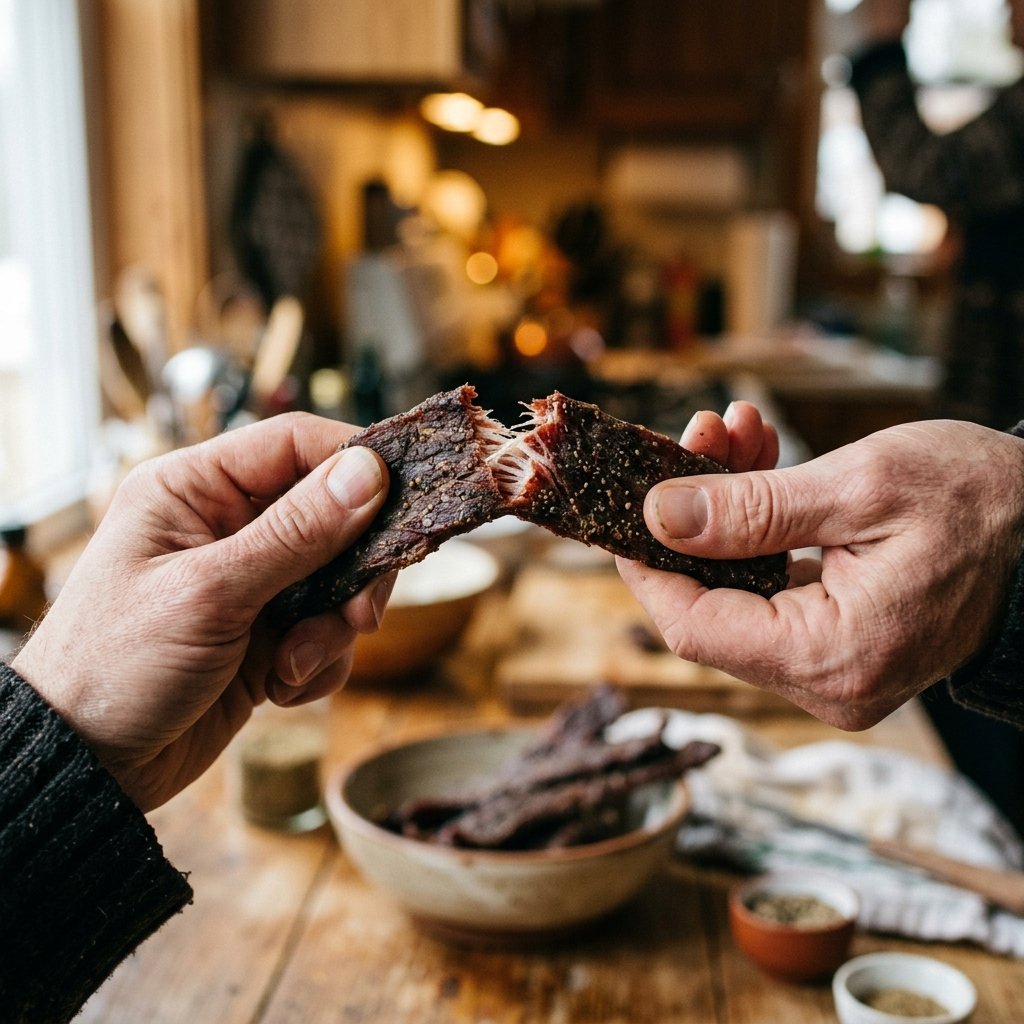
As any handy parent or frugal DIYer knows, the difference between a good project and a great project lies in the details. When you are gifting homemade food, safety and longevity are paramount. You want this gift to be memorable for its incredible taste, not because it spoiled after two days! Here are the master secrets to ensuring your homemade beef jerky is safe, shelf-stable, and texturally perfect.
Understanding Shelf Life and Storage
Because our budget-savvy DIY recipe does not use commercial chemical preservatives or curing salts (like sodium nitrite), its shelf life is slightly shorter than the store-bought stuff—but the flavor is infinitely better. If you dried the meat thoroughly until it cracks but does not break, and you trimmed away all the fat, your homemade jerky will last:
- 1 to 2 weeks in an airtight jar at room temperature (keep it out of direct sunlight).
- 3 to 4 weeks stored in the refrigerator.
- Up to 6 months if vacuum-sealed and stored in the freezer.
Pro-Tip for Gifting: Include a small, clever “Care Instructions” card in the gift basket. Write something rugged and encouraging like: “This artisanal jerky is free of fake chemicals and preservatives. For maximum freshness, devour immediately, or store in the fridge if you possess superhuman self-control.”
The Fat Enemy: Why Trimming is Crucial
I cannot stress this enough: fat is the mortal enemy of dehydrated meat. While a well-marbled steak is delicious on the grill, fat does not dehydrate. It just sits there, eventually turning rancid at room temperature and ruining the entire batch. Spend the extra 10 minutes during your prep phase to meticulously carve away every speck of white fat. Your recipient’s taste buds (and stomach) will thank you.
Fixing Over-Dried Jerky
Did you get distracted by a cardboard kids’ playhouse project and leave the jerky in the oven an hour too long? Did it turn into meat-flavored wood chips? Do not panic! You can save it. Place the over-dried jerky into an airtight container with a single slice of fresh white bread or a slightly damp paper towel. Seal it up and leave it overnight. The dry meat will absorb the ambient moisture from the bread, softening it back up to a perfect, chewable texture. It is a brilliant, zero-cost grandma’s kitchen hack that works every single time.
Conclusion
And there you have it—the ultimate, comprehensive guide to crafting a DIY homemade beef jerky gift kit that will absolutely stun the hard-to-shop-for meat lover in your life. By combining the frugal resourcefulness of a DIYer with the meticulous care of a master crafter, you have bypassed the exorbitant markups of commercial gift crates and created something deeply personal, incredibly delicious, and ruggedly elegant.
This project proves that you do not need a massive budget, expensive equipment, or a culinary degree to give a high-end, thoughtful gift. All it takes is a cheap cut of beef, some clever pantry marinades, a standard kitchen oven, and a touch of Dollar Tree design magic. So the next time Father’s Day, an anniversary, or a birthday rolls around, skip the hardware store gift card. Roll up your sleeves, embrace your inner crafty-expert, and give him the gift of savory, handcrafted perfection. Happy crafting, happy slicing, and enjoy the incredible savings!

Makenzie is the founder and lead writer at MoneyHackTips.com — a personal finance blog dedicated to delivering street-smart financial wisdom for real people on real budgets. With 300+ published articles covering everything from debt management to investing fundamentals, Makenzie’s mission is to make every dollar work harder. When not writing about money hacks, Makenzie is testing frugal living strategies, optimizing side hustles, and helping readers build financial freedom from scratch.