
The High-End Wedding Look Without the Designer Price Tag
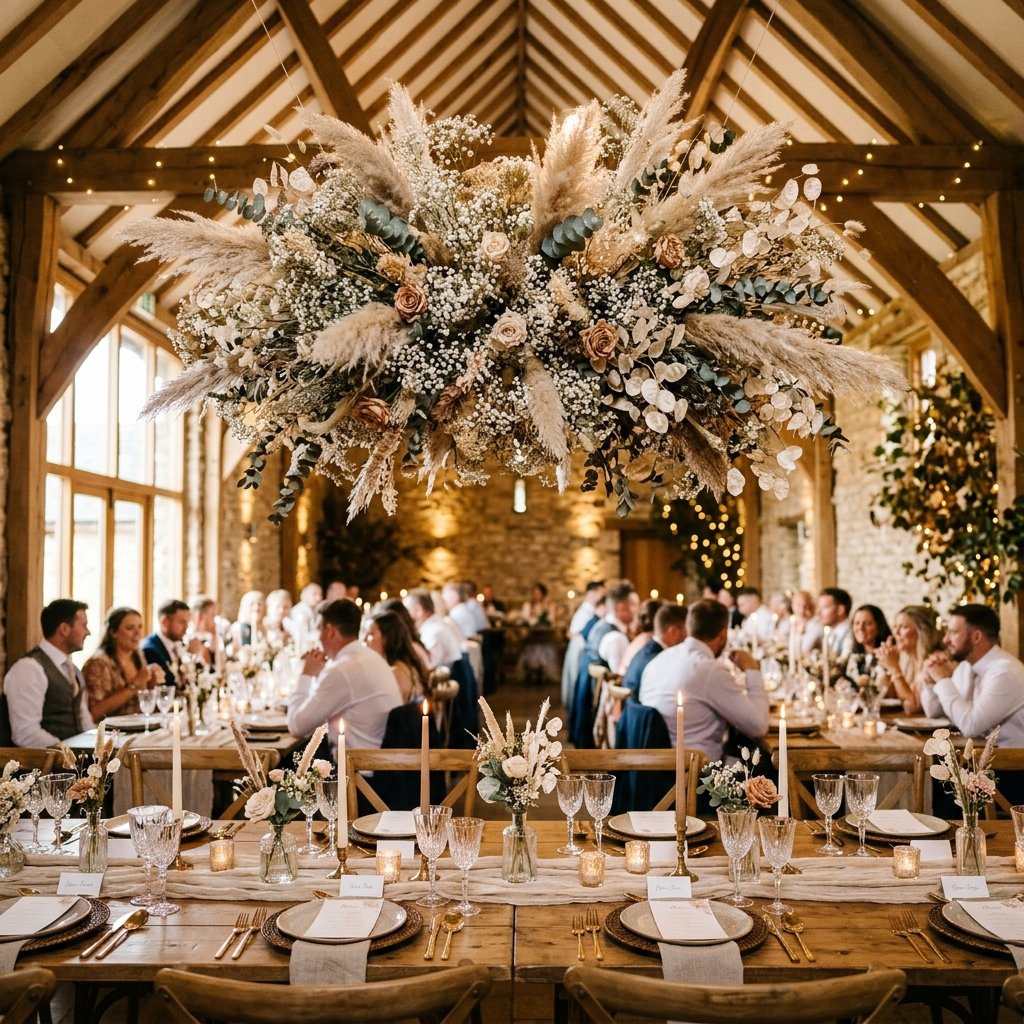
Let’s be honest: those ethereal, floating floral clouds you see on Pinterest and at $50,000 celebrity weddings are breathtaking. They transform a sterile reception hall into a whimsical woodland or a modern art gallery. But if you’ve called a florist for a quote, you’ve likely experienced the immediate ‘sticker shock’—these installations can easily run between $1,500 and $5,000 depending on the size and flower choice. As a resourceful DIYer, you know there’s a better way. The secret isn’t in the budget; it’s in the mechanics and the sourcing. By using rugged materials like chicken wire and fishing line, and pairing them with foraged or budget-dried blooms, you can create a jaw-dropping masterpiece for under $100. This guide will walk you through the crafty, masculine-elegant process of building your own floral cloud from the ground up.
The Budget Blueprint: Materials and Cost Comparison
Why DIY Beats the Florist Every Time
When you hire a professional, you aren’t just paying for flowers; you are paying for labor, insurance, transport, and a massive markup on materials. By taking the ‘crafty expert’ approach, you can redirect those thousands of dollars into your honeymoon or a house down payment. Below is a breakdown of what you’ll need and how the costs stack up.
| Material / Service | Professional Florist Quote | DIY Budget Estimate |
|---|---|---|
| Structural Frame (Chicken Wire/Grid) | $150 | $8.00 |
| Dried Baby’s Breath (Bulk) | $400 | $45.00 |
| Foraged Foliage & Fillers | $300 | $0.00 |
| Installation Labor & Rigging | $800+ | $0.00 |
| Total Cost | $1,650+ | $53.00 |
Essential Tool Kit for the Resourceful Builder
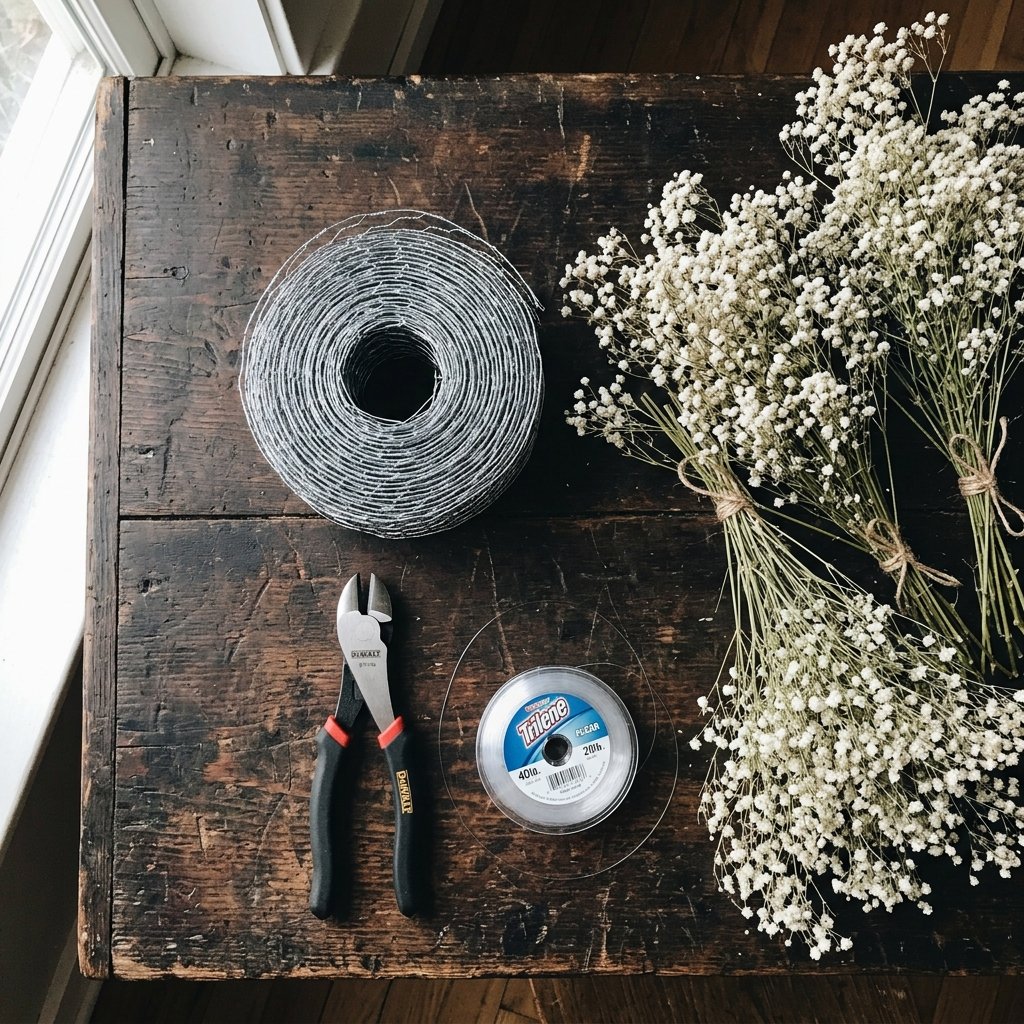
- Chicken Wire (Poultry Netting): The ‘skeleton’ of your cloud. Opt for the silver galvanized variety for a rugged, sturdy base.
- Heavy-Duty Wire Cutters: Essential for shaping your cloud without destroying your hands.
- Monofilament (Fishing Line): Use 50lb test or higher to ensure the cloud ‘floats’ invisibly and safely.
- Zip Ties: The unsung hero of the budget bride; use these to secure the wire to itself.
- Dried Florals: Focus on ‘volume’ flowers like Gypsophila (Baby’s Breath), Pampas grass, and dried Eucalyptus.
The Foundation: Shaping Your Invisible Skeleton
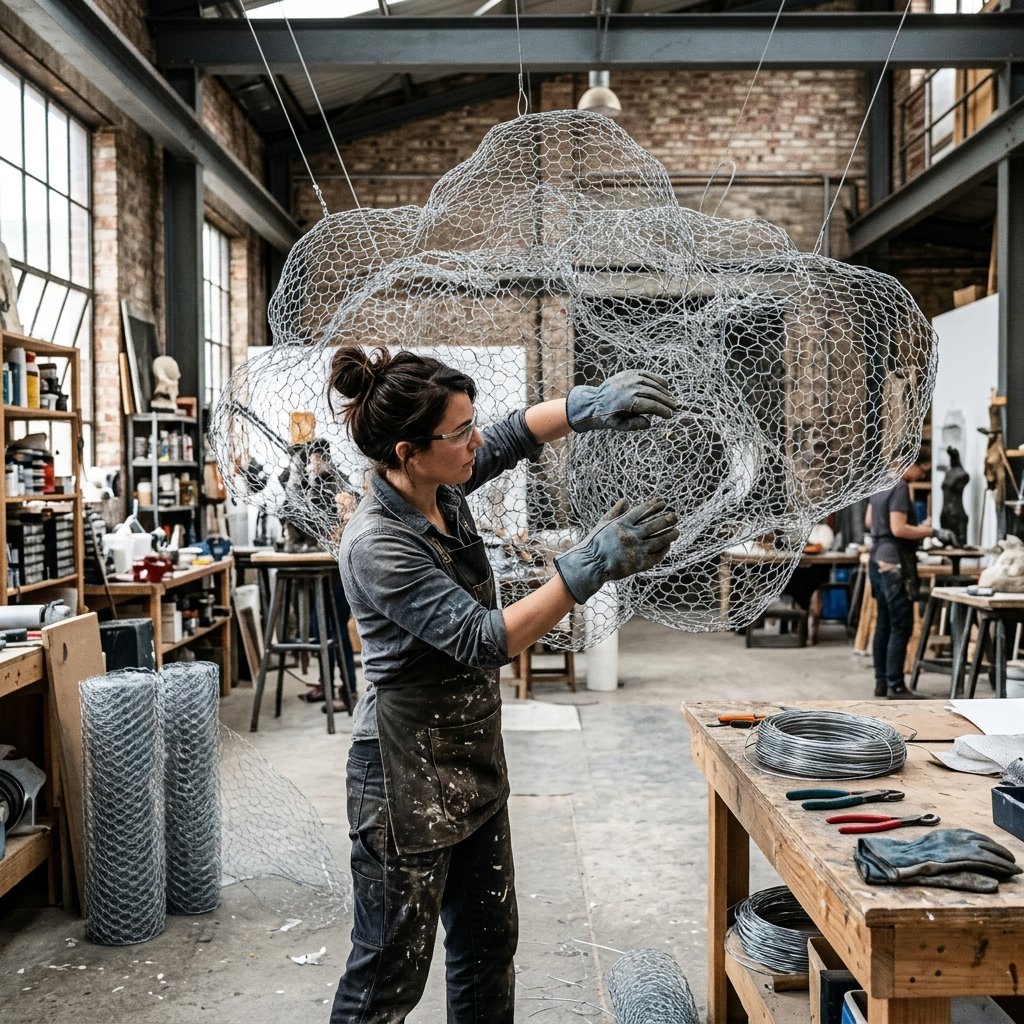
Engineering the ‘Cloud’ Shape
The secret to a cloud that looks organic and airy—rather than like a metallic tube—is in the asymmetrical crumple. You want to create a structure that has ‘voids’ and ‘peaks.’ Think of it as sculpting with air. This is where your rugged, practical skills come into play.
- Measure your space: Determine if this is a centerpiece cloud (approx. 4 feet long) or a massive altar backdrop (8-10 feet).
- Unroll the wire: Cut a length of chicken wire twice as long as your desired cloud.
- The ‘Cylinder’ Method: Fold the wire into a loose, hollow cylinder and zip-tie the edges.
- The ‘Crumple’ Technique: Use your hands to squash and pull the wire.
“Don’t aim for perfection here. The more irregular the shape, the more natural the flowers will look when inserted. Think ‘storm cloud,’ not ‘pill bottle.'”
- Create Attachment Points: Identify 3 to 4 points on the top of the frame where you will attach your fishing line. Reinforce these areas with extra wire twists to prevent sagging.
Safety Note for the Handy Crafter
Caution: Chicken wire has sharp edges. Always wear protective gloves when cutting and shaping the frame to avoid small nicks and scratches. Ensure your ceiling hooks are rated for at least double the weight of the finished installation.
The Foraging Secret: Filling the Gaps for Free
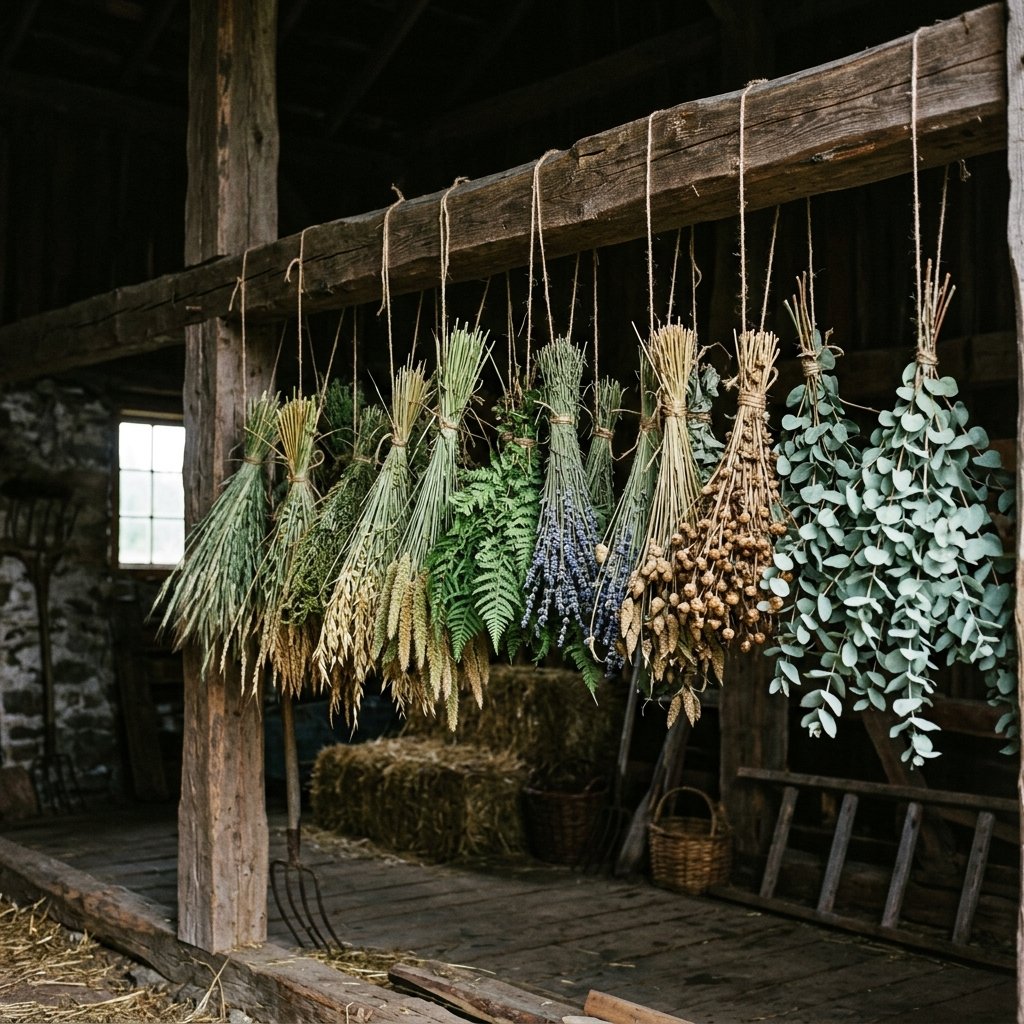
How to Source Like a Pro
To keep this project under $100, you cannot buy every single stem. A jaw-dropping cloud requires mass, and mass costs money if you buy it at a boutique. Instead, use the ‘Forage and Dry’ method. Many common weeds and garden plants dry beautifully and provide the structural ‘fluff’ needed to hide the chicken wire.
| Plant Type | Where to Find It | Drying Time |
|---|---|---|
| Goldenrod / Wild Grasses | Roadsides / Fields | 5-7 Days |
| Hydrangeas | Home Gardens | 10-14 Days |
| Artemisia / Silver King | Landscaping | 4 Days |
| Eucalyptus | Trader Joe’s (Budget Buy) | 7 Days |
The ‘Upside Down’ Drying Trick
To ensure your foraged finds don’t wilt or droop in the cloud, you must dry them properly. Bundle your stems with twine and hang them upside down in a cool, dark, dry place. This keeps the stems straight and the flower heads upright. For a masculine-elegant touch, look for ‘dried’ textures like thistle or seed pods; they add a rugged sophistication that balances the softness of the baby’s breath.
Assembly: Stuffing the Cloud for Maximum Impact
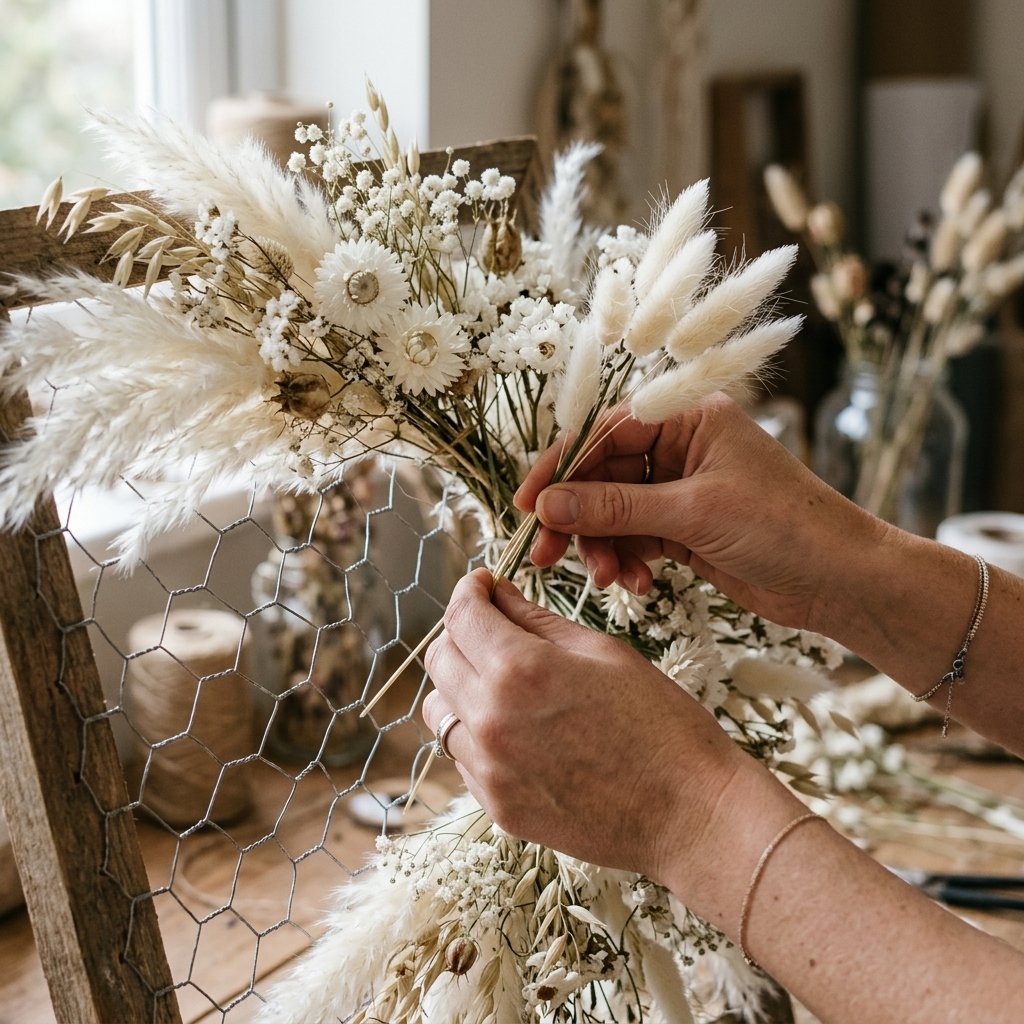
The Layering Strategy
Now comes the crafty-expert part: the assembly. You want to work in layers to ensure the chicken wire is completely invisible while maintaining an ‘airy’ feel. If you pack it too tight, it looks like a hedge; too loose, and you see the wire.
- Layer 1: The Base (The ‘Hide the Wire’ Layer): Use your cheapest, bulkiest material (like foraged grasses or inexpensive baby’s breath). Insert stems into the wire at various angles, ensuring the interior of the ‘tube’ is partially filled.
- Layer 2: The Texture (The ‘Visual Interest’ Layer): Add your ‘hero’ flowers—these could be dried roses, protea, or large pampas plumes. Place these at focal points, usually concentrated at the bottom and sides where guests will see them most.
- Layer 3: The Wisps (The ‘Movement’ Layer): Use long, thin stems like bleached bunny tails or fine grasses. Let these ‘leak’ out of the cloud by 12-18 inches. This creates the illusion that the cloud is floating and expanding into the room.
Pro-Tip for Longevity
Once your cloud is stuffed, give it a light coating of extra-hold hairspray. This is an old-school florist secret that prevents the dried petals and seeds from shedding onto the dinner tables below. It also adds a slight sheen that catches the light beautifully.
Installation: Gravity-Defying Elegance

Hanging Your Masterpiece Safely
The final step is the most nerve-wracking but rewarding. A poorly hung cloud is a safety hazard; a well-hung one is a work of art. Because we are being budget-savvy, we are using monofilament to create the ‘invisible’ lift.
Step-by-Step Rigging Guide
- Locate your anchors: If the venue allows, use existing beams or pipe-and-drape stands. If not, heavy-duty magnetic hooks (for drop ceilings) or Command hooks (for light clouds) can work, but always check weight limits.
- The Three-Point Harness: Never hang a cloud from a single line. Use at least three lines of fishing line attached to different parts of the wire frame. This prevents the cloud from spinning or tilting.
- Adjust the Height: The bottom of the cloud should be at least 7 feet above the floor if people are walking under it, or 30-36 inches above a table if it’s a centerpiece.
- The Final Prune: Once hanging, step back 10 feet. You will likely see ‘holes’ where the wire is visible. Use your remaining scraps to plug these gaps while the cloud is in its final position.
Conclusion
A Million-Dollar Atmosphere on a Shoe-String Budget
Creating a DIY dried floral cloud is more than just a wedding project; it’s a testament to the power of resourceful creativity. By looking past the expensive florist catalogs and seeing the potential in a $10 roll of wire and a few bundles of dried stems, you’ve created a focal point that your guests will talk about for years. You didn’t just save money; you built a piece of ‘living’ art that perfectly captures the masculine-elegant and ethereal vibe of a modern wedding. Now, take that $1,500 you saved and put it toward something that lasts as long as your memories. Happy crafting, and congratulations on your upcoming big day!

Makenzie is the founder and lead writer at MoneyHackTips.com — a personal finance blog dedicated to delivering street-smart financial wisdom for real people on real budgets. With 300+ published articles covering everything from debt management to investing fundamentals, Makenzie’s mission is to make every dollar work harder. When not writing about money hacks, Makenzie is testing frugal living strategies, optimizing side hustles, and helping readers build financial freedom from scratch.