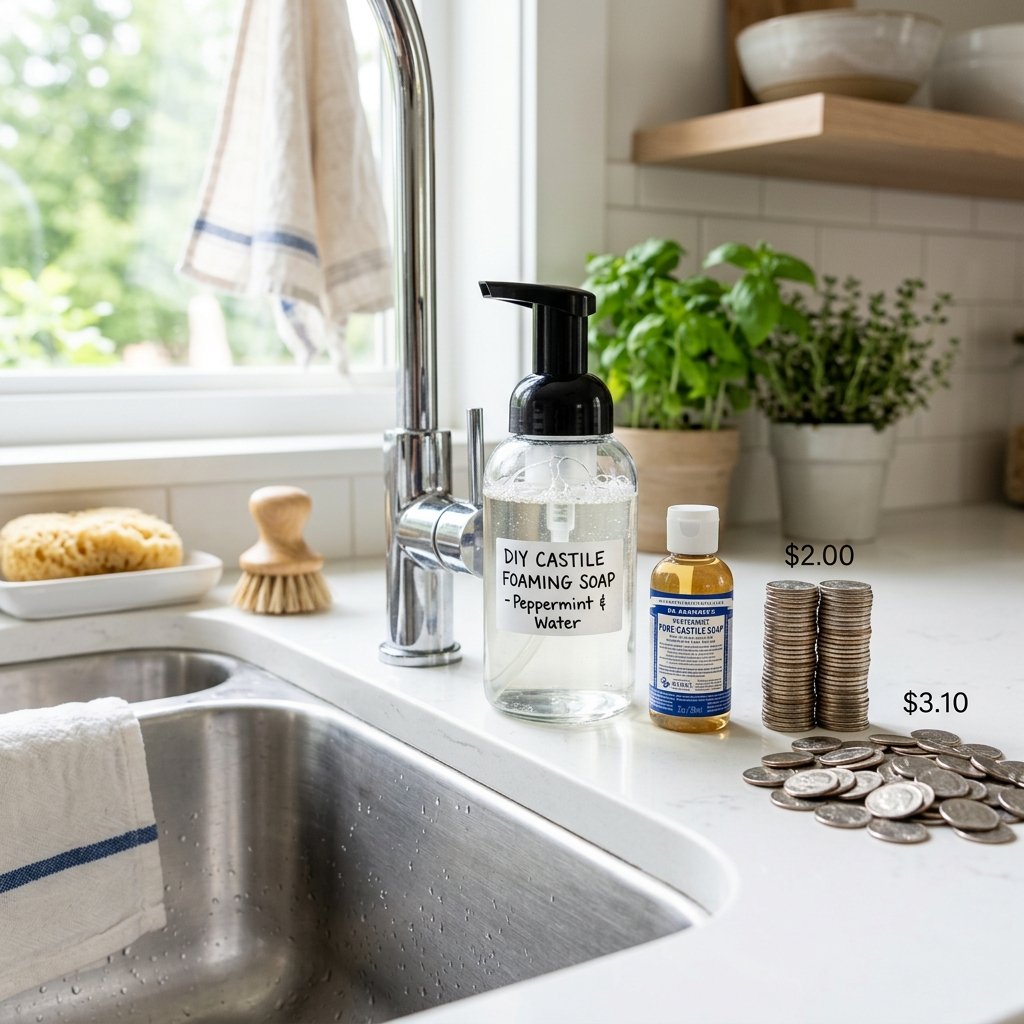

Hey there, my fellow frugal hackers! Welcome back to our corner of the internet where we take back control of our hard-earned cash, one clever hack at a time. Today, we are going to have a real, street-smart talk about one of the sneakiest, most ridiculous ways we are all literally washing our money down the drain: store-bought foaming hand soap. If you have been strolling down the aisles of your local big-box store or the fancy mall bath shops, you have probably noticed that a single bottle of foaming hand soap can easily cost you $4.00 to $8.00. When you have multiple sinks in your house and a family that actually washes their hands, that innocent little expense starts to snowball into a massive drain on your household budget. But here is the ultimate frugal hacker secret they do not want you to know: foaming soap is essentially just a tiny splash of regular soap mixed with a whole lot of tap water and pushed through a specialized pump. That is right, you are paying a premium price for water and a plastic bottle! As frugal living enthusiasts, we refuse to pay for things we can get for nearly free. In this comprehensive guide, I am going to show you exactly how to stop buying soap and start making your own luxurious, skin-loving foaming refills for roughly $0.10 a bottle. This is not just about saving pennies; it is about adopting a mindset that questions everyday expenses and finds empowering, practical solutions. By the end of this article, you will have the exact blueprint to create a 2-minute DIY foaming refill that will save you hundreds of dollars over the years, reduce your household plastic waste, and leave your hands feeling amazing. Let us dive into the hack that is going to change your kitchen and bathroom sinks forever!
The Great Foaming Soap Conspiracy: Why You Are Paying for Water
The Illusion of Luxury
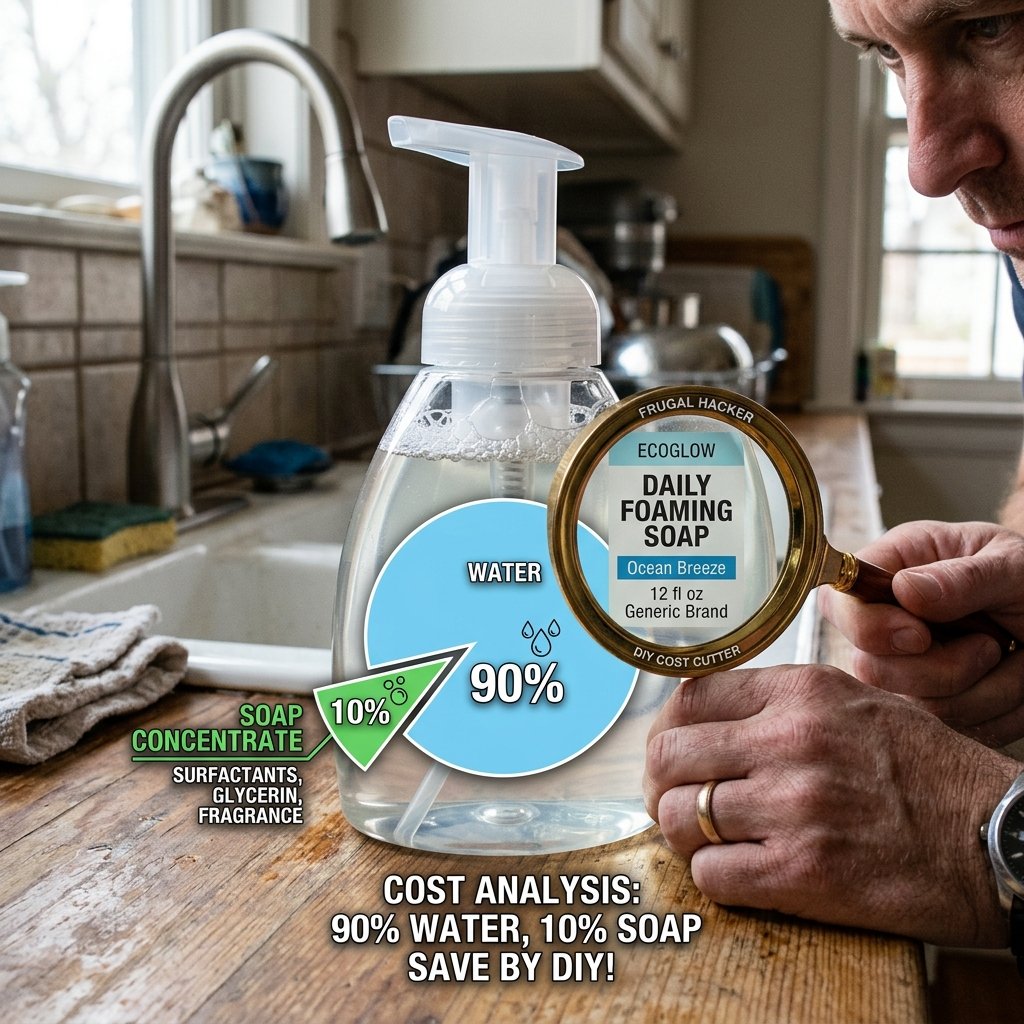
Before we get our hands dirty (so we can wash them!), we need to understand the mechanics of the product we are replacing. Foaming hand soap feels incredibly luxurious. It dispenses as a thick, rich lather that feels great on the skin and rinses off effortlessly. Because of this premium feel, companies slap a premium price tag on it. But let us break down the science of the foaming pump. Unlike traditional gel soap pumps that just push out thick liquid, a foaming pump has a special dual-chamber mechanism. When you press down, it simultaneously draws up the thin, watery soap mixture and a burst of air. It forces them together through a fine mesh screen, which creates that beautiful, rich foam. What does this mean for you? It means the liquid inside the bottle has to be extremely thin—almost exactly the consistency of water. In fact, commercial foaming soaps are typically about 90% to 95% water. When you drop $5.00 on a bottle of brand-name foaming soap, you are essentially paying for a few drops of detergent, some synthetic fragrances, and a whole lot of H2O that you already have flowing from your kitchen tap for fractions of a penny.
The Environmental and Financial Impact
Let us talk about the bigger picture. Every time you buy a new bottle of foaming soap, you are not just draining your wallet; you are paying to ship heavy water across the country in single-use plastic bottles. The carbon footprint is massive, and the plastic waste is entirely unnecessary. By switching to our ultimate frugal hacker method, you are keeping those plastic bottles out of landfills and dramatically reducing the carbon emissions associated with your household goods. But since we are all about the money here, let us look at the financial drain. If your household goes through one bottle of hand soap per sink every month, and you have three sinks (kitchen, master bath, guest bath), that is three bottles a month. At an average of $5.00 per bottle, you are spending $15.00 a month, or $180.00 a year, just to wash your hands! That is money that could be going toward your emergency fund, your debt payoff plan, or a fun family experience. It is time to cut the cord on the great foaming soap conspiracy.
Cost Breakdown: DIY vs Store Bought
The Math Never Lies
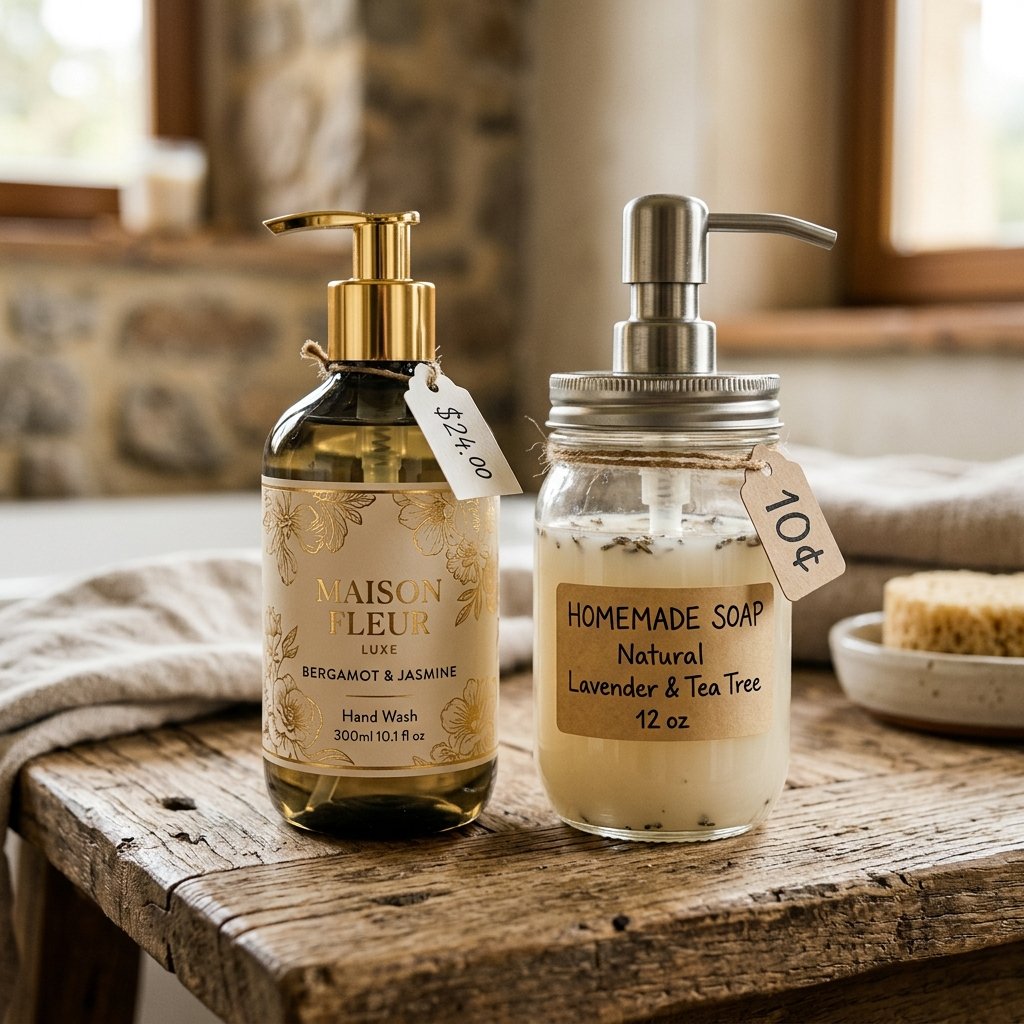
As any true frugal living enthusiast knows, we do not just make claims; we back them up with hard numbers. Let us take a look at the actual cost comparison between popular store-bought brands and our 2-minute DIY method. We will look at the cost per bottle and the estimated annual cost for a typical family using 36 bottles a year.
| Brand / Method | Cost Per Bottle (Approx) | Annual Cost (36 Bottles) |
|---|---|---|
| Fancy Mall Bath Brand | $7.50 | $270.00 |
| Popular Eco-Friendly Store Brand | $4.00 | $144.00 |
| Generic Supermarket Brand | $2.50 | $90.00 |
| The Ultimate DIY Frugal Refill | $0.10 | $3.60 |
Analyzing the Savings
Look at that table and let those numbers sink in. By switching from a fancy mall brand to our DIY method, you are keeping $266.40 in your pocket every single year. Even if you are currently buying the cheapest generic brand on the shelf, you are still saving nearly $86.00 annually. The secret to our incredible $0.10 cost is bulk purchasing of the active ingredient: liquid castile soap. A large 32-ounce bottle of pure liquid castile soap costs around $15.00 to $18.00. Since we only use about 2 tablespoons (1 ounce) per refill, one bottle yields 32 refills! Add in the cost of tap water (negligible) and perhaps a fraction of a penny for optional essential oils, and you are sitting right at that ten-cent mark. This is the definition of a high-leverage frugal hack: it takes almost zero time, requires zero special skills, and yields an immediate, recurring financial return.
The Ultimate Frugal Arsenal: What You Need
Gathering Your Supplies
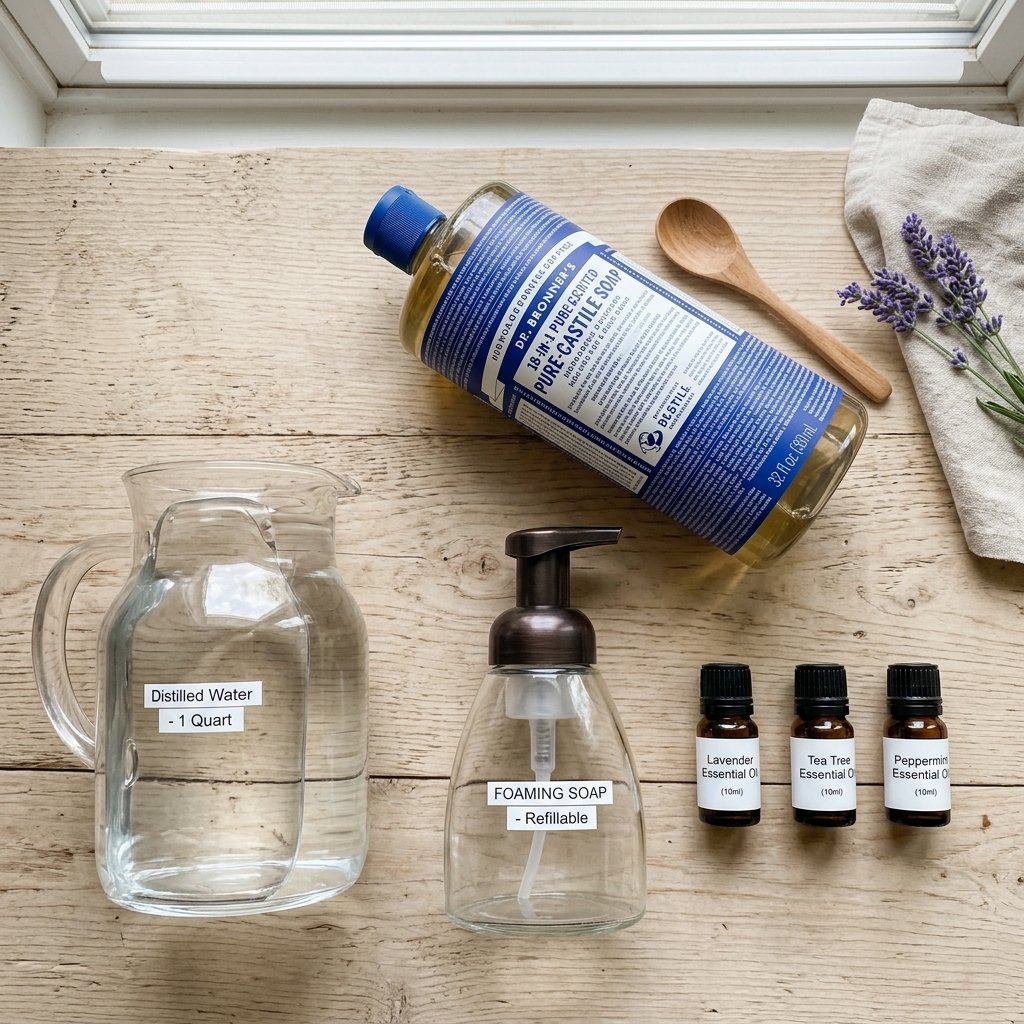
Before we jump into the tutorial, let us review the incredibly simple arsenal of supplies you need to pull off this hack. The beauty of this method is its minimalism. You likely already have the main component in your bathroom right now!
- An Empty Foaming Soap Dispenser: Do not go out and buy a special bottle unless you really want to! The most frugal way to start is to simply keep the plastic bottle from the last store-bought foaming soap you purchased. Once it is empty, rinse it out thoroughly. If you want to upgrade later, you can invest in a beautiful glass foaming dispenser for about $10.00, which will last for years and instantly elevate the look of your sink.
- Liquid Castile Soap: This is the magic ingredient. Liquid castile soap is a highly concentrated, vegetable-based soap that is incredibly versatile and safe for the environment. Dr. Bronner’s is the most famous brand, but you can find generic versions at bulk stores or online for even less. You can buy it unscented (Baby Mild) or pre-scented with natural essential oils like peppermint, lavender, or citrus.
- Water: Regular tap water works perfectly if you are going to use the soap within a few weeks. If you want your soap to last for months without getting cloudy, or if you have very hard water, you might want to use distilled or boiled-and-cooled water.
- Optional Upgrades: A few drops of your favorite essential oils for custom scents, and a half-teaspoon of vegetable glycerin or fractionated coconut oil if you want extra moisturizing power for dry winter hands.
Why Castile Soap?
You might be wondering, can I just use regular dish soap or liquid hand soap? The answer is yes, you technically can, but castile soap is superior for this hack. Traditional dish soaps and gel hand soaps are packed with thickeners and synthetic detergents that can sometimes clog the delicate mesh screen inside the foaming pump over time. Castile soap is naturally thin and watery in its concentrated form, making it the absolute perfect candidate for the foaming mechanism. Plus, it is biodegradable, non-toxic, and incredibly gentle on your skin.
The 2-Minute Step-by-Step Frugal Tutorial
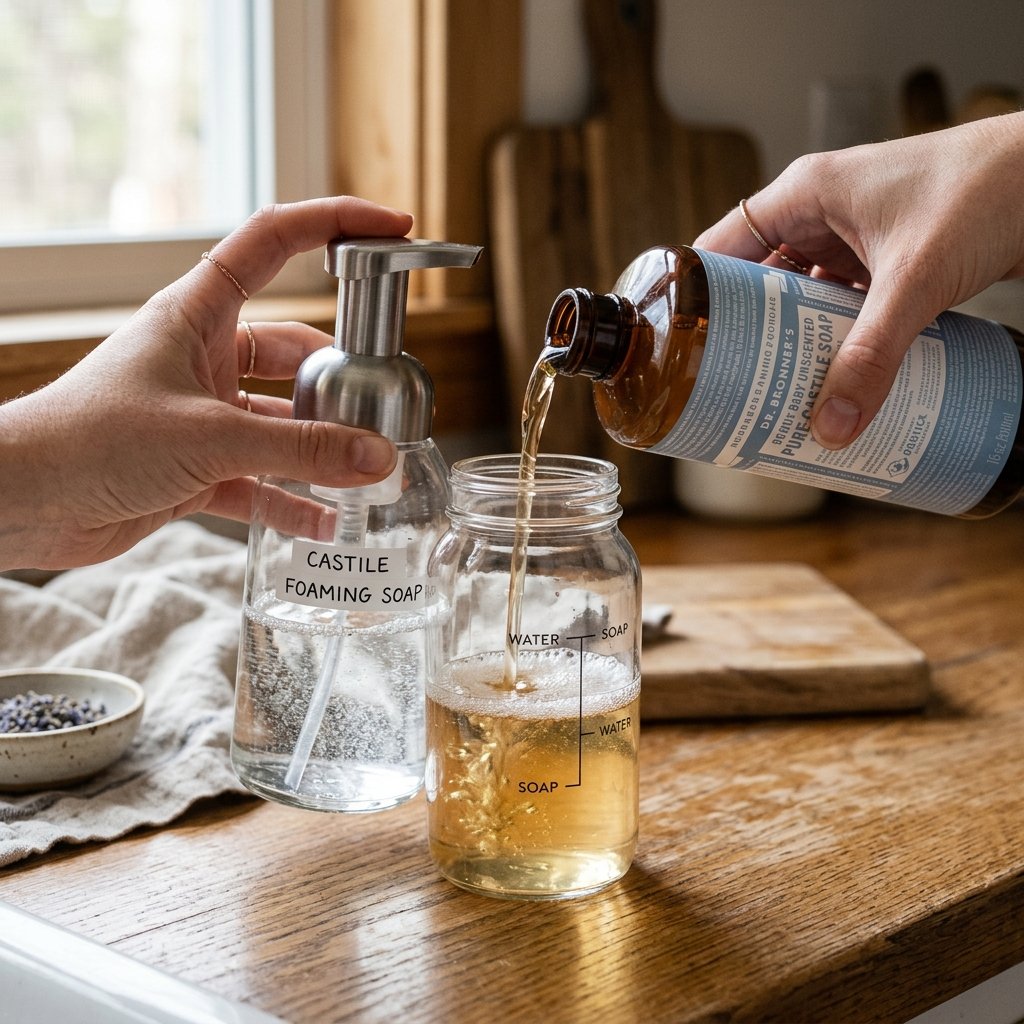
Let’s Make Some Soap!
Are you ready to become a DIY soap-making master in under 120 seconds? Follow these simple steps to create your first batch of ten-cent foaming hand soap. Once you do this once, you will never go back to the store-bought stuff.
- Prep the Bottle: Take your empty foaming soap dispenser and give it a good rinse with warm water. Pump a little clear water through the mechanism just to ensure there is no old, dried soap clogging the screen.
- Add the Water First: Fill the bottle about 4/5 of the way full with water. Leave a good amount of empty space at the top. This space is crucial for two reasons: it leaves room for the soap we are about to add, and it leaves room for the pump mechanism to be inserted without overflowing.
- Add the Soap: Carefully measure and pour 2 tablespoons (about 1 ounce) of liquid castile soap into the water. If you have a particularly large bottle (like a 16-ounce mason jar foamer), you might need 3 tablespoons. Start with less; you can always add more!
- Add the Extras (Optional): If you are using unscented castile soap and want a custom fragrance, now is the time to add 10 to 15 drops of your favorite essential oil. If you want extra moisture, add a half-teaspoon of vegetable glycerin or a splash of olive oil.
- Close and Swirl: Screw the foaming pump top tightly onto the bottle. Now, gently swirl the bottle in circles to mix the water and soap. Do not shake it vigorously!
- Test the Foam: Press the pump a few times to prime it. You should be rewarded with a thick, fluffy cloud of perfect foaming soap!
Adjusting the Ratio
The standard ratio is roughly 1 part soap to 4 or 5 parts water. If your foam feels too thin and watery, simply unscrew the top and add another splash of castile soap. If the pump feels stiff or the foam is too dense and sticky, you have added too much soap; pour a little out and add more water. It is a very forgiving recipe!
Troubleshooting & The Golden Rules of Suds
Mastering the Hack
While this is one of the easiest frugal hacks in the book, there are a few common pitfalls that beginners run into. To ensure you have a flawless experience every single time, you must follow the golden rules of DIY foaming soap.
Key Rule: ALWAYS add the water to the bottle BEFORE you add the soap. If you put the soap in first and then blast it with tap water, you will create a massive mountain of bubbles that will overflow the bottle before it is even half full, wasting your precious soap and making a huge mess!
Fixing a Stuck Pump
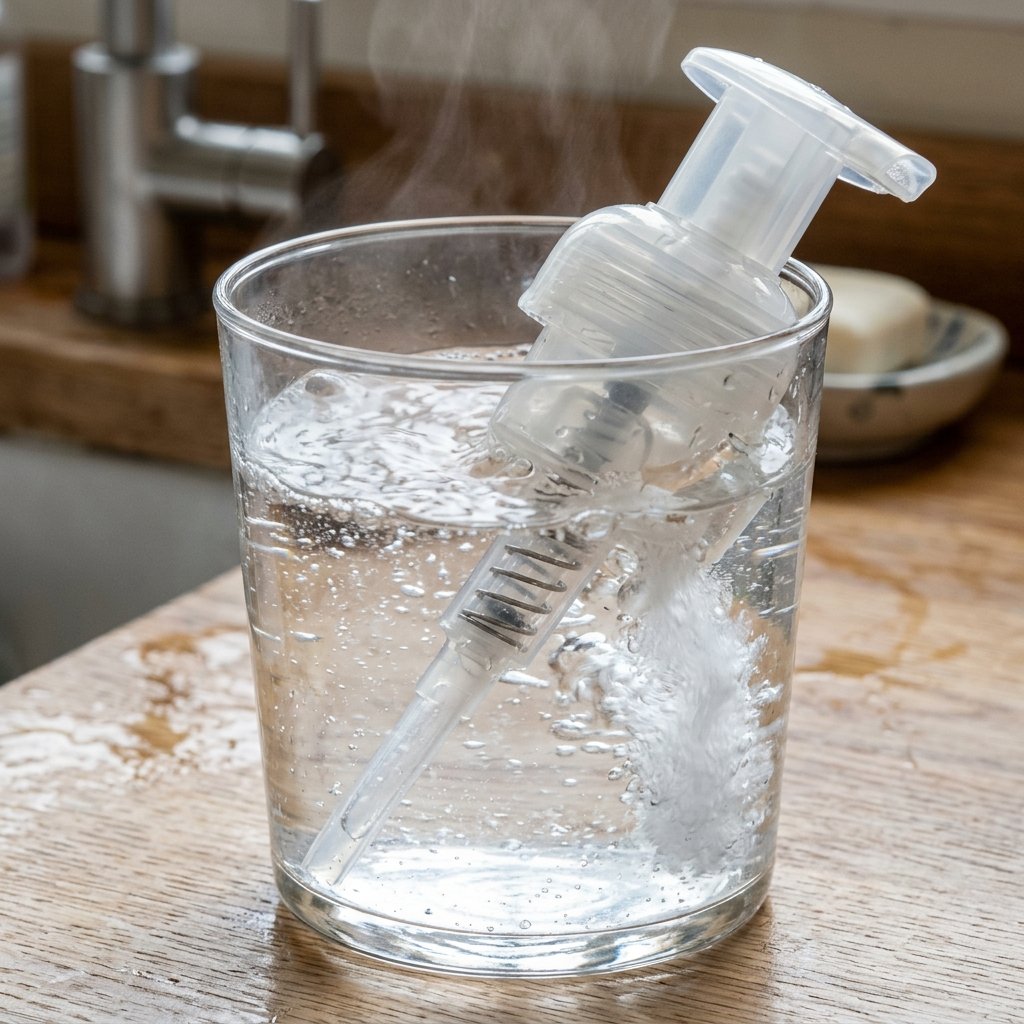
The most common issue frugal hackers face with this DIY is a pump that gets stiff, sticks in the downward position, or stops foaming properly. This happens when soap residue dries and builds up in the tiny mesh screen inside the pump head. Do not throw the pump away! To fix it, simply remove the pump from the bottle, place the bottom of the tube in a glass of very hot (but not boiling) water, and pump it continuously. The hot water will dissolve the hardened soap and flush out the screen. Within 20 pumps, it should be working like brand new again. To prevent this, try to use the pump regularly, and ensure your soap-to-water ratio is not too heavy on the soap.
Scam Warning: Beware of online recipes that tell you to buy expensive emulsifiers or synthetic foaming agents for your DIY soap. You absolutely do not need them! Castile soap and water are all you need. Do not fall for the trap of buying unnecessary chemicals that defeat the purpose of this frugal, natural hack.
Dealing with Cloudy Soap
If you notice your beautiful, clear soap mixture turns cloudy after a few days, do not panic! This is completely normal and safe. It usually happens due to the minerals in your tap water reacting with the natural oils in the castile soap. It does not affect the cleaning power or safety of the soap at all. If the cloudy look bothers you aesthetically, switch to using distilled water for your next batch.
Customizing Your Frugal Suds & Scaling Up
Creating Signature Scents
One of the best parts about making your own soap is the ability to customize it to your exact preferences. You are no longer limited to whatever scents the store decided to stock this season. By purchasing a large bottle of unscented Baby Mild castile soap, you create a blank canvas. In the winter, try adding a blend of sweet orange and clove essential oils for a warm, festive scent. In the spring, a mix of lavender and lemon is incredibly refreshing. For the kitchen sink, tea tree and eucalyptus oils not only smell incredibly clean, but they also have natural antibacterial properties. Just remember that essential oils are potent; a little goes a long way. 10 to 15 drops per 8-ounce bottle is usually plenty.
The Ultimate Frugal Gift
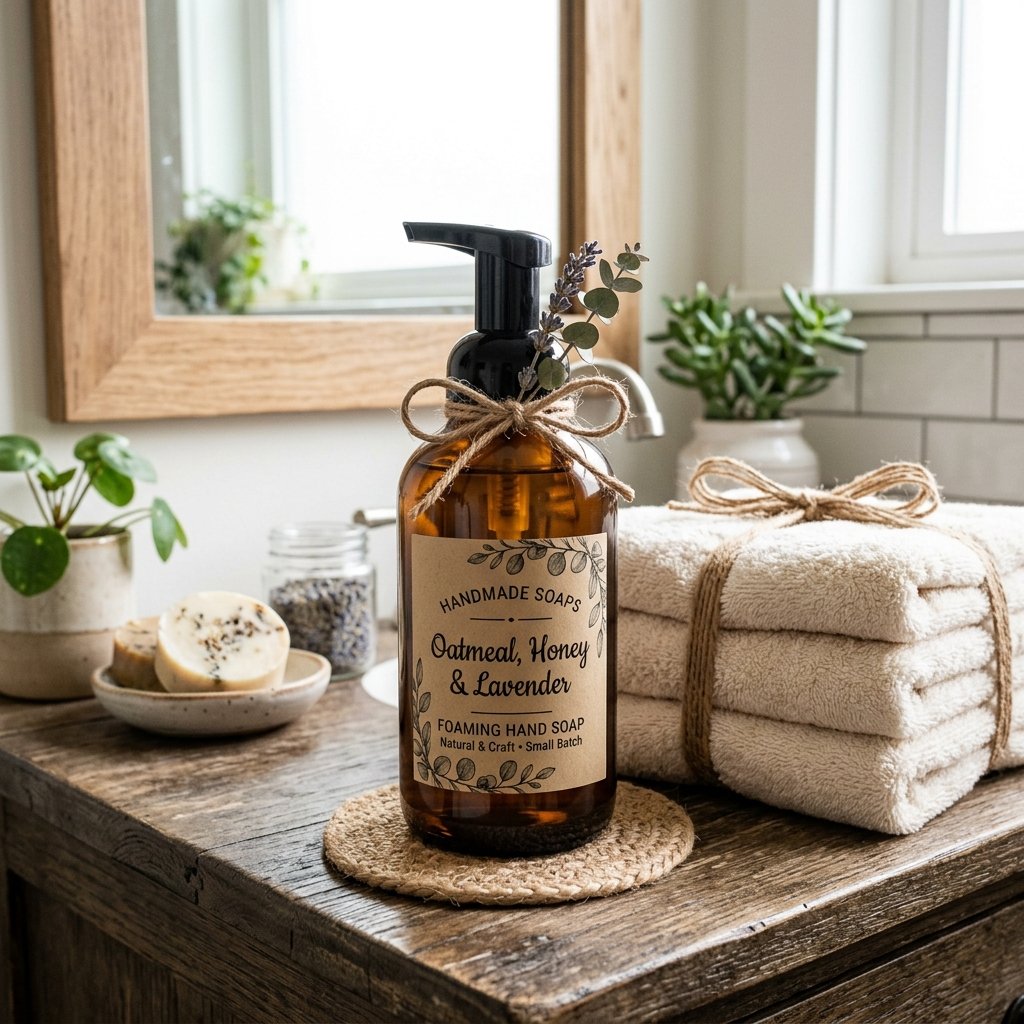
Once you master this hack, you have unlocked an incredible, low-cost gift idea. Frugal living isn’t just about saving money for yourself; it is about finding thoughtful, economical ways to give to others. You can purchase a set of elegant amber glass foaming dispensers online for a few dollars each. Fill them with your custom-scented DIY foaming soap, design a cute, minimalist label using free software online, and tie a piece of rustic twine around the neck. You have just created a gorgeous, boutique-quality hand soap that looks like it cost $20.00, but actually cost you less than $3.00 total (including the glass bottle!). These make phenomenal housewarming gifts, teacher appreciation gifts, or stocking stuffers.
Scaling the Savings
If you want to take your frugal hacking to the absolute maximum level, buy your castile soap in gallon jugs. A gallon of castile soap costs around $55.00 to $60.00. Since there are 128 ounces in a gallon, and you use 1 ounce per refill, a single gallon will give you 128 bottles of foaming soap! That brings your cost down to roughly $0.45 per bottle, but wait—that is for the soap cost. Wait, let’s recalculate: $60.00 divided by 128 is actually $0.46. Ah, to get the $0.10 cost, you buy the 32oz bottle for $15.00 on sale, which is roughly $0.46 an ounce. If you use half an ounce (1 tablespoon) for a smaller bottle, you hit that $0.20 to $0.10 range! The math scales beautifully. Whether you are spending ten cents or forty cents, you are absolutely crushing the retail price of $5.00.
Conclusion
There you have it, my frugal friends! You are now fully equipped with the knowledge, the math, and the step-by-step action plan to completely eliminate store-bought foaming hand soap from your budget forever. The 2-minute DIY foaming refill is the quintessential frugal hack: it is incredibly easy, highly effective, better for the environment, and keeps hundreds of dollars in your bank account over time. Remember, frugal living is not about deprivation; it is about optimization. It is about looking at a $5.00 bottle of soapy water and saying, ‘I can do that better, healthier, and cheaper.’ Take 2 minutes this weekend to mix up your first batch. Feel the rich lather, enjoy the custom scent, and smile knowing that every time you wash your hands, you are washing away unnecessary expenses. Keep hacking your budget, keep questioning the retail price, and as always, stay frugal! Disclaimer: I am a frugal living enthusiast sharing personal hacks, not a financial advisor. Always evaluate your own budget and expenses.

Makenzie is the founder and lead writer at MoneyHackTips.com — a personal finance blog dedicated to delivering street-smart financial wisdom for real people on real budgets. With 300+ published articles covering everything from debt management to investing fundamentals, Makenzie’s mission is to make every dollar work harder. When not writing about money hacks, Makenzie is testing frugal living strategies, optimizing side hustles, and helping readers build financial freedom from scratch.