
Listen up, my frugal friends! We all love the feeling of sliding into a perfectly clean, fresh-smelling car. It makes a ten-year-old sedan feel like it just rolled off the showroom floor. But you know what we absolutely do not love? Dropping $200 to $300 at a professional detailing shop to get that feeling. As your ultimate frugal hacker, I am here to tell you that paying someone else to clean your car is a luxury you can easily hack your way around.
Professional detailers are fantastic at what they do, but they are charging you a massive premium for labor, overhead, and fancy-looking chemical bottles that often contain the exact same active ingredients you already have sitting under your kitchen sink. If you have a free Saturday afternoon, a little bit of elbow grease, and a desire to keep your hard-earned cash exactly where it belongs—in your wallet—then this guide is your new best friend.
Today, we are going to break down exactly how you can detail your car like an absolute pro at home. We are talking about achieving that flawless exterior shine, a crumb-free interior, and crystal-clear windows without buying into the hype of expensive, specialized automotive products. I’m going to walk you through the ultimate frugal tutorial, complete with the exact steps, the household product swaps you need to know, and the insider secrets that will make your neighbors think you finally caved and paid for a premium service. Get ready to roll up your sleeves, because we are about to save some serious money.
The Math: DIY vs. Store Bought (Professional Detailing)
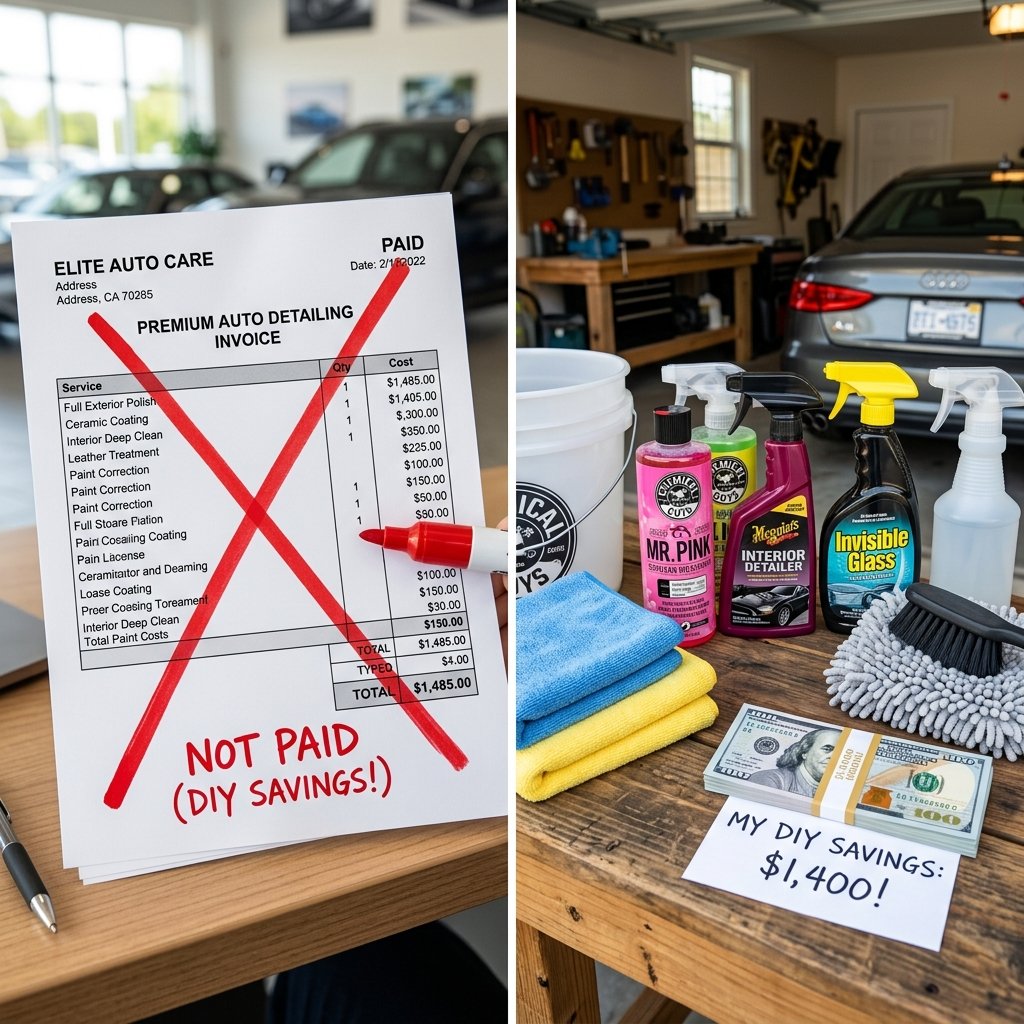
Before we dive into the suds and the scrubbing, let us talk about my favorite subject: the math. Why are we doing this? Because the savings are absolutely undeniable. When you take your car to a professional detailer, you are not just paying for soap and water. You are paying for their rent, their insurance, their marketing, and their time. By taking on this task yourself, you strip away all of those inflated costs.
Let’s take a hard look at what a standard professional detailing package costs compared to our frugal DIY method. The numbers speak for themselves.
| Service / Item | Professional Detailer Cost | DIY Frugal Cost |
|---|---|---|
| Basic Exterior Wash & Wax | $80 – $150 | $5 (Soap & Wax Portion) |
| Interior Deep Clean & Vacuum | $75 – $120 | $3 (Household Cleaners) |
| Window & Trim Treatment | $30 – $50 | $2 (Vinegar/Water/Oil) |
| Total Estimated Cost | $185 – $320 | $10 – $15 |
By simply spending a couple of hours on a weekend, you are effectively paying yourself anywhere from $175 to over $300. That is money you can redirect toward your emergency fund, your debt payoff plan, or your grocery budget.
Key Frugal Rule: Never pay a premium for convenience when you can achieve the exact same result with a little bit of effort and household ingenuity. Your time is valuable, but saving $200 in two hours is a tax-free hourly rate of $100/hour!
The Frugal Detailing Arsenal (What You Actually Need)
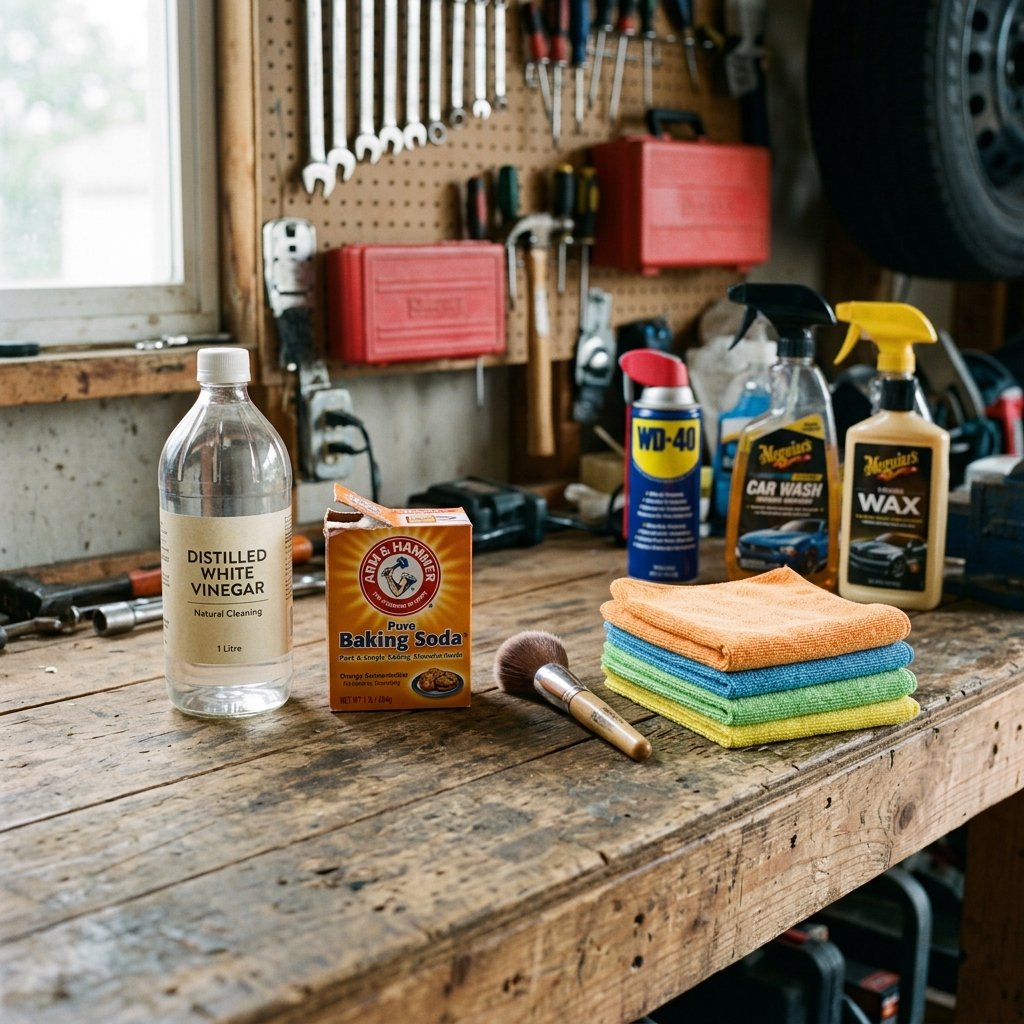
If you walk down the automotive aisle at your local big-box store, you will be bombarded with hundreds of brightly colored bottles promising miracles. There is a specific cleaner for your dashboard, another for your seats, another for your tires, and yet another for your wheels. It is a marketing trap designed to separate you from your cash.
To detail your car like a pro, you only need a streamlined, highly effective, and incredibly cheap arsenal. Here is what you should gather from around your house before you begin:
- Microfiber Towels: This is the one area where you should spend a few bucks. Do not use old bath towels or paper towels; they will scratch your clear coat and leave lint everywhere. Buy a bulk pack of microfiber cloths for around $15. Wash them and reuse them for years.
- Two Buckets: Any standard buckets will do. We will be using the famous “Two-Bucket Method” to protect your paint.
- Dish Soap (For Stripping): If you want to strip off old wax and start fresh, standard blue Dawn dish soap is your best friend. Warning: Only use dish soap if you plan to re-wax the car immediately, as it strips away all protective layers!
- Car Wash Soap: For regular maintenance washes, buy a large jug of basic, highly-rated car wash soap. A $10 jug will last you a whole year.
- White Vinegar & Distilled Water: Mix this 50/50 in a spray bottle. Congratulations, you just made the best, streak-free glass cleaner on the planet for pennies.
- A Cheap Makeup Brush: Head to the dollar store and buy a fluffy makeup brush. This is your new secret weapon for dusting air vents and tiny crevices.
- Baking Soda: The ultimate frugal odor eliminator for your carpets and cloth seats.
- A Spray Bottle with Diluted All-Purpose Cleaner: A tiny drop of dish soap or a mild household all-purpose cleaner diluted heavily with water is all you need for wiping down the dashboard and door panels.
Notice what is not on this list? Expensive leather conditioners, specialized wheel acids, and fifty-dollar ceramic coating sprays. We are keeping it simple, effective, and cheap.
Step-by-Step: Tackling the Interior Like a Pro
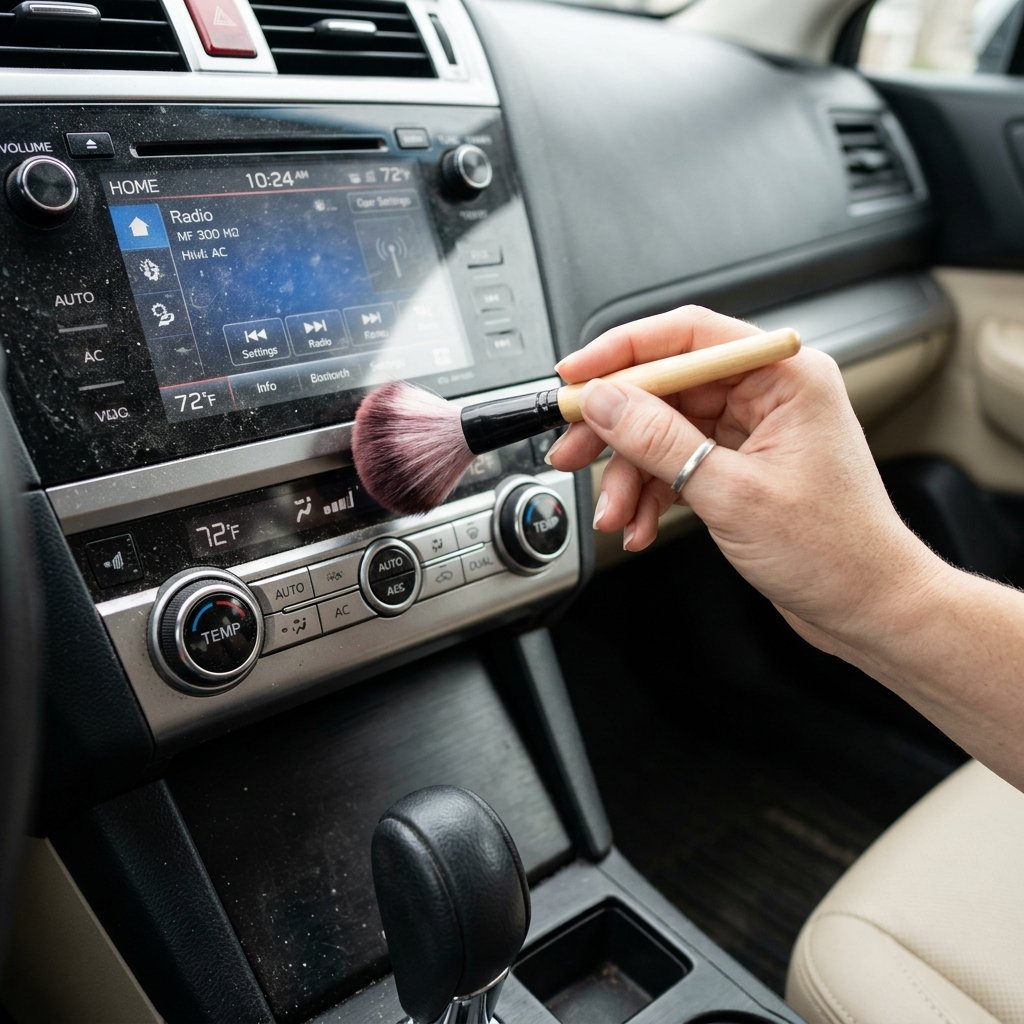
We always start with the interior. Why? Because you do not want to drag the vacuum hose across a freshly washed and waxed exterior, risking scratches. Plus, cleaning the inside is often the most satisfying part of the job.
Step 1: The Great Purge
Grab a trash bag and a recycling bin. Be ruthless. Remove every single piece of trash, old receipts, empty water bottles, and those random french fries hiding under the seat. Take out your floor mats and lay them on the driveway.
Step 2: The Dry Brush and Vacuum
Here is a pro secret: Before you turn on the vacuum, take your dollar-store makeup brush and a dry microfiber towel. Brush out the air vents, the seams of the steering wheel, the radio buttons, and the crevices of the center console. Brush all that dust down onto the floor. Now you vacuum. Use the crevice tool to get between the seats.
Frugal Hack for Pet Owners: If you have stubborn dog hair woven into your carpets, do not buy a fancy pet hair removal tool. Put on a standard rubber dishwashing glove, get it slightly damp, and rub your hand over the carpet. The hair will magically roll up into easily vacuumable clumps!
Step 3: Wiping Down Surfaces
Take your heavily diluted all-purpose cleaner (or just a damp microfiber cloth with a tiny bit of mild soap). Spray the cloth, not the dashboard. Wiping down the dash, center console, and door panels. Avoid using glossy, greasy interior protectants. They cause terrible glare on your windshield and actually attract more dust. A clean, matte finish is what the pros aim for.
Step 4: Deep Cleaning the Mats and Seats
If your floor mats are heavily stained, spray them with a bit of laundry stain remover (like OxiClean) mixed with water. Scrub with a stiff brush, hose them off, and hang them to dry in the sun. For cloth seats that smell a bit funky, sprinkle a generous amount of baking soda over them, let it sit for 30 minutes, and vacuum it up. It costs literally cents and removes odors better than expensive chemical sprays.
Step 5: Interior Glass
Use your 50/50 vinegar and water mix. Spray it on a clean microfiber towel and wipe the inside of your windows. Flip the towel to a dry side and buff it out. Say goodbye to the hazy film that builds up on the inside of the windshield.
Step-by-Step: The Flawless Exterior Wash & Wax
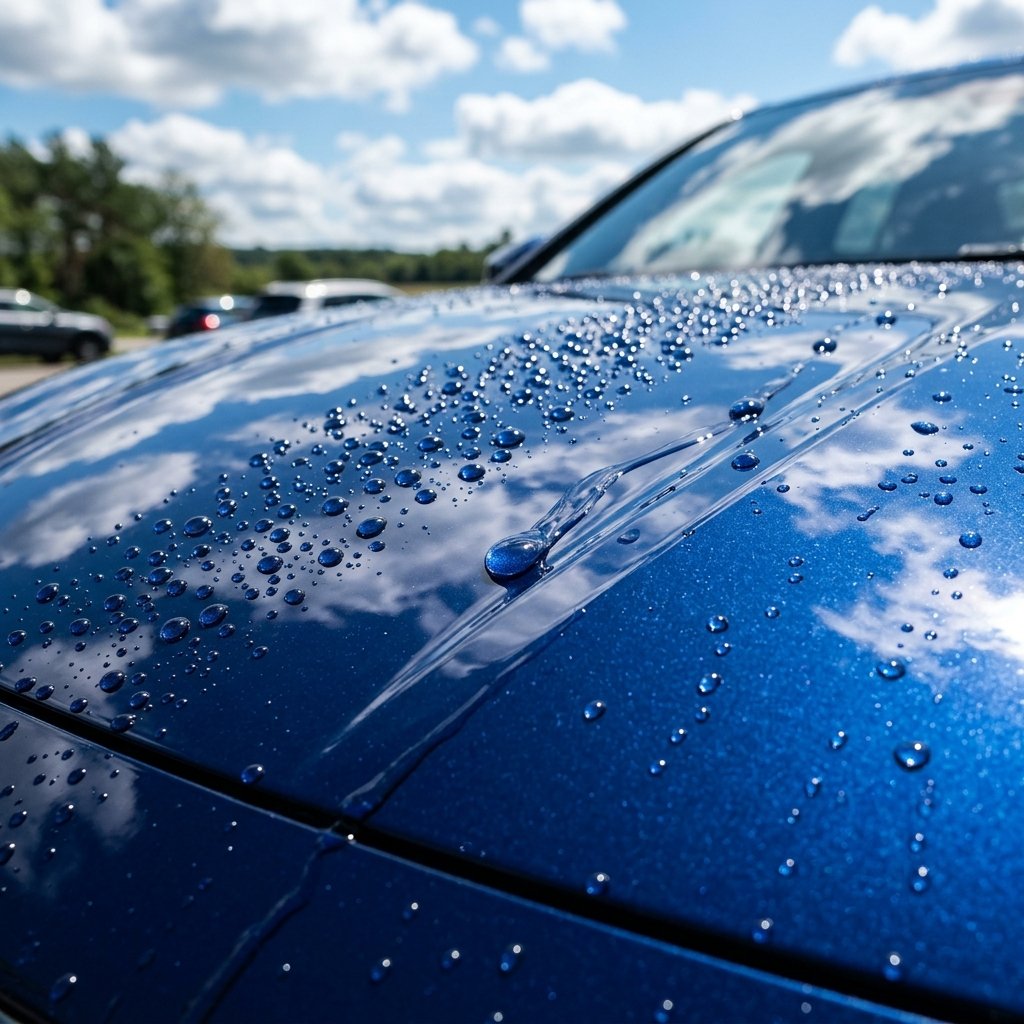
Now that the inside is feeling like a luxury suite, it is time to tackle the exterior. This is where most people cause accidental damage to their cars by using the wrong techniques. We are going to do it the right way, protecting the paint and maximizing the shine.
Key Rule: Always wash your car in the shade or early in the morning/late in the evening. The sun is your absolute worst enemy. It will dry the soap and water onto your paint faster than you can rinse it, leaving horrible hard-water spots that are a nightmare to remove.
Step 1: Wheels and Tires First
Always clean your wheels first. They are the dirtiest part of the car, covered in brake dust and road grime. You do not want to splash wheel dirt onto a clean car. Use a dedicated bucket (or just a separate brush) with your soapy water. Scrub the tires and the rims, then rinse them completely.
Step 2: The Two-Bucket Method
This is the holy grail of safe car washing. Fill one bucket with your soapy water mixture. Fill the second bucket with clean, plain water. Dip your microfiber wash mitt into the soapy water, wash a panel of the car (starting from the roof and working your way down), and then rinse the dirty mitt in the plain water bucket before dipping it back into the soap. This ensures you are not dragging trapped dirt back across your clear coat, which is what causes those ugly swirl marks.
Step 3: The Top-Down Wash
Work in sections. Wash the roof, rinse. Wash the hood and trunk, rinse. Wash the upper doors, rinse. Finally, wash the lower rocker panels and bumpers (the dirtiest parts), and rinse. Keep the car wet the entire time to prevent water spots.
Step 4: The Blot Dry
Do not drag a towel across your paint like you are drying your back after a shower. Take a large, clean, dry microfiber towel, lay it flat on the surface of the wet car, pat it gently, and lift it straight up. This blotting method absorbs the water without introducing any friction that could cause scratches.
Step 5: The Frugal Wax
You do not need a $100 ceramic coating to protect your paint. A basic, high-quality paste wax or liquid synthetic sealant will cost you about $15 and will last for multiple applications. Apply it thin—more wax does not mean more protection, it just means it is harder to buff off. Apply in straight lines (not circles), let it haze up according to the package directions, and buff it off with a fresh microfiber towel. This creates a barrier against the elements and gives you that incredible, mirror-like shine.
Pro-Level Finishing Touches (That Cost Pennies)
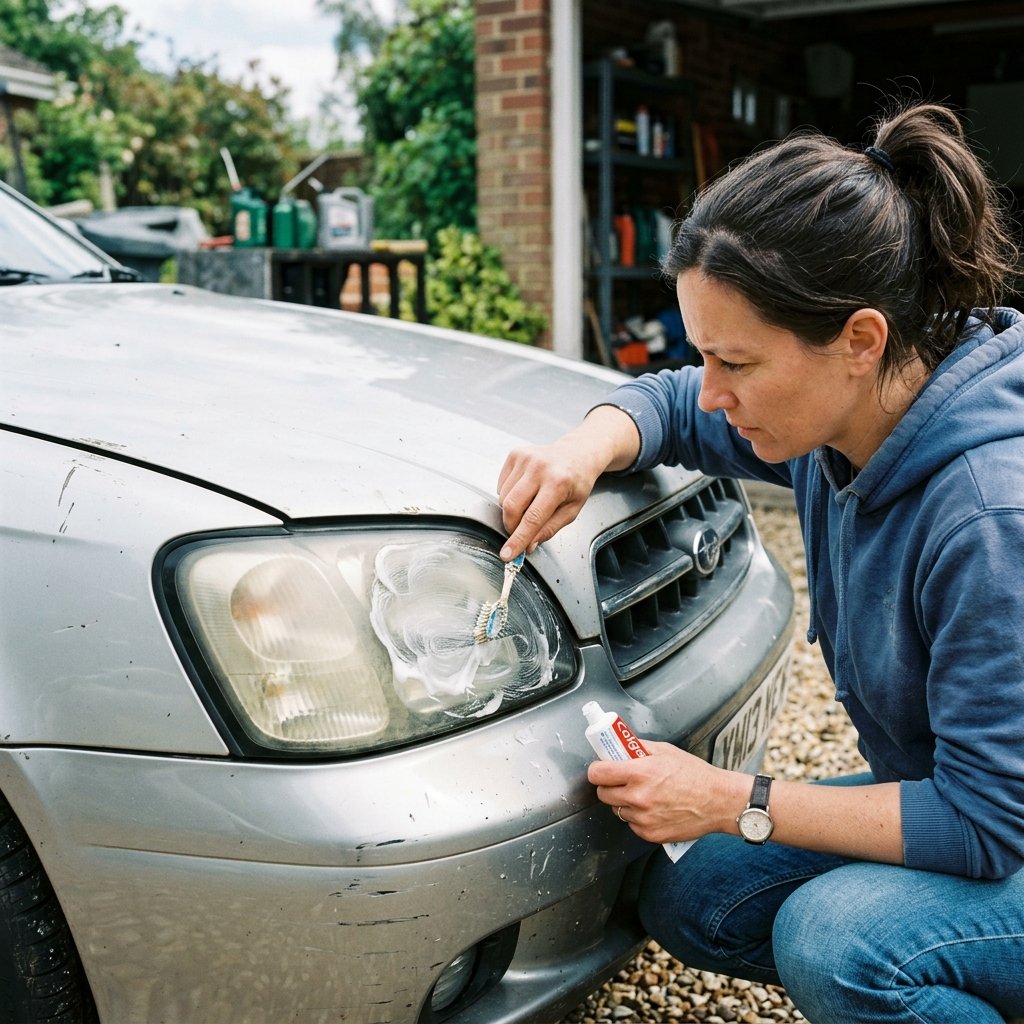
You have washed, you have vacuumed, and you have waxed. The car looks amazing. But the difference between a good wash and a professional detail lies in the tiny finishing touches. Here are a few frugal hacks to take your car to the next level without opening your wallet.
- Restoring Black Plastic Trim: Over time, the black plastic trim around your bumpers and wipers fades to a chalky gray. Do not buy expensive “trim restorers.” Take a tiny dab of olive oil or boiled linseed oil on a rag and rub it into the plastic. Buff off the excess. It will instantly darken the plastic and bring it back to life for literally pennies. (Note: Boiled linseed oil rags must be laid flat outside to dry before disposal, as they can be a fire hazard when crumpled up wet!)
- The Frugal Tire Shine: If you want your tires to look clean and dark without that greasy, overly-shiny wet look that flings oil all over your paint when you drive, just scrub them really well with your soapy water and a stiff brush. Clean rubber naturally looks great. If you must have a shine, a very light wipe with a rag barely dampened with baby oil will do the trick for a fraction of the cost of aerosol tire sprays.
- Crystal Clear Headlights: Are your headlights looking foggy and yellow? Do not buy a $30 restoration kit. Grab some regular whitening toothpaste (the paste kind, not gel) and an old toothbrush. The mild abrasives in the toothpaste will polish away the oxidation. Scrub in small circles, rinse, and wipe dry. You will be amazed at the difference.
Conclusion
And there you have it! You have just successfully detailed your car like an absolute professional, and the best part is that you kept your hard-earned money right where it belongs. By utilizing the math of DIY, leveraging household items like vinegar and baking soda, and following the proper step-by-step techniques, you have bypassed the detailing industry’s massive markups.
Think about it: you just saved around $200 today. If you do this every three months, that is $800 a year staying in your bank account just by putting in a little weekend elbow grease. Frugal living isn’t about deprivation; it is about resourcefulness. It is about looking at a problem—like a dirty car—and finding the smartest, most cost-effective way to solve it without compromising on the final result.
So, blast your favorite playlist, grab your two buckets, and get out in the driveway this weekend. Your car will look like a million bucks, and your budget will thank you. Keep hacking those costs, keep saving, and enjoy the ride!

Makenzie is the founder and lead writer at MoneyHackTips.com — a personal finance blog dedicated to delivering street-smart financial wisdom for real people on real budgets. With 300+ published articles covering everything from debt management to investing fundamentals, Makenzie’s mission is to make every dollar work harder. When not writing about money hacks, Makenzie is testing frugal living strategies, optimizing side hustles, and helping readers build financial freedom from scratch.