
Welcome to the Ultimate Frugal Hacker’s Guide to Tool Restoration
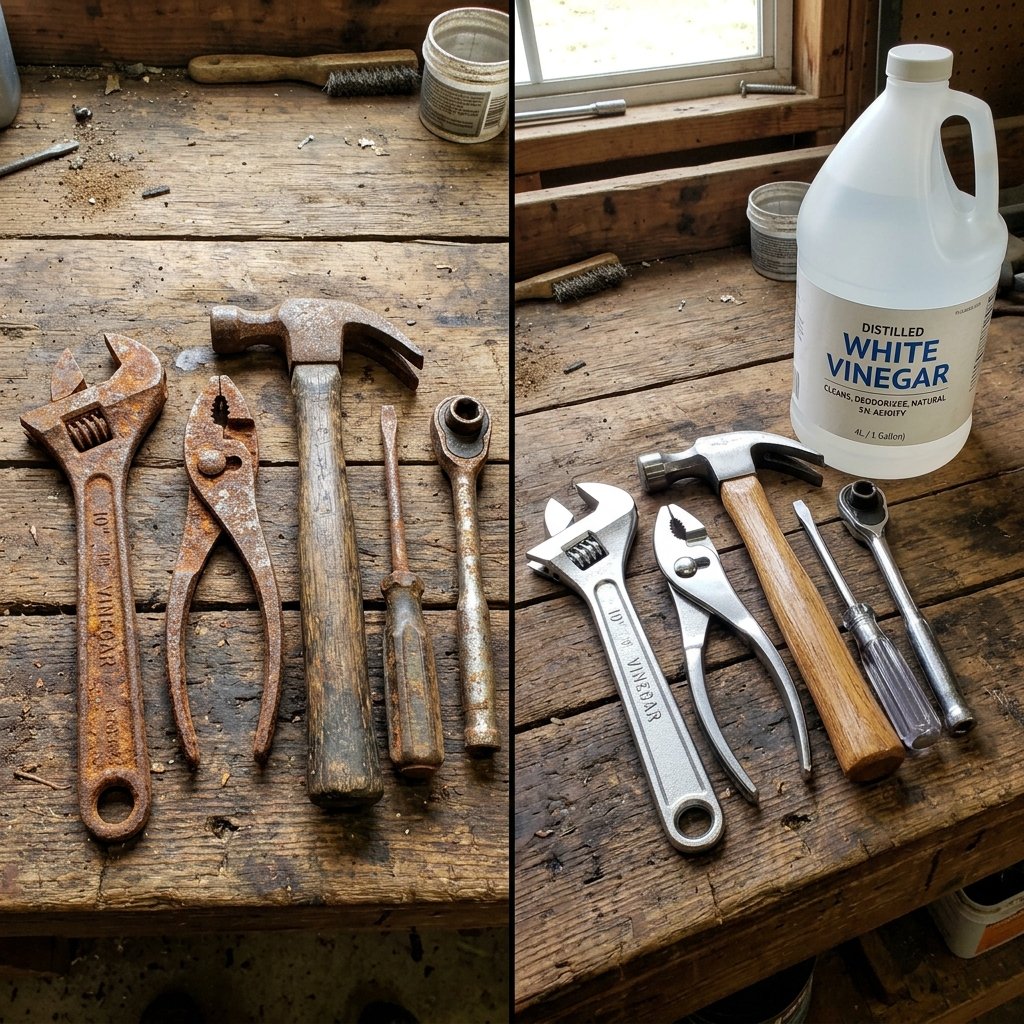
Hey there, fellow frugal living enthusiasts! Let us talk about a scenario we have all faced. You are digging through your garage, shed, or basement looking for that one specific pair of pliers, your favorite vintage hand plane, or that trusty old wrench. But when you finally find it, your heart sinks. It is completely covered in a thick, ugly layer of crusty orange rust. For a split second, you might think about tossing it in the trash and heading to the big box hardware store to drop $20, $30, or even $50 on a brand new replacement. Stop right there! Do not let the hardware stores take your hard-earned cash. As your resident street-smart frugal hacker, I am here to tell you that you can rescue those neglected tools and bring them back to life. And the best part? You do not need expensive, toxic chemical rust removers. You can restore old tools instantly with a simple, everyday kitchen ingredient that costs less than a cup of coffee. Yes, for just about $2, you can perform absolute magic in your garage. Today, we are diving deep into the ultimate money-saving tutorial that will transform your rusty junk into shiny, fully functional gear. Get ready to save big, work smart, and empower yourself with this incredible DIY hack!
The Magic Frugal Ingredient: Plain White Vinegar
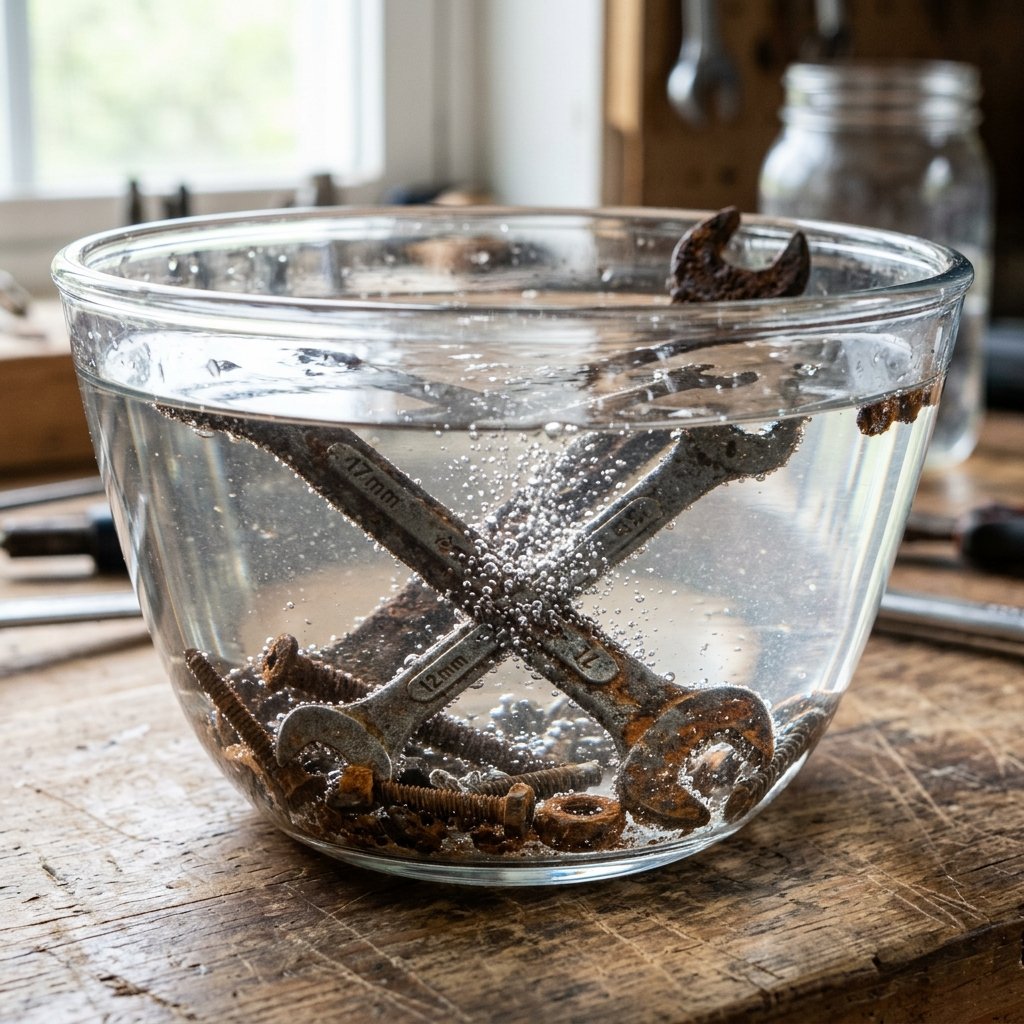
If you have been following my frugal hacks for a while, you know I absolutely love finding multi-purpose uses for cheap household items. When it comes to obliterating rust, the undisputed champion of the frugal toolkit is plain, distilled white vinegar. You probably already have a jug sitting in your pantry right now! But why does this humble $2 liquid work so incredibly well? It all comes down to basic chemistry. White vinegar contains acetic acid. While it is gentle enough to use in your salad dressings and marinades, it is acidic enough to react with iron oxide—which is the scientific term for that pesky rust eating away at your tools. When you introduce your rusty tools to white vinegar, the acetic acid dissolves the iron oxide, leaving the good, solid steel completely intact. Commercial rust removers are often packed with harsh, dangerous chemicals that require thick rubber gloves, respirators, and excellent ventilation. Plus, they come with a massive markup. Why pay $20 for a specialized bottle of chemical sludge when a gallon of white vinegar costs roughly $2.50 at your local grocery store? By choosing vinegar, you are not just saving money; you are opting for a safer, more environmentally friendly solution that gives you the exact same, if not better, results. It is the ultimate street-smart move for anyone looking to stretch their dollar and maintain their household independently.
The Math: Cost Breakdown of DIY vs Store Bought
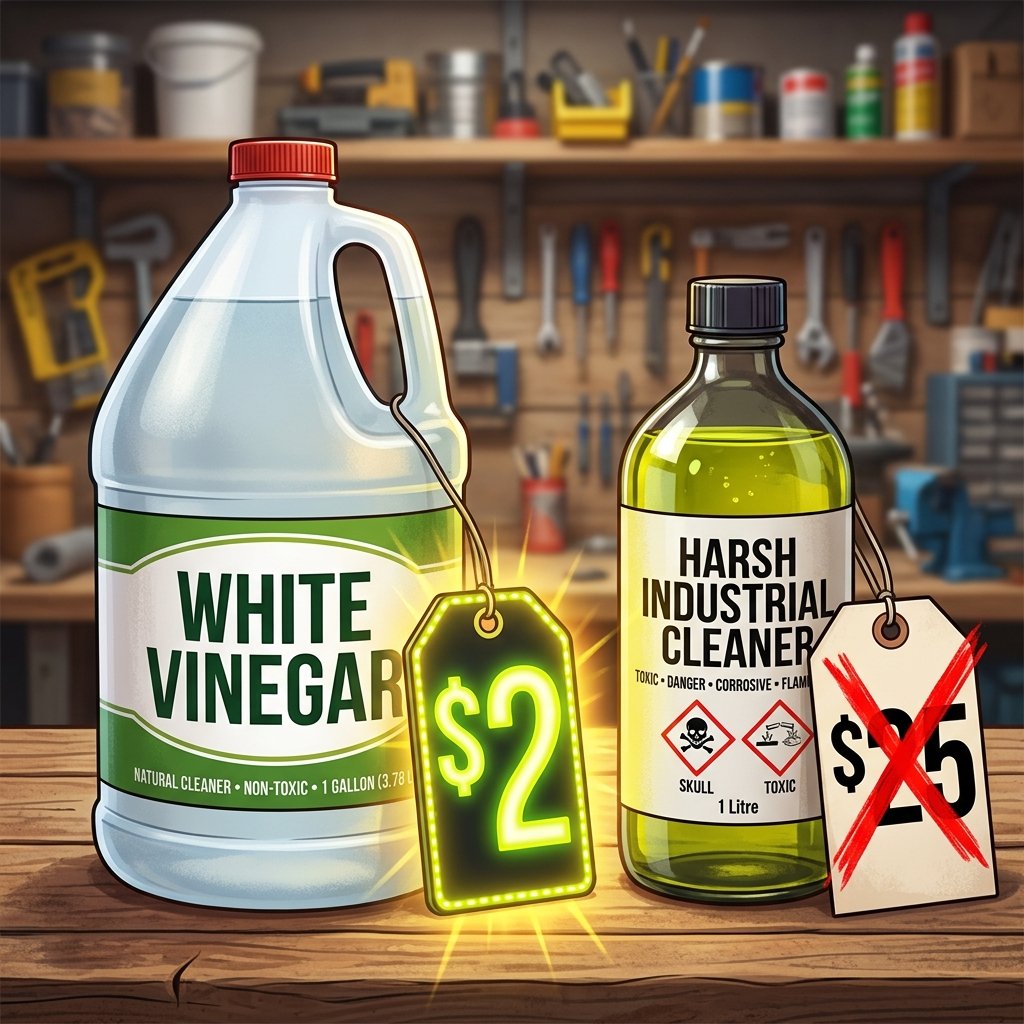
As frugal hackers, we do not just rely on feelings; we rely on cold, hard numbers. We want to see exactly how much cash stays in our wallets when we choose the DIY route over the heavily marketed commercial products. Let us look at the real-world math of rust removal. Below is a breakdown comparing our trusty kitchen staple to some of the most popular store-bought rust removal brands on the market.
| Rust Removal Solution | Average Cost per Gallon | Safety Gear Required | Frugal Verdict |
|---|---|---|---|
| Distilled White Vinegar (The Hack) | $2.50 | None (Safe & Non-toxic) | Ultimate Winner |
| Evapo-Rust (Commercial) | $25.00 | Gloves recommended | Too Expensive |
| CLR (Calcium Lime Rust) | $22.00 | Gloves & Ventilation | Harsh Chemicals |
| Naval Jelly (Chemical Rust Dissolver) | $35.00 (equivalent volume) | Gloves, Mask, Goggles | Avoid! Toxic & Costly |
Look at that difference! By simply walking into your kitchen instead of driving to the hardware store, you are saving upwards of $22.50 per gallon of cleaning solution. Over a lifetime of DIY projects, home maintenance, and tool restorations, these savings compound massively. That is money you can redirect toward your emergency fund, investments, or paying off debt. Never underestimate the power of a few saved dollars—it is the foundation of true financial freedom!
The Frugal Tutorial: Step-by-Step Tool Restoration
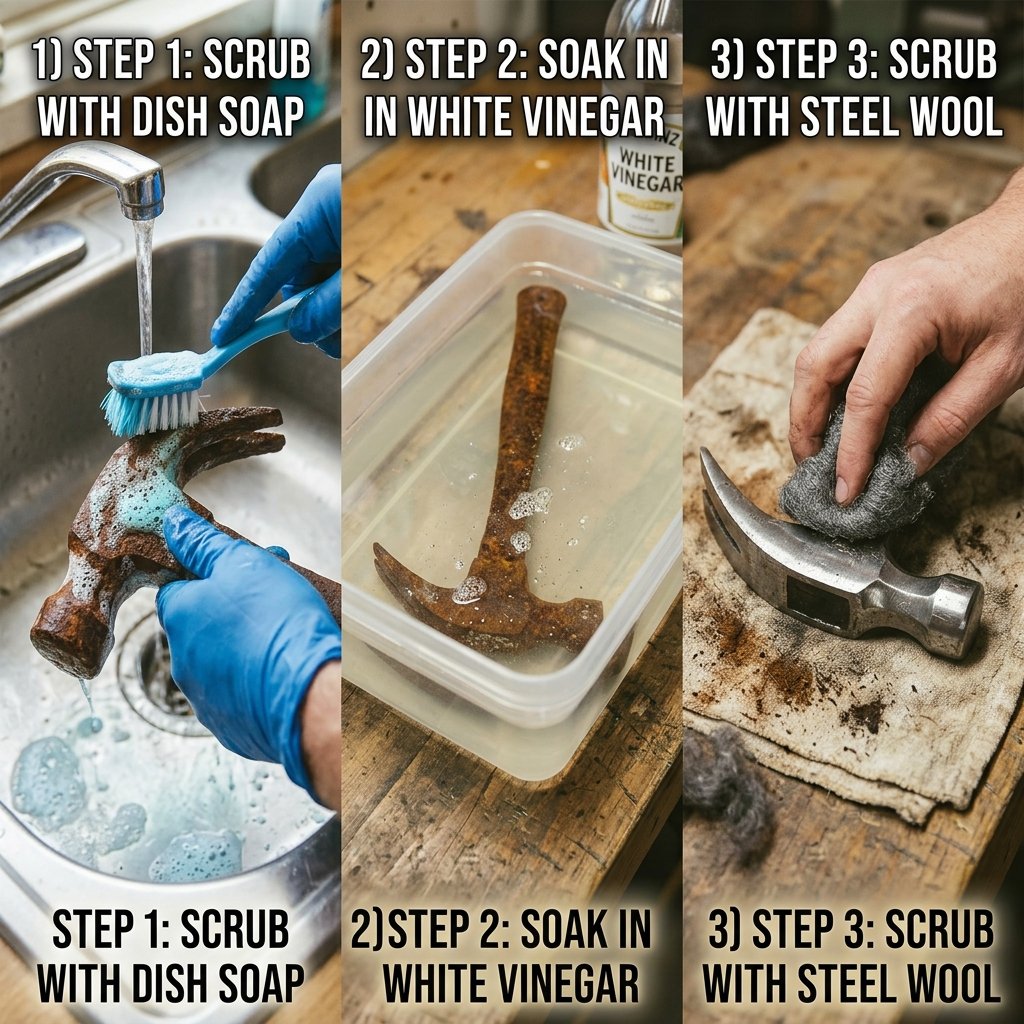
Are you ready to get your hands slightly dirty and save some serious cash? Here is the exact, step-by-step action plan to restore your old tools using white vinegar. Follow this guide, and you will be amazed at the transformation.
- Prep and Clean: Before the vinegar can work its magic on the rust, it needs direct access to it. Grab some basic dish soap and warm water. Scrub your rusty tools to remove any surface dirt, grease, or oil. If there is grease on the tool, it will create a barrier that the vinegar cannot penetrate. Dry them off thoroughly with an old rag.
- The Submersion: Find a plastic or glass container that is large enough to hold your tools. Do not use a metal container, as the vinegar can react with it. Place your tools inside and pour in the distilled white vinegar until the tools are completely submerged. You want every rusty spot covered by the liquid.
- The Waiting Game: This is where patience pays off. Let the tools soak for at least 12 to 24 hours. If the tools are heavily crusted in decades of rust, you might want to leave them for 48 hours. You will start to see little bubbles forming on the metal—that is the acetic acid eating away the iron oxide!
- The Scrub Down: After the soak, pull the tools out (the vinegar will look brown and nasty—that means it worked!). Grab a cheap wire brush, some steel wool, or even a crumpled piece of aluminum foil. Scrub the tools vigorously. The rust will wipe away like wet dirt, revealing the shiny, restored metal underneath.
- The Neutralizing Rinse: This step is critical! Vinegar is an acid, and if you leave it on the metal, it will actually cause flash rusting. Mix a tablespoon of baking soda into a bowl of water and dunk your tools in it. The baking soda neutralizes the acid. After a minute, rinse the tools with clean water and dry them completely with a towel. Do not let them air dry!
And just like that, your tools are back in action. You just saved yourself a trip to the store and a bunch of money.
The Golden Rules of Rust Prevention
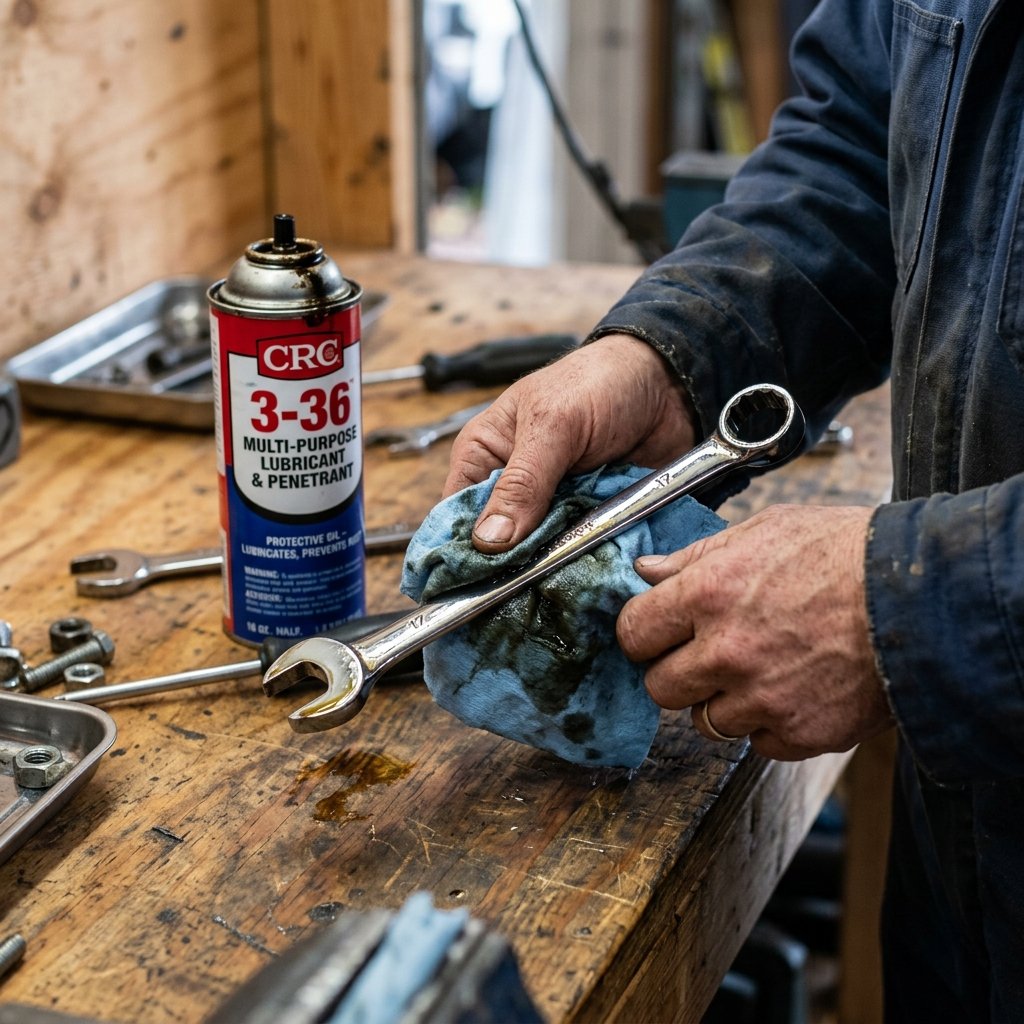
Restoring your tools is only half the battle. As a frugal hacker, your goal is to make your belongings last a lifetime so you never have to buy them again. Once you have stripped the rust off your tools, the raw steel is highly vulnerable to moisture in the air. If you do not protect them immediately, they will develop a light coating of orange rust within hours—a process known as flash rusting. To prevent this, you must seal the metal.
The Frugal Hacker’s Rule of Metal: Never leave raw steel exposed to the air. Always seal your restored tools immediately with a protective barrier to lock out moisture and guarantee a lifetime of use.
Here is how to protect your investment. As soon as your tools are completely dry from the baking soda rinse, coat them in oil. You do not need expensive specialty tool oils. You can use a quick spray of WD-40, which displaces water brilliantly. Alternatively, you can use 3-in-One oil, mineral oil, or even a dab of leftover motor oil applied with a rag. Rub the oil deep into the metal, wipe off the excess, and your tools will be practically invincible. Store them in a dry place, and consider tossing a few silica gel packets (the ones that come in shoe boxes for free!) into your toolbox to absorb ambient moisture. That is how you hack the system and keep your gear in pristine condition for zero extra cost.
Bonus Hacks: What Else Can You Restore?
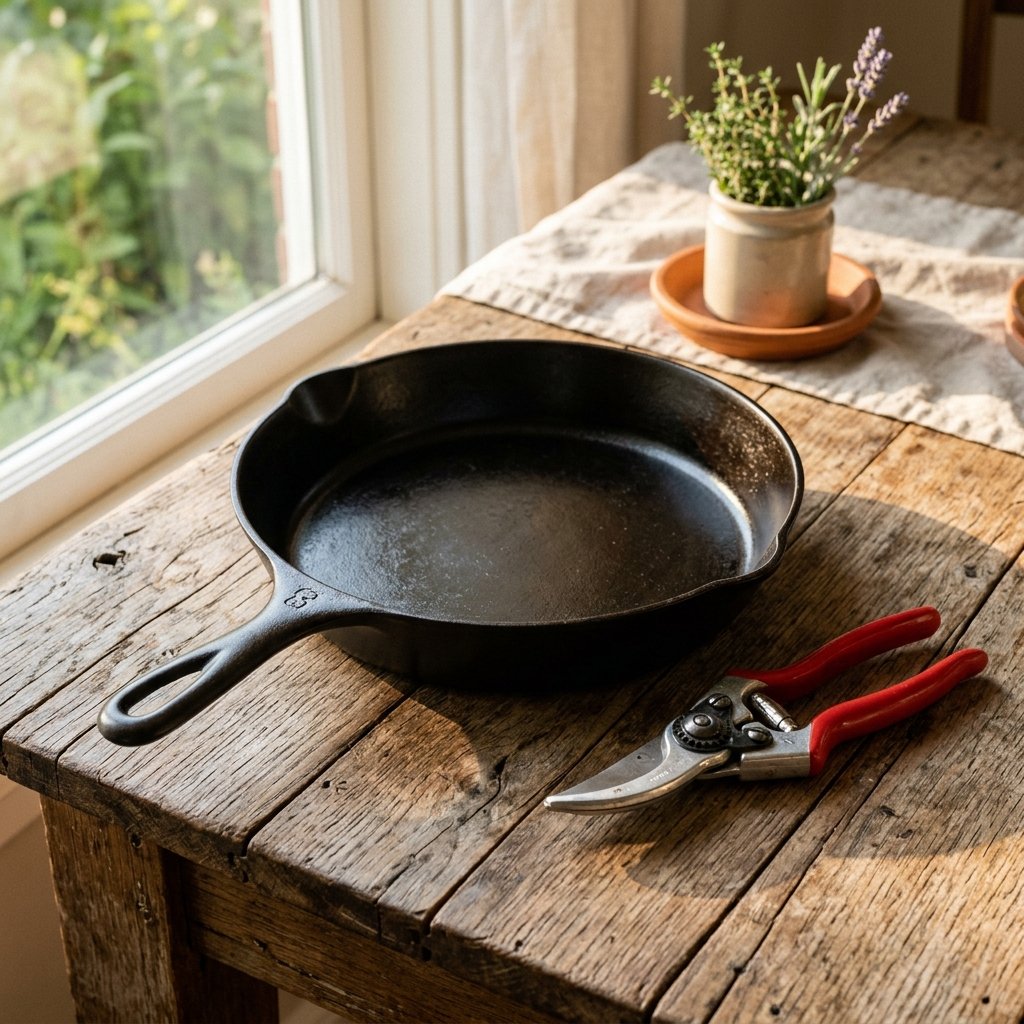
The beauty of this $2 vinegar hack is that it does not stop at hand tools. Once you realize the power of acetic acid, you will start looking around your house for other things to rescue from the trash bin. Have you got rusty old baking pans? Soak them in vinegar! What about rusty hinges, old screws, or antique cast iron skillets you picked up at a garage sale for $5? Vinegar handles them all. You can even use this method to restore old gardening tools like shears and shovels, ensuring you do not have to spend $40 at the garden center every spring. Being frugal isn’t about being cheap; it is about being resourceful. It is about looking at a rusty, discarded item and seeing its true potential. By mastering these simple, low-cost restoration skills, you become self-sufficient. You stop relying on big corporations to solve your problems and start relying on your own ingenuity.
Conclusion
Keep Hacking, Keep Saving!
There you have it, friends—the ultimate proof that you do not need to spend big money to solve everyday household problems. By utilizing the incredible power of a $2 bottle of white vinegar, you can restore old tools instantly, save a ton of cash, and keep perfectly good metal out of the landfill. Remember, frugal living is all about working smarter, questioning expensive commercial solutions, and taking matters into your own hands. The next time you find a rusty tool, do not throw it away. Give it a vinegar bath, scrub it down, and take pride in the fact that you just hacked the system. Thank you for joining me on this money-saving journey today. Be sure to share this hack with your friends, family, and anyone else who loves keeping their hard-earned money right where it belongs—in their own pockets. Until next time, stay street-smart, stay resourceful, and keep on hacking your way to financial freedom!

Makenzie is the founder and lead writer at MoneyHackTips.com — a personal finance blog dedicated to delivering street-smart financial wisdom for real people on real budgets. With 300+ published articles covering everything from debt management to investing fundamentals, Makenzie’s mission is to make every dollar work harder. When not writing about money hacks, Makenzie is testing frugal living strategies, optimizing side hustles, and helping readers build financial freedom from scratch.