
Welcome, frugal DIYers, handy upcyclers, and style-savvy budgeteers! If there is one sartorial struggle that unites us all, it is the dreaded pant drag. You finally find that perfect pair of wide-leg trousers—the ones that drape immaculately, make you feel like a million bucks, and were scored on an unbelievable clearance rack for just $15. But there is a catch: they are approximately six inches too long, pooling around your ankles like a deflated parachute. You take them to the local tailor, only to discover that the alteration will cost you $30 to $45. Suddenly, your budget-savvy triumph turns into an expensive headache. But what if I told you that you never have to pay a tailor’s tax again? What if the secret to achieving a flawless, high-end hem requires zero expensive machinery, just a few basic tools you already have in your junk drawer, and a little bit of old-school, crafty ingenuity?
Today, we are diving deep into the resourceful world of hand-tailoring. We are stripping away the intimidation of alterations and empowering you with a grandma-approved, master-tailor secret that will save you hundreds of dollars over your lifetime. Hemming wide-leg pants is notoriously tricky because of the sheer volume of fabric and the way it sweeps across the shoe. A bad hem on a wide-leg pant is instantly noticeable—it puckers, it swings awkwardly, or worse, it unravels after one trip through the washing machine. But fear not. With the rugged, practical techniques outlined in this masterclass, you will learn how to manipulate fabric like a seasoned pro. We will cover the geometry of the perfect drape, the magic of the invisible catch stitch, and the ultimate ironing hacks that lock your hard work in place. Grab your favorite beverage, roll up your sleeves, and let us transform those dragging trousers into custom-fit, elegant masterpieces.
“True style isn’t about how much you spend on the garment; it’s about how perfectly it fits your body. Master the hem, and you master your wardrobe.”
The Tailor’s Tax vs. The Frugal Fix: Why You Should DIY Your Hems
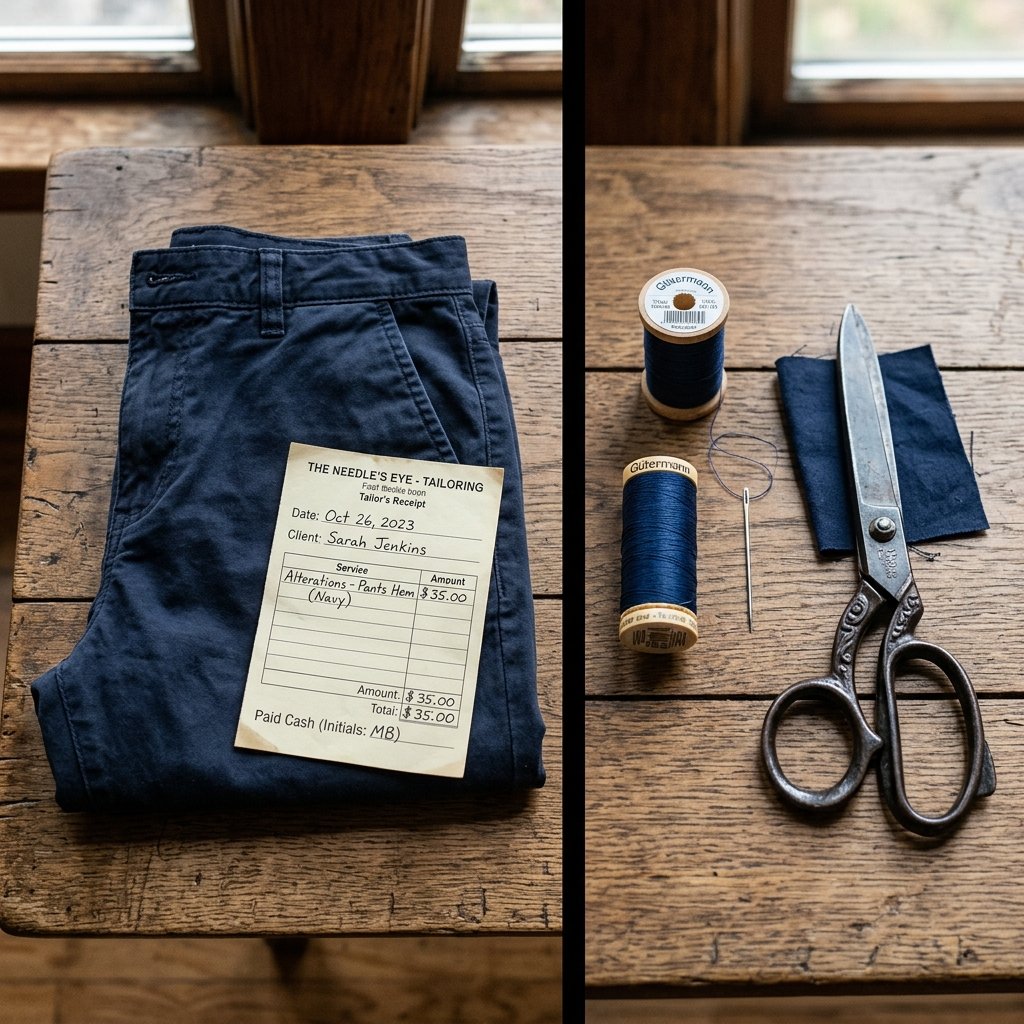
Let us talk numbers, because every clever budget-saver knows that a penny saved is a penny earned—and in the world of clothing alterations, we are talking about a lot of pennies. The traditional route of dropping your clothes off at a dry cleaner or tailor seems convenient until you look at the receipt. The “Tailor’s Tax” can easily double the cost of a bargain garment. When you learn to hand-hem, you are not just fixing one pair of pants; you are acquiring a lifetime skill that yields an incredible return on investment. Furthermore, there is a profound, rugged satisfaction in being self-reliant. Fixing, mending, and altering your own gear is a time-honored tradition of practicality. It is about taking ownership of your belongings and refusing to let a minor sizing issue relegate a great piece of clothing to the donation bin.
The Real Cost of Professional Alterations
When you pay a professional, you are paying for their overhead, their specialized machines, and their time. But wide-leg pants, in particular, often incur upcharges due to the circumference of the leg opening. A standard straight-leg pant might have a 14-inch opening, whereas a wide-leg palazzo or structured trouser can boast a 24-inch opening or more. That is nearly double the stitching. By taking this project into your own hands, you bypass these inflated costs entirely. Your only investment is a spool of thread, a needle, and about 30 to 45 minutes of your time. Let us break down the economics of this resourceful endeavor.
| Alteration Method | Estimated Cost Per Pair | Time Investment | Long-Term Value |
|---|---|---|---|
| Professional Tailor | $25 – $45 | 3 to 7 Days (Drop-off/Pickup) | Zero (Must pay again next time) |
| Dry Cleaner Hem | $15 – $30 | 2 to 4 Days | Zero (Often uses cheap, visible machine stitches) |
| Iron-On Hem Tape | $5 – $8 | 10 Minutes | Low (Washes out over time, stiffens fabric) |
| The Frugal DIY Hand-Hem | $0.50 (Cost of thread) | 30 – 45 Minutes | Priceless (Lifetime skill, permanent fix) |
As the table clearly illustrates, the zero-budget DIY approach is the ultimate winner. Not only do you save a significant amount of cash, but you also retain complete control over the final look. You can customize the break (how the pant rests on your shoe) exactly to your liking, rather than hoping the tailor understood your instructions.
Gathering Your Arsenal: The Budget-Savvy Sewing Kit
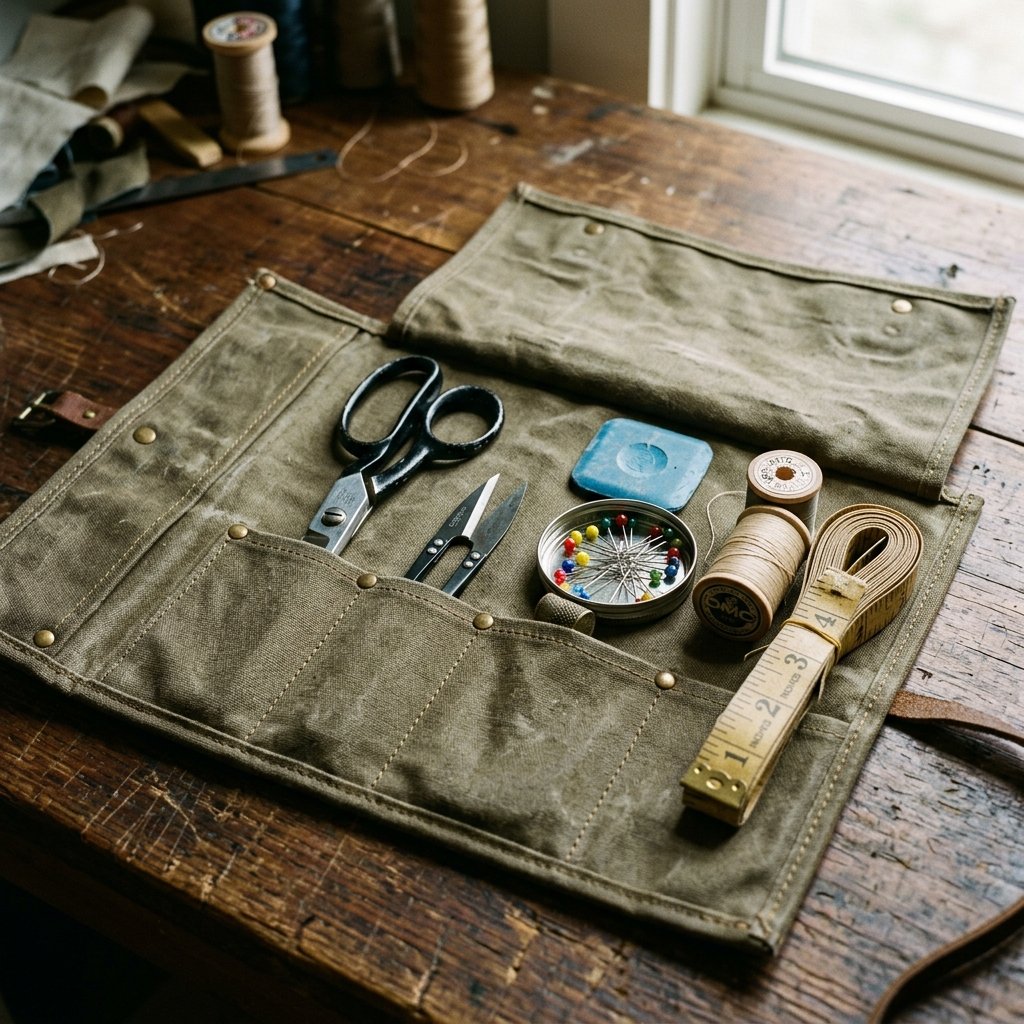
Before we make a single fold or stitch, we must assemble our toolkit. The beauty of this crafty-expert technique is that it requires absolutely no electricity (save for your iron) and no bulky sewing machine taking up space in your home. You are building a rugged, practical, and highly portable arsenal that can tackle any wardrobe malfunction. Most of these items can be found at your local dollar store, thrift shop, or already hiding in your home.
Essential Tools for the Perfect Hem
- A High-Quality Hand-Sewing Needle: You do not need a massive pack of 100 needles. You need one good “Sharps” needle. It should be thin enough to glide through the fabric without leaving visible holes, but sturdy enough not to snap.
- Polyester or Cotton-Poly Blend Thread: Match the color to your pants as closely as possible. If you cannot find an exact match, go one shade darker, as darker threads blend into shadows better than lighter threads. Polyester is incredibly strong and withstands the friction of wide-leg pants swishing around your ankles.
- Glass-Head Pins: This is a crucial, pro-level tip. Do not use plastic-headed pins. When we press the hem with a hot iron, plastic heads will melt right into your beautiful fabric, ruining the garment. Glass-head pins can withstand the heat.
- Tailor’s Chalk or a Slivers of Bar Soap: You need something to mark your fabric that will wash away. If you do not want to spend $3 on tailor’s chalk, use a dried-up sliver of white bar soap! It draws a perfect, crisp line on dark fabrics and washes out instantly. Talk about resourceful!
- A Measuring Tape or Ruler: Precision is key when dealing with wide circumferences.
- A Steam Iron and Ironing Board: The iron is the unsung hero of this entire operation. A good press does 80% of the work for you.
| Fabric Type | Needle Recommendation | Thread Type | Iron Heat Setting |
|---|---|---|---|
| Linen / Cotton (Lightweight) | Fine Sharps (Size 8-10) | Cotton or Cotton-Poly | High (Cotton/Linen setting) with Steam |
| Denim / Canvas (Heavyweight) | Heavy Duty / Denim Needle | Heavy Duty Polyester | High with Max Steam |
| Crepe / Silk / Rayon (Delicate) | Extra Fine (Size 10-12) | Silk or Fine Polyester | Low/Medium (Silk setting), No Steam |
| Wool / Tweed (Suiting) | Medium Sharps (Size 7-9) | Polyester or Silk | Medium/High with a Pressing Cloth |
“Safety Note: Always handle sharp needles and hot irons with respect. Keep your workspace well-lit, use a thimble if pushing through heavy denim, and never leave a hot iron resting face-down on your ironing board.”
By understanding your fabric and matching it with the correct tools from your budget-savvy kit, you eliminate the guesswork and set yourself up for a flawless, masculine-elegant, or chic-boutique finish.
The Secret Trick: Measuring the Perfect Drape and The ‘Shoe Rule’
Here is where most amateur tailors fail: the measurement phase. Wide-leg pants are a completely different beast compared to skinny jeans or tapered trousers. Because the leg opening is so vast, the fabric does not cling to your calf or ankle; it falls straight down from the hip or thigh. If a wide-leg pant is even a half-inch too long, the back of the hem will get caught under your heel, rapidly fraying and destroying the garment. If it is too short, you enter the dreaded “flood pants” territory, ruining the elegant, elongated silhouette that wide-leg trousers are meant to provide.
The Golden “Shoe Rule”
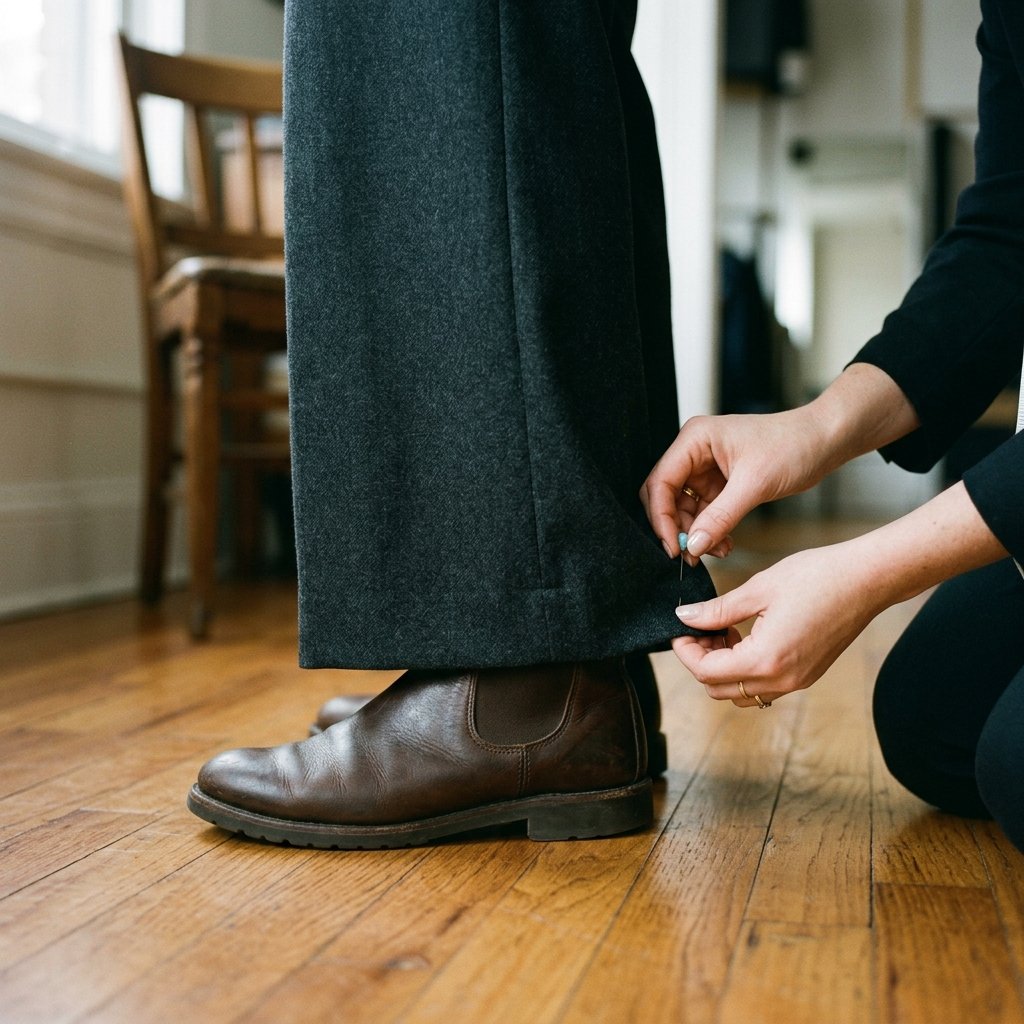
The absolute, non-negotiable secret to getting the length right every single time is what I call the “Shoe Rule.” You must measure and pin the pants while wearing the exact shoes you intend to wear with them most often. If these are dress pants for the office, put on your loafers or heels. If they are casual linen beach pants, wear your favorite sandals or sneakers. The height of the sole completely changes where the hem should break.
- Step 1: Put the Pants On: Button them up, zip them up, and wear them exactly where they naturally sit on your waist. Do not pull them up artificially high or let them sag.
- Step 2: Wear the Shoes: Put on your chosen footwear. Stand naturally on a hard, flat surface (do not stand on plush carpet, as it distorts the measurement).
- Step 3: The Hover Technique: For wide-leg pants, the ideal length is for the back of the hem to hover exactly 1/4 inch to 1/2 inch above the floor. The front should drape cleanly over the top of the shoe with a very slight “break” (a small fold where the fabric hits the shoe).
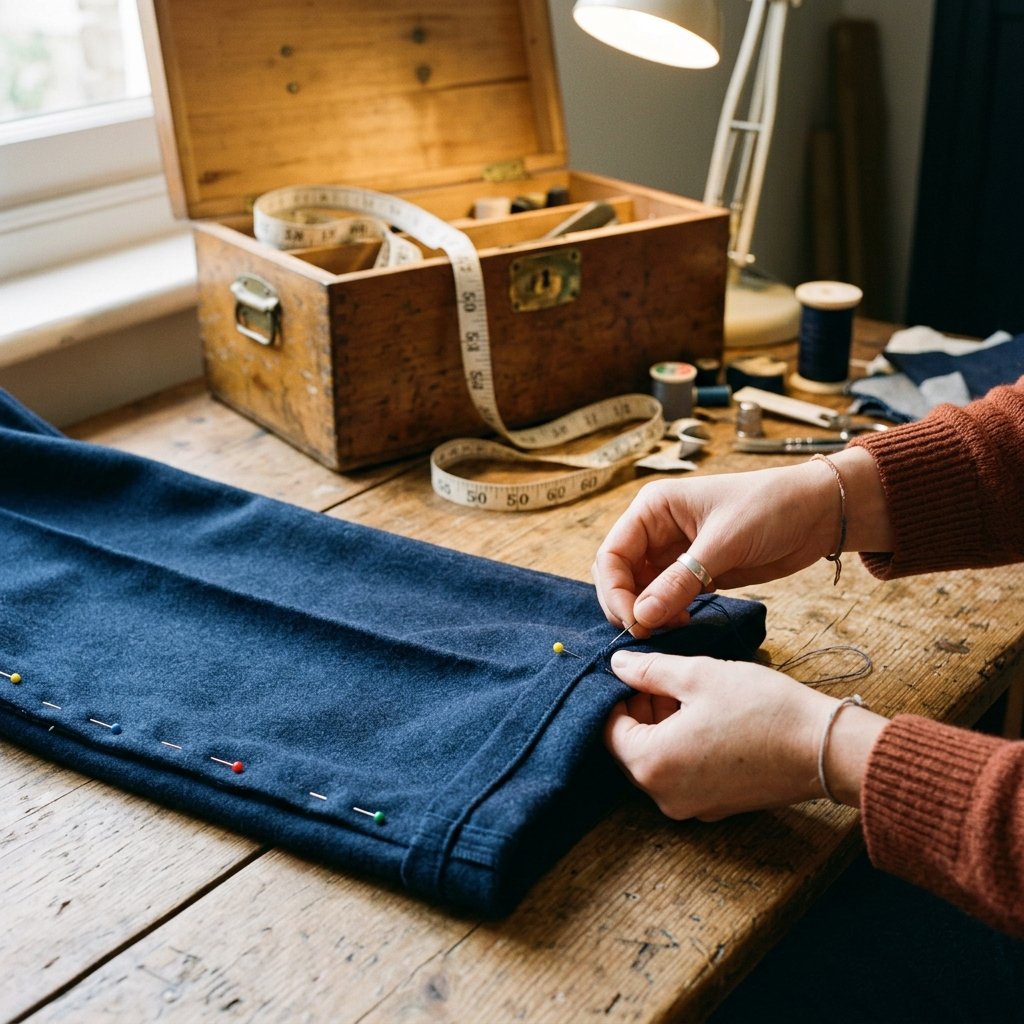
- Step 4: Pinning the Hem: Have a handy partner, spouse, or friend help you here, or use a full-length mirror. Fold the excess fabric up inside the pant leg. Insert a glass-head pin vertically at the back of the heel, exactly where you want the new hem to sit. Then, place one pin at the front, and one on each side. Four pins per leg are all you need at this stage.
Take off the pants carefully so you do not lose your pins. You have now captured the perfect, custom-tailored length for your specific body and footwear. This clever, simple trick entirely eliminates the mathematical guesswork of measuring inseams.
Preparing the Fold: Where the Iron Does the Heavy Lifting
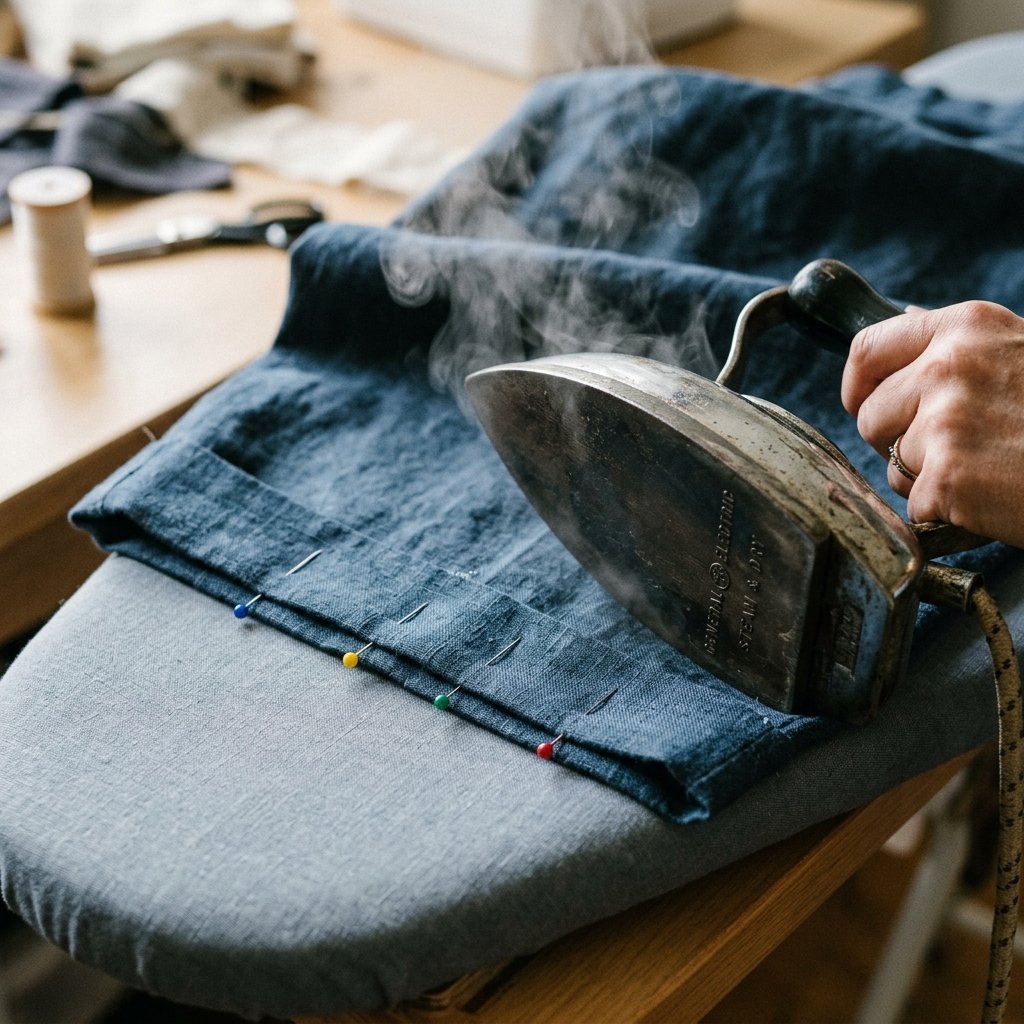
If there is a mantra you must adopt as a frugal DIYer and crafter, it is this:
“The iron is your second sewing machine. A well-pressed fold is a battle half-won.”
Hand-sewing can seem tedious if you are fighting the fabric the entire time. By utilizing your iron to create crisp, permanent memory lines in the fabric, you turn a chaotic, floppy pant leg into a structured, easy-to-sew masterpiece.
The Double-Fold Method (No Fraying Allowed)
When you cut fabric, the raw edge will eventually unravel and fray, especially with the heavy friction that wide-leg pants endure. To prevent this, professional tailors use a serger machine. Since we are doing this on a zero-budget, no-machine basis, we will use the classic “Double Fold” technique to trap the raw edge inside the hem, making it completely invisible and indestructible.
- Establish the Hemline: Lay the pants flat on your ironing board. Look at the pins you placed while wearing them. Using your tailor’s chalk or soap sliver, draw a straight line all the way around the pant leg connecting the pins. This is your final hemline (where the pants will end). Remove the pins.
- Measure the Excess: Decide how deep you want your hem. For wide-leg pants, a deeper hem (about 1.5 to 2 inches) adds luxurious weight to the bottom, helping the pants drape and swing beautifully. Let us assume you want a 1.5-inch hem.
- Mark the Cut Line: From your chalked hemline, measure down exactly 2 inches (1.5 inches for the hem depth, plus 0.5 inches for the inner fold). Draw a second chalk line here. This is your cut line.
- The Big Cut: Take a deep breath, trust your measurements, and use sharp fabric scissors to cut off the excess fabric along the bottom cut line. Save those scraps! You can upcycle them later into patches or crafts.
- The First Fold (The 1/2 Inch): Fold the raw edge up by exactly 1/2 inch toward the inside of the pant leg. Pin it if needed, and press it firmly with a hot, steamy iron. Move slowly, ensuring the fold is crisp and even all the way around the massive circumference.
- The Second Fold (The Final Hem): Now, fold the fabric up again, this time along your original chalked hemline (which should be 1.5 inches). Pin it securely with your glass-head pins, placing a pin every two to three inches. Press this fold aggressively. Use steam. You want this edge to be sharp enough to cut paper.
Spend at least 5 to 10 minutes on this pressing phase. When you are done, the hem should stay in place almost entirely on its own, with the pins just acting as gentle reminders. You have perfectly enclosed the raw edge, added luxurious weight to the drape, and prepared a flawless canvas for your hand-stitching.
The Invisible Catch Stitch: Grandma’s Hand-Sewing Secret
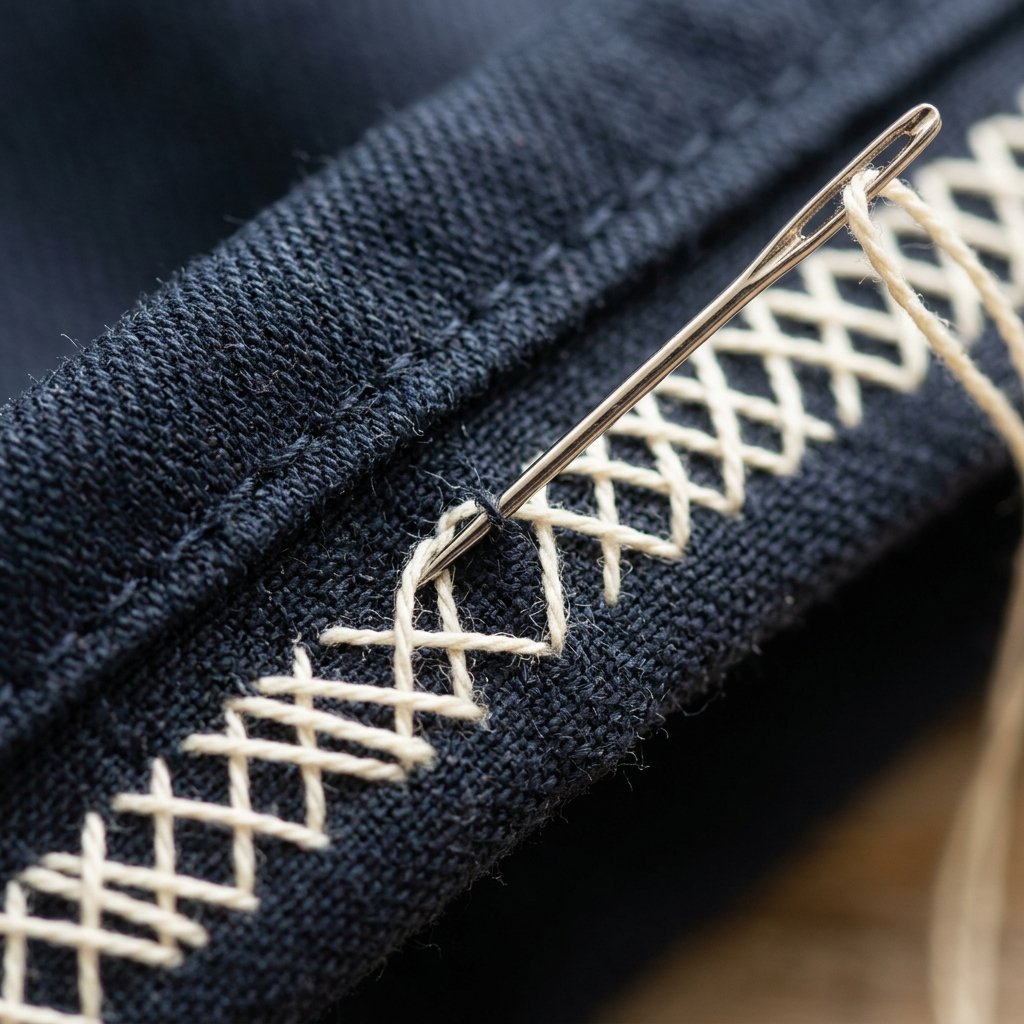
We have arrived at the crowning jewel of this tutorial: the Catch Stitch (also known as the Blind Hem Stitch). Why do we use this specific stitch instead of a standard running stitch? Wide-leg pants require movement. As you walk, the fabric stretches, twists, and flows. A rigid, straight stitch will eventually snap under tension. The catch stitch forms a flexible zigzag pattern on the inside of the garment, allowing the hem to stretch with the fabric while remaining 100% invisible from the outside. This is the exact technique used in high-end, bespoke tailoring, and you are about to master it for pennies.
Step-by-Step Catch Stitch Mastery
Thread your needle with a single strand of thread about 18 inches long (any longer, and it will tangle). Tie a small, secure knot at the end.
- Anchor the Thread: Start at the inner seam of the pant leg (the inseam) so your starting knot is hidden. Push the needle through the folded edge of the hem only, pulling the thread until the knot catches inside the fold. Do not go through to the outside of the pants yet.
- The Micro-Bite: Move your needle about 1/4 inch to the left (if you are right-handed, you will actually sew from left to right, but the needle points left—it feels backward, but it creates the zigzag!). Above the folded edge, on the main fabric of the pant leg, pick up exactly one or two individual threads of the fabric with the tip of your needle. This is the secret to invisibility. If you grab too much fabric, the stitch will show on the outside. Pull the thread through gently.
- Catch the Fold: Now, move your needle diagonally down and to the right, about 1/4 inch. Push the needle into the folded edge of the hem (grabbing a good chunk of the fold, since this part doesn’t show on the outside). Pull the thread through.
- Repeat the Zigzag: Move diagonally up and to the right, take another micro-bite (1-2 threads) of the main fabric. Move diagonally down and right, catch the fold. Up, micro-bite. Down, catch the fold.
- Maintain Tension, Don’t Pull Tight: As you work your way around the massive circumference of the wide-leg pant, the most critical rule is tension.
“Let the thread float. If you pull the thread tight, the fabric will pucker, and the secret is ruined.”
The thread should sit flush against the fabric, maintaining a gentle “X” or zigzag pattern.
- Tie Off: Once you have navigated all the way around the leg and returned to your starting point, take a small stitch in the folded edge, loop the thread around the needle twice, and pull tight to create a knot. Snip the excess thread.
Flip the pant leg right-side out. If you took small enough bites of the main fabric and kept your tension relaxed, you will see absolutely nothing. It is a moment of pure, crafty triumph. You have executed a professional blind hem.
Finishing Touches and Troubleshooting Your Masterpiece
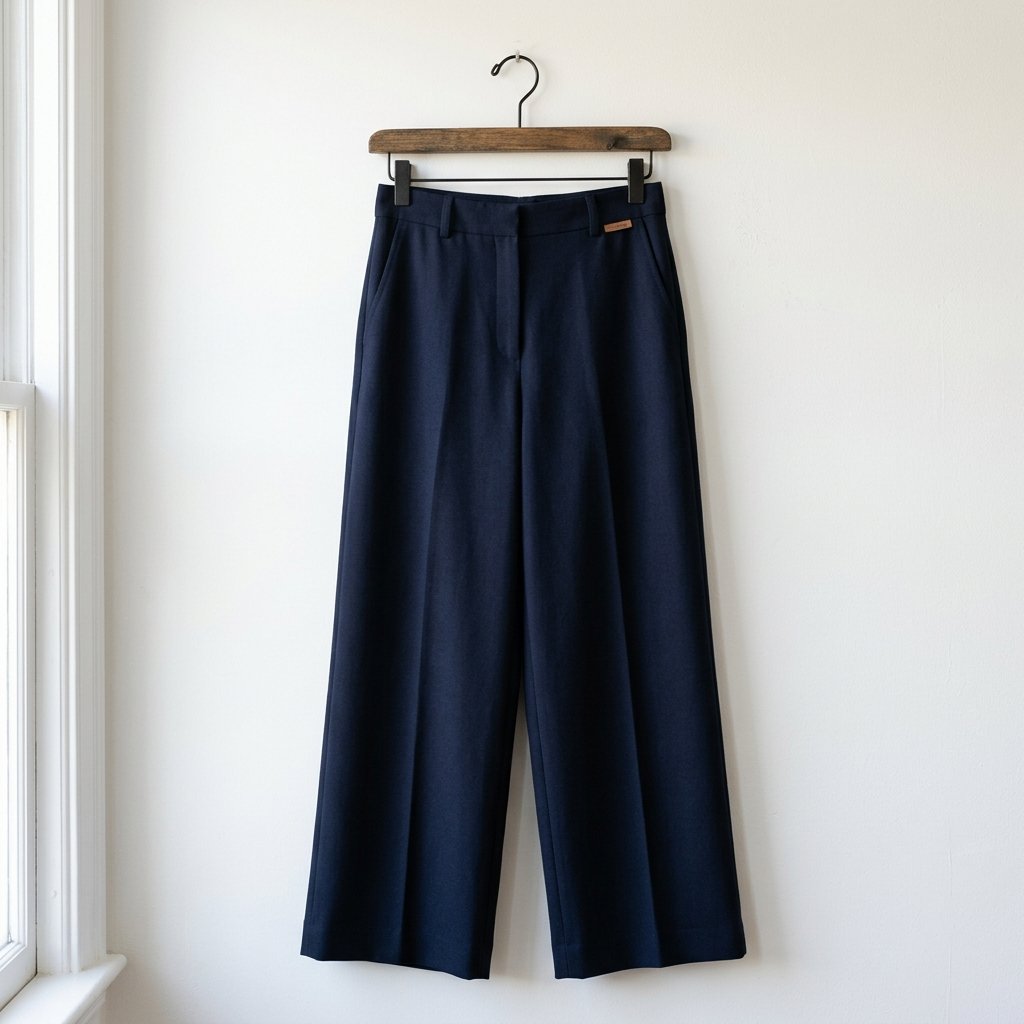
You have measured perfectly, pressed aggressively, and stitched with the precision of a master tailor. But the job is not quite finished. The final finishing touches are what separate a good DIY project from a spectacular, indistinguishable-from-store-bought masterpiece. Furthermore, as a resourceful upcycler, you need to know how to troubleshoot common issues so you never feel defeated by a sewing project again.
The Final Press and Care
Once both legs are stitched, turn the pants right-side out. Place them back on the ironing board. If you are working with a delicate fabric or a dark suiting wool, place a “pressing cloth” (a clean cotton dish towel or scrap fabric) over the hem. Press the hem one final time with heavy steam. This final press flattens the micro-bites of thread into the fabric, making them even more invisible, and sets the drape of the heavy hem.
Troubleshooting Common Hemming Headaches
Even the most rugged and practical hand-sewers run into snags. Here is your quick-reference guide to fixing hem issues without tearing your hair out.
| The Problem | The Root Cause | The Tailor’s Solution |
|---|---|---|
| Puckering or Dimples on the Outside | Thread tension is too tight, or you grabbed too many fibers in your micro-bite. | Snip the thread, pull out the puckered section, and re-stitch. Keep tension loose and only grab 1-2 threads. |
| The Hem is Wavy or Twisted | You didn’t press the fold evenly, or you pinned the fabric while it was stretched. | Always iron flat. Ensure the side seams of the folded hem match up perfectly with the side seams of the main leg. |
| Stitches Popping When Walking | You used a straight stitch instead of the flexible Catch Stitch, or cheap thread. | Re-hem using the Catch Stitch and high-quality polyester thread. The zigzag allows for mechanical stretch. |
| Fabric Fraying Inside the Hem | You skipped the “Double Fold” method and left a raw edge exposed. | Always fold the raw edge under by at least 1/2 inch before making your final hem fold to encapsulate the raw edge. |
When it comes time to wash your newly hemmed pants, treat them with a bit of respect. While the polyester thread and double-fold make this hem incredibly durable, turning the pants inside out before washing protects the stitches from catching on zippers or agitators. Hang drying is always recommended for wide-leg pants to preserve the beautiful drape and crispness of your hard work.
Conclusion
Congratulations! You have just bypassed the tailor’s tax, saved yourself $30 to $45, and unlocked a timeless, highly practical skill. Hemming wide-leg pants at home is no longer a daunting chore reserved for professionals with expensive machinery. By utilizing the “Shoe Rule” for perfect measurements, harnessing the power of your iron for crisp double-folds, and mastering the invisible catch stitch, you have elevated your frugal DIY game to masterful heights.
This resourceful trick is about more than just saving money; it is about reclaiming your wardrobe. You no longer have to pass up those amazing thrift store finds or clearance rack deals just because the pants are a few inches too long. You are now equipped to customize your clothing to fit your unique body perfectly. So go ahead, wear those beautifully draped, custom-fit wide-leg trousers with pride. When someone compliments how perfectly they fall over your shoes, you can smile, knowing you hold the crafty, budget-savvy secret. Keep mending, keep upcycling, and stay endlessly creative!

Makenzie is the founder and lead writer at MoneyHackTips.com — a personal finance blog dedicated to delivering street-smart financial wisdom for real people on real budgets. With 300+ published articles covering everything from debt management to investing fundamentals, Makenzie’s mission is to make every dollar work harder. When not writing about money hacks, Makenzie is testing frugal living strategies, optimizing side hustles, and helping readers build financial freedom from scratch.