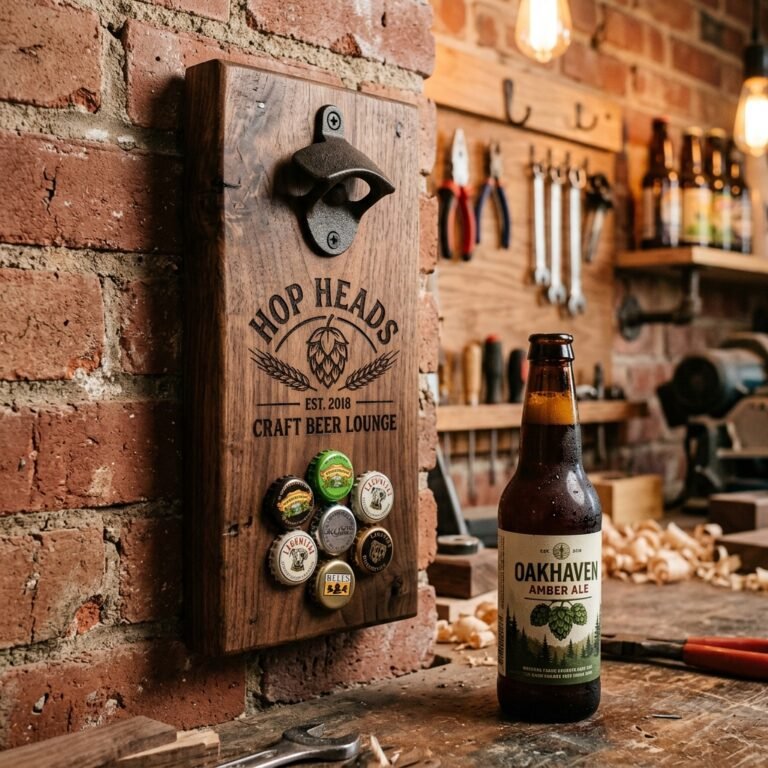
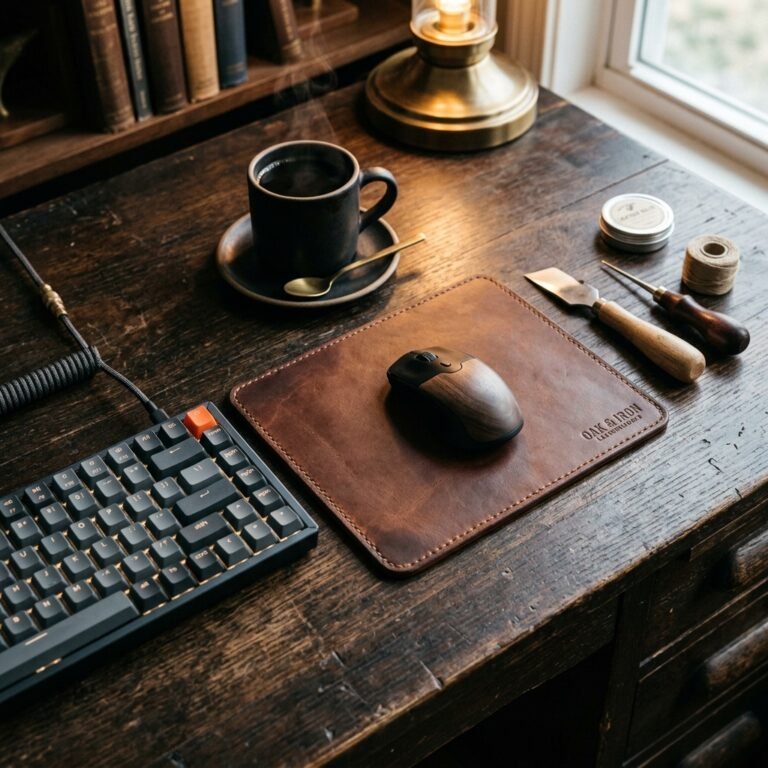
We have all been there: the frantic, last-minute scramble for car keys when you are already five minutes late. It is a chaotic start to the day that no amount of coffee can fix. But what if your entryway didn’t just hold your keys, but actually made a statement? Enter the DIY Wood and Leather Wall Key Holder. This project is the epitome of rugged elegance—combining the organic warmth of timber with the timeless, masculine appeal of genuine leather. Best of all? While high-end boutiques might charge $45 to $65 for a similar bespoke piece, we are going to craft ours for under $10 using resourceful scavenging and clever crafting techniques.
This isn’t just a project; it is a masterclass in ‘Trash-to-Treasure’ philosophy. Whether you are a seasoned woodworker with a shop full of offcuts or a budget-savvy decorator looking to elevate your apartment, this guide is designed for you. We will focus on minimalist aesthetics that fit into any decor style—from industrial loft to modern farmhouse—without breaking the bank. Let’s roll up our sleeves and turn that clutter into a curated display.
The Blueprint: Sourcing Luxury Materials on a Budget
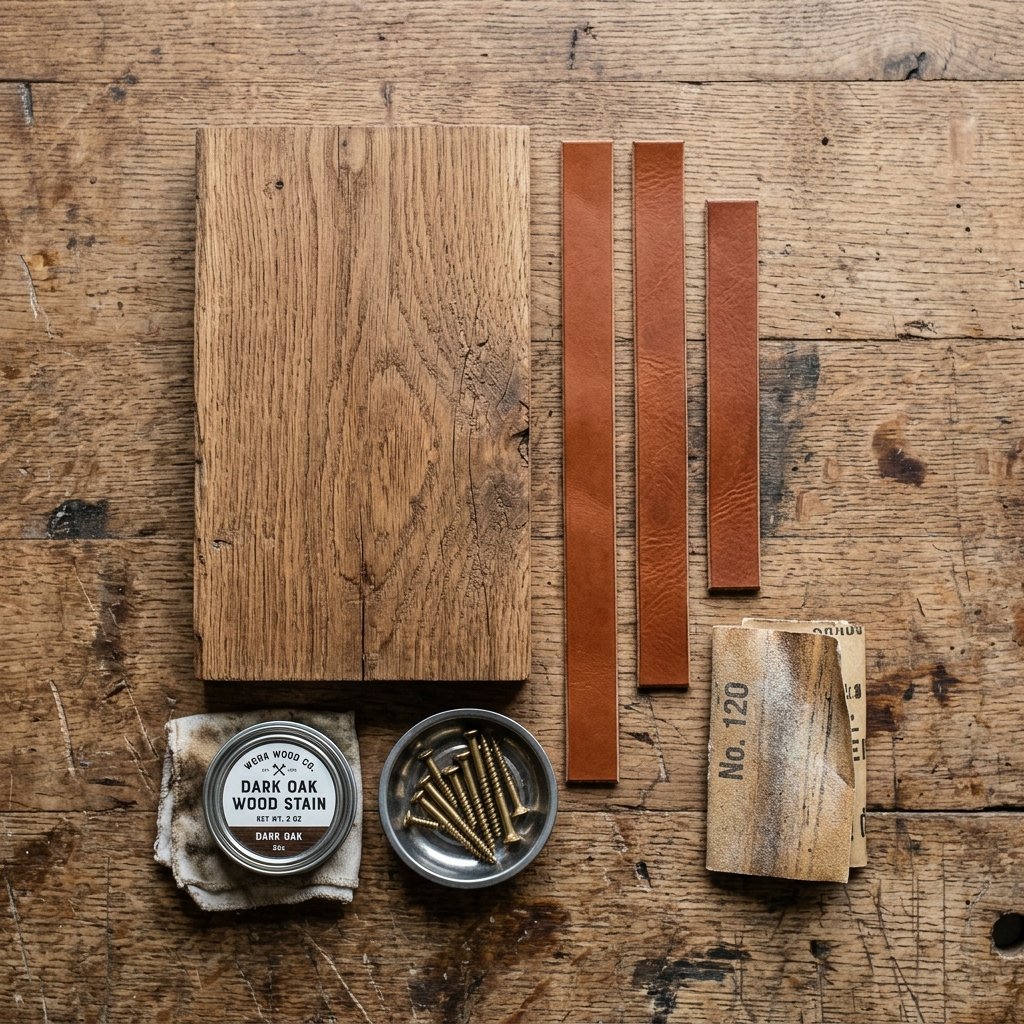
The secret to a high-end look is all in the materials. To keep this project under $10, we need to think like a resourcefulness ninja. You don’t need a whole plank of expensive walnut; a simple 12-inch scrap of pine or even a piece of a reclaimed pallet will do. The leather can be sourced from old belts found at thrift stores or small ‘remnant’ bags from craft supply shops.
Material Checklist & Cost Breakdown
Below is a breakdown of how we keep this project incredibly affordable while maintaining a premium feel.
| Material | Source Tip | Estimated Cost |
|---|---|---|
| Wood Base (12″ x 3″) | Scrap bin or pallet wood | $0.00 |
| Leather Strips (1″ wide) | Thrifted belt or remnants | $2.00 |
| Brass/Black Screws | Hardware store bulk bin | $1.50 |
| Wood Stain/Finish | Sample pot or ‘coffee’ stain | $1.00 |
| Wall Mounting Strips | Command strips or leftovers | $3.00 |
| Total Investment | Crafty Sourcing | $7.50 |
Pro Tip: If you don’t have wood stain, you can create a ‘Frugal Artisan’ finish by brewing a triple-strength pot of black tea or coffee. Apply several coats to the wood to achieve a weathered, organic tan that looks incredibly sophisticated.
Prepping the Foundation: Sanding and Staining for a Rugged Finish
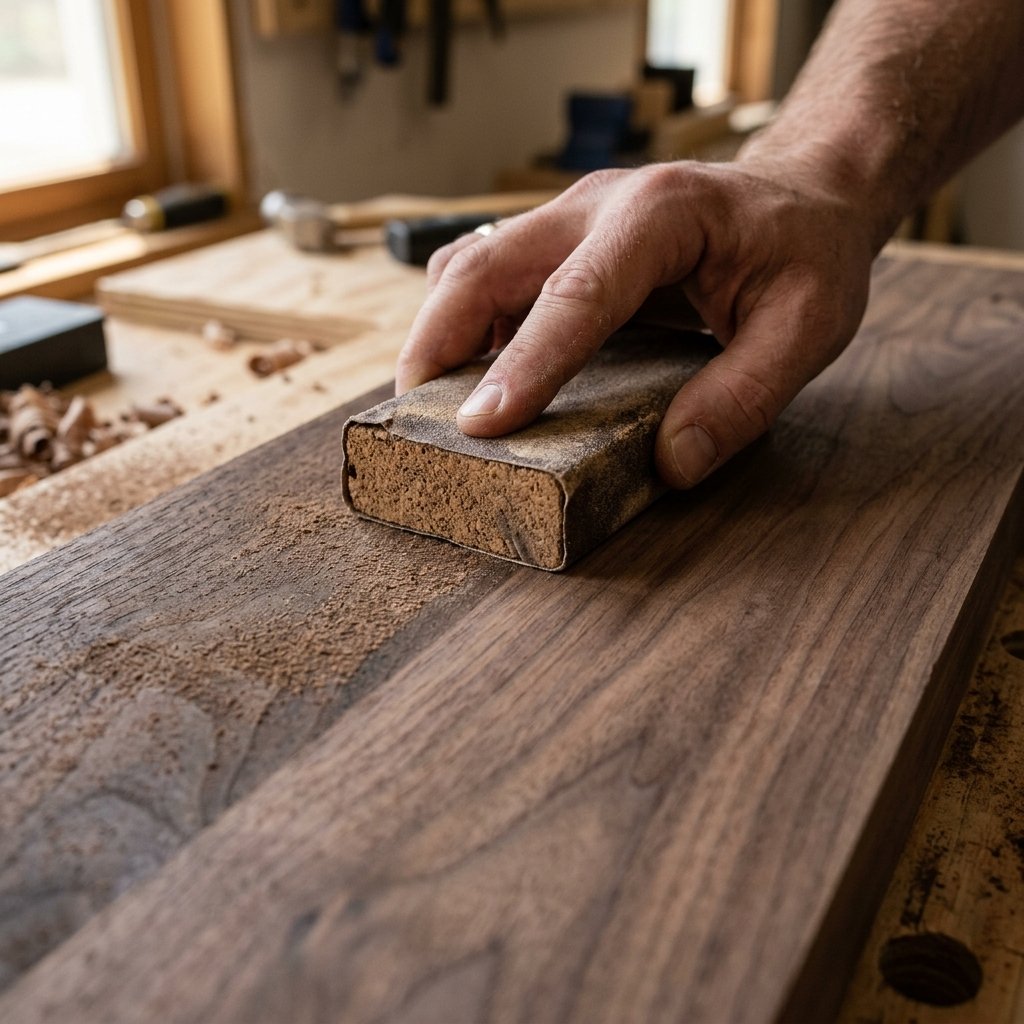
The wood base is the anchor of your project. If you are using pallet wood, you will likely start with a rough, splintery surface. This is where the ‘masculine-elegant’ transformation begins. We want to smooth the surface while keeping the character of the grain.
The Sanding Sequence
- Start with 80-grit sandpaper to remove any stamps, splinters, or rough patches.
- Progress to 120-grit to smooth out the scratches from the first pass.
- Finish with 220-grit for a buttery-smooth surface that feels like a luxury item.
Once sanded, wipe the wood with a damp cloth to remove all dust. Apply your stain in the direction of the grain. If you are using the ‘coffee stain’ method, allow each coat to dry for 20 minutes before adding the next. For a professional seal, a quick rub with a bit of olive oil or beeswax will give the wood a subtle, healthy glow without the chemical smell of polyurethane.
Safety Note: Always sand in a well-ventilated area and wear a dust mask to protect your lungs from fine wood particles.
Crafting the Leather Loops: The Secret to Minimalist Function
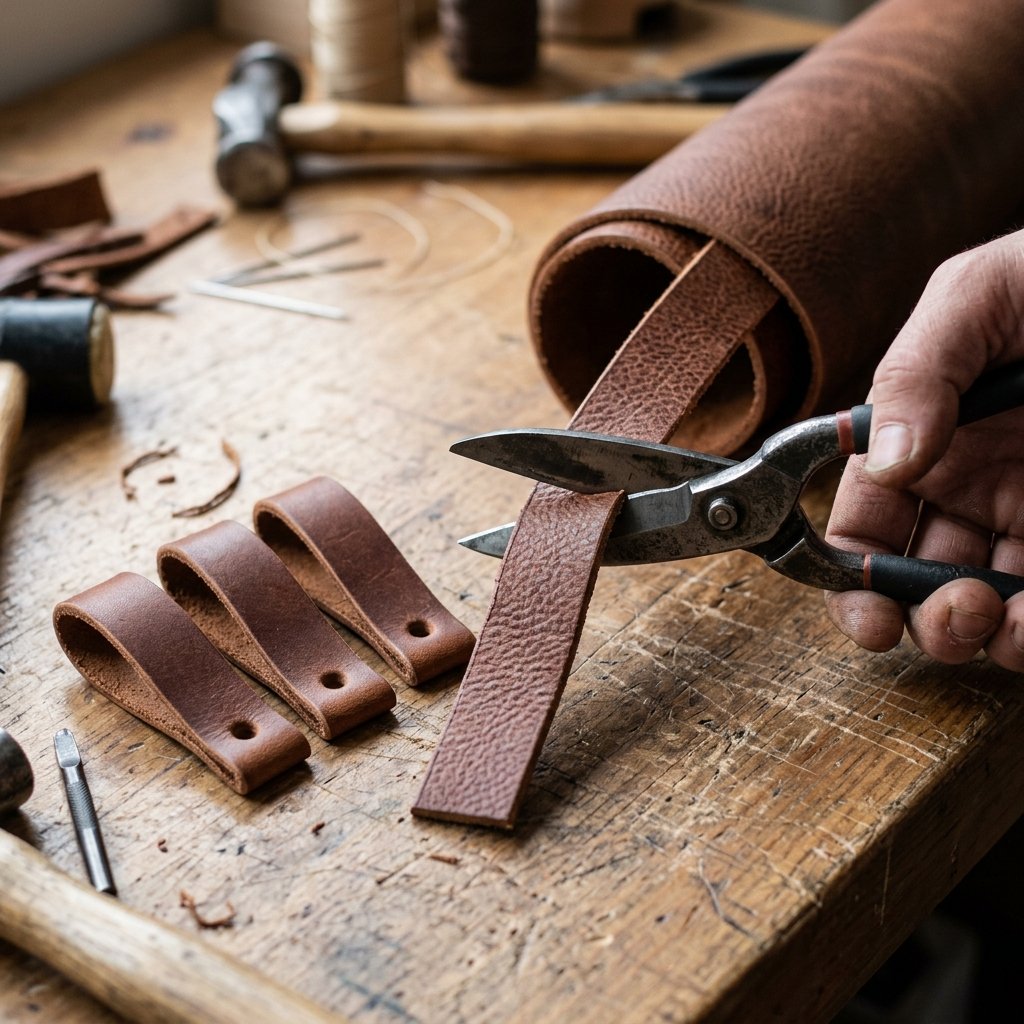
The leather loops are what set this key holder apart from a standard row of metal hooks. Leather provides a soft, silent landing for your keys and won’t scratch your fobs. We will be creating three to five loops depending on the length of your wood base.
Cutting and Sizing
- Cut your leather into strips measuring 1 inch wide by 4 inches long.
- Fold the strip in half to create a loop. The 2-inch fold is the perfect size for most keyrings.
- Use a leather punch (or a small drill bit) to create a hole through both layers of the leather, roughly 1/2 inch from the raw edges.
By pre-punching the holes, you ensure that the leather doesn’t bunch or twist when you drive the screw into the wood. This small step is the difference between a ‘homemade’ look and a ‘handmade’ professional finish.
Assembly: Putting It All Together
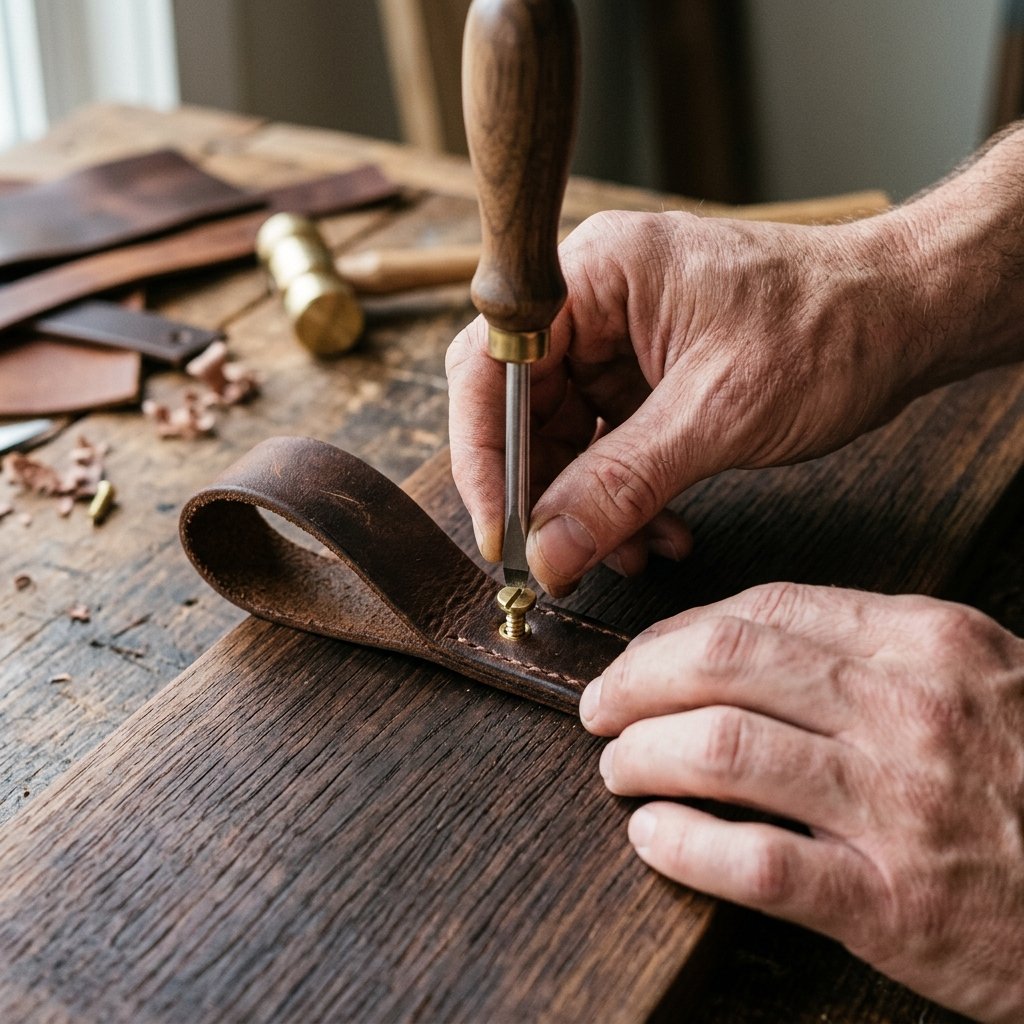
Now for the most satisfying part: assembly. This is where your individual components become a functional piece of art. Precision is key here to ensure the loops are perfectly aligned.
The Step-by-Step Assembly
- Lay your wood board flat and mark points every 2.5 inches along the centerline.
- Align the holes in your leather loops with the marks on the wood.
- Using a screwdriver (hand-tightening is best to avoid over-torquing), drive your brass screws through the leather and into the wood.
- Pro Tip: If you are using a hard wood like oak, drill a tiny pilot hole first to prevent the wood from splitting.
| Step | Action | Timing |
|---|---|---|
| 1 | Marking Drill Points | 2 Minutes |
| 2 | Pre-drilling Pilot Holes | 3 Minutes |
| 3 | Securing Leather Loops | 5 Minutes |
| 4 | Final Quality Check | 1 Minute |
The contrast between the gold-toned brass and the dark leather creates an expensive, ’boutique’ aesthetic that belies its $10 price tag.
The Finishing Touch: Mounting and Customization
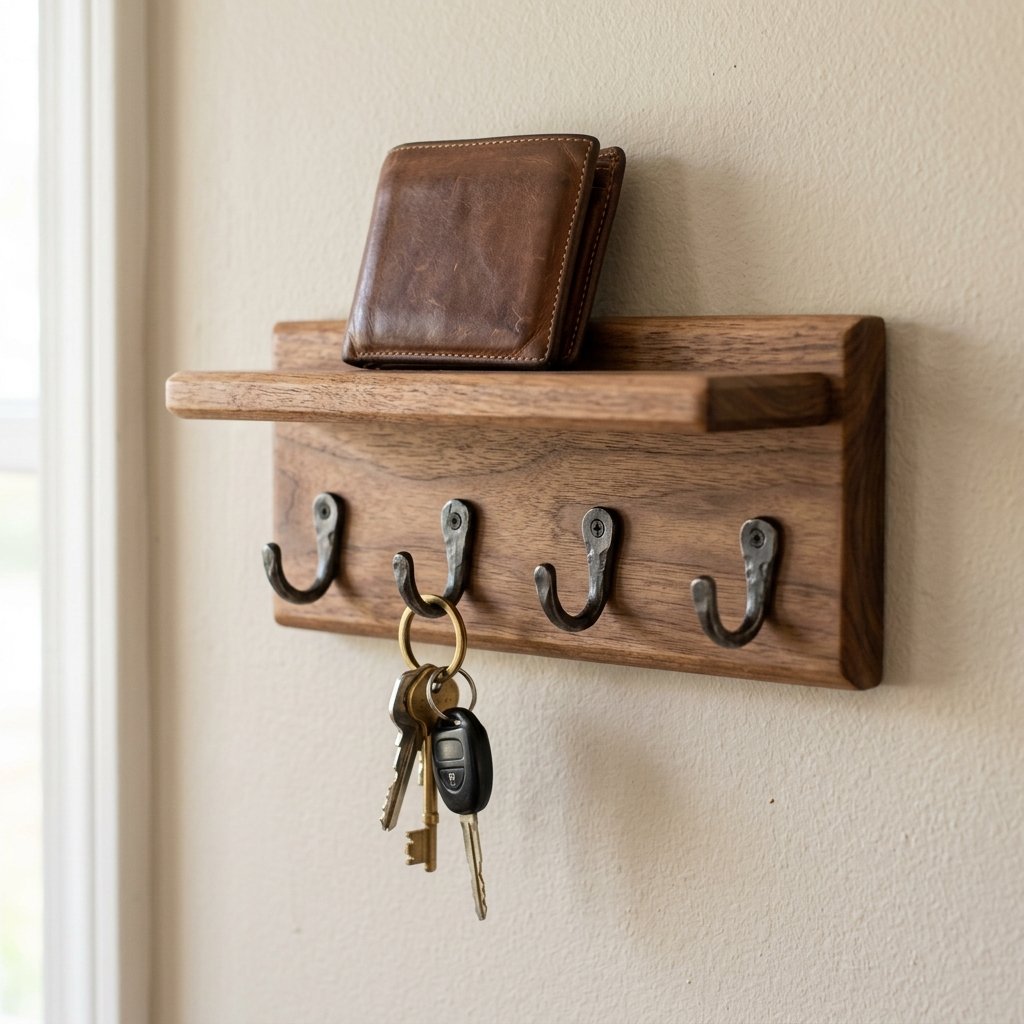
How you hang your key holder is just as important as how you built it. For a clean, ‘floating’ look, I recommend using heavy-duty adhesive wall strips. This avoids drilling holes in your walls and keeps the focus entirely on the wood and leather. Ensure the back of the wood is clean and dry before applying the strips for maximum 10lb weight capacity.
Personalization Ideas for Gift-Giving
If you are making this as a Father’s Day gift or a housewarming present, consider these ‘Crafty Expert’ upgrades:
- Leather Stamping: Use a metal stamp set to indent initials or ‘HOME’ into the leather loops.
- The Catch-all Shelf: Glue a small 1-inch ledge to the top of the board to hold a single pair of sunglasses or a wallet.
- Wood Burning: Use a soldering iron to burn the family name into the bottom corner of the wood.
Budget Mantra: ‘A gift’s value isn’t found in the price tag, but in the precision of the craft and the utility of the design.’
Conclusion
In less than an hour and for the price of a fancy latte, you have created a functional piece of home decor that balances rugged masculinity with elegant organization. This DIY Wood and Leather Key Holder proves that you don’t need a massive budget or a professional workshop to achieve high-end results. By being resourceful with scraps and clever with your finishes, you have turned ‘trash’ into a daily-use treasure. Now, hang it up, grab your keys, and enjoy the peace of mind that comes with knowing exactly where your essentials are. Happy crafting!

Makenzie is the founder and lead writer at MoneyHackTips.com — a personal finance blog dedicated to delivering street-smart financial wisdom for real people on real budgets. With 300+ published articles covering everything from debt management to investing fundamentals, Makenzie’s mission is to make every dollar work harder. When not writing about money hacks, Makenzie is testing frugal living strategies, optimizing side hustles, and helping readers build financial freedom from scratch.