
Sourcing Your Lumber: The Art of the Scrap Pile
Why Wood Choice Matters
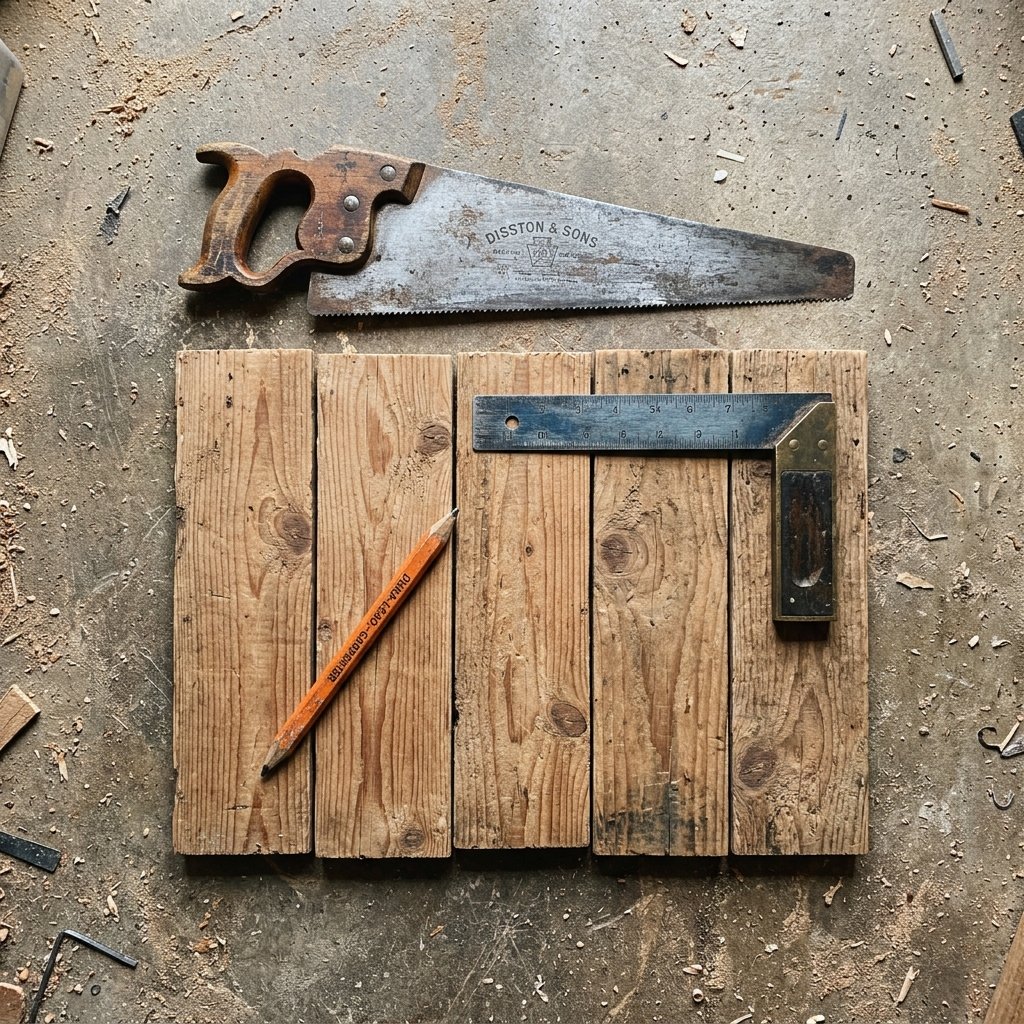
While you can use any wood, pine is the easiest to work with for beginners, while oak scraps provide that heavy, indestructible feel. The goal is to find boards that are approximately 3/4 inch thick to ensure structural integrity.
| Material Source | Pros | Estimated Cost |
|---|---|---|
| Pallet Wood | Free, rugged, pre-weathered | $0 |
| Pine Common Board | Easy to cut, smooth finish | $5 – $10 |
| Hardwood Scraps | Extremely durable, heavy | $0 (from shop floor) |
| Store-Bought Pre-Made Box | No assembly required, plastic | $45 – $80 |
Pro-Tip: If you are using pallet wood, ensure it is heat-treated (marked with ‘HT’) rather than chemically treated, especially if you plan to keep the box indoors.
The Blueprint: Precision Cuts for a Sturdy Foundation
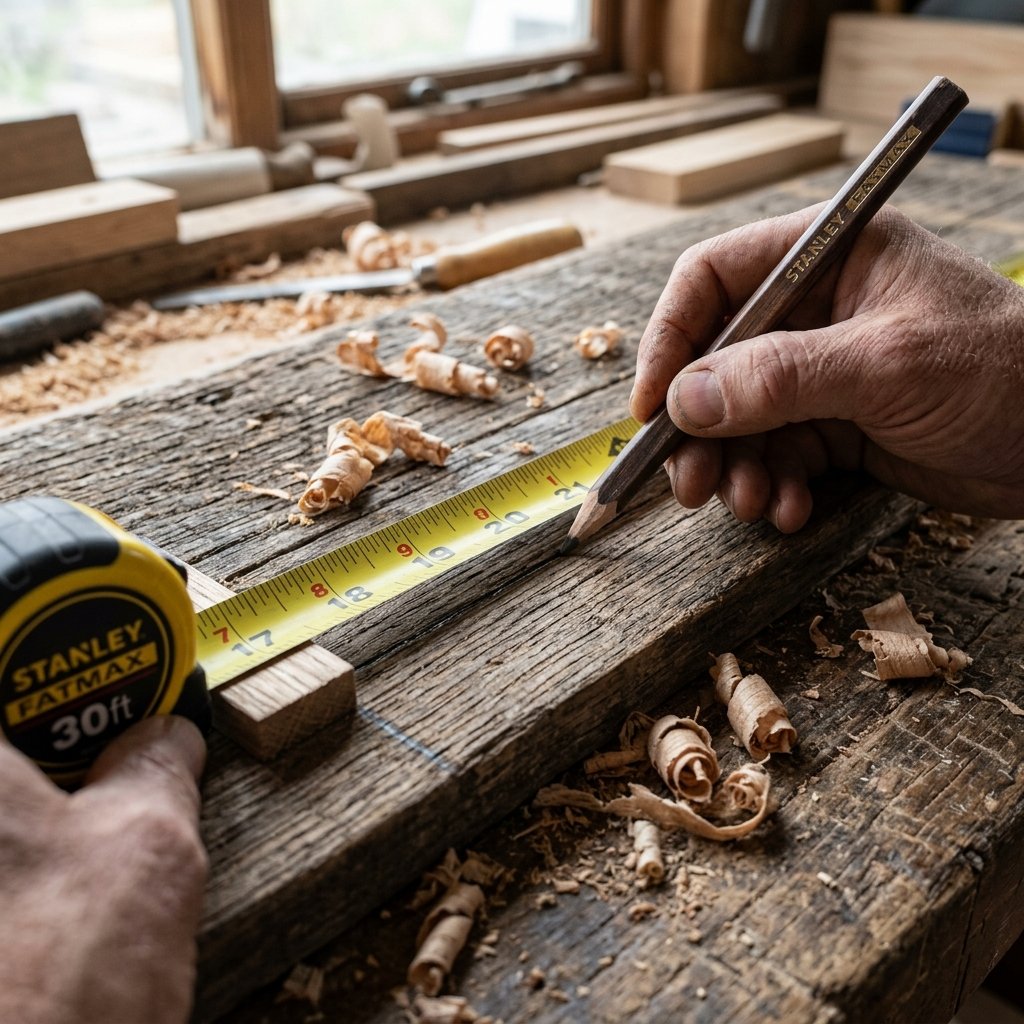
The Cut List
You will need to measure and cut the following pieces from your 3/4-inch lumber:
- 2 Side Panels: 10 inches long by 6 inches high.
- 2 End Panels: 6 inches wide by 5 inches high.
- 1 Bottom Panel: 8.5 inches long by 6 inches wide.
- 1 Footrest: 8 inches long by 3 inches wide.
- 2 Footrest Supports: 4 inches high (angled at 15 degrees).
| Piece Name | Quantity | Dimensions (Inches) |
|---|---|---|
| Sides | 2 | 10 x 6 |
| Ends | 2 | 6 x 5 |
| Bottom | 1 | 8.5 x 6 |
| Footrest | 1 | 8 x 3 |
| Supports | 2 | 4 (Height) |
Safety First: Always wear eye protection when using power saws. If you are using a hand saw, ensure your wood is clamped securely to your workbench to prevent slipping and uneven cuts.
Assembly: Building the ‘Buy It For Life’ Frame
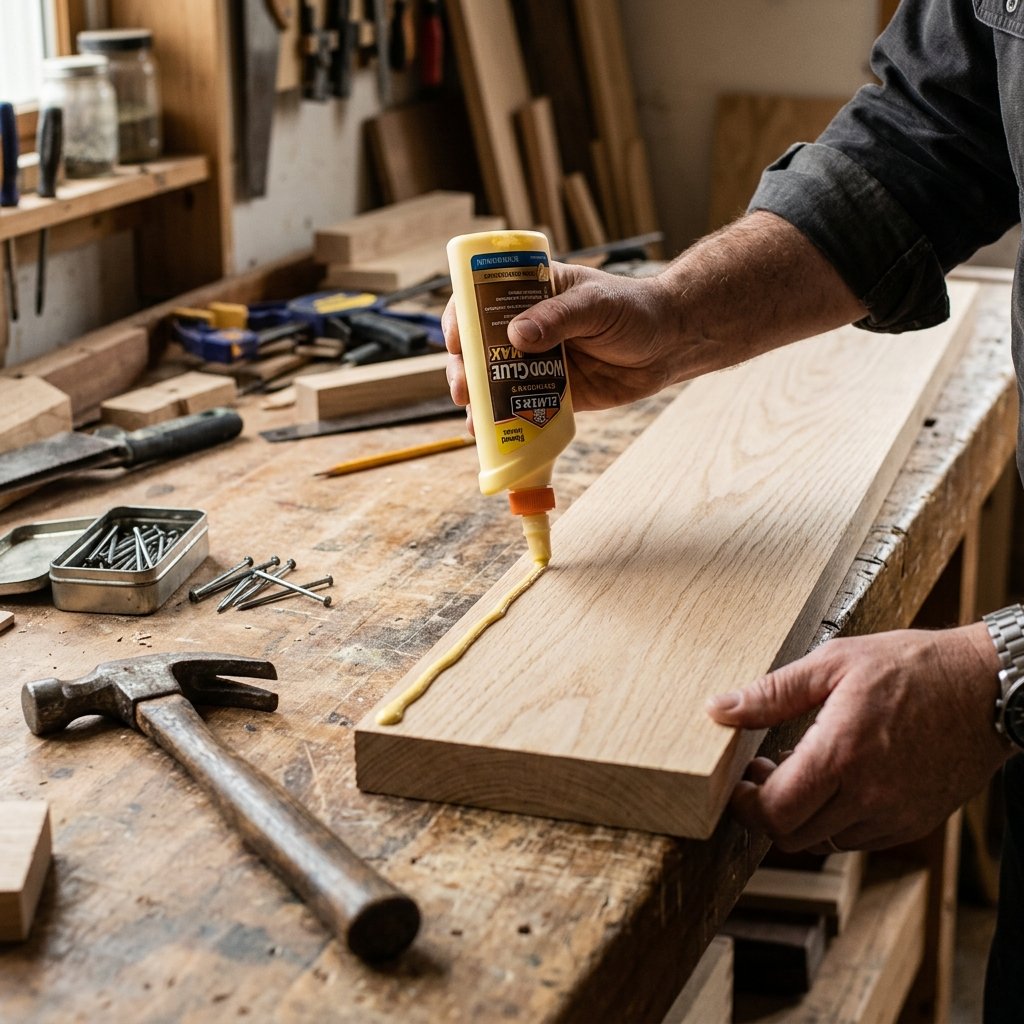
Step-by-Step Joinery
- Apply Glue: Run a thin bead of wood glue along the edges of the bottom panel.
- Attach the Ends: Press the end panels against the bottom and secure them with two 1.5-inch nails.
- Secure the Sides: Align the side panels so they overlap the ends. This creates a stronger box joint. Nail these into both the bottom and the end panels.
- Wipe the Excess: Use a damp rag to immediately wipe away any glue that squeezes out. Dried glue will block your wood stain later!
Total Assembly Time: Approximately 20 minutes. Once the frame is built, let the glue set for at least 1 hour before attaching the footrest.
The Iconic Angled Footrest: The Secret to a Professional Shine
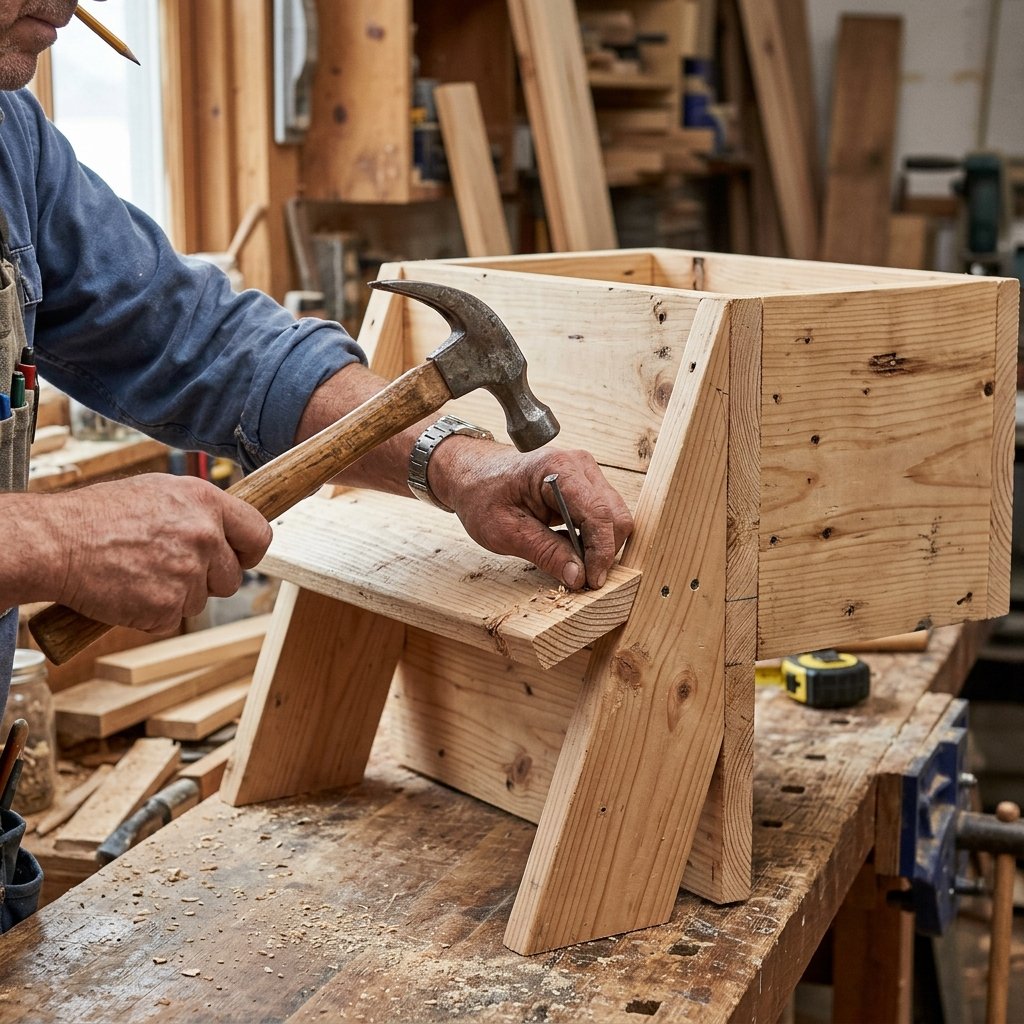
Setting the Angle
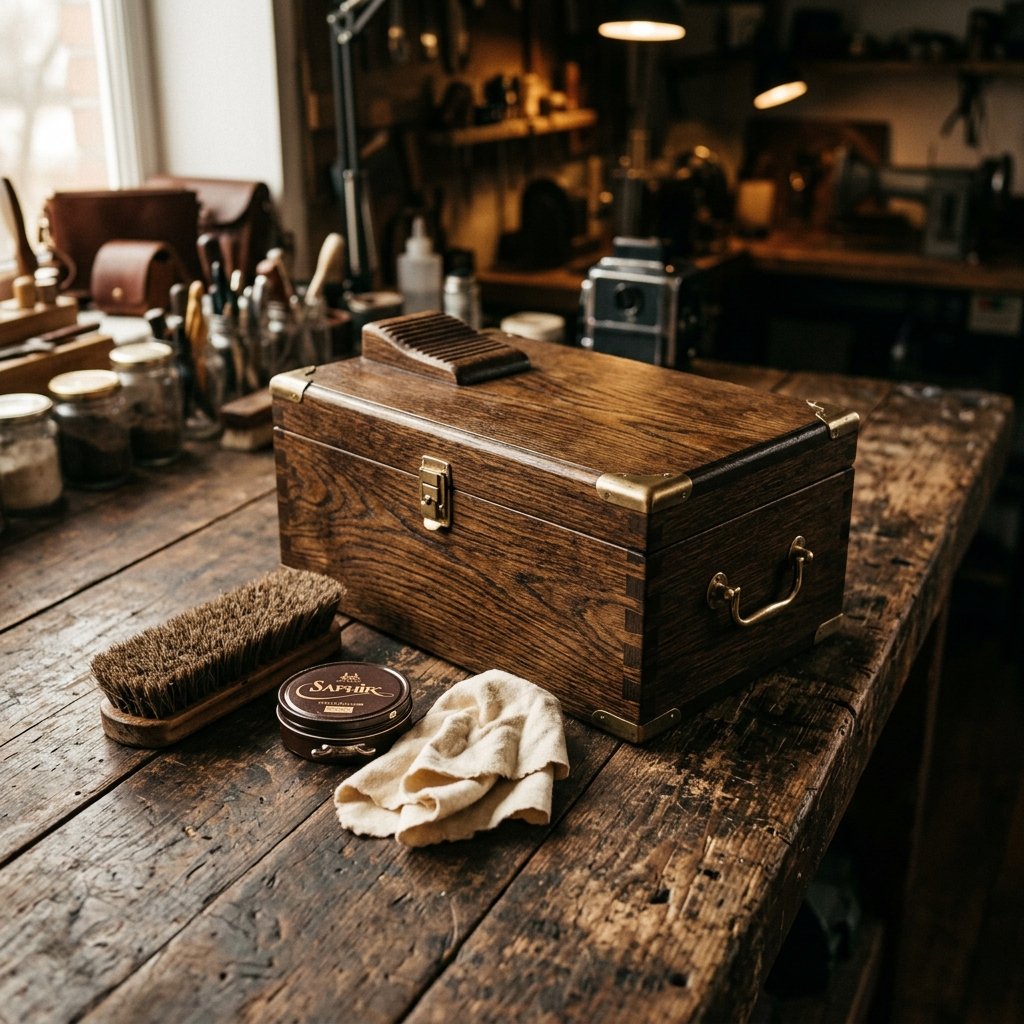
Most professional boxes use a 15 to 20-degree angle. To achieve this, cut your two support pillars at an angle on the top.
- Placement: Center the supports inside the box, spanning across the width.
- Mounting: Screw the supports from the inside of the side panels for a cleaner look.
- The Top Plate: Nail your 8-inch footrest board across the two supports. If you want a truly ‘masculine-elegant’ touch, wrap the center of the footrest in a scrap of reclaimed leather for extra grip.
Mantra: Measure twice, cut once, and sand thrice. A smooth footrest prevents snags on your trousers while you work.
The Vintage Patina: Staining and Weathering

The Steel Wool & Vinegar Trick
Place a pad of 0000 steel wool in a glass jar and cover it with apple cider vinegar. Let it sit for 24 hours. This creates an iron-acetate solution that reacts with the tannins in the wood to turn it a beautiful, weathered charcoal-grey or deep brown.
Finishing Steps
- Sand: Use 120-grit followed by 220-grit sandpaper until the wood is buttery smooth.
- Apply Stain: Use an old rag to rub your DIY stain into the grain.
- Seal: Once dry, rub the entire box with linseed oil or melted beeswax. This protects the wood from the oils and waxes found in shoe polish.
Stocking the Box: DIY Leather Care Recipes
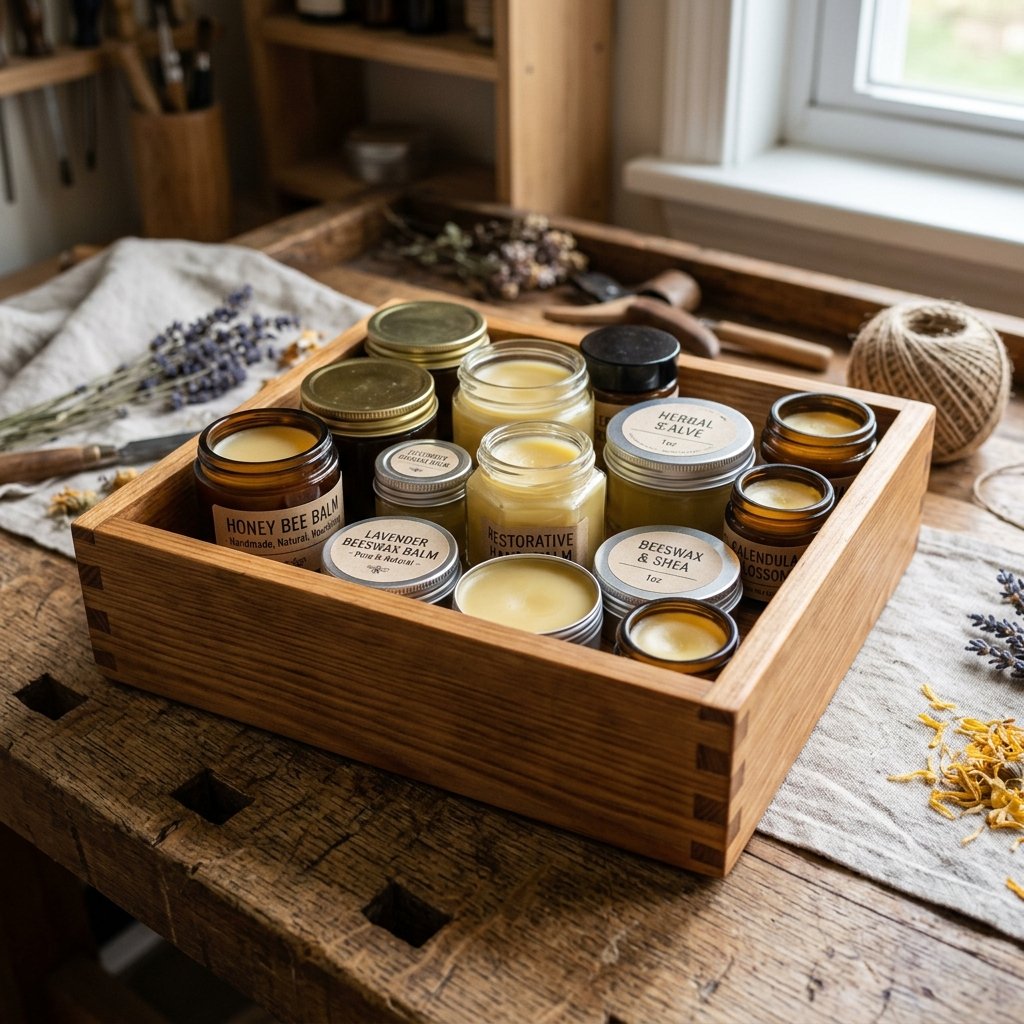
| Ingredient | Measurement | Benefit |
|---|---|---|
| Beeswax | 1 Part | Waterproofing & Shine |
| Olive Oil or Mink Oil | 3 Parts | Deep Conditioning |
| Essential Oil (Cedar) | 3-5 Drops | Antimicrobial & Scent |
Instructions
- Melt the beeswax in a double boiler.
- Stir in the oil until fully blended.
- Add the essential oil and pour into a small tin or mason jar.
- Let it cool until solid. Apply with a soft cloth to keep your boots supple and waterproof.
This homemade balm costs approximately $1.50 per batch, compared to $12.00 for premium store brands.
Conclusion

Makenzie is the founder and lead writer at MoneyHackTips.com — a personal finance blog dedicated to delivering street-smart financial wisdom for real people on real budgets. With 300+ published articles covering everything from debt management to investing fundamentals, Makenzie’s mission is to make every dollar work harder. When not writing about money hacks, Makenzie is testing frugal living strategies, optimizing side hustles, and helping readers build financial freedom from scratch.