Listen up, my frugal feline friends. We have all been there. You walk into a massive pet superstore, drop $25.00 on a high-tech, battery-operated, laser-shooting gadget, bring it home, and what does your cat do? They sniff it once, walk away, and spend the next three hours playing with the crumpled-up receipt and the cardboard box it came in. It is maddening, isn’t it? As the Ultimate Frugal Hacker, I am here to tell you that the pet industry is running a massive hustle on our wallets. They want you to believe that showing love to your pet requires maxing out your credit card. That is a straight-up lie.
Cats are natural predators, foragers, and explorers. They do not care about brand names, flashy packaging, or how much money you spent. They care about texture, movement, scent, and the thrill of the hunt. By tapping into these primal instincts, you can create endless entertainment for your furry roommate without spending a single dime. Upcycling everyday household items into DIY cat toys is not just a win for your budget; it is a win for the environment, and honestly, it is a massive win for your cat’s mental stimulation.
If you are a side hustler trying to save every penny, a beginner to the frugal lifestyle, or just someone tired of throwing money into the litter box, this guide is your new holy grail. We are going to break down exactly how you can stop bleeding cash and start crafting. Grab those empty toilet paper rolls, dig out your mismatched socks, and let us get to work!
The Cost Breakdown: DIY vs. Store-Bought
Before we dive into the tutorials, let us look at the cold, hard math. Frugal living is all about understanding where your money goes. When you buy a pet toy, you are paying for manufacturing, shipping, marketing, and a massive retail markup. By making these toys yourself, you bypass the entire system.
The Savings Cheat Sheet
Check out this breakdown to see exactly how much cash you are keeping in your pocket when you choose to DIY instead of buy.
| Toy Type | Average Pet Store Price | DIY Frugal Cost | Total Savings (Per Toy) |
|---|---|---|---|
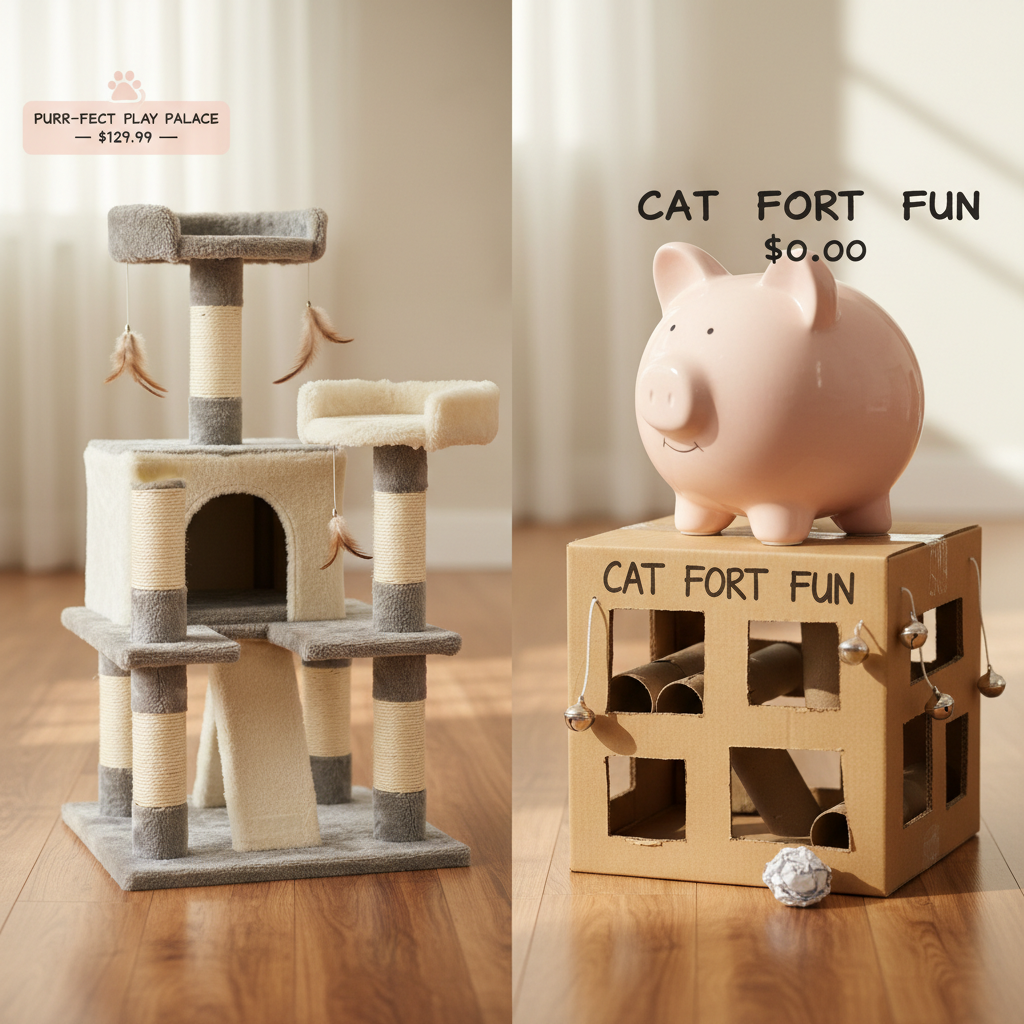
| Puzzle Feeder / Brain Game | $25.00 | $0.00 | $25.00 |
| Catnip Kicker Toy | $12.00 | $0.00 | $12.00 |
| Interactive Wand Teaser | $15.00 | $0.00 | $15.00 |
| Crinkle Balls (Multi-pack) | $8.00 | $0.00 | $8.00 |
If you replace just four standard store-bought toys with our DIY alternatives, you are saving $60.00 instantly. Over the lifespan of a cat, replacing lost or destroyed toys with free alternatives can easily save you over $500.00. That is money you can put toward their vet fund, high-quality food, or your own savings goals.
The Classic Toilet Paper Roll Puzzle Box
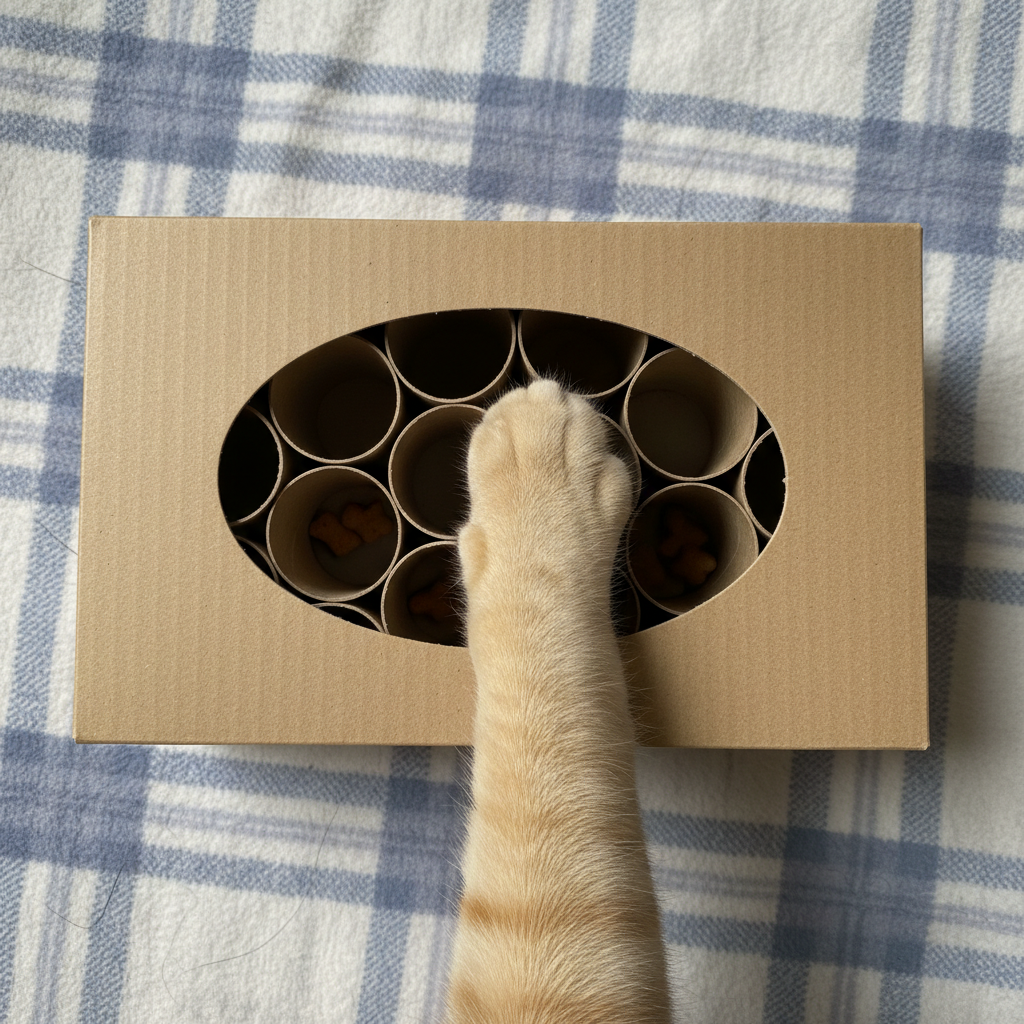
Cats are natural foragers. In the wild, they have to work for their food, hunting and pouncing. When we just dump kibble into a bowl, they get bored, lazy, and sometimes even anxious. A puzzle box forces them to use their paws and brains to extract their “prey” (treats or kibble). This is one of the easiest and most effective toys you can make.
Materials Needed
- 1 empty tissue box (the rectangular kind works best)
- 6 to 10 empty toilet paper rolls
- Non-toxic glue or tape
- A handful of your cat’s favorite dry treats or kibble
Step-by-Step Instructions
- Carefully cut the top off the empty tissue box so you have an open tray.
- Take your empty toilet paper rolls and stand them upright inside the tissue box. You want them to fit snugly together so they do not fall over.
- If the rolls are too tall, trim them down with scissors so they sit just below the rim of the tissue box.
- Once you have a tight fit, you can optionally use a dab of non-toxic glue at the bottom of each roll to secure them to the base of the box. Let it dry completely.
- Sprinkle a few treats or pieces of dry food into random rolls.
- Place the box on the floor and watch your cat go to work, scooping the treats out with their paws!
The Upcycled T-Shirt Kicker Toy
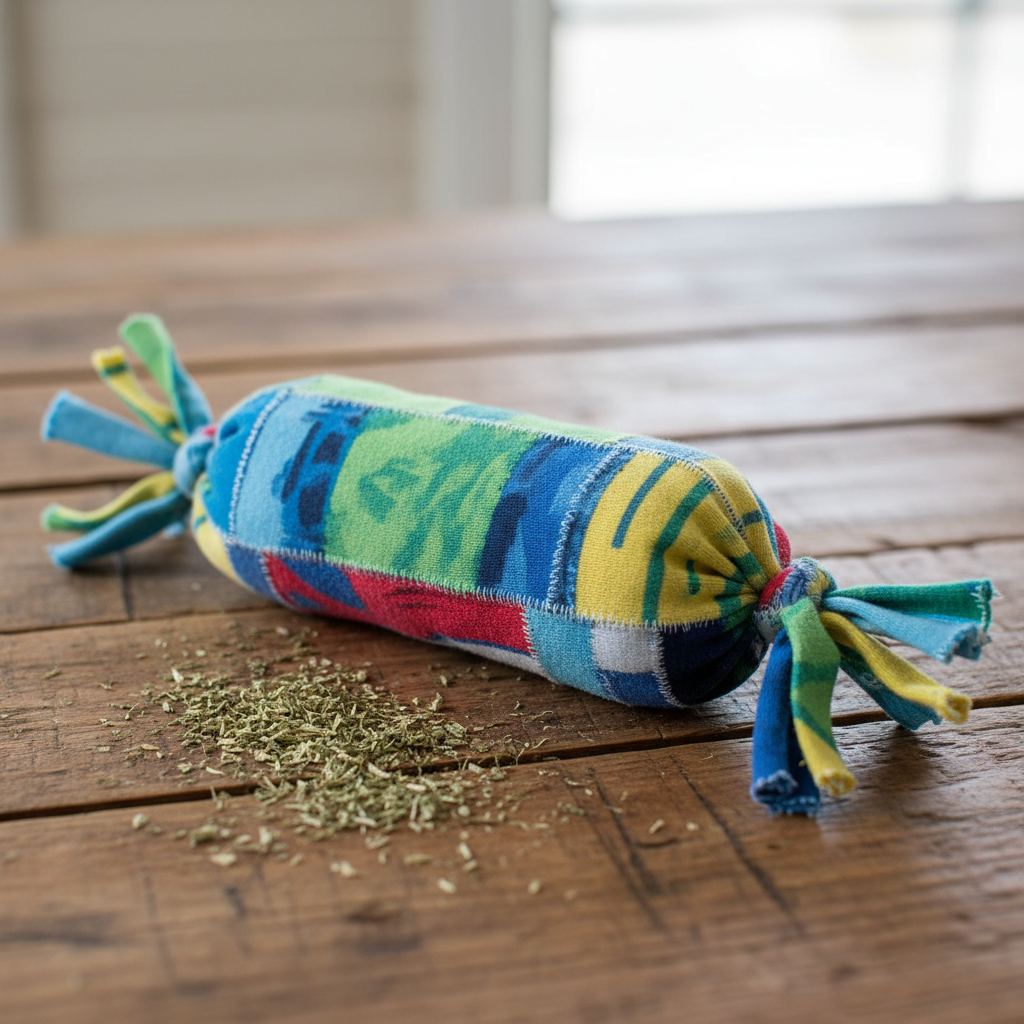
Have you ever seen your cat grab a toy with their front paws, bite it, and aggressively kick it with their back legs? That is a natural hunting behavior known as the “bunny kick.” Pet stores sell “kicker toys” specifically for this, usually stuffed with cheap polyfill and a tiny pinch of stale catnip. You can make a much better, safer, and completely free version using an old t-shirt that is bound for the trash.
Materials Needed
- 1 old, clean t-shirt or pair of leggings (something you were going to throw away)
- Scissors
- Scrap fabric or crumpled paper for stuffing
- Dried catnip (optional, but highly recommended)
Step-by-Step Instructions
- Cut a large rectangle out of the old t-shirt, roughly 10 inches by 15 inches.
- Lay the fabric flat and place your stuffing (scrap fabric or mildly crumpled paper) in the center. Avoid using anything sharp or stringy.
- Sprinkle a generous tablespoon of dried catnip over the stuffing. Frugal Tip: Buy catnip seeds for $2.00 and grow a massive, endless supply in a window pot!
- Roll the fabric up tightly like a burrito, enclosing the stuffing and catnip inside.
- Cut the ends of the fabric roll into strips (about 2 inches long) to create a fringe.
- Take two opposite strips on each end and tie them together tightly in a double knot to seal the “burrito.” Repeat for all strips until both ends are securely tied off.
- Toss it to your cat and let the kicking commence!
The Cardboard Whack-A-Mole
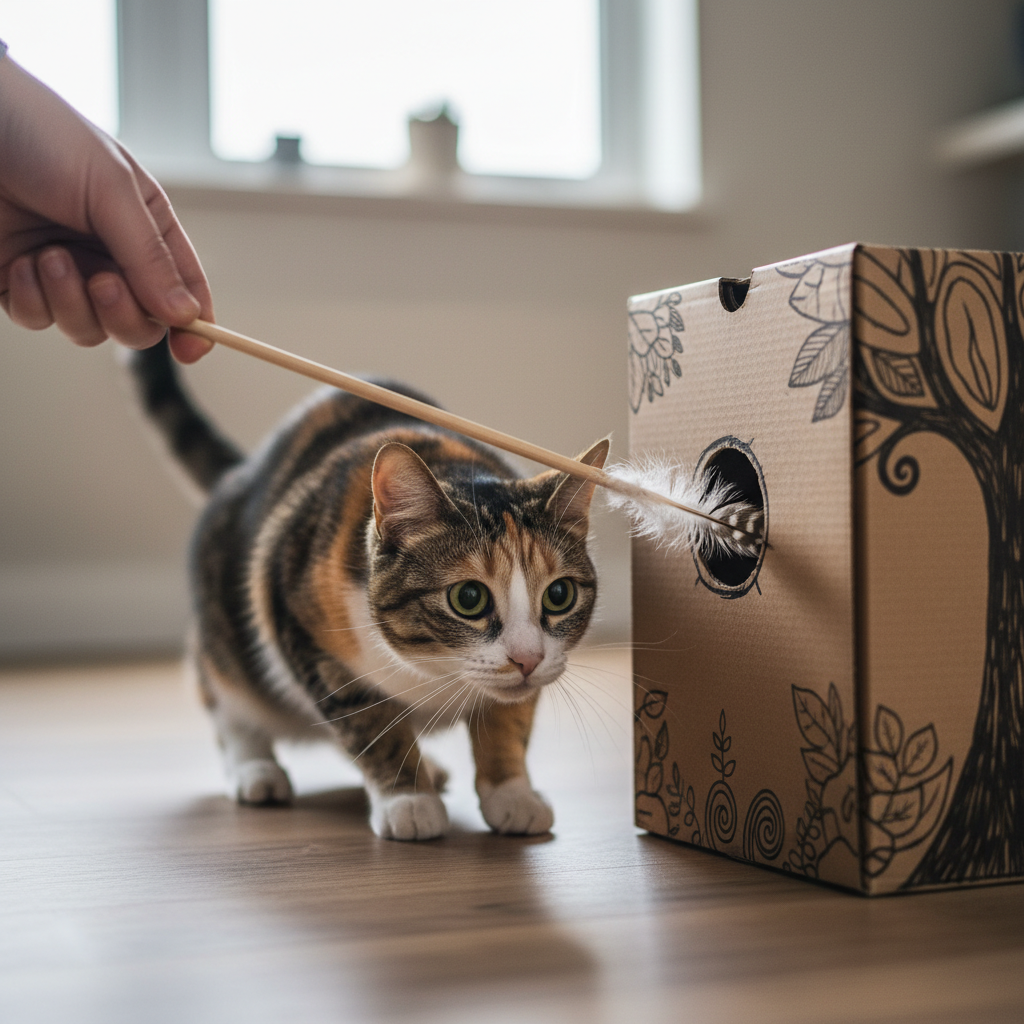
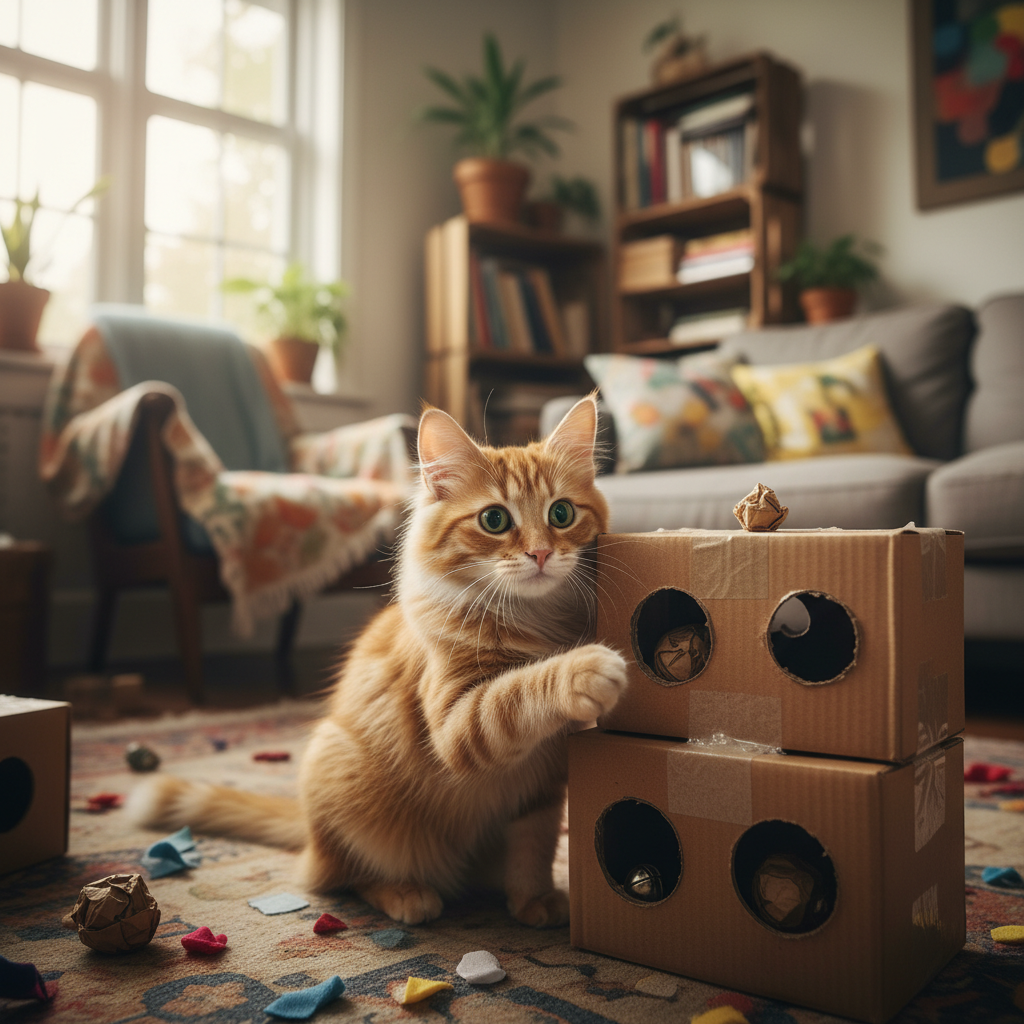
If you order items online, you probably have a surplus of cardboard boxes breaking down in your recycling bin. Cardboard is the absolute holy grail of frugal cat ownership. It is sturdy, cats love the texture, and it holds their scent. This “Whack-A-Mole” style box requires a bit of interactive play from you, making it a fantastic bonding activity that costs absolutely nothing.
Materials Needed
- 1 shallow, sturdy cardboard box (like a shoe box or a small shipping box)
- A box cutter or sharp scissors
- A wand toy or a simple stick with a piece of fabric tied to the end
Step-by-Step Instructions
- Tape the box completely shut so it is a sealed rectangle.
- Using your box cutter, carefully cut several holes into the top and sides of the box. The holes should be about the size of a golf ball—big enough for your wand toy to pop out of, and big enough for your cat to jam their paw into safely.
- Smooth out the edges of the holes so there are no sharp cardboard pieces pointing inward.
- To play, have your cat sit near the box. Take your wand toy or stick and poke it up through one of the holes from underneath or through a side hole.
- Wiggle it around, pull it back in, and pop it out of a different hole. Your cat will go crazy trying to anticipate where the “prey” will appear next!
The Crinkle Sock Fish
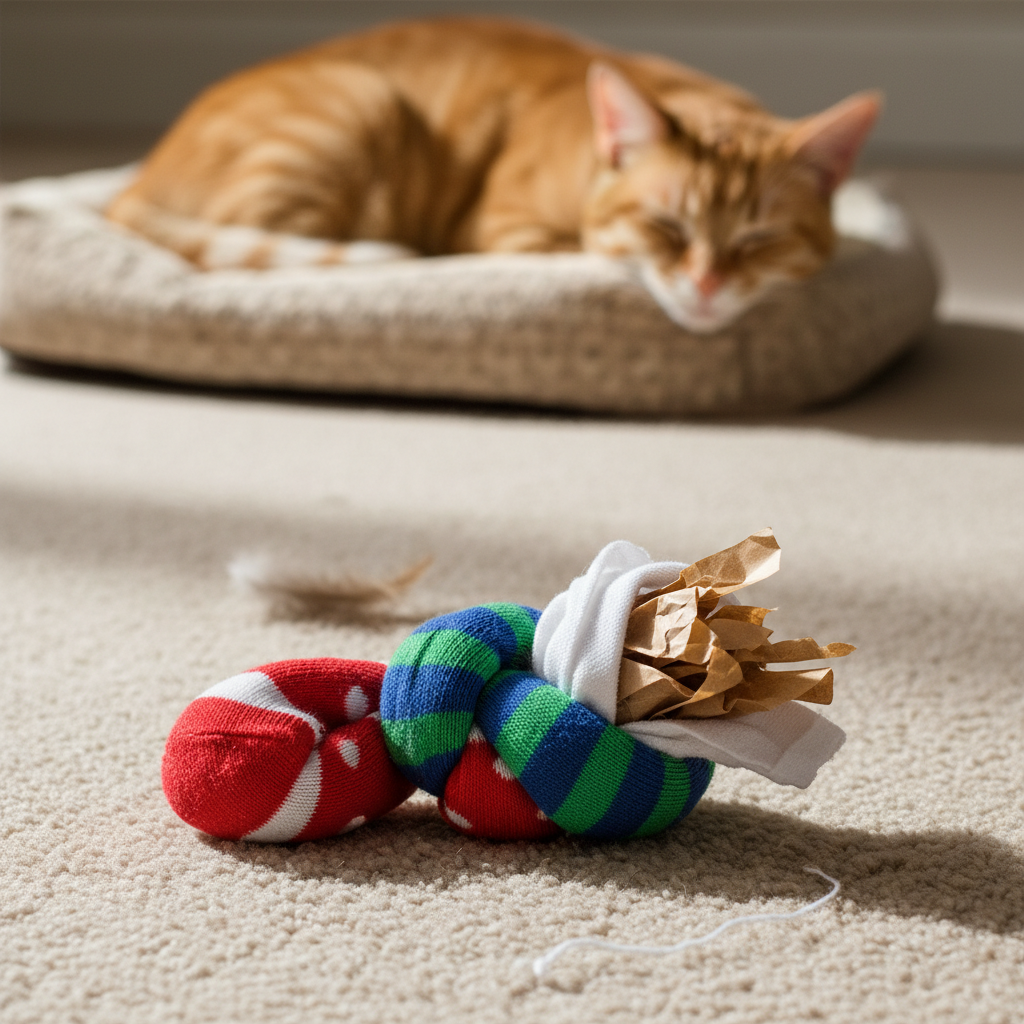
We all have that one drawer filled with lonely, mismatched socks. Instead of throwing them away, give them a second life. Cats are highly stimulated by sound, and the “crinkle” noise mimics the rustling of leaves or small prey moving in the brush. This toy combines the soft texture of a sock with the irresistible sound of crinkling plastic or paper.
Materials Needed
- 1 clean, mismatched sock (crew length works best)
- Clean, empty food wrappers (like the inside of a cereal box) or crinkly packing paper
- A small handful of catnip
- A piece of thick twine or string (optional, for tying)
Step-by-Step Instructions
- Take your empty cereal box liner or packing paper and crumple it up into a ball. Make sure it is clean and has no food residue.
- Stuff the crumpled crinkle paper all the way down into the toe of the sock.
- Add a pinch of catnip in with the crinkle paper.
- Tie a tight knot in the sock right above the stuffed section to secure it. If the sock is too thick to knot, use a piece of thick, natural twine to tie it off securely. (Make sure the twine is tied incredibly tight with no long, loose ends).
- Cut off the excess top part of the sock, or cut it into strips to mimic an octopus or fish tail.
Golden Rules for DIY Pet Toy Safety
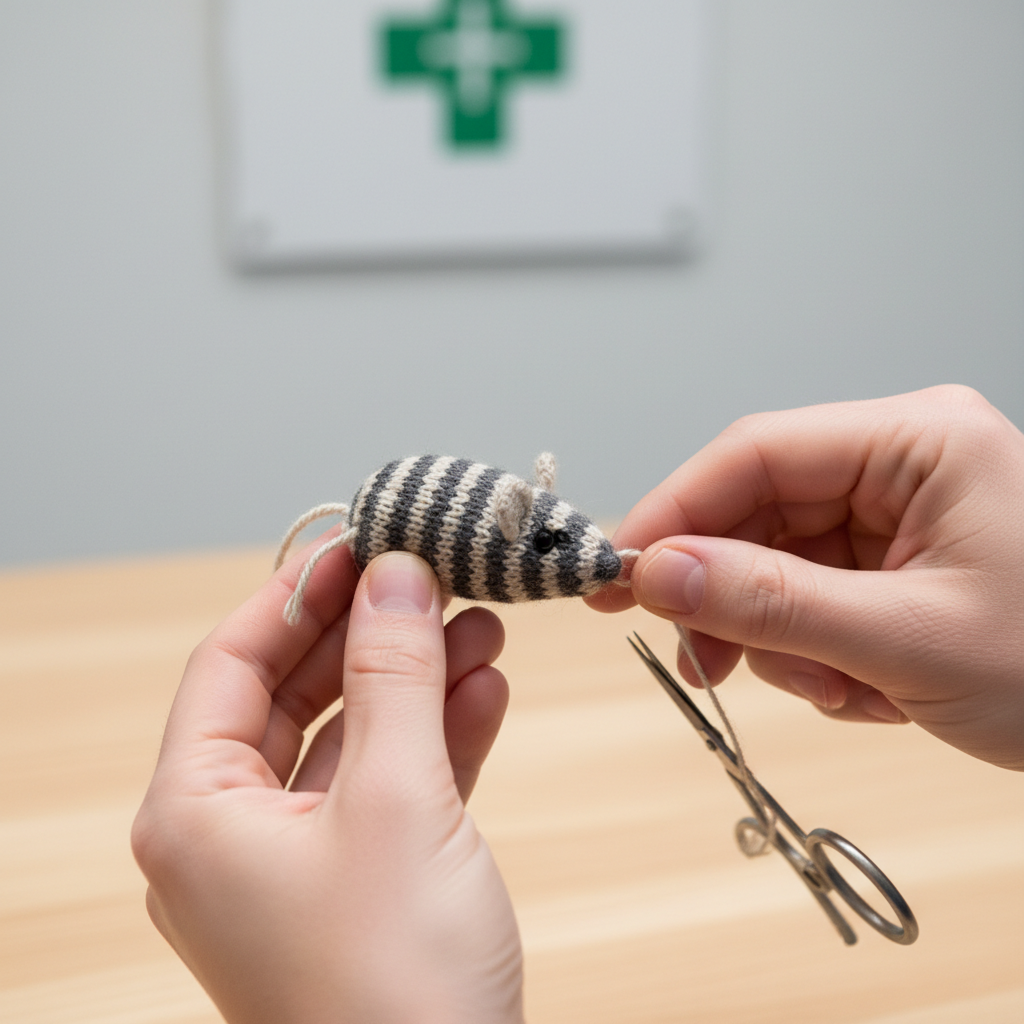
As the Ultimate Frugal Hacker, I am all about saving money, but I am also fiercely protective of our pets. A trip to the emergency vet to remove a swallowed string will cost you upwards of $1,500.00, completely destroying any money you saved by DIYing. Safety is non-negotiable. You must be street-smart about the materials you use.
The Hacker’s Safety Mandate
Rule #1: Never use thin string, yarn, rubber bands, or loose thread in a toy your cat plays with unsupervised. If swallowed, linear foreign bodies can be fatal to cats.
Rule #2: Avoid anything with small, easily detachable parts like googly eyes, sequins, or small buttons. If it can be chewed off, it will be swallowed.
Rule #3: Inspect all DIY toys weekly. If a cardboard box is getting too flimsy or a t-shirt toy is ripping and exposing stuffing, throw it away and make a new one. They are free, so there is no excuse to keep broken toys around!
Always supervise your cat when introducing a new toy to see how they interact with it. Some cats are gentle players, while others are aggressive chewers. Tailor your DIY creations to your cat’s specific play style. If your cat loves to eat cardboard, the Whack-A-Mole box might need to be supervised-play only.
Conclusion
There you have it—the street-smart, zero-waste, totally free guide to keeping your cat entertained for hours. You do not need to fall victim to the pet industry’s aggressive marketing tactics. By utilizing basic household items like cardboard, toilet paper rolls, and old clothes, you can provide your cat with top-tier mental and physical stimulation.
Frugal living isn’t about depriving yourself or your pets; it is about outsmarting the system and reallocating your resources. Every time you make one of these toys, you are keeping trash out of the landfill and keeping hard-earned cash in your bank account. So, the next time your cat looks bored, skip the pet store. Raid your recycling bin instead. Your wallet will thank you, and your cat will think you are the greatest hunter in the world.
Disclaimer: I am the Ultimate Frugal Hacker, not a veterinarian. Always consult with your vet regarding your pet’s specific health, dietary needs, and safety requirements. The cost estimates and savings provided are for illustrative purposes and based on average retail prices.

Makenzie is the founder and lead writer at MoneyHackTips.com — a personal finance blog dedicated to delivering street-smart financial wisdom for real people on real budgets. With 300+ published articles covering everything from debt management to investing fundamentals, Makenzie’s mission is to make every dollar work harder. When not writing about money hacks, Makenzie is testing frugal living strategies, optimizing side hustles, and helping readers build financial freedom from scratch.