
Welcome to the Ultimate Frugal Hack
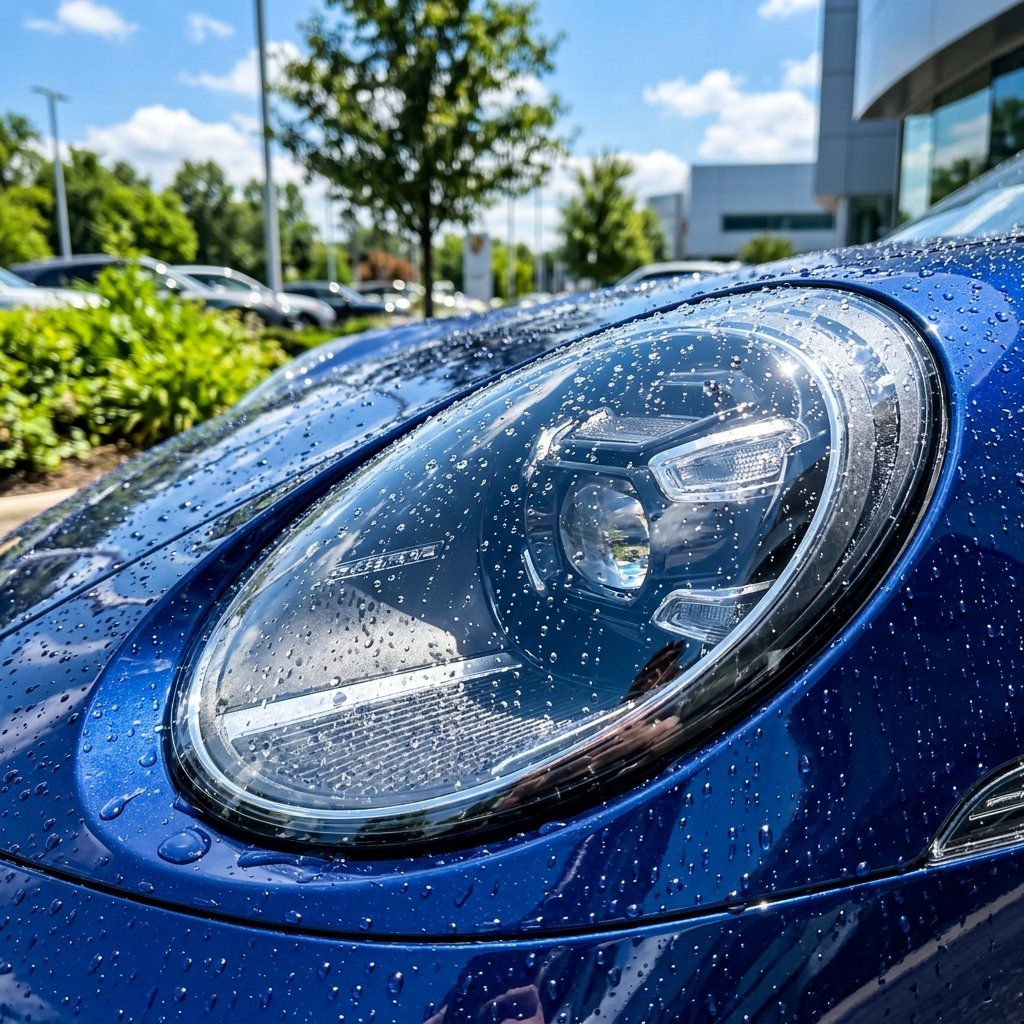
Hey there, fellow frugal hackers! Let us talk about one of the most annoying, sneaky ways the auto industry tries to drain your hard-earned cash: foggy, yellow, oxidized headlights. You know exactly what I am talking about. You walk out to your car, and instead of those crisp, clear eyes looking back at you, your car looks like it has been staring at a computer screen for seventy-two hours straight. It is not just an eyesore; it is a massive safety hazard. When your headlights are clouded over, your nighttime visibility drops dramatically, putting you and your family at risk.
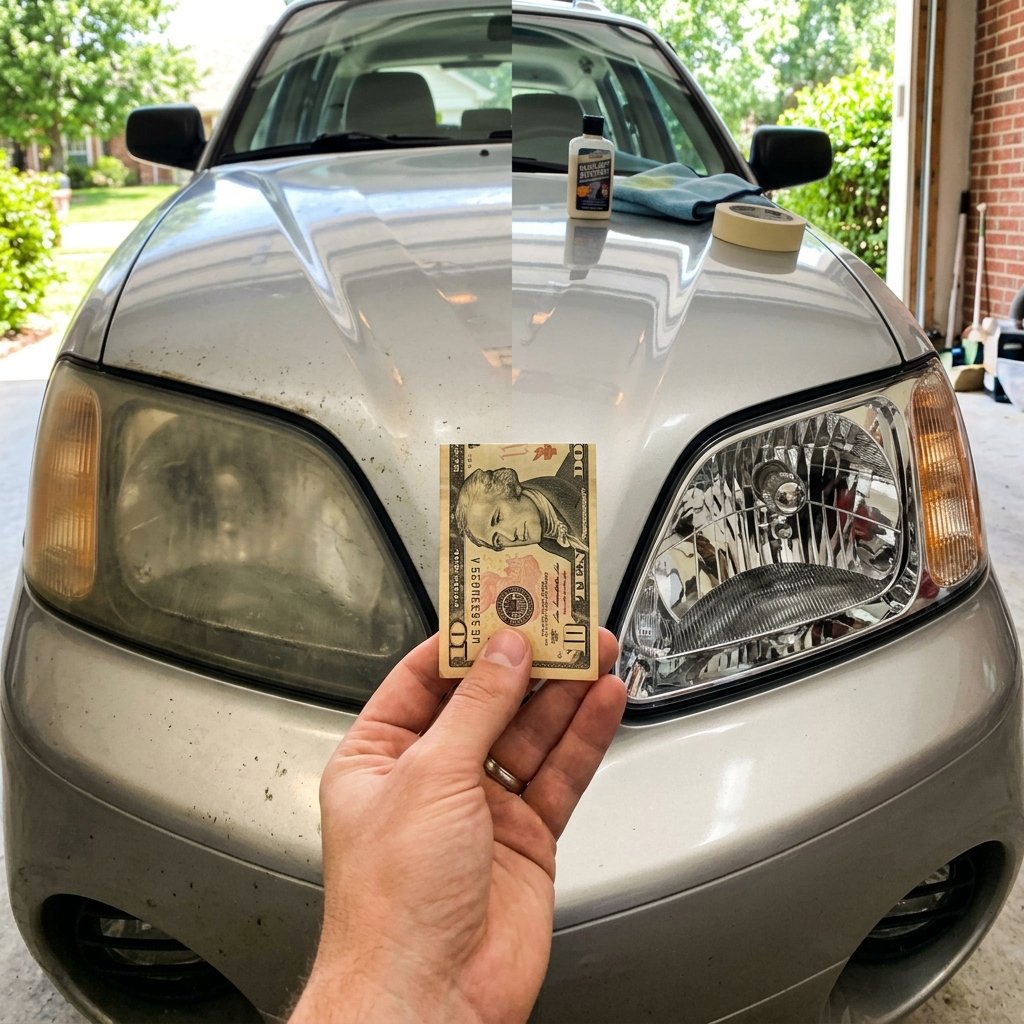
So, what happens? You take it to the dealership or your local mechanic, and they hit you with a quote that makes your jaw drop. They want $150, $200, or even $500 to replace the housing or do a professional restoration. Well, put your wallet away and take a deep breath. Today, we are going to dive deep into the ultimate DIY restoration hack. I am going to show you exactly how to fix foggy headlights forever using a method that costs under $10. Yes, you read that right. For the price of a fancy coffee and a pastry, you can restore your car’s headlights to factory clarity.
This is not about buying those gimmicky infomercial wipes that wash off after the first rainstorm. This is a street-smart, empowering, permanent fix that puts the control—and the cash—back in your pocket. Grab your safety glasses, roll up your sleeves, and let us get into the nitty-gritty of this incredible frugal hack.
The Truth About Foggy Headlights
Why Do Headlights Turn Yellow?
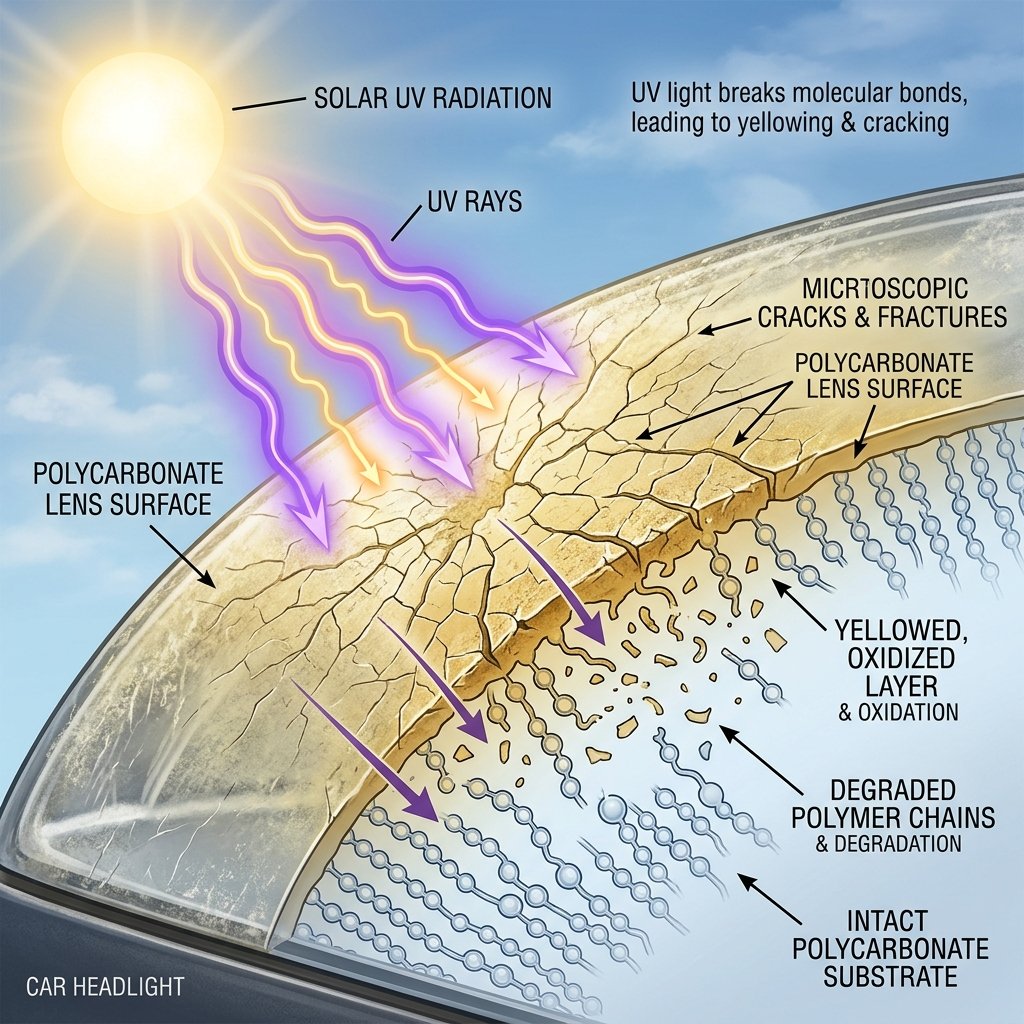
Before we start sanding and polishing, we need to understand the enemy. Why do our headlights turn into a yellow, crusty mess in the first place? Back in the day, car manufacturers used actual glass for headlights. Glass was heavy, expensive, and shattered easily in minor fender benders, but it never turned yellow. To cut costs and improve safety, the industry switched to polycarbonate plastic. Polycarbonate is fantastic—it is lightweight, highly impact-resistant, and cheap to produce. But it has one massive weakness: the sun.
Specifically, ultraviolet (UV) rays. When your car sits out in the sun day after day, the UV rays bombard the plastic. Over time, these rays break down the surface of the polycarbonate, causing micro-cracks and a chemical reaction called oxidation. Add in the constant barrage of road salt, dirt, debris, and harsh weather, and that plastic starts to degrade rapidly. The manufacturer applies a UV-resistant clear coat at the factory, but after a few years, that coating wears off. Once the bare plastic is exposed, the yellowing process accelerates.
The Frugal Hacker’s Key Rule: To fix foggy headlights forever, you cannot just remove the yellow oxidation. You MUST replace the protective UV layer, or the fog will return in a matter of weeks.
Understanding this science is the secret to why our $10 hack works permanently, while those expensive store-bought kits often fail. We are not just cleaning the plastic; we are completely resurfacing and resealing it.
The Cost Breakdown: DIY vs. Store Bought
Show Me The Math!
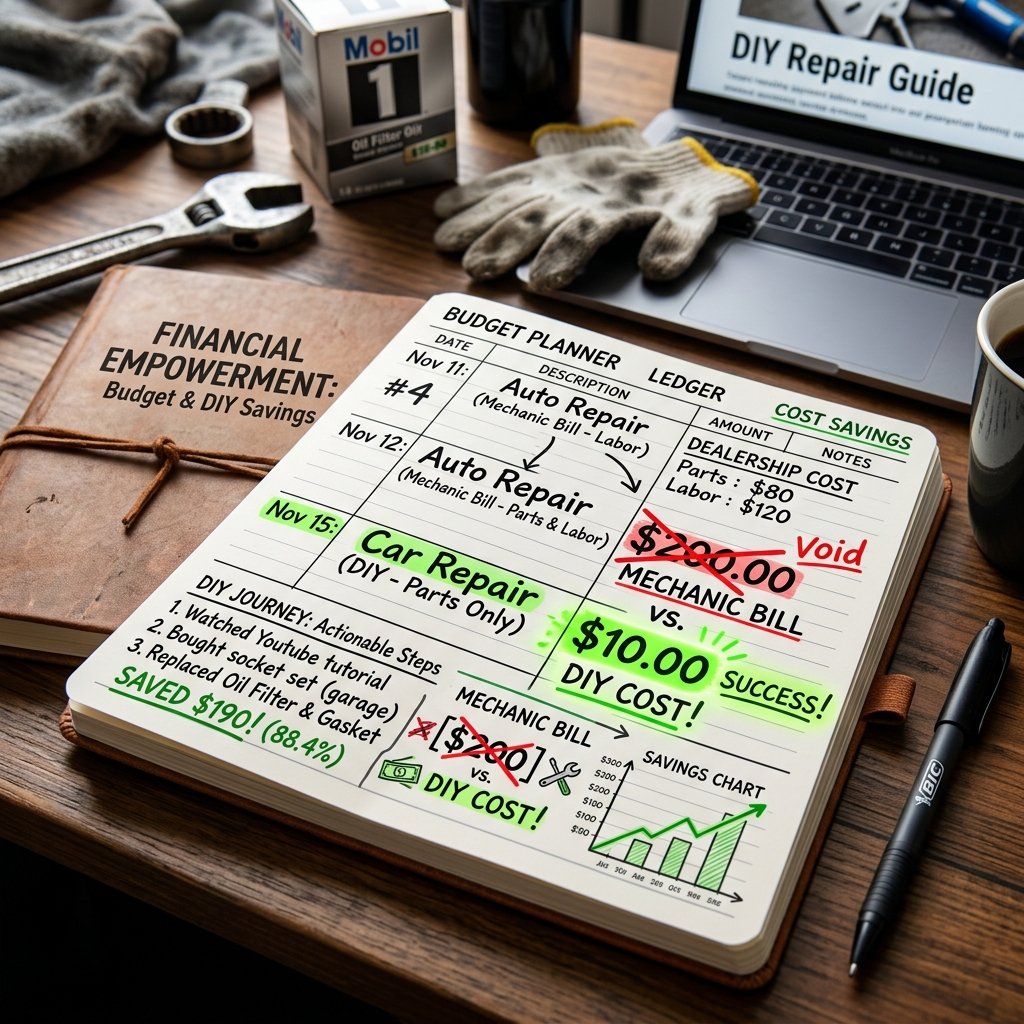
Let us talk numbers, because as frugal living enthusiasts, we know that math is our best friend. When you are faced with foggy headlights, you generally have four options: buy brand new headlight assemblies, pay a professional to restore them, buy a pre-packaged restoration kit from an auto parts store, or use our DIY hack. Let us break down the costs so you can see exactly why this is a no-brainer.
| Restoration Method | Estimated Cost | Longevity | The Verdict |
|---|---|---|---|
| Dealership Replacement | $300 – $800+ | 5-10 Years | A massive waste of money unless housing is cracked. |
| Professional Detailer | $100 – $200 | 1-3 Years | Overpriced for a job you can do yourself in an hour. |
| Store-Bought Kit | $25 – $50 | 3-6 Months | Often lacks a true UV sealant. A recurring expense. |
| The Ultimate DIY Hack | $10 | Permanent (with maintenance) | The undisputed champion of frugal car care. |
As you can see, by choosing the DIY route, you are keeping a minimum of $90 and potentially upwards of $790 in your bank account. That is money you can put towards your emergency fund, your investments, or a fun weekend getaway. The store-bought kits might seem tempting, but they are a classic consumer trap. They charge a premium for fancy packaging and small, single-use amounts of product. By sourcing the raw materials yourself, you get professional-grade results for a fraction of the price.
The $10 Arsenal: What You Need to Buy
Gathering Your Frugal Supplies
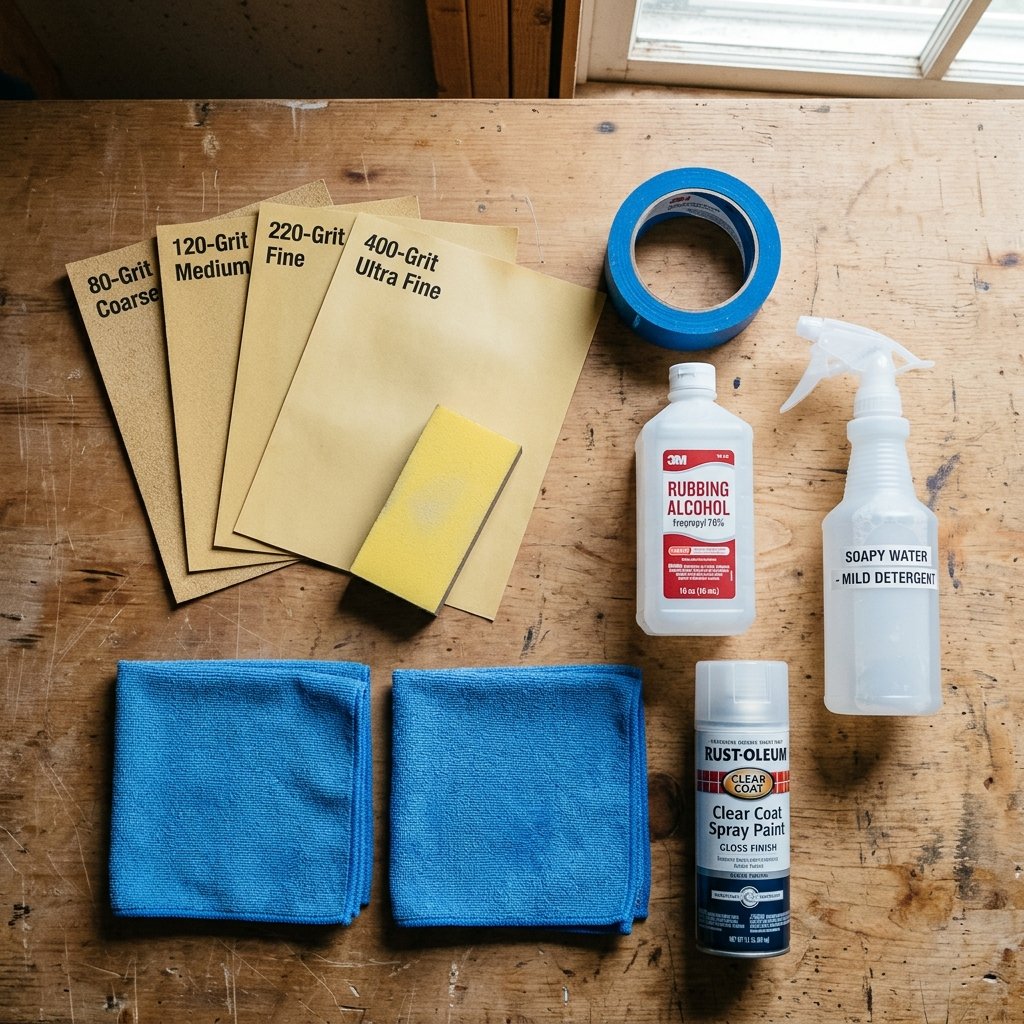
Now that you are convinced by the math, let us gather our supplies. You might even have some of these items lying around your garage or utility closet, which brings the cost down to practically zero! If not, a quick trip to the hardware store or a dollar store will sort you out. Here is the exact list of what you need to execute this hack flawlessly.
- Automotive Sandpaper (Assorted Grits): You will need a few sheets of wet/dry sandpaper. Specifically, look for 400, 800, and 2000 grit. You can often buy a small variety pack for about $4.
- Masking Tape or Painter’s Tape: This is crucial for protecting your car’s paint. A roll costs around $2.
- Rubbing Alcohol: For cleaning the surface before sealing. You probably have this in your medicine cabinet, but if not, it is $1 at the dollar store.
- Clear Coat UV Spray Paint: This is the magic ingredient. You want a non-yellowing, UV-resistant clear gloss spray paint. Rust-Oleum or Krylon are great brands. A can costs about $5, but you will only use a tiny fraction of it, leaving plenty for future projects.
- A Spray Bottle with Water and a Drop of Dish Soap: Free from your kitchen! This is your lubricant for wet sanding.
- Microfiber Cloths: For wiping things down. You can get a multi-pack for a few bucks, or just use clean, old cotton rags.
If you add it all up, you might spend slightly over $10 upfront if you have absolutely zero supplies, but the cost per use is pennies. Plus, you are building an arsenal of tools that will save you money on future DIY projects.
Step-by-Step Guide to Crystal Clear Headlights
Time to Get Your Hands Dirty
Alright, it is time to execute the hack. Follow these steps exactly, and do not rush the process. The key to a professional-grade finish is patience and attention to detail.
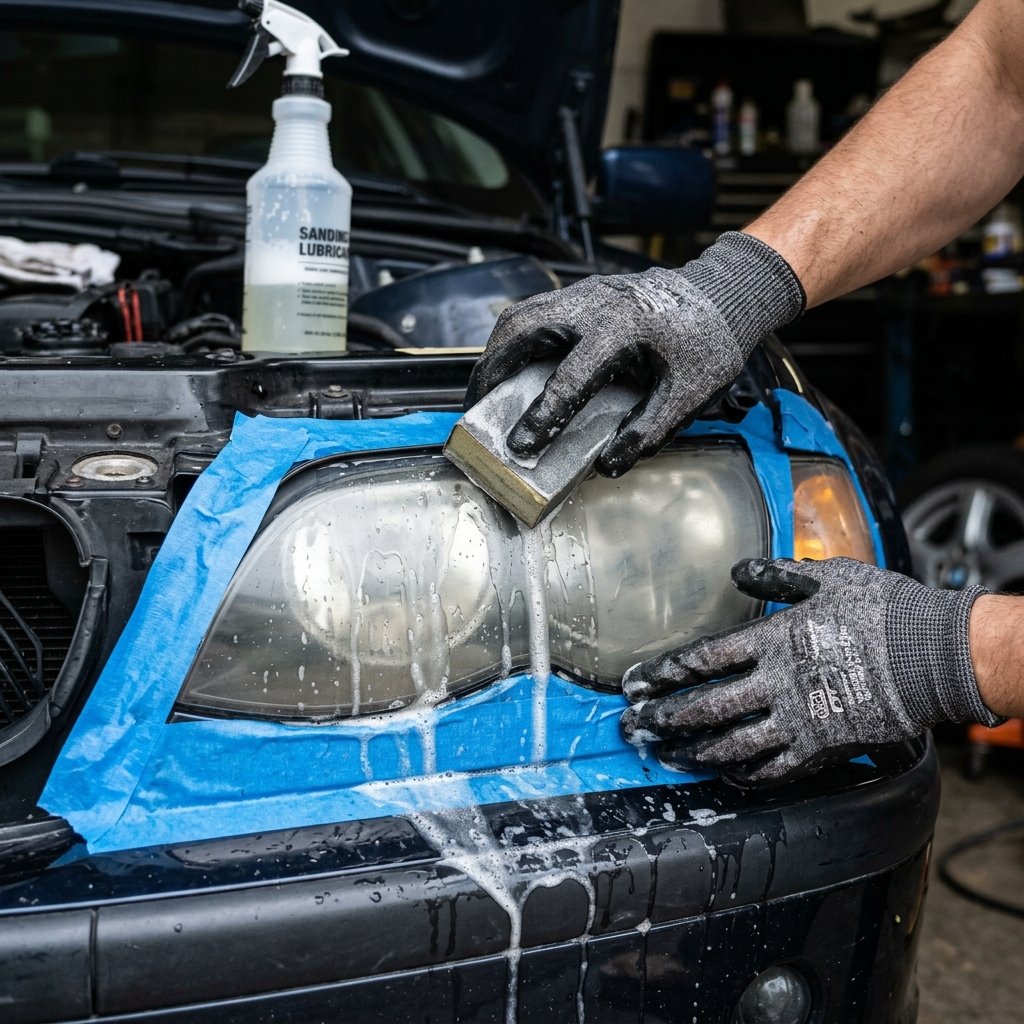
- Prep and Protect: First things first, wash your headlights thoroughly with soapy water to remove any surface dirt and bugs. Dry them completely. Now, take your painter’s tape and carefully mask off the paint around the entire headlight housing. Do two or three layers of tape. Do not skip this! Sandpaper will instantly scratch your car’s clear coat, turning a $10 hack into a $500 paint repair bill.
- The Aggressive Sand (400 Grit): Spray the headlight generously with your soapy water mixture. Take your 400-grit sandpaper, soak it in the water, and start sanding the headlight using horizontal, side-to-side motions. Do not press too hard; let the sandpaper do the work. You will see a ton of yellow, milky sludge coming off. That is the oxidized plastic and the old, failed factory clear coat. Keep spraying water to keep the surface lubricated. Keep sanding until the entire headlight has a uniform, frosted, dull appearance and the runoff water is completely white, not yellow. Wipe it clean with a microfiber cloth.
- The Refining Sand (800 Grit): Now we need to smooth out the scratches we just made. Switch to your 800-grit sandpaper. Wet the headlight again, but this time, sand using vertical, up-and-down motions. Changing directions helps ensure you are removing the previous scratches. Spend a good five to ten minutes on this step. Wipe the headlight clean and inspect it. It should still look frosted, but much smoother than before.
- The Polishing Sand (2000 Grit): This is where the magic starts to happen. Take your ultra-fine 2000-grit sandpaper, wet the surface thoroughly, and sand using horizontal motions again. Take your time here. This step is smoothing the plastic to a glass-like finish. When you wipe it clean, the headlight will still be slightly hazy, but it should feel incredibly smooth to the touch.
- The Final Clean: Wash the headlight one more time with water, then dry it completely. Take your rubbing alcohol, put it on a clean microfiber cloth, and wipe down the entire headlight. This removes any leftover dust, oils from your hands, and soap residue. The plastic must be surgically clean for the next step. Let the alcohol flash off and dry completely.
The Secret Sauce: Sealing the Deal Forever
Applying the UV Clear Coat
This is the step that separates the ultimate frugal hackers from the amateurs. If you stop after sanding, your headlights might look okay for a week, but the sun will destroy the unprotected plastic almost immediately. We must apply our UV clear coat to seal the deal forever.
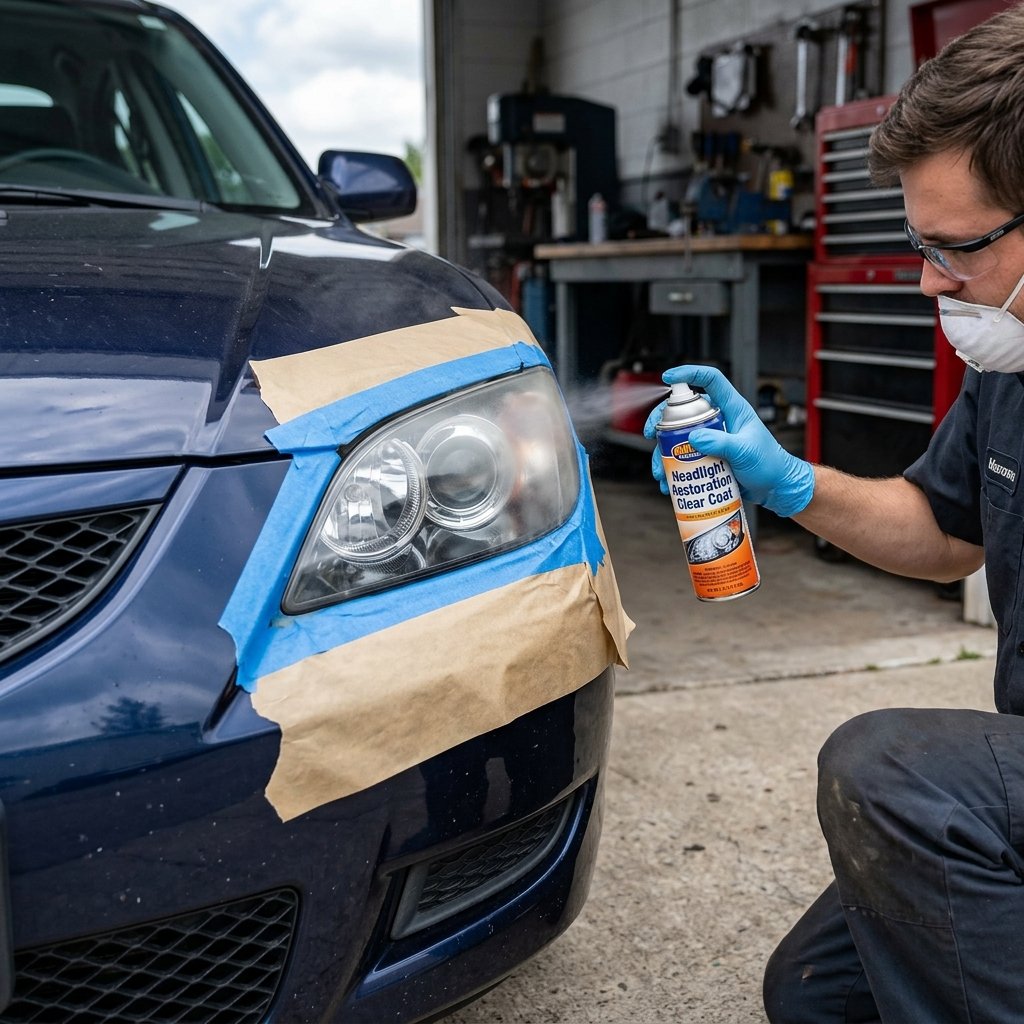
Shake your can of UV-resistant clear gloss spray paint vigorously for at least two minutes. You want to apply this in a well-ventilated area, preferably on a day with low humidity and no wind. Hold the can about eight to ten inches away from the headlight.
Apply a very light, dusting coat first. It might look a little textured, but do not panic. Wait about five minutes for this tack coat to flash. Next, apply a medium, wet coat. Move your hand in smooth, sweeping motions, overlapping each pass by fifty percent. As the clear coat hits the sanded plastic, you will instantly see it turn crystal clear. It is incredibly satisfying!
The Frugal Hacker’s Pro Tip: Less is more. It is better to do three thin coats than one thick coat. A thick coat will run and drip, ruining all your hard sanding work.
Allow the clear coat to dry according to the instructions on the can (usually at least 24 hours) before driving the car or exposing it to rain. Once it is fully cured, you will have headlights that look brand new. The UV clear coat acts as a permanent shield against the sun, ensuring that your $10 investment lasts for years to come.
Pro Tips: Maintenance and Avoiding Costly Mistakes
Avoid These Costly Errors
While this hack is incredibly straightforward, there are a few pitfalls that can trip up first-time frugal hackers. Let us make sure you avoid them. First, never sand dry. Dry sanding creates friction and heat, which can actually melt the polycarbonate plastic and cause deep gouges that are impossible to remove. Always keep your surface flooded with soapy water.
Second, do not rush the taping process. I have seen people skip tape because they think they have a steady hand. One slip of the sandpaper, and you have ruined a $500 paint job. Third, pay attention to the weather. Spray paint is finicky. If it is too cold (below 60 degrees Fahrenheit) or too humid, the clear coat can blush or turn cloudy. You want a mild, dry day for the perfect finish.
Keeping the Shine Alive
You have done the hard work, your headlights look amazing, and you have saved a ton of money. Now, let us talk about keeping them that way. Even with the UV clear coat, your car still faces the harsh elements. To maximize the lifespan of your $10 hack, treat your headlights like you treat your car’s paint.
When you wash your car, wash the headlights. When you apply a coat of wax or synthetic sealant to your hood, apply it right over the headlights too. This adds a sacrificial layer of protection on top of the clear coat, taking the brunt of the UV abuse. By spending an extra thirty seconds during your normal car wash routine, you ensure that you will never have to sand those headlights again.
Conclusion
Keep Hacking, Keep Saving
And there you have it! You have just successfully learned how to fix foggy headlights forever, completely bypassing the auto industry’s overpriced repair schemes. By dedicating just an hour of your weekend and spending a mere $10, you have dramatically improved the safety, visibility, and aesthetic appeal of your vehicle.
This is what frugal living is all about—learning new skills, taking ownership of your possessions, and keeping your hard-earned money exactly where it belongs: in your wallet. Remember, every time you choose to DIY instead of paying retail, you are taking a step closer to financial freedom. So, share this ultimate frugal hack with your friends, family, and neighbors. Help them save their cash, too! Keep hacking, keep saving, and keep enjoying the journey to a richer life.
Disclaimer: I am a frugal living enthusiast, not a licensed mechanic or financial advisor. Always wear proper safety gear when working on your vehicle and consult a professional if you are unsure about any auto repair process.

Makenzie is the founder and lead writer at MoneyHackTips.com — a personal finance blog dedicated to delivering street-smart financial wisdom for real people on real budgets. With 300+ published articles covering everything from debt management to investing fundamentals, Makenzie’s mission is to make every dollar work harder. When not writing about money hacks, Makenzie is testing frugal living strategies, optimizing side hustles, and helping readers build financial freedom from scratch.