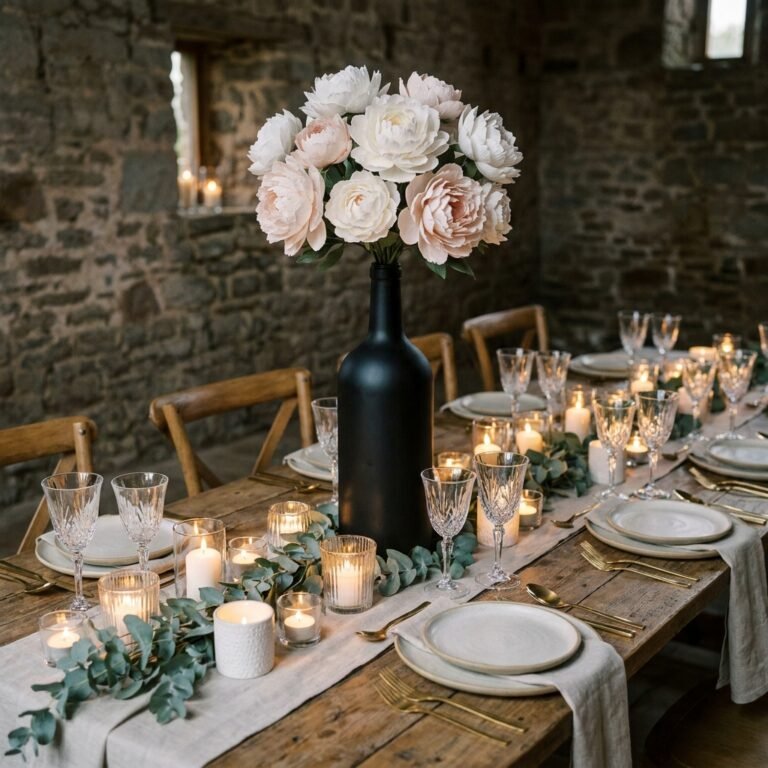
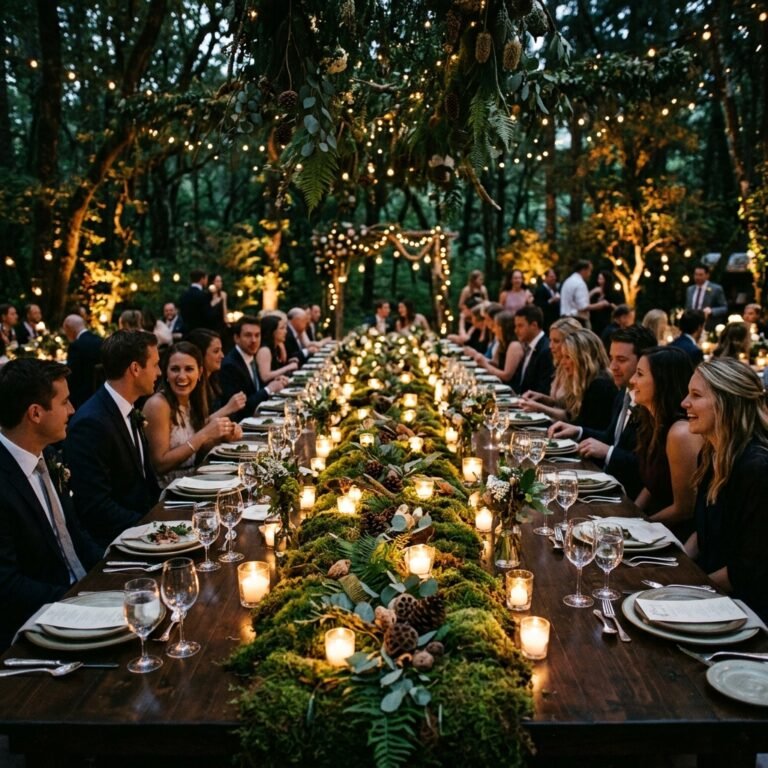
Planning a wedding is often a high-stakes balancing act between champagne dreams and a beer budget. But here is a secret from the world of high-end event styling: luxury is a feeling, not a price tag. You do not need a $10,000 floral budget to leave your guests breathless. In fact, some of the most sophisticated, ruggedly elegant, and modern centerpieces can be constructed using items found in the aisles of your local dollar store. By applying a bit of crafty-expert magic, some strategic spray paint, and resourceful upcycling, you can create table settings that rival those found in the glossiest bridal magazines. This guide is for the frugal DIYer who refuses to compromise on style. We are going to dive deep into twelve projects that prove thriftiness is the ultimate form of creativity. Whether you are aiming for an industrial chic vibe, a romantic garden aesthetic, or a clean minimalist look, these projects will show you how to turn $1.25 items into $100 showstoppers.
Budget Mantra: It is not about what you spend; it is about how you style what you have.
The Alchemy of the $5 Lantern: Transforming Picture Frames into Timeless Elegance
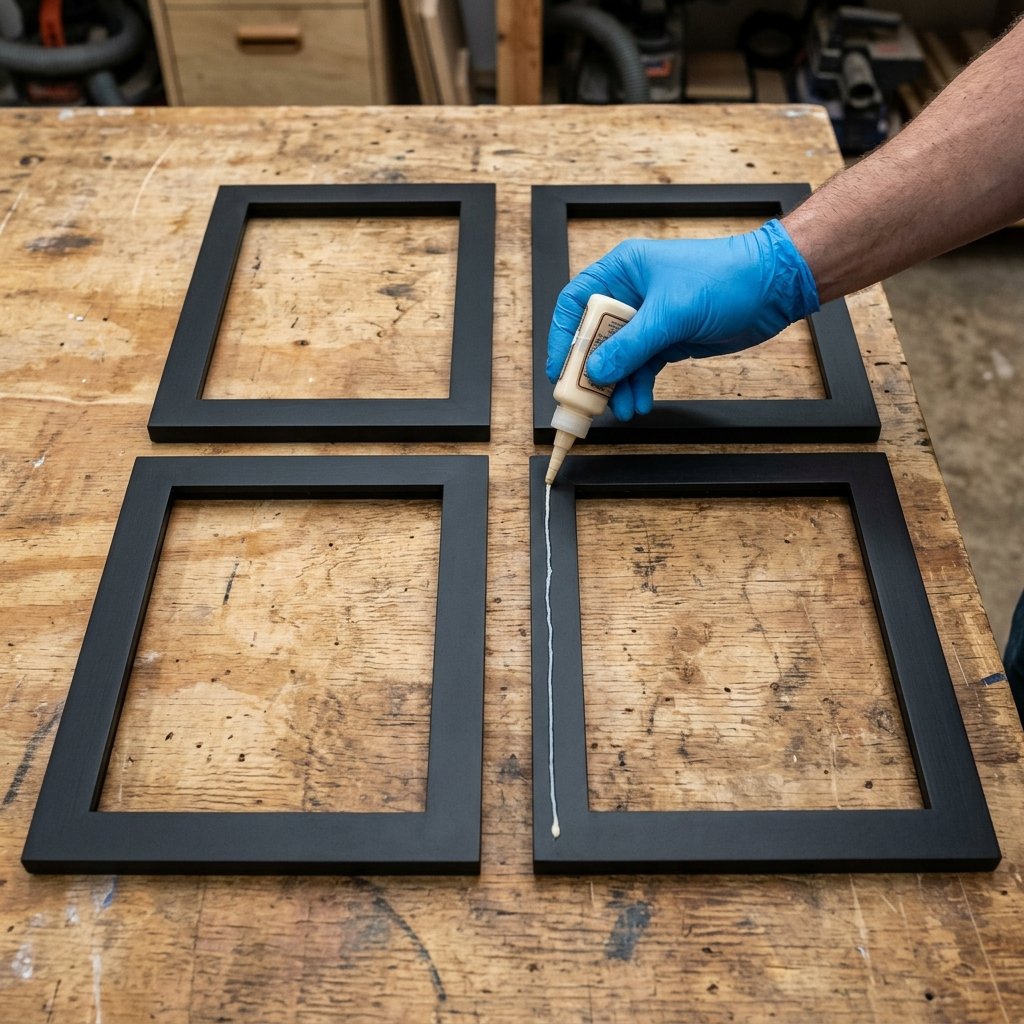
One of the most versatile items at the dollar store is the humble 5×7 or 8×10 picture frame. By joining four of these together, you create a classic lantern that serves as a stunning focal point. This project is a favorite for budget brides because it provides height and architectural interest without the heavy price of wrought iron or custom-made wood lanterns.
Materials and Budget Breakdown
| Item | Quantity | Estimated Cost |
|---|---|---|
| 5×7 Plastic or Wood Frames | 4 | $5.00 |
| Hot Glue Sticks / E6000 | 1 Pack | $1.25 |
| Metallic Gold or Matte Black Spray Paint | 1 Can | $5.00 (shared) |
| Battery-Operated Pillar Candle | 1 | $1.25 |
| Total Per Centerpiece | – | $7.50 – $10.00 |
Step-by-Step Construction
- Remove the Backing: Carefully take out the cardboard back and the metal tabs of all four frames. Keep the glass.
- Clean the Glass: Use a bit of vinegar or glass cleaner to ensure there are no fingerprints or smudges. This is crucial for a high-end look.
- The Frame Box: Stand two frames up at a 90-degree angle. Apply a thin line of E6000 adhesive (for a permanent bond) and a few dots of hot glue (for an instant hold) along the edge. Press them together.
- Complete the Square: Repeat the process until you have a four-sided box. Let the adhesive cure for at least 24 hours.
- Paint: Once the structure is solid, spray paint the entire frame. For a rugged-elegant look, try a hammered metal finish.
- Re-insert Glass: Carefully slide the glass back into the frames and secure with a tiny dab of clear glue in the corners.
Pro Tip: Place the finished lantern on a wood slice or a mirrored plate to add another layer of texture and reflection.
Industrial Sophistication: Creating ‘Stone’ and ‘Concrete’ Vessels
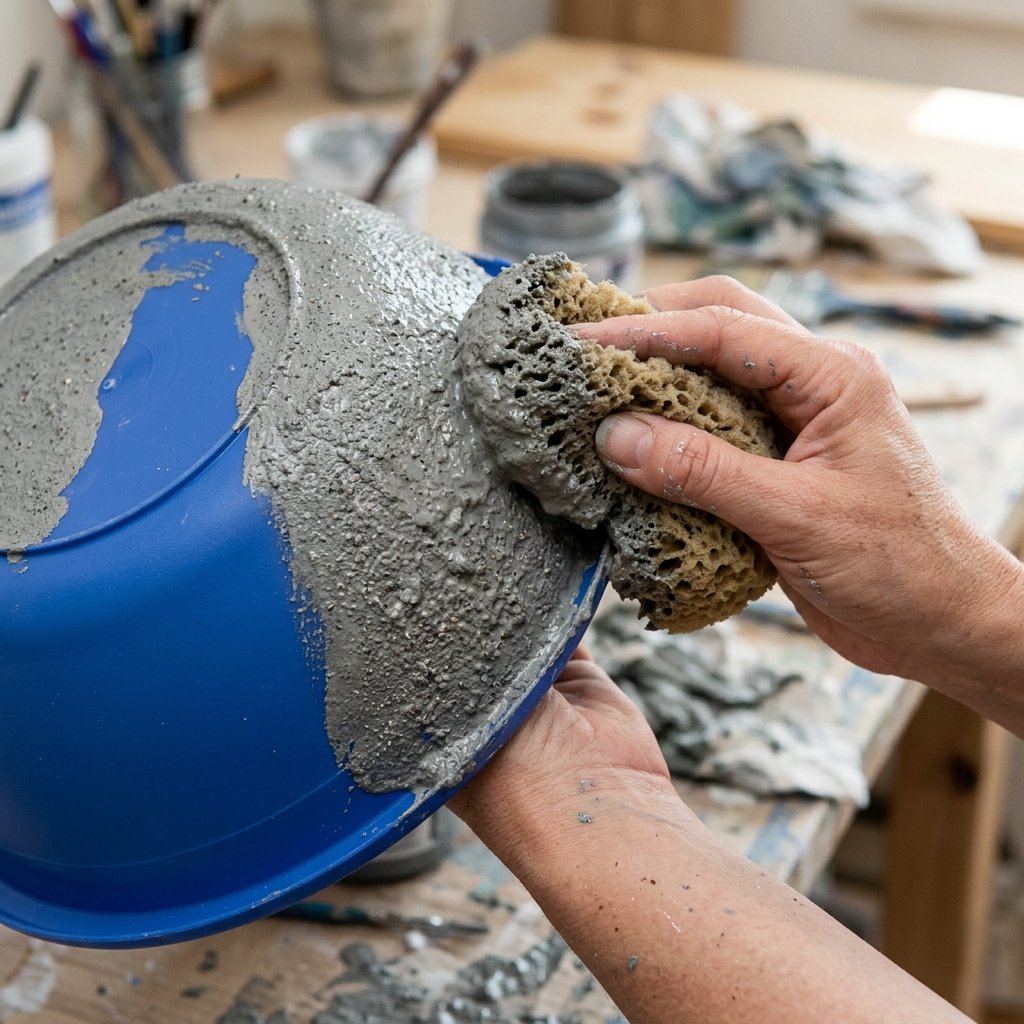
The modern-industrial wedding look is all about raw textures and minimalist forms. You can replicate the look of heavy concrete or carved stone using cheap plastic bowls and a simple ‘baking soda paint’ trick. This technique adds a gritty, sophisticated weight to lightweight plastic, making it look like it was sourced from a high-end boutique.
The DIY Concrete Paint Formula
To achieve the perfect faux-stone finish, you need to create a mixture that adds both color and physical texture. Use the following ratio for your batch:
- 1 Cup of Matte Acrylic Paint (Gray, Greige, or Off-White)
- 1/2 Cup of Baking Soda
- 1 Tablespoon of Fine Sand (optional, for extra grit)
Application Technique
Apply the mixture using a stippling motion with a sponge or a stiff-bristled brush. Do not brush it on smoothly; you want the ‘peaks’ and ‘valleys’ of the paint to mimic the porous nature of real concrete. Once dry, these vessels are perfect for holding succulents, moss, or even dried pampas grass.
| Store Bought Stone Bowl | DIY Upcycled Bowl | Total Savings |
|---|---|---|
| $45.00 | $2.50 | 94% |
The Floating Garden: Mastering Water, Light, and Glass
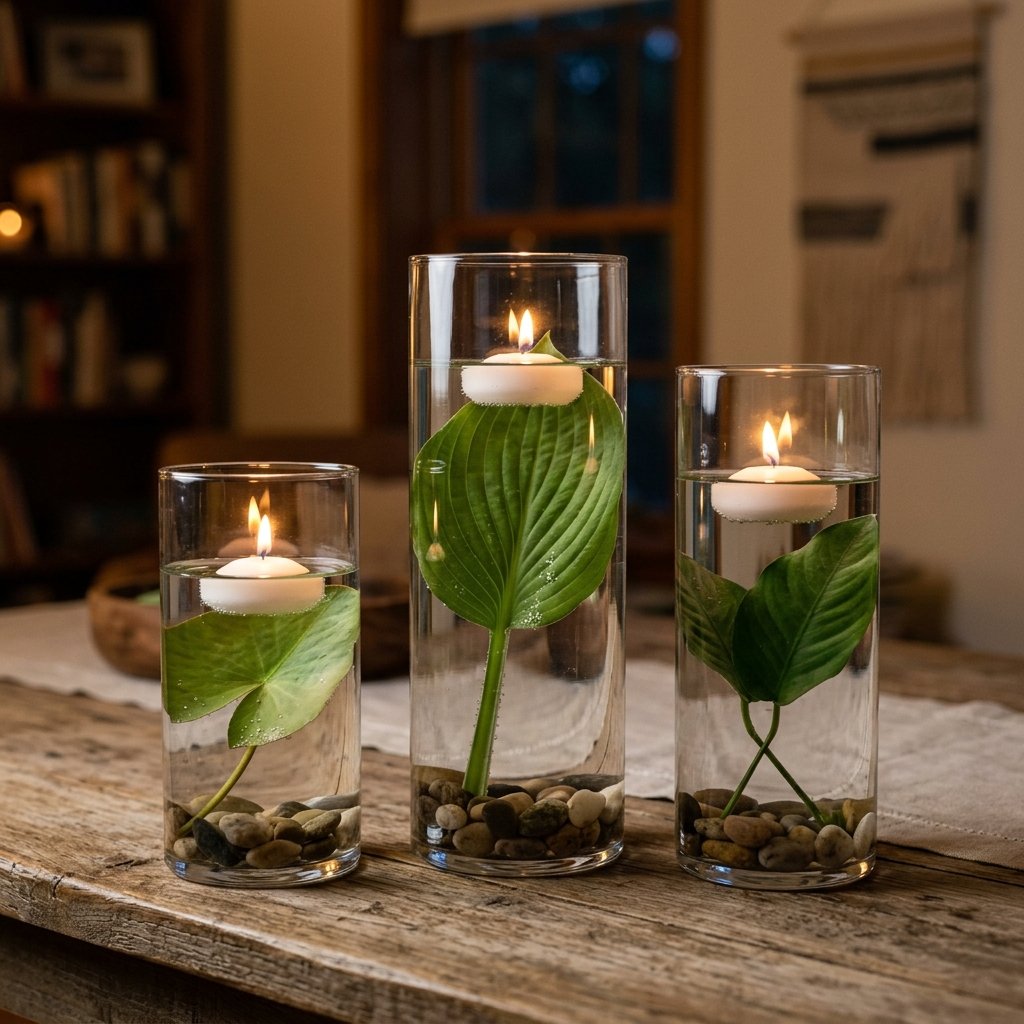
There is nothing quite as romantic as the combination of water and candlelight. Using varying heights of glass cylinders—a staple at most dollar stores—you can create a ‘floating garden’ effect that looks incredibly expensive when grouped in clusters of three.
Assembly Instructions
- The Vessel Strategy: Purchase glass cylinders in three sizes. If your store only carries one size, use glass candle holders to create ‘pedestals’ for some of the vases to vary the heights.
- Submerged Florals: Place a single stem of faux orchid, eucalyptus, or baby’s breath inside the vase. To keep them from floating to the top, anchor them to the bottom using a small clear fishing weight or a glass gem.
- Water Prep: Fill the vase with distilled water. Distilled water is key because it prevents the tiny air bubbles from forming on the glass and the stems, ensuring a crystal-clear view.
- The Glow: Place a white floating candle on top. The light will refract through the water and the glass, doubling the brightness of your table.
Mending Tip: If your faux flowers look ‘plastic-y,’ lightly spray them with a matte clear coat before submerging to take away the cheap sheen.
Minimalist Modernism: The Hula-Hoop Floral Installation

For the couple that wants a ‘wow’ factor, the hula-hoop centerpiece is a game-changer. By taking a child’s toy and coating it in metallic gold or copper, you create a geometric frame that looks like high-end metalwork. These can be stood vertically on a wooden base or hung from the ceiling for a dramatic effect.
Material List
- Small Hula Hoop (Dollar Store toy aisle)
- Metallic Spray Paint (Gold or Bronze)
- Floral Wire and Tape
- Assorted Faux Greenery (Eucalyptus, Ferns)
- Zip Ties
Construction Steps
- Paint the Hoop: Give the hoop two thin coats of metallic paint. Ensure you cover the entire surface, including the inner rim.
- Create the Base: If standing vertically, use a $1.25 wooden block or a heavy glass candle holder as a base. Secure the hoop using a strong adhesive or a small notch cut into the wood.
- The ‘Crescent’ Arrangement: Do not cover the whole hoop in flowers. For a modern look, attach your greenery to only one-third of the hoop in a crescent shape. Use zip ties to secure the main stems and floral wire for the delicate leaves.
- Add a Focal Point: Place a single large flower (like a dahlia or peony) at the center of your greenery arrangement to draw the eye.
Vintage Romance: The Distressed Book and Lace Centerpiece
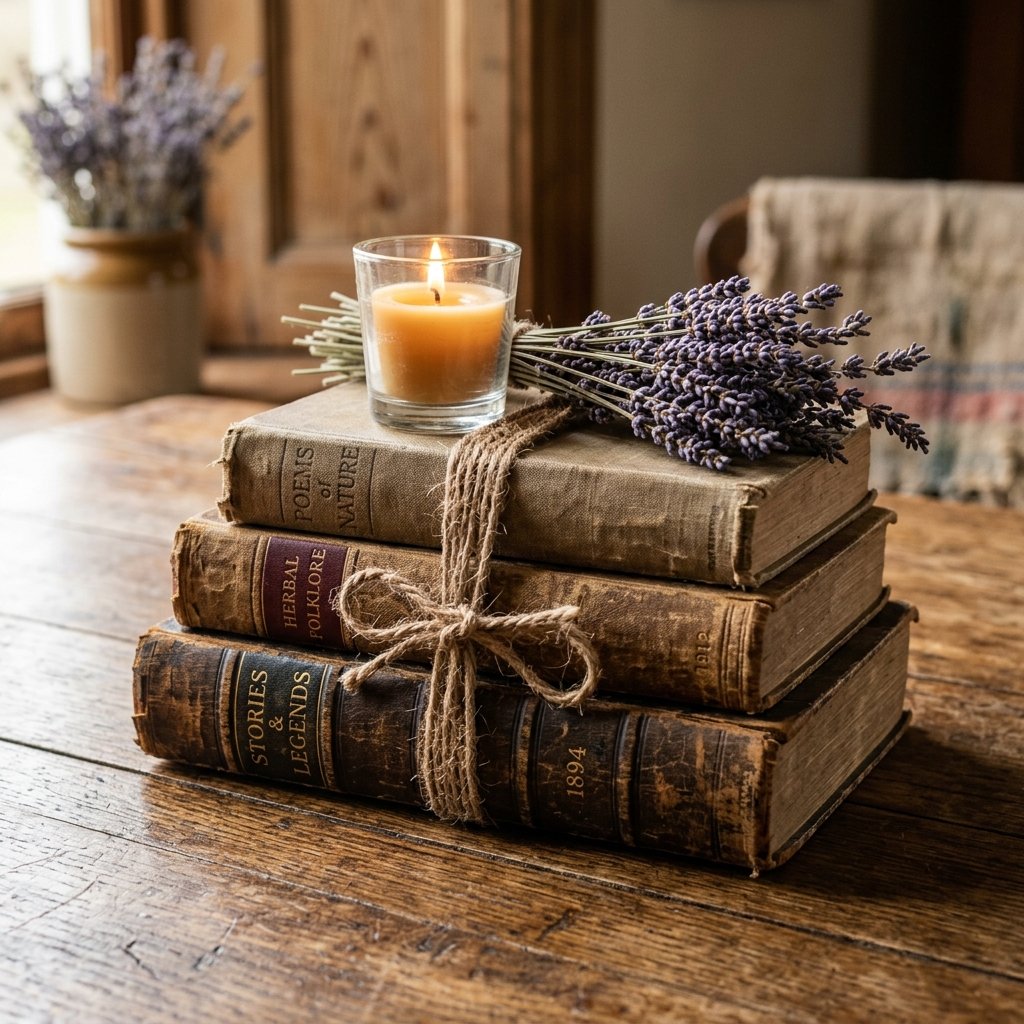
If your wedding theme leans toward vintage, rustic, or dark academia, books are your best friend. Many dollar stores have a ‘remainder’ book section where you can find hardcovers for a steal. This project is about layering textures to create a sense of history and warmth.
The ‘Aged’ Look Technique
To make new books look like heirlooms, remove the dust jackets. If the covers are too bright, you can ‘distress’ them with a bit of sandpaper or a light wash of brown acrylic paint. Stack three books of varying thicknesses and tie them together with jute twine or a strip of lace.
| Layer | Material | Cost |
|---|---|---|
| Base | Stacked Books (3) | $3.75 |
| Texture | Lace Ribbon / Twine | $1.25 |
| Topper | Small Glass Jar w/ Tea Light | $1.25 |
| Total | – | $6.25 |
Crafty Mantra: Texture is the secret language of luxury. Mix rough twine with delicate lace for the ultimate visual interest.
The Project Master Plan: Sourcing and Assembly Timeline
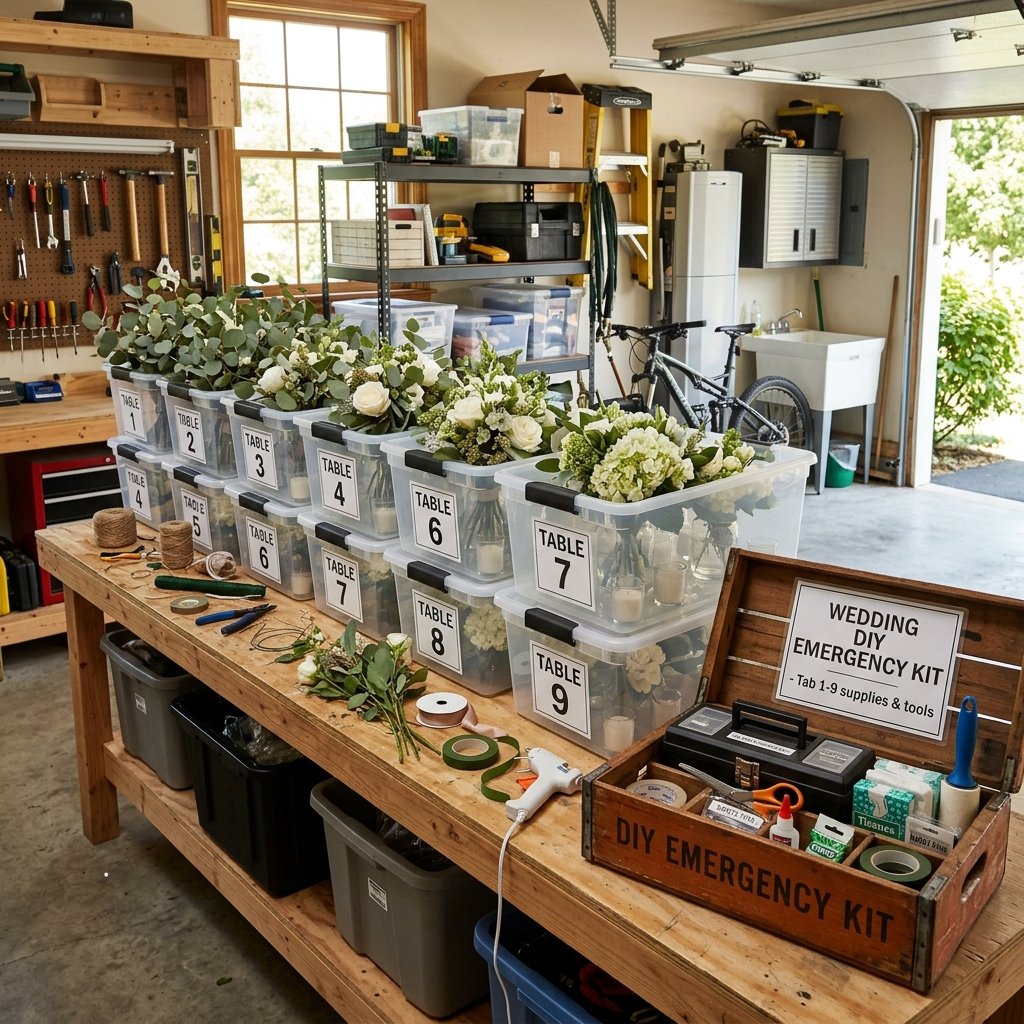
Successfully executing 15 to 20 centerpieces requires more than just creativity; it requires a rugged project management approach. To avoid ‘wedding-week burnout,’ you must spread the work over several weeks. Sourcing is the first hurdle—dollar store inventory can be hit or miss, so start early.
DIY Production Timeline
| Timeline | Task | Focus |
|---|---|---|
| 3 Months Out | Sourcing & Bulk Buying | Clear the shelves of vases, frames, and candles. |
| 2 Months Out | Painting & Texturing | Complete all spray painting and ‘stone’ finishes in batches. |
| 1 Month Out | Floral Prep | Trim stems, wire greenery, and prep any dry elements. |
| 2 Weeks Out | Final Assembly | Glue frames, tie books, and pack into sturdy bins. |
| 1 Day Out | Water & Fresh Elements | Fill vases (if using real water) and add final touches. |
Logistics and Transport Safety
When transporting your masterpieces, use cardboard wine boxes (often free from grocery stores). The dividers are perfectly sized to keep glass cylinders and lanterns from knocking against each other during the drive to the venue. Always bring an ’emergency kit’ containing extra hot glue, scissors, and spare batteries to the venue for last-minute touch-ups.
Conclusion
Creating ‘mind-blowing’ wedding centerpieces on a dollar store budget is not just about saving money—it is about the pride of craftsmanship and the joy of creating something unique for your special day. By looking at everyday items through the lens of a resourceful upcycler, you can craft an atmosphere that is both elegant and personal. From the architectural beauty of picture-frame lanterns to the modern grit of faux-stone vessels, these projects prove that with a little time and a lot of heart, luxury is well within your reach. Now, grab your glue gun, head to the nearest dollar store, and start building the wedding of your dreams for a fraction of the cost. Your guests will never know the difference, but you will always remember the cleverness that made it possible.

Makenzie is the founder and lead writer at MoneyHackTips.com — a personal finance blog dedicated to delivering street-smart financial wisdom for real people on real budgets. With 300+ published articles covering everything from debt management to investing fundamentals, Makenzie’s mission is to make every dollar work harder. When not writing about money hacks, Makenzie is testing frugal living strategies, optimizing side hustles, and helping readers build financial freedom from scratch.