
The Trash-to-Treasure Revolution Starts Under Your Toes
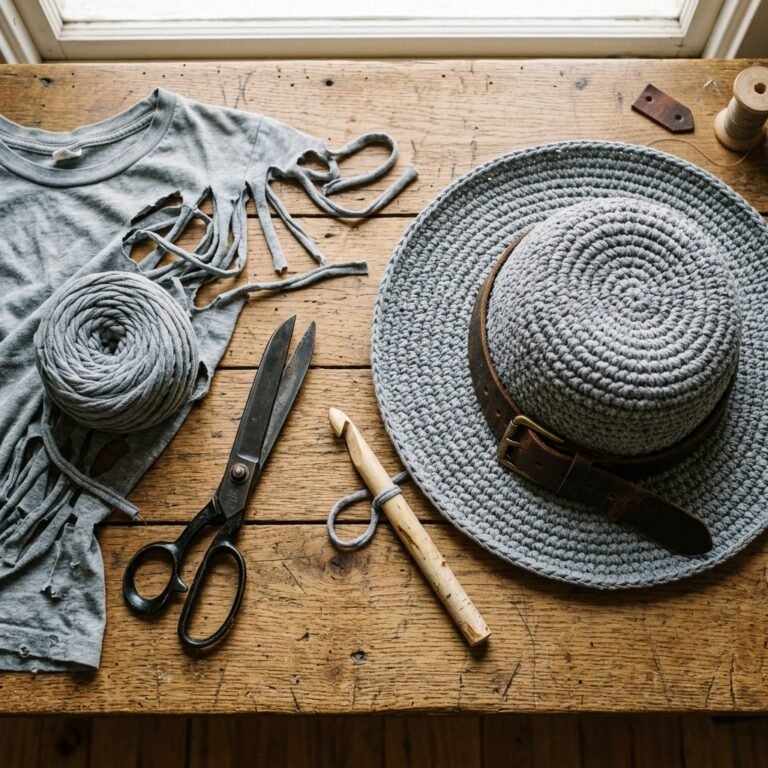
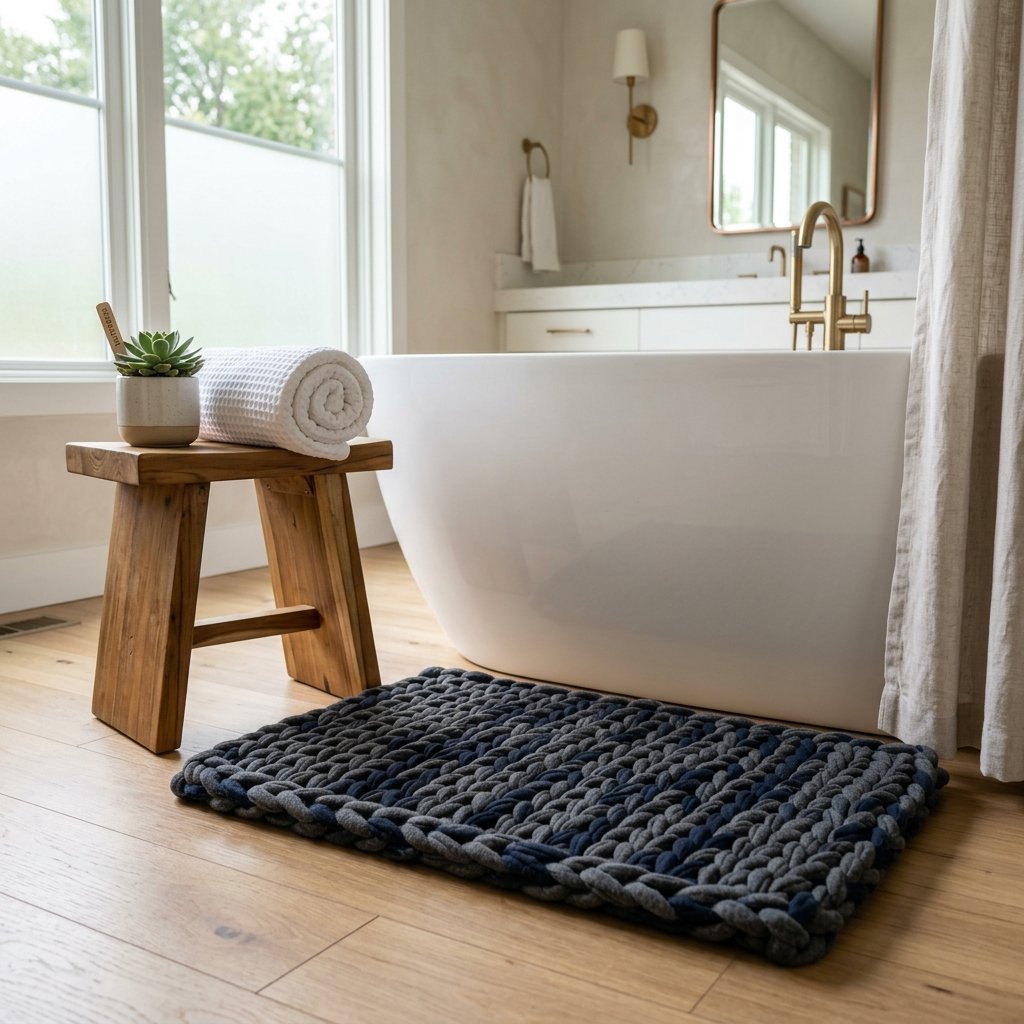
Let’s be honest: most store-bought bath mats are a disappointment. They either thin out after three washes, slide across the floor like a hockey puck, or cost a staggering $40 to $60 for something that’s basically a glorified towel. But what if I told you that your dresser is currently a goldmine of premium, absorbent material just waiting to be repurposed? Welcome to the world of T-shirt yarn (or ‘Tarn’). By upcycling those old, 100% cotton shirts that have seen better days, we are going to craft a rugged, masculine-elegant bath mat that offers a heavy-duty ‘noodle’ texture, mimicking high-end spa rugs. This isn’t just a craft; it’s a strategic strike against waste and a win for your wallet. We’re talking about a 100% free project if you raid your own closet, or a $5 project if you hit the local thrift store. Get ready to sink your feet into something you built with your own two hands.
The Raw Materials: Sourcing and Budgeting for Success
Selecting Your Fabric Strategically
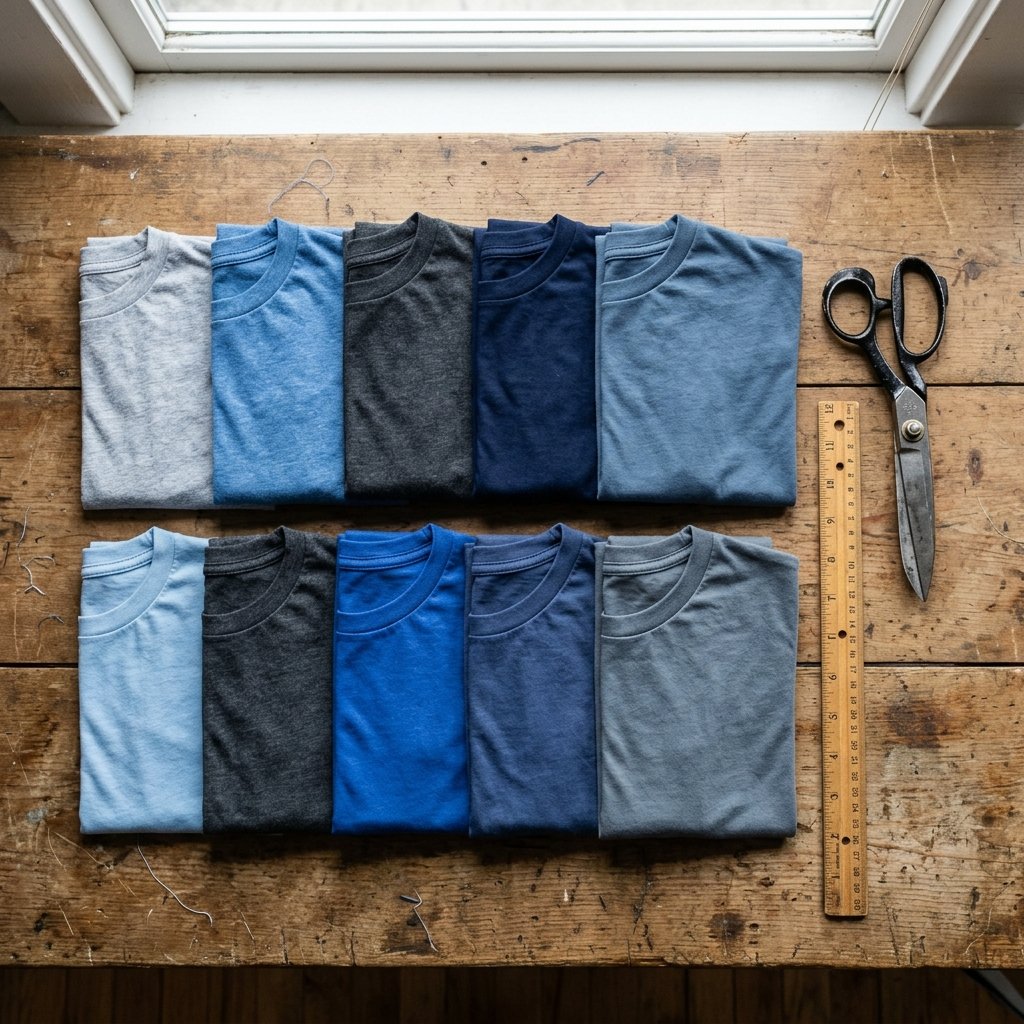
Not all T-shirts are created equal. For a bath mat that feels like a cloud and lasts for years, you need to be picky. Look for 100% cotton or high-cotton blends. Why? Cotton is the king of absorbency and it ‘curls’ perfectly when cut into strips, hiding raw edges and creating that signature ‘noodle’ look. Avoid shirts with large, thick plastic screen prints, as they won’t curl and will feel scratchy underfoot.
To create a standard 20-inch by 30-inch mat, you will need approximately 8 to 12 large T-shirts. This is the perfect time to clear out those old race-day shirts, promotional freebies, or stained undershirts. If you don’t have enough, a quick trip to a thrift store’s ‘fill-a-bag’ sale can yield a full mat’s worth of material for less than $10.
| Material Source | Estimated Cost | Value/Quality |
|---|---|---|
| Personal Closet Purge | $0.00 | High (Familiar Softness) |
| Thrift Store (Bulk) | $5.00 – $10.00 | Excellent Variety |
| Store-Bought ‘Luxury’ Mat | $45.00+ | Low (Mass Produced) |
The Budget Guru’s Mantra: If it’s stained, it’s still gold. Stains disappear once the fabric is cut, curled, and woven. Don’t throw away potential comfort just because of a coffee spill!
The Art of ‘Tarn’: Making Continuous T-Shirt Yarn
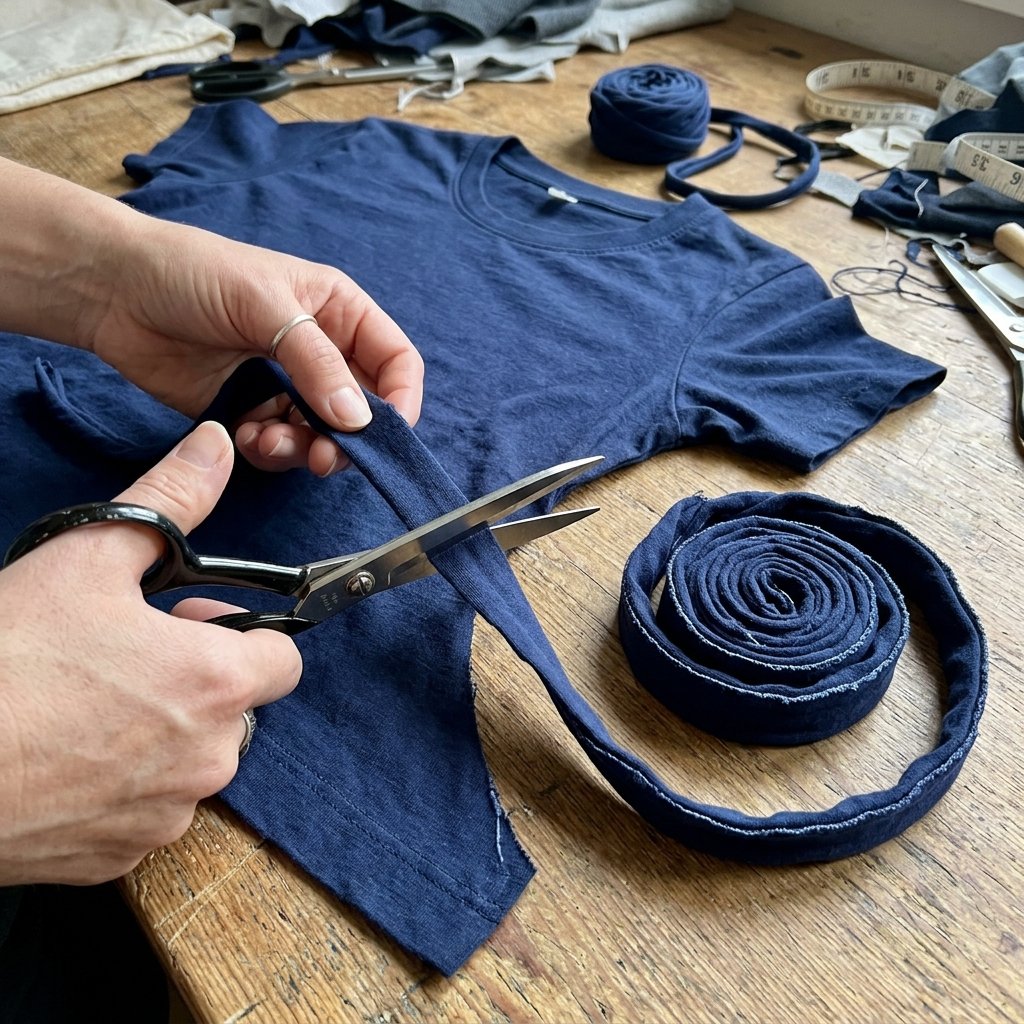
Engineering the Perfect Strip
The secret to an easy DIY mat is minimizing knots. We want continuous yarn. This clever cutting technique turns a single shirt into one long, unbroken strand of fabric. Follow these steps to master the process in under 5 minutes per shirt:
- Lay the shirt flat and cut off the bottom hem and the top section (from the armpits up). You are left with a fabric rectangle ‘tube’.
- Fold the tube in half vertically, but leave about 1 inch of the bottom layer protruding past the top layer.
- Cut strips horizontally (about 1 inch wide) from the folded edge toward the protruding edge, but stop at the first edge of the protrusion. Do not cut all the way through!
- Open the shirt up. You now have a ‘spine’ of uncut fabric holding all your fringe together.
- Cut diagonally across the spine from the first slit to the second, the second to the third, and so on. This creates one continuous spiral of yarn.
Once cut, grab the end of the strip and pull it tight. The fabric will curl inward, hiding the raw cut edges and creating a durable, rounded cord. Roll it into a ‘tarn ball’ and you’re ready to build.
The Construction Phase: The Mesh-Grid Method
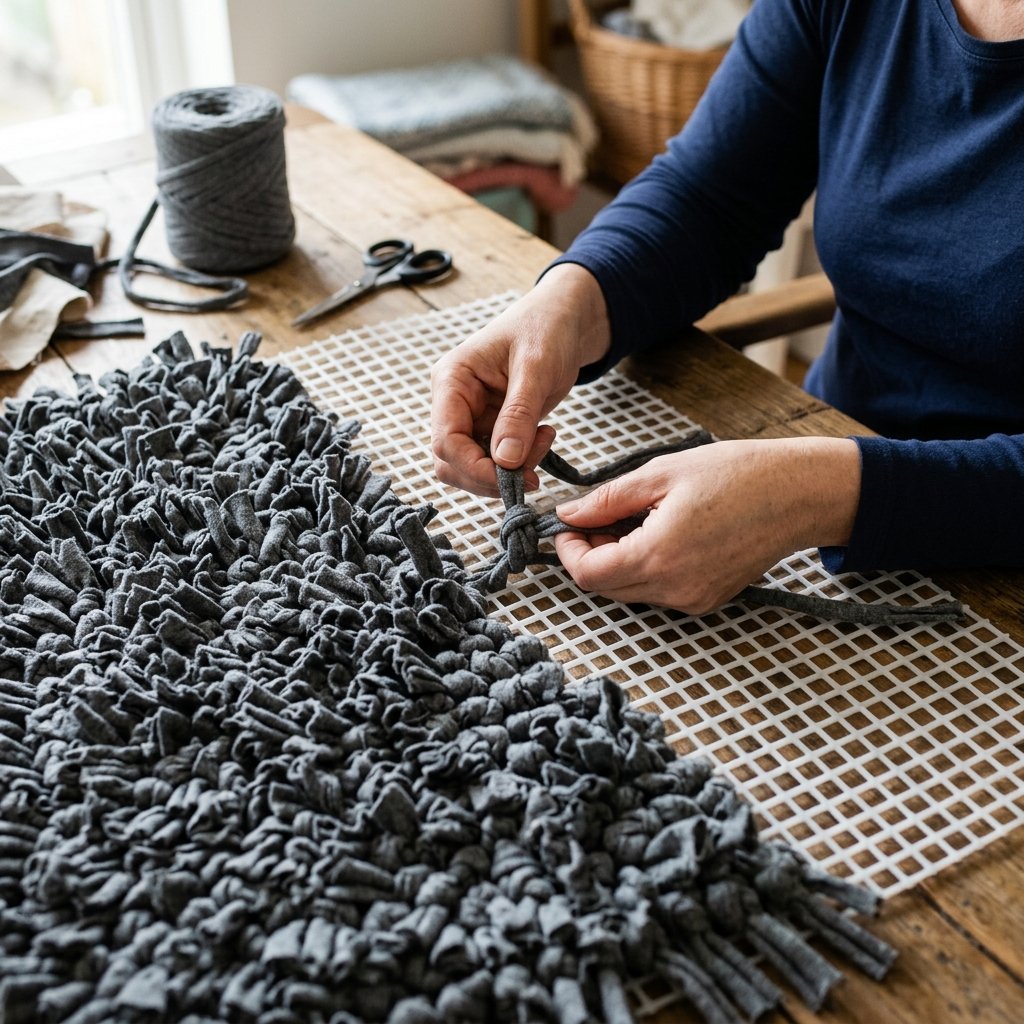
The Easiest ‘No-Sew’ Technique
While you can crochet or braid these mats, the Mesh-Grid Method is the most accessible for the busy DIYer. It requires zero needlework skills and produces the thickest, most ‘spa-like’ texture. You will need a piece of non-slip rug pad (the kind with the grid holes) which costs about $3 at most hardware stores.
Step-By-Step Assembly
- Cut your non-slip mesh to your desired mat size (e.g., 20″ x 30″).
- Cut your T-shirt yarn into 5-inch to 6-inch strips. You will need hundreds of these, so put on a podcast and get snipping!
- Take a strip, fold it in half, and poke the loop through one hole of the mesh using a crochet hook or your fingers.
- Pull the two tail ends through the loop and tug tight. This is essentially a ‘lark’s head knot’.
- Repeat this in every other hole for a medium density, or every hole for a heavy-duty, ultra-plush feel.
| Technique | Difficulty | Time Investment | Durability |
|---|---|---|---|
| Mesh Knotting | Beginner | 3-4 Hours | High |
| Braiding & Sewing | Intermediate | 5-6 Hours | Medium |
| Crocheting | Advanced | 2-3 Hours | High |
Rugged Durability: Finishing and Maintenance

Ensuring Your Mat Lasts a Decade
Because this mat is made of 100% cotton T-shirts, it is incredibly resilient. However, a few pro-tips will keep it looking like a designer piece rather than a heap of rags. First, once you have finished knotting, give the mat a ‘haircut’. Use your fabric shears to trim any stray long pieces so the surface is perfectly level. This adds a level of professional polish that screams ‘high-end boutique’.
Care Instructions
- Washing: Place the mat inside a large mesh laundry bag (or a pillowcase tied shut) and wash on a cold, gentle cycle.
- Drying: Air dry only. The rubber mesh backing can degrade in high heat, and the thick cotton needs time to breathe. Hang it over a porch railing or a drying rack.
- Non-Slip Safety: Since we used a rug pad as the base, it’s already naturally non-slip. However, if you find it moving, you can apply a few beads of silicone caulk to the bottom for extra grip.
Safety Note: Always ensure the mat is completely dry before placing it on a wooden floor to prevent moisture trapping. A well-ventilated bathroom is this mat’s best friend!
Conclusion
Step Out of the Shower and Into Luxury
You’ve done it. You’ve taken a pile of forgotten clothing and engineered a functional piece of home decor that rivals the $50 options at luxury retailers. This T-shirt yarn bath mat isn’t just a testament to your resourcefulness; it’s a daily reminder that quality doesn’t have to come from a store—it comes from a bit of clever thinking and a few hours of honest work. Whether you’re making this for your own master bath or crafting a rugged, thoughtful gift for a friend, you’ve mastered the ultimate ‘trash-to-treasure’ hack. Your feet—and your bank account—will thank you. Now, go enjoy that spa-like feeling, knowing you saved 100% of the cost and kept textiles out of the landfill. Stay crafty, stay frugal!

Makenzie is the founder and lead writer at MoneyHackTips.com — a personal finance blog dedicated to delivering street-smart financial wisdom for real people on real budgets. With 300+ published articles covering everything from debt management to investing fundamentals, Makenzie’s mission is to make every dollar work harder. When not writing about money hacks, Makenzie is testing frugal living strategies, optimizing side hustles, and helping readers build financial freedom from scratch.