
The Art of the First Impression on a Dime
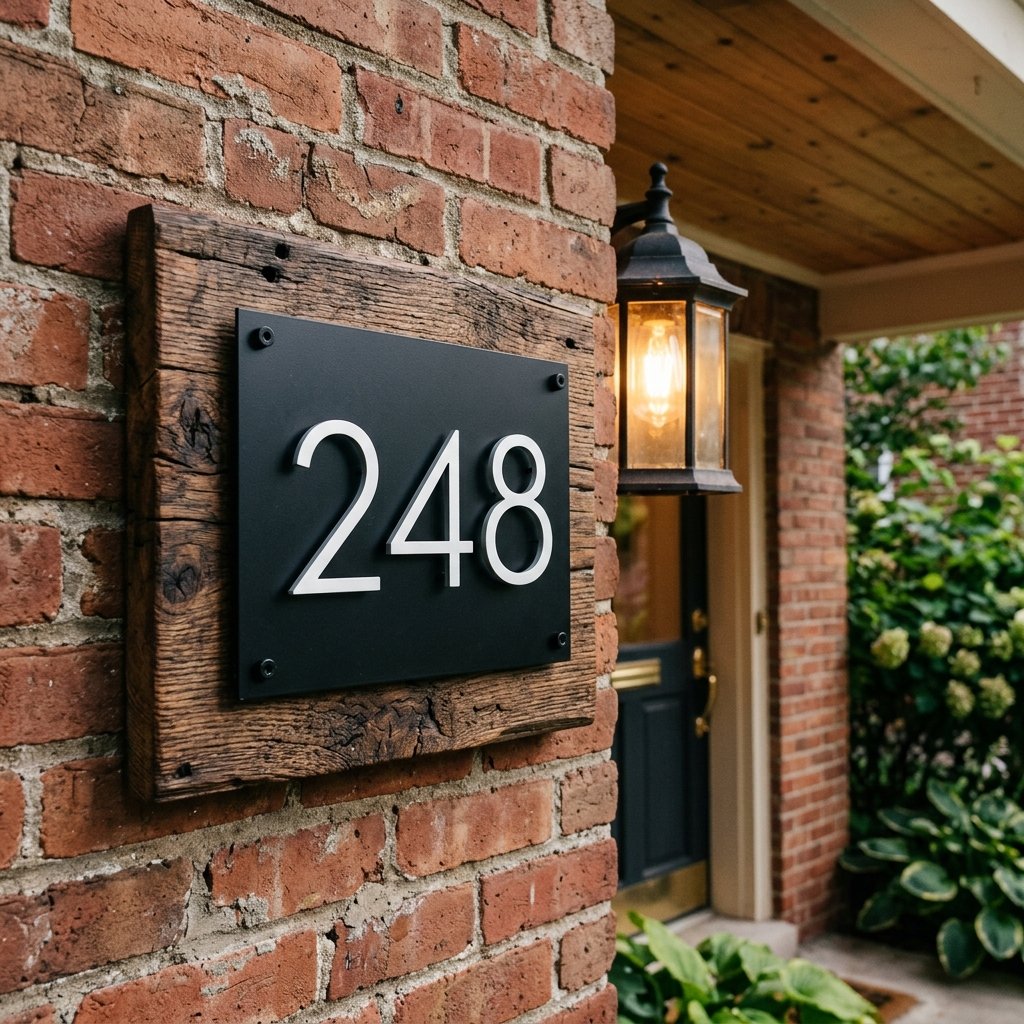
They say you never get a second chance to make a first impression, and for your home, that impression starts at the curb. As a seasoned trash-to-treasure guru, I have spent years proving that elegance doesn’t have to come with an architectural price tag. Curb appeal is often viewed through the lens of expensive landscaping or professional masonry, but the secret to a masculine-elegant exterior often lies in the small, tactical details. A custom house number sign is the ‘handshake’ of your home—it should be bold, clear, and sophisticated. In this guide, we are going to bypass the $50-$100 custom boutique signs and engineer a high-end architectural statement using nothing but grit, creativity, and a few choice items from the Dollar Tree. This project is for the frugal DIYer who values both form and function, combining rugged materials with a polished finish that will leave your neighbors wondering which high-end design firm you hired.
Sourcing the Arsenal: Materials and the Budget Breakdown
Tactical Budgeting for High-End Results
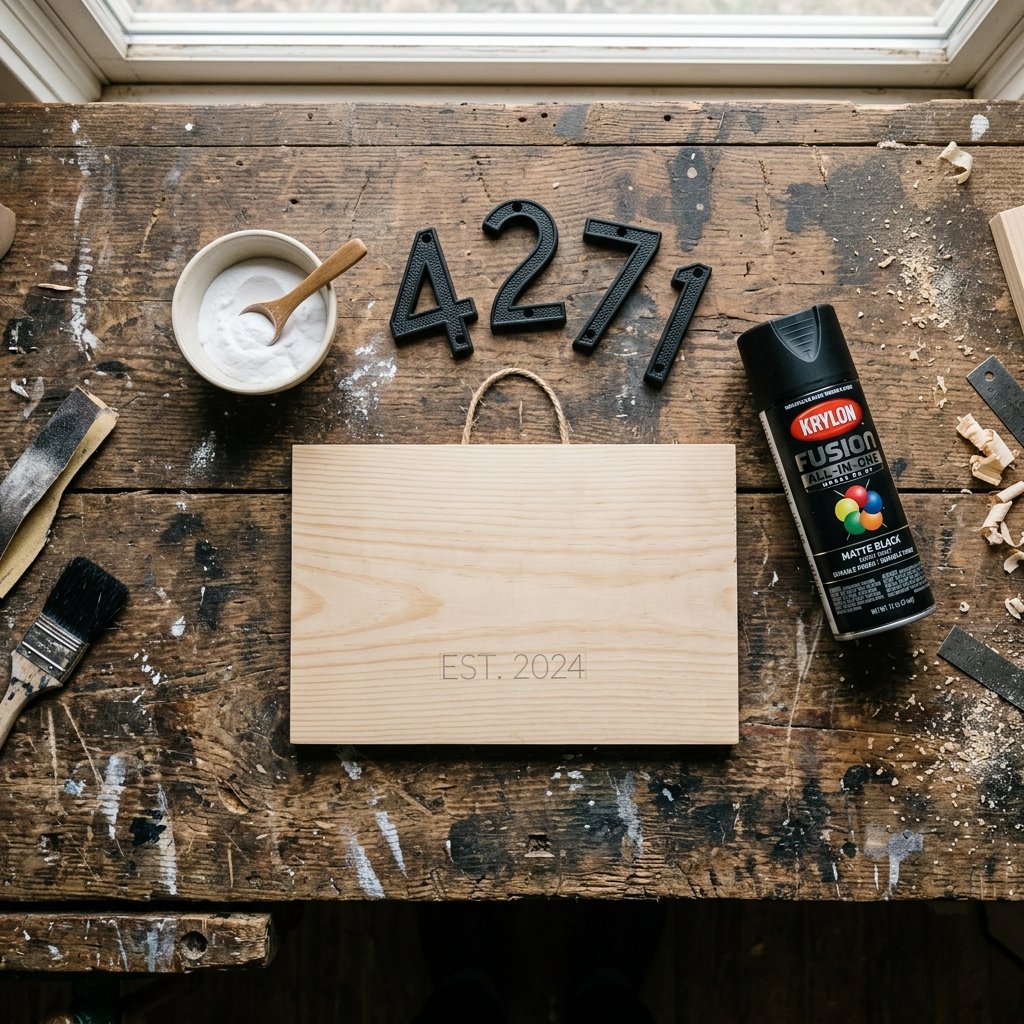
To achieve a look that mimics expensive powder-coated steel or reclaimed timber, we must look at Dollar Store items not for what they are, but for what they can become. We are looking for a solid base—usually a wooden plaque or a heavy-duty plastic tray—and 3D numbers that we can finish with professional-grade textures. Below is the breakdown of how we keep this project under $10 while achieving a $75 aesthetic.
| Item Source | Material Description | Estimated Cost |
|---|---|---|
| Dollar Store | Wooden Plaque or Plastic ‘Faux Wood’ Tray | $1.25 |
| Dollar Store | Plastic 3D House Numbers (or 3D Stickers) | $1.25 |
| Hardware Store | Exterior Grade Matte Black Spray Paint | $4.00 |
| Pantry/Workshop | Baking Soda (for texture) and Wood Glue | $1.00 |
| Workshop | Scrap Sandpaper and Exterior Sealer | $0.00 |
| Total | Professional Grade Signage | $7.50 |
Budget Guru Mantra: A luxury finish is 10% material and 90% preparation. Never underestimate the power of a good sanding block and a matte topcoat.
The Foundation: Prepping Your Base for the Elements
Weatherproofing Your Craft
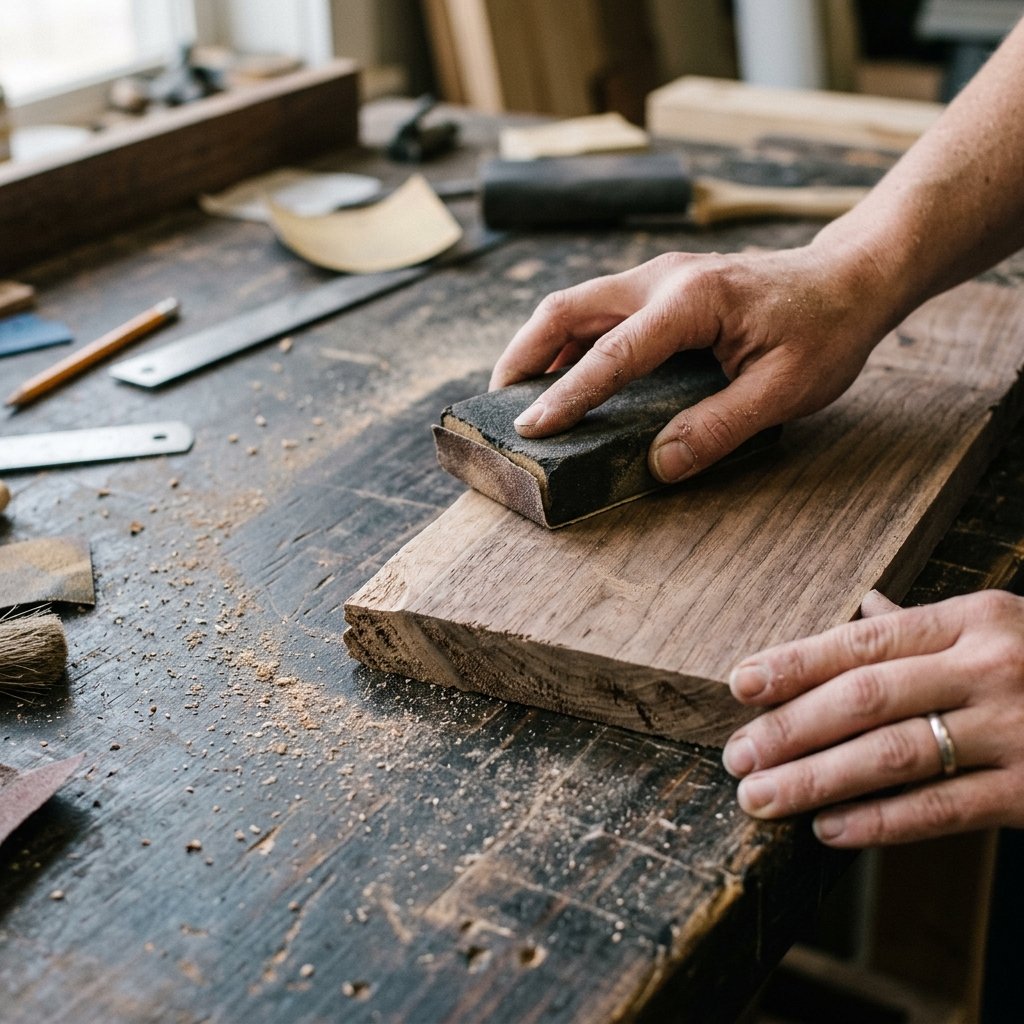
Since this sign will be braving the elements—sun, rain, and fluctuating temperatures—the preparation phase is critical. If you are using a Dollar Tree wooden plaque, you must remember that these are often made of lightweight plywood or MDF. To prevent warping, we need to seal the edges.
Step-by-Step Base Preparation
- Sanding: Use a medium-grit sandpaper to remove any splinters or rough factory edges. We want a rugged yet refined surface.
- Sealing: Apply a thin layer of wood glue mixed with a drop of water over the edges. This acts as a barrier against moisture.
- Priming: Even if your spray paint is a 2-in-1, a dedicated primer helps the paint bond to cheap plastics or porous wood, ensuring your sign doesn’t peel after the first storm.
If you opted for a plastic tray base, scuff the surface with sandpaper. This creates ‘tooth’ for the paint to grab onto, transforming a cheap plastic sheen into a sophisticated matte finish.
The Baking Soda Trick: Achieving an Industrial Metal Look
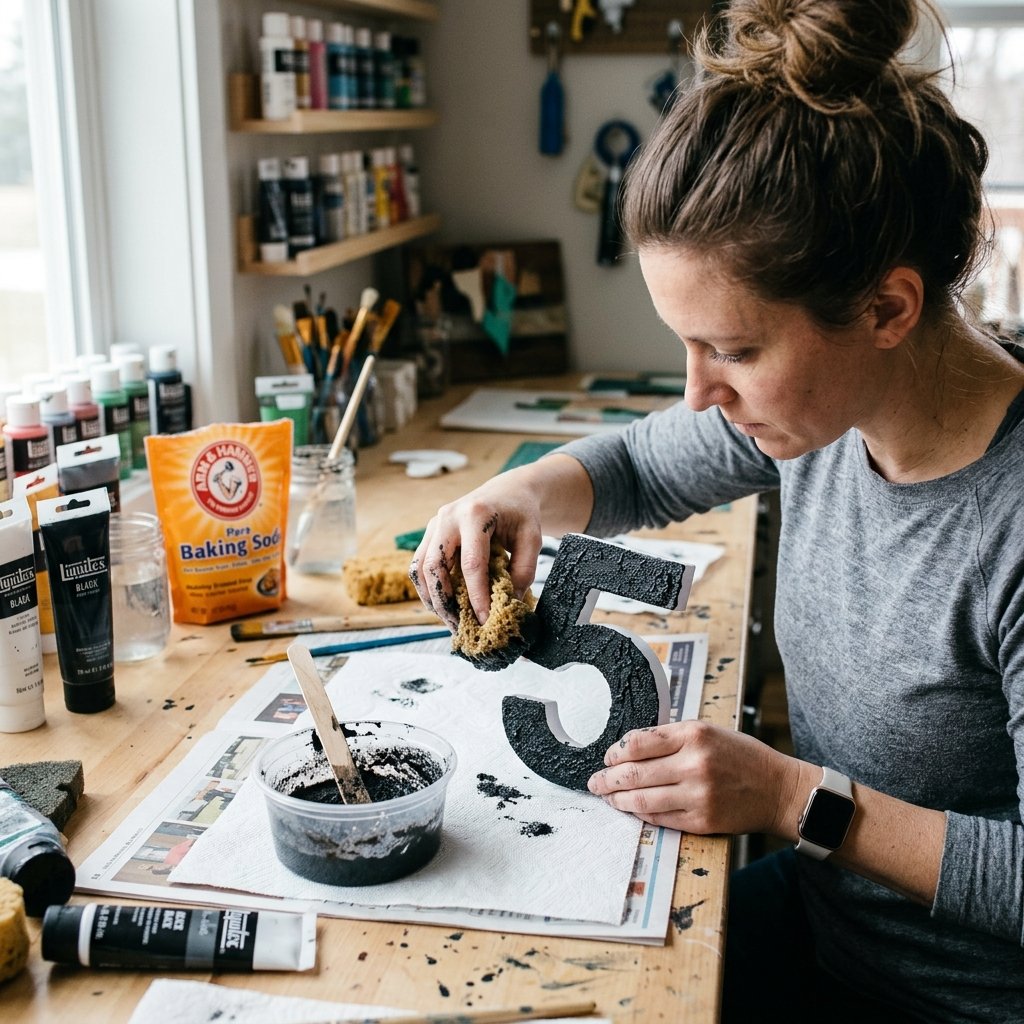
Engineering Texture and Depth
The biggest giveaway of a ‘cheap’ DIY is a flat, plastic-looking finish. To mimic the look of cast iron or powder-coated aluminum, we use the ‘Baking Soda Paint’ trick. This is a favorite among upcyclers for adding architectural weight to lightweight items.
The Recipe for Industrial Faux-Metal
- Mix 1 part matte black acrylic paint with 1/2 part baking soda.
- Stir until it reaches a thick, gritty consistency similar to wet sand.
- Dab the mixture onto your 3D numbers using a sponge or a stiff brush. Do not brush it on smoothly; the goal is a stippled, forged-metal texture.
- Allow it to dry completely. The result will be a stone-like, non-reflective surface that looks incredibly expensive from the sidewalk.
Pro Tip: For a ‘rugged’ copper look, lightly dry-brush some metallic bronze paint over the high points of the textured black numbers once they are dry.
Strategic Assembly: Precision and Alignment
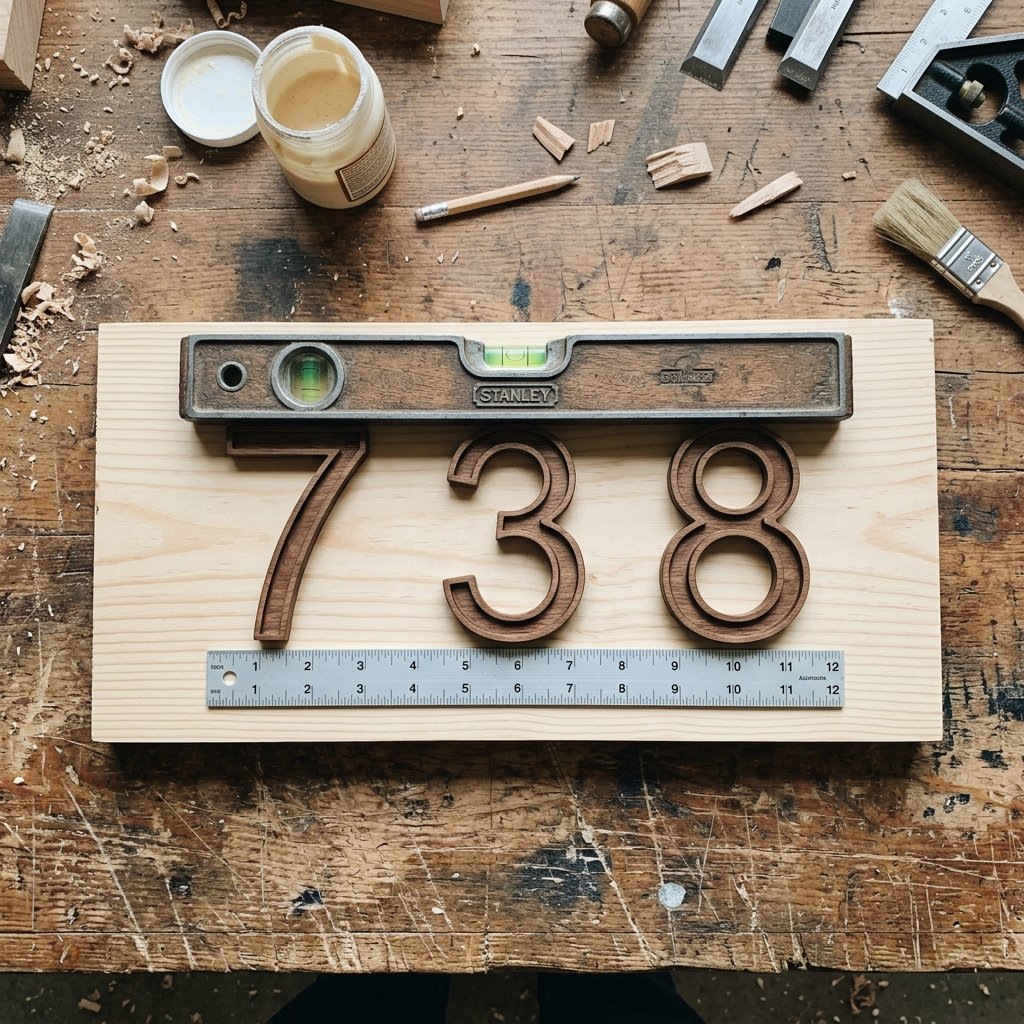
Measuring Twice, Gluing Once
Alignment is what separates a ‘craft project’ from ‘home decor.’ A crooked number is a visual distraction that ruins the masculine-elegant aesthetic.
The Alignment Protocol
- The Centerline: Use a ruler to find the exact center of your plaque. Mark it lightly with a pencil.
- Dry Fit: Lay your numbers out without glue first. Use a spacer (like a popsicle stick) to ensure the gap between ‘1’ and ‘2’ is identical to the gap between ‘2’ and ‘3.’
- The Adhesive: For exterior signs, standard hot glue will not suffice—it can melt in the summer sun. Use a heavy-duty construction adhesive or an exterior-grade wood glue.
- Curing: Place a heavy book on top of the numbers while they dry to ensure a flush, permanent bond to the base.
Installation: Mounting for Maximum Visibility
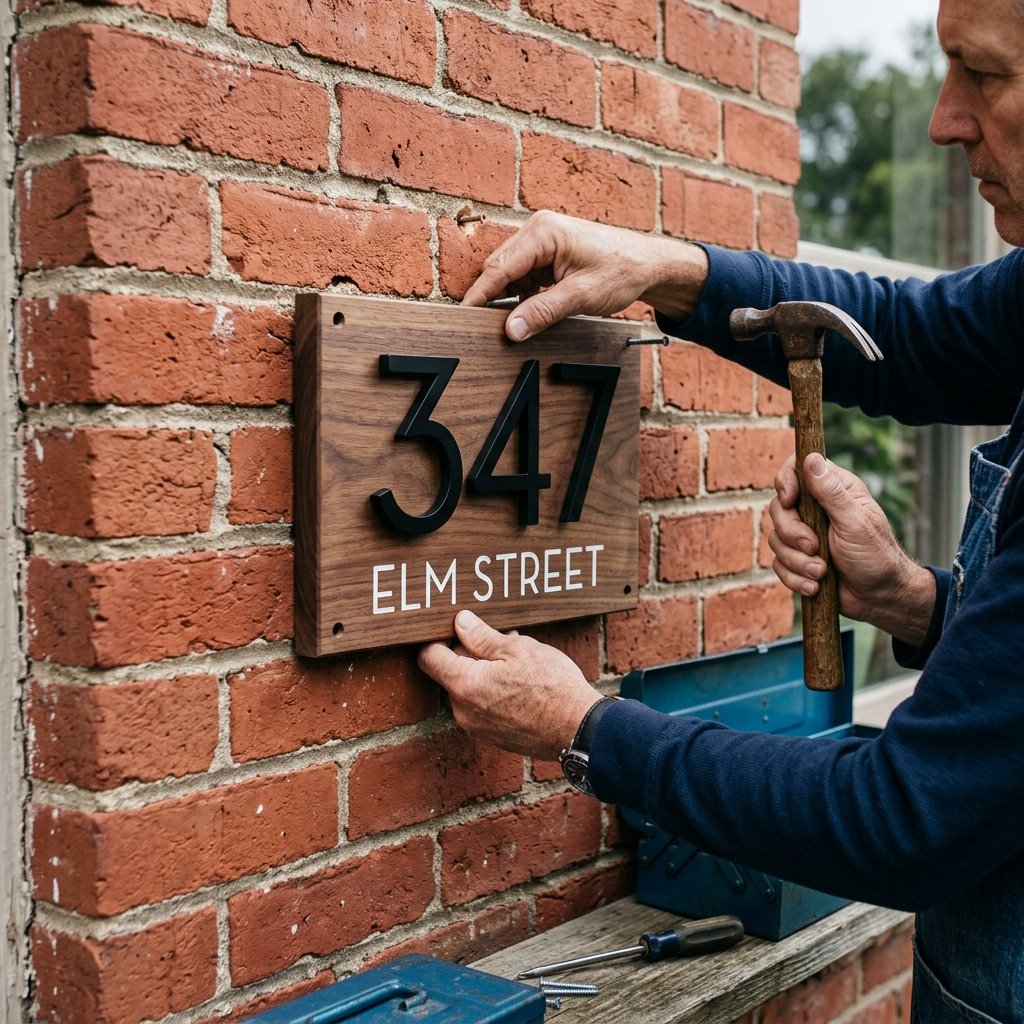
Securing Your Statement Piece
How you mount the sign is just as important as how you make it. You want a clean, floating look or a rugged, bolted appearance.
Mounting Options Comparison
| Method | Appearance | Durability |
|---|---|---|
| Flush Mount Screws | Industrial / Rugged | High (Requires drilling) |
| Exterior Command Strips | Clean / Modern | Medium (Best for protected porches) |
| Heavy-Duty Magnets | Versatile | High (Perfect for metal doors) |
If you are mounting to brick, you will need a masonry bit and wall anchors. For a budget-savvy hack, use industrial-strength Velcro intended for outdoor use. It allows you to remove the sign for cleaning or if you decide to change your exterior color scheme later.
Conclusion
The $10 Transformation Complete
By combining resourceful creativity with a bit of elbow grease, you’ve just added significant value to your home’s aesthetic. This DIY house number sign isn’t just a piece of decor; it’s a testament to the fact that budget-savvy living doesn’t mean sacrificing style. Whether you’re a handy parent looking to spruce up the family home or a frugal crafter making a housewarming gift, this project delivers a high-impact result for the cost of a fancy latte. Now, step back to the curb, admire your handiwork, and enjoy the rugged elegance of a job well done. Your home just got a major promotion, and your wallet stayed full.

Makenzie is the founder and lead writer at MoneyHackTips.com — a personal finance blog dedicated to delivering street-smart financial wisdom for real people on real budgets. With 300+ published articles covering everything from debt management to investing fundamentals, Makenzie’s mission is to make every dollar work harder. When not writing about money hacks, Makenzie is testing frugal living strategies, optimizing side hustles, and helping readers build financial freedom from scratch.