
Welcome to the Two-Wheeled Revolution
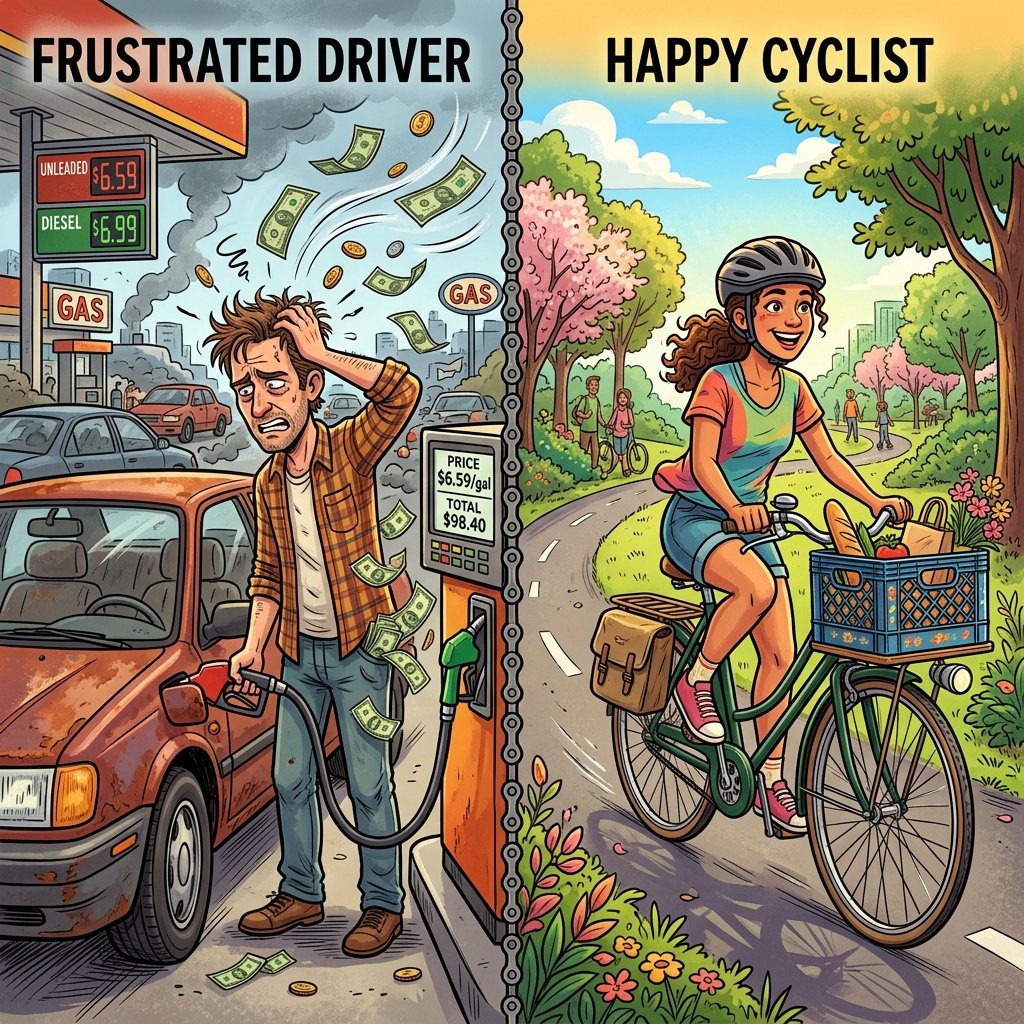
Hey there, fellow frugal hackers! Are you absolutely sick of watching your hard-earned cash evaporate at the gas pump? Between sky-high insurance premiums, unexpected maintenance bills, exorbitant parking fees, and the ever-rising cost of fuel, owning a car is like having a giant vacuum cleaner attached directly to your bank account. What if I told you there is a street-smart, empowering way to keep all that money in your pocket while simultaneously getting into the best shape of your life? Enter the ultimate frugal lifestyle hack: bike commuting.
Ditching the car isn’t just about saving a few bucks here and there; it is about taking absolute control of your financial destiny and breaking free from the money pit of automotive dependency. And here is the best part: you do not need a carbon-fiber superbike or $500 spandex suits to make this work. In fact, buying all that expensive gear completely defeats the purpose of saving money! Today, we are going to break down the absolute best budget gear list to get you rolling on a shoestring budget. We are talking clever DIY hacks, the best generic brands that beat the expensive names, and exactly how to score a reliable, bomb-proof ride for pennies on the dollar. Let us dive right into the ultimate cheat sheet for budget bike commuting and start hacking your daily transit!
The Math: Car vs. Bike Commuting (The Real Savings)
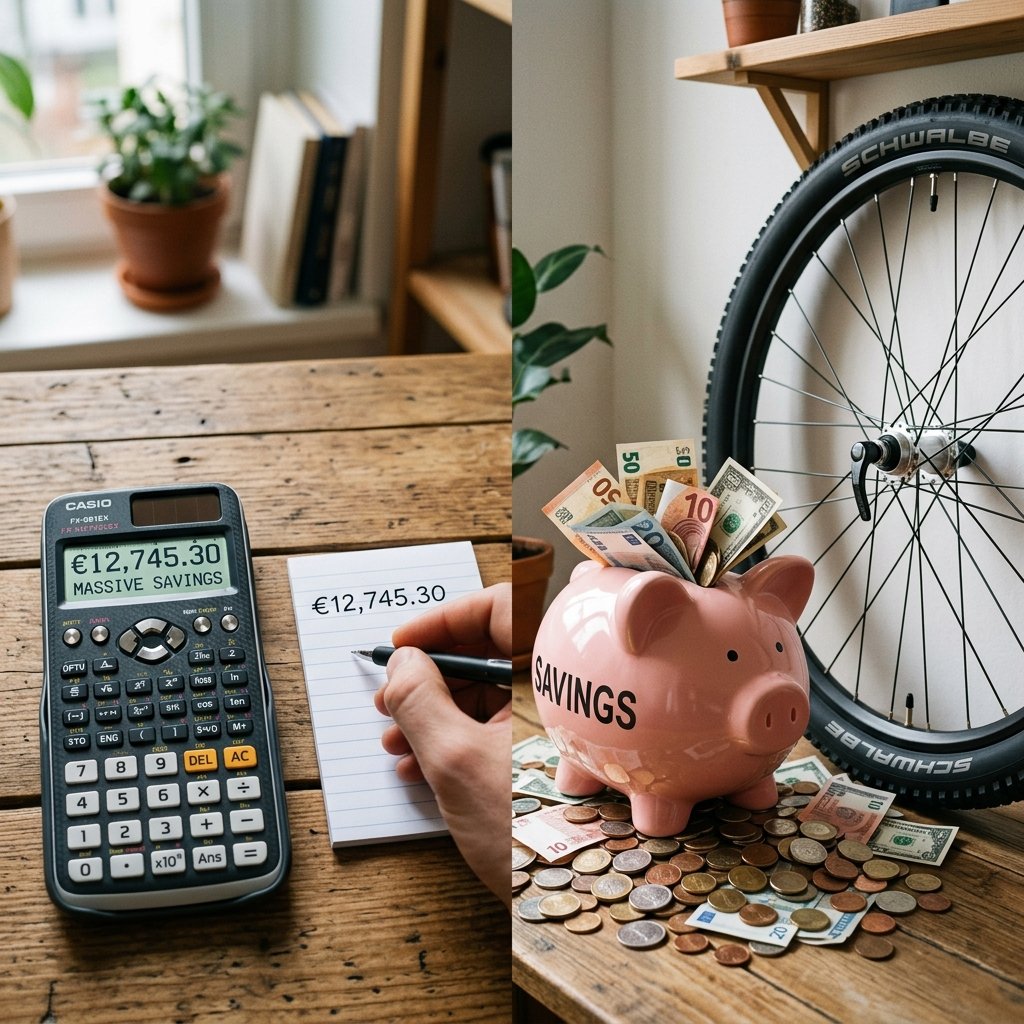
Before we even start looking at gear, let us look at the cold, hard numbers. As a true frugal enthusiast, you know that the math never lies, and in this case, the math is incredibly heavily weighted in your favor. According to recent data, the average yearly cost to own and operate a new car is well over $10,000. Even if you drive a completely paid-off beater car, you are still bleeding cash every single month through gas, liability insurance, registration, and inevitable repairs. Let us compare that financial nightmare to a smart, budget-focused commuter bike setup.
| Expense Category | Car (Annual Estimate) | Budget Bike (Annual Estimate) |
|---|---|---|
| Fuel / Energy | $1,500 | $0 (Just extra snacks!) |
| Insurance & Registration | $1,200 | $0 |
| Routine Maintenance | $1,000 | $50 (Tubes, lube, brake pads) |
| Parking Fees | $600 | $0 |
| Total Annual Cost | $4,300+ | $50 |
By making the switch to two wheels, you could easily save over $4,000 every single year. That is a massive amount of capital! That is enough cash to max out a Roth IRA, aggressively pay down high-interest credit card debt, or build a bulletproof emergency fund in record time. The numbers make it an absolute no-brainer. When you bike commute, you are literally paying yourself to exercise.
Finding Your Dirt-Cheap Dream Machine
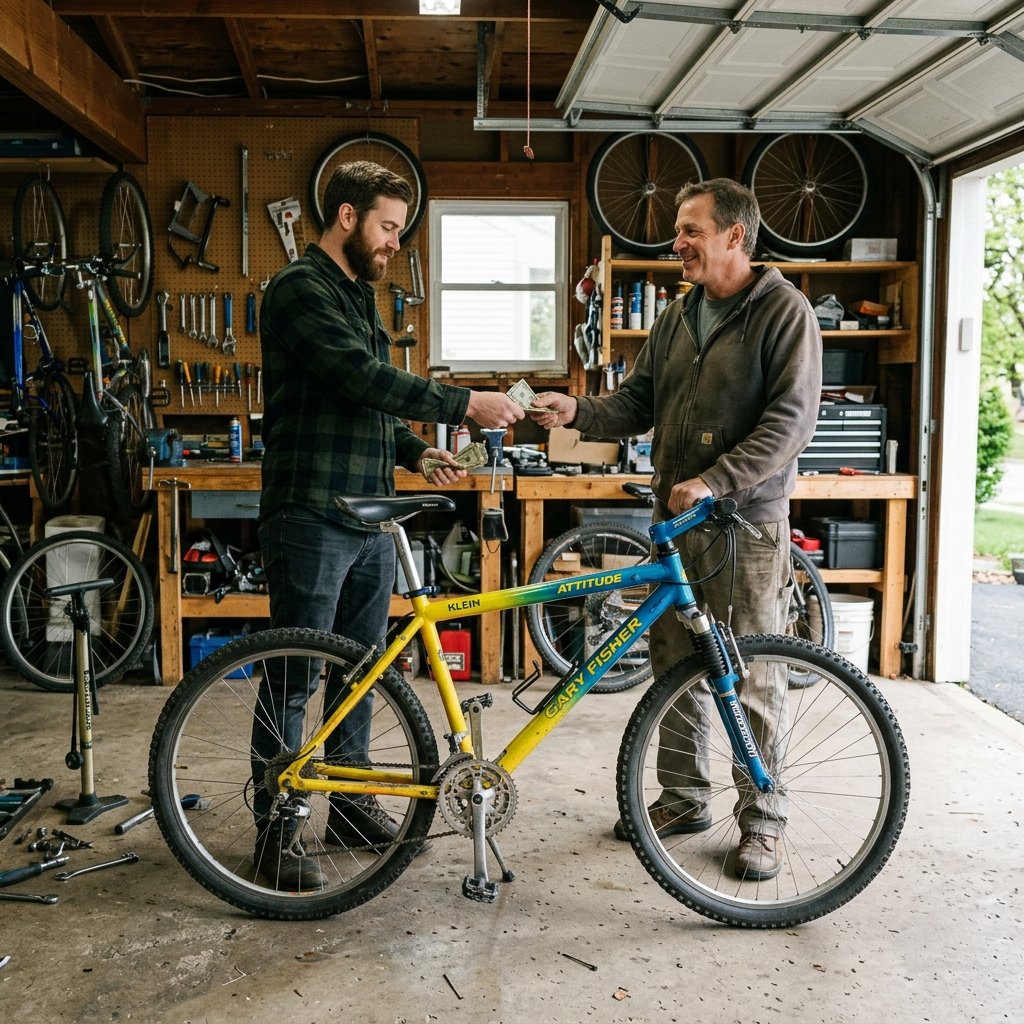
Listen to me closely: do not walk into a boutique, high-end bike shop and drop $1,500 on a brand-new, shiny commuter bike. The ultimate frugal hacker move is hunting down a vintage 1990s mountain bike. We are talking about rigid, steel-framed beauties from brands like Trek, Specialized, or Giant. These older bikes are absolutely bomb-proof, incredibly easy to maintain yourself, and the best part? They can usually be scored for well under $150 on the used market.
Top Tools for Bike Hunting:
- Facebook Marketplace: The absolute best spot for local, motivated sellers who just want to clear out their garage.
- Craigslist: A classic, reliable platform for finding older, solid bikes from people who know what they have.
- Local Bike Co-ops: These are amazing non-profit community shops that sell fully refurbished, safe bikes at cost. Plus, they will teach you how to fix them!
The Frugal Haggling Script
When you find a good candidate online, do not just accept the asking price. Use this exact, polite script to negotiate without sounding like a jerk:
Hi [Name], I saw your bike listing. I am a budget-conscious commuter looking for a reliable daily ride to get to work. Would you consider taking $100 if I come pick it up today with cash in hand? Let me know, thanks!
Always do a quick test ride in a safe area to ensure the gears shift smoothly and, most importantly, the brakes actually stop you before handing over your hard-earned cash.
Safety Gear: Protect Your Head and Your Wallet
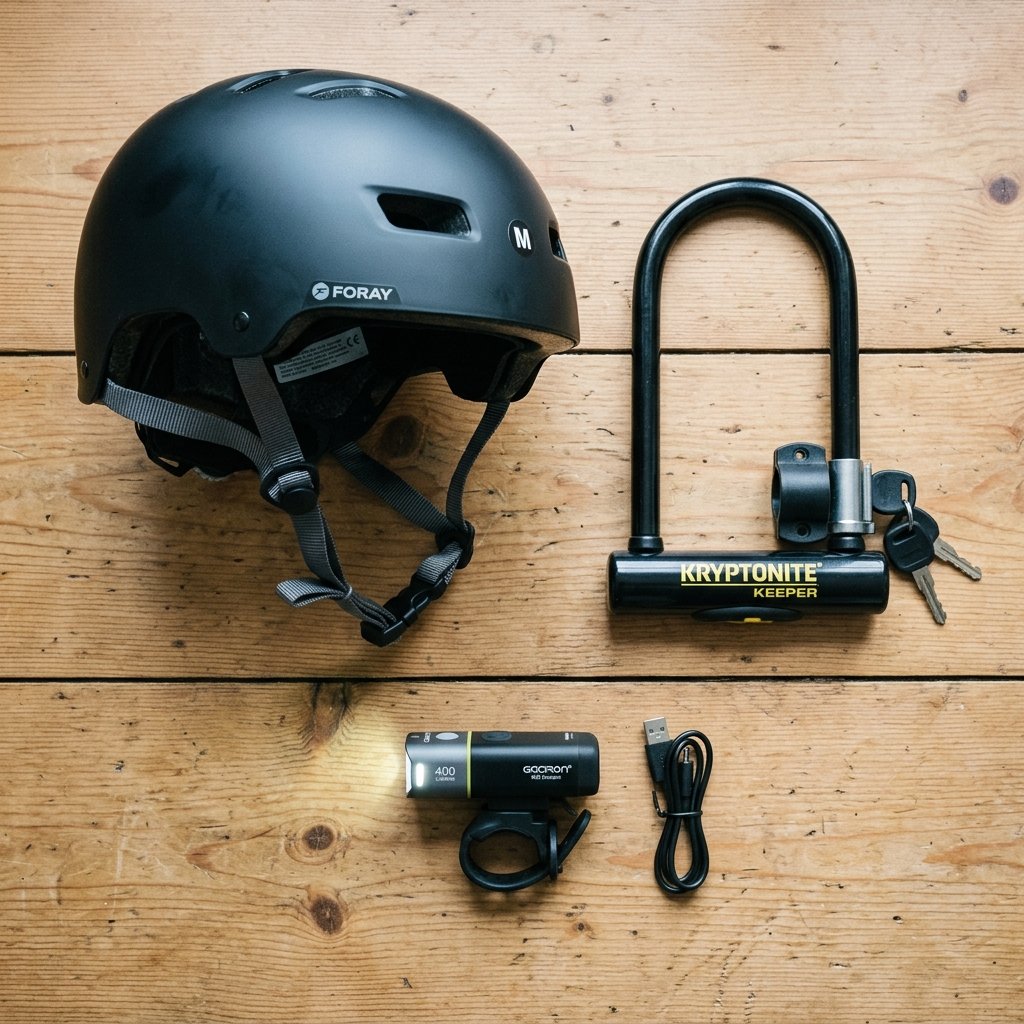
Safety is the one specific area where you should never completely cheap out, but that does not mean you cannot be street-smart about your purchases. You absolutely need a helmet, a solid U-lock to prevent theft, and blindingly bright lights so cars can see you. Let us look at how you can get top-tier protection without paying the massive brand-name markup.
| Gear Item | Expensive Brand Name | The Frugal Hack / Generic |
|---|---|---|
| Heavy-Duty U-Lock | Kryptonite New York ($120) | OnGuard Bulldog ($40) |
| Rechargeable Headlight | NiteRider Lumina ($85) | Amazon Generic USB Light ($15) |
| Safety Helmet | Giro Aether ($250+) | Schwinn or Bell CPSC-Certified ($25) |
The Golden Rule for Helmets: All bicycle helmets sold in the United States must pass the exact same rigorous CPSC safety standards. A budget $25 helmet from a big box store protects your brain just as well in a linear impact as a pro-level $250 helmet. The extra money just buys you better aerodynamics, lighter weight, and more ventilation—luxury features you simply do not need for a casual 3-mile morning commute.
Scam Warning: Never, ever buy a used helmet from a thrift store, flea market, or garage sale! You have no way of knowing if it has been in a previous crash, which invisibly compromises the internal shock-absorbing foam. Always buy your helmets brand new in the box.
Hauling Your Cargo: Baskets, Panniers, and Hacks
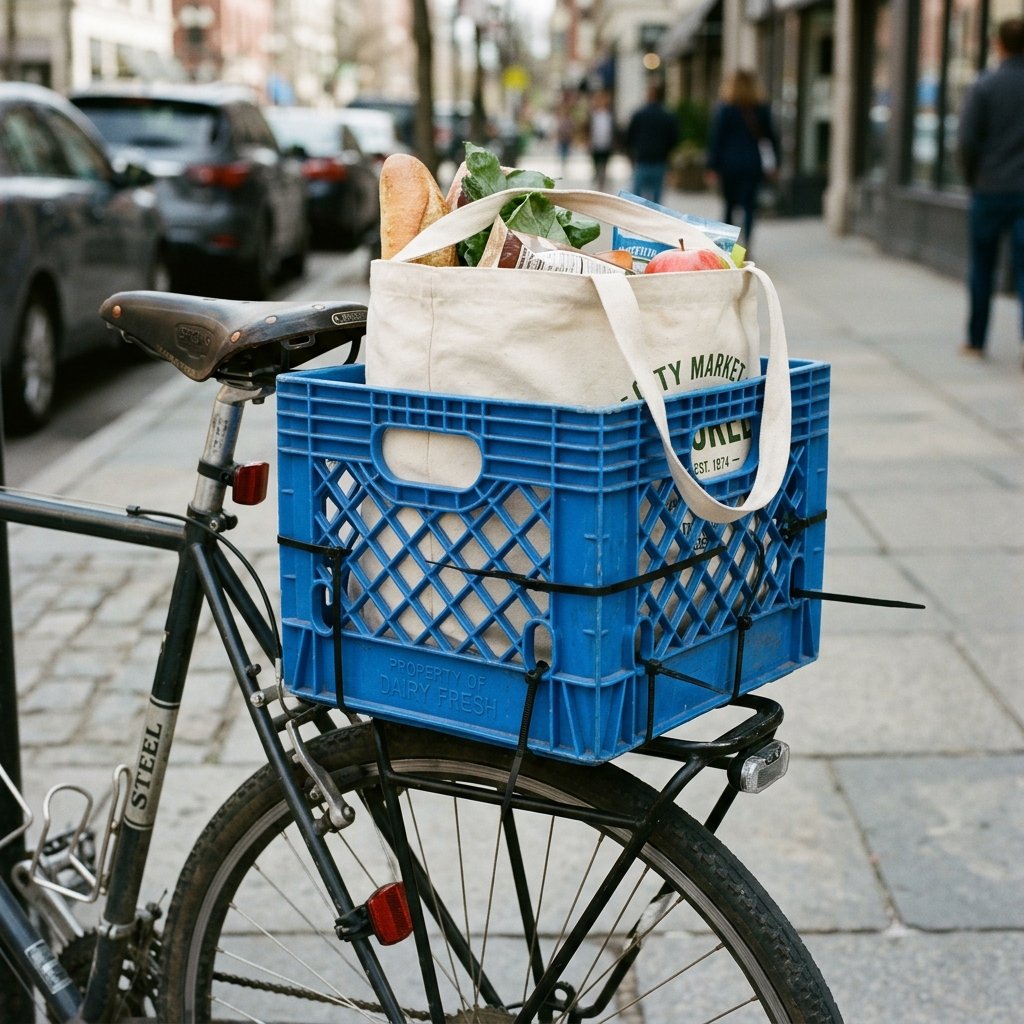
Wearing a heavy backpack while cycling is a rookie mistake. It will leave your back aching and dripping with sweat by the time you reach the office. You need to let the bike carry the weight for you. Here is where true frugal ingenuity shines brightly.
The Legendary Milk Crate Hack
Forget dropping $100 or more on fancy wire baskets or designer commuter bags. Head straight to your local hardware store, buy a sturdy, heavy-duty plastic milk crate for about $8, and securely fasten it to a basic aluminum rear bike rack using a handful of thick, weather-resistant zip ties (which will cost you maybe $2). This setup holds your groceries, your work laptop bag, and even your lunch cooler. It is highly functional and serves as the ultimate badge of honor for the dedicated frugal commuter.
DIY Kitty Litter Panniers
Want side-mounted bags (panniers) for better balance? Try this classic hack:
- Source two empty, square plastic kitty litter buckets (ask a friend with a cat, and they are completely free!).
- Clean them out thoroughly with soap and water.
- Drill small holes in one side of the buckets.
- Attach metal J-hooks (grab these from the hardware store for $5) using basic nuts and bolts.
- Hook them directly onto your rear rack and secure them at the bottom with a cheap bungee cord!
Congratulations, you just manufactured waterproof, hard-shell panniers that rival $150 Ortlieb touring bags for less than $10 in hardware!
Weatherproofing on a Dime: Defeating the Elements

A little bit of rain or cold weather should not force you back into the expensive habit of driving a car. But you also do not need to max out your credit card buying $300 Gore-Tex cycling jackets to stay dry and warm. The frugal hacker knows that industrial workwear and clever entry-level gear work absolute wonders.
- Rain Jacket & Pants: Skip the cycling boutique and pick up a classic Frogg Toggs rain suit for around $20. They are incredibly lightweight, completely windproof and waterproof, and roll up small enough to fit easily into your milk crate when the sun comes out.
- DIY Fenders: You absolutely need fenders to keep dirty, gritty puddle water from spraying all over your work clothes. If you cannot afford a $40 set of SKS fenders, you can make a DIY ass-saver rear fender by simply cutting a plastic 2-liter soda bottle in half and zip-tying it directly to your saddle rails. It is free and highly effective!
- Winter Gloves: Do not fall for expensive, cycling-specific winter gloves. Go to the workwear section of a hardware store and buy insulated, high-visibility mechanic or construction gloves for $15. They are significantly warmer, vastly more durable, and a fraction of the cost of anything you will find in a bike shop.
The Frugal Mechanic: Your Essential DIY Toolkit
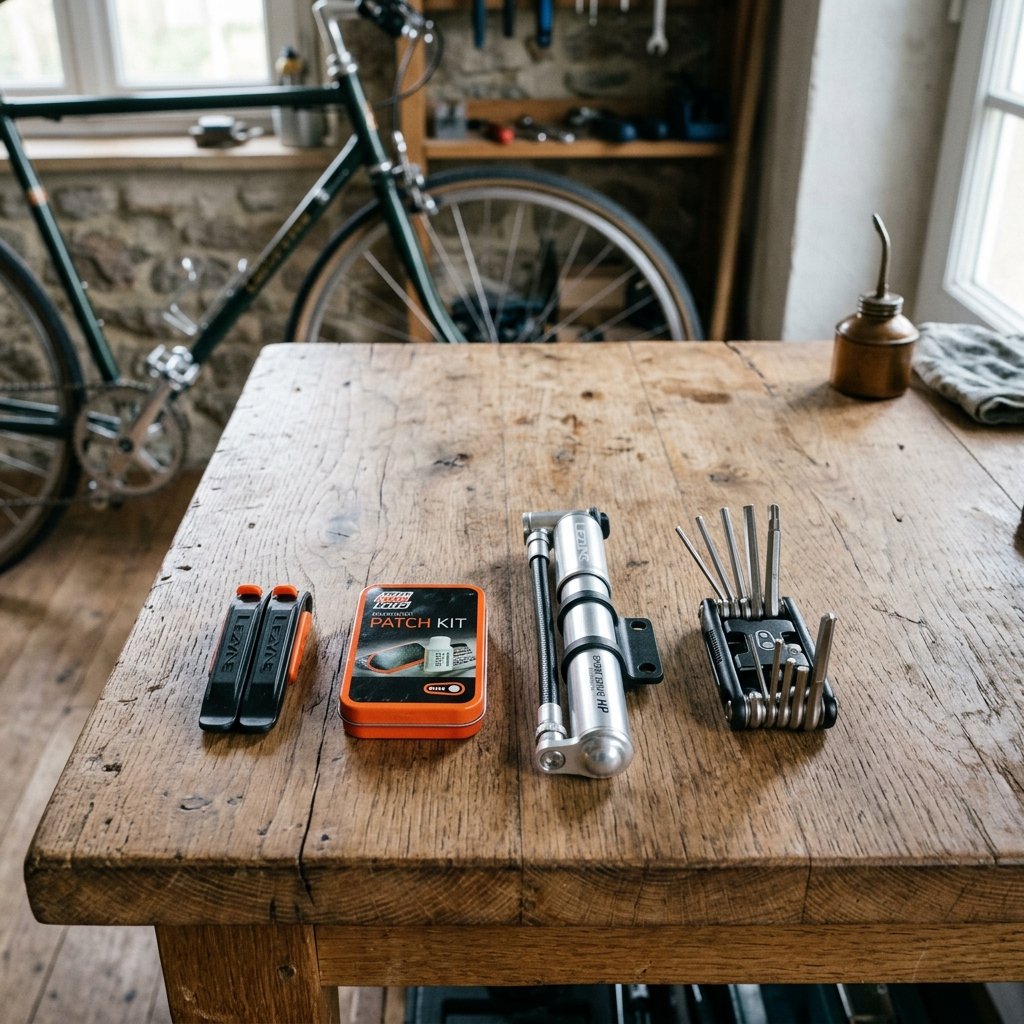
Local bike shops are great, but they often charge upwards of $80 an hour just for basic labor. As a dedicated frugal living enthusiast, you are going to learn to do the routine maintenance yourself. The Park Tool channel on YouTube is your absolute best friend and free mentor here. Below is the bare-bones, budget-friendly toolkit you need to keep your steed rolling smoothly without paying mechanic fees.
| Tool | Purpose | Estimated Budget Cost |
|---|---|---|
| Plastic Tire Levers | Removing tight tires from the rim to fix flats | $3 |
| Glueless Patch Kit | Fixing punctured inner tubes | $2 |
| Compact Mini Pump | Re-inflating tires on the side of the road | $15 |
| Multi-tool with Allen Keys | Adjusting brakes, seat height, and tightening bolts | $10 |
| Bicycle Chain Lube | Keeping your drivetrain running smoothly and preventing rust | $8 |
For less than $40, you have assembled everything you need to confidently handle 90% of common daily commuting issues. And here is a pro-tip: when you get a flat tire, do not just throw the inner tube away! A $0.20 patch from your kit will fix the hole perfectly, saving you from buying a brand new $8 replacement tube every single time you accidentally run over a piece of glass.
Conclusion
Pedal Your Way to True Financial Freedom
Ditching the car and adopting a daily bike commute is hands down one of the most powerful, life-changing moves you can make for your wallet, your physical health, and your mental sanity. By utilizing these street-smart budget gear hacks, skipping the outrageous brand-name markups, and embracing just a little bit of DIY spirit, you can build a highly reliable, all-weather commuting setup for a fraction of what a single monthly car payment costs. Remember, every single mile you pedal is money staying right where it belongs: safely in your bank account, working for your future. So go scour the internet for a cheap 90s mountain bike, zip-tie a milk crate to the back, and join the frugal commuting revolution today. You have got this!
Disclaimer: The information provided in this article is for educational and entertainment purposes only. I am not a financial advisor. Always assess your local traffic conditions, obey all traffic laws, and prioritize your personal safety when cycling on public roads.

Makenzie is the founder and lead writer at MoneyHackTips.com — a personal finance blog dedicated to delivering street-smart financial wisdom for real people on real budgets. With 300+ published articles covering everything from debt management to investing fundamentals, Makenzie’s mission is to make every dollar work harder. When not writing about money hacks, Makenzie is testing frugal living strategies, optimizing side hustles, and helping readers build financial freedom from scratch.