Turn Trash Into Gold: How to Make a Smell-Free Compost Bin for Under $5
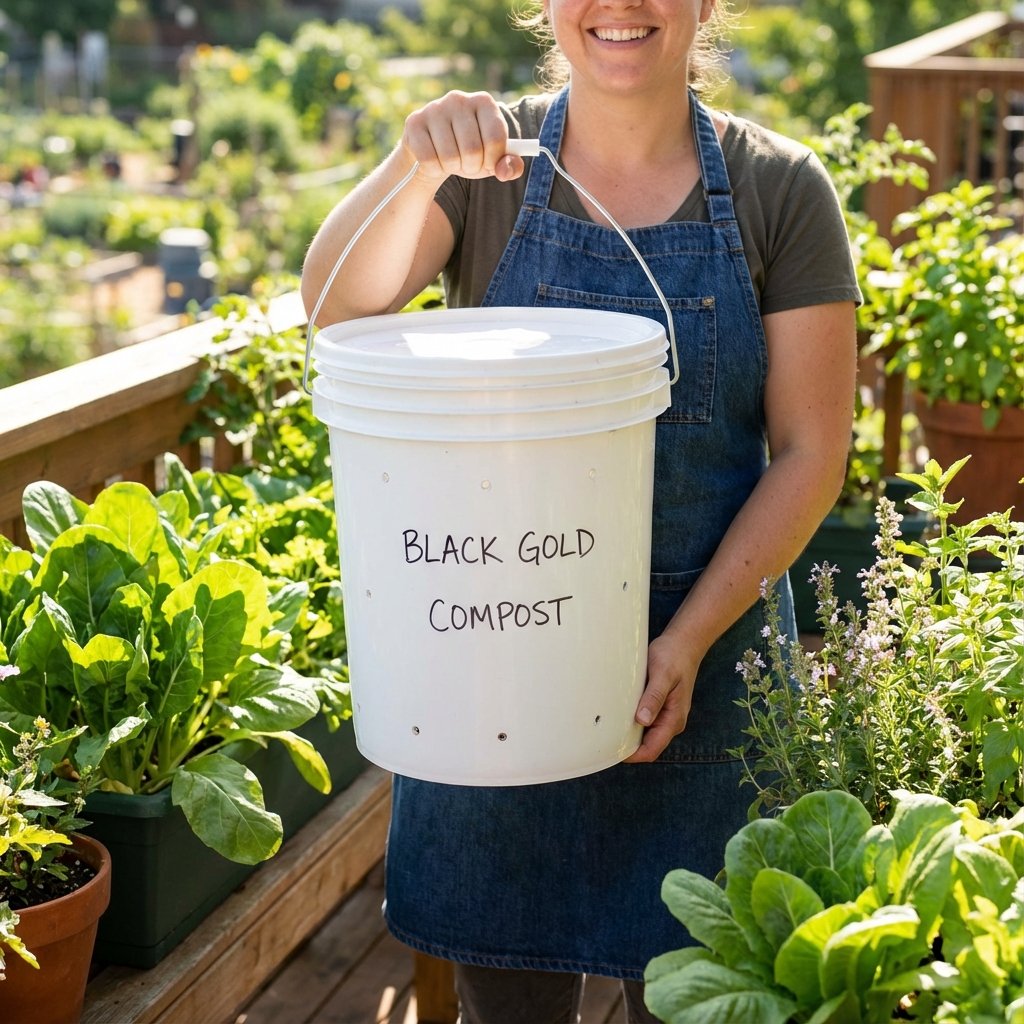
Let’s be real. You’re throwing money in the trash every single day. Those coffee grounds, eggshells, and veggie peels? That’s not garbage; it’s potential. It’s ‘black gold’ for your garden, and right now, you’re paying the city to haul it away. Then, you go to the big box store and pay top dollar for bags of fertilizer and soil amendments that are basically the same thing you just threw out. It’s a hustle, but you’re on the wrong side of it.
Big companies want you to think composting is complicated, messy, and stinky. They sell you fancy, overpriced plastic tumblers for $100 or more, promising a magical, smell-free experience. It’s a racket. The truth is, you can achieve the exact same, or even better, results with stuff you can probably find for free. We’re talking about a system so simple and cheap, it feels like a cheat code for your wallet and your garden.
This guide is your ticket to flipping the script. We’re going to build a powerhouse, smell-free, indoor/outdoor compost bin for less than $5. No special skills, no fancy tools, and no more getting played. Get ready to turn your kitchen waste into a valuable asset.
The Gear: What You Need to Build Your Money-Making Machine
Before you run to the store, stop. The first rule of frugal hacking is to use what you’ve got. You’re building a trash-to-treasure machine, so let’s start by sourcing our materials like a pro. The goal here is to get as close to $0 as possible.
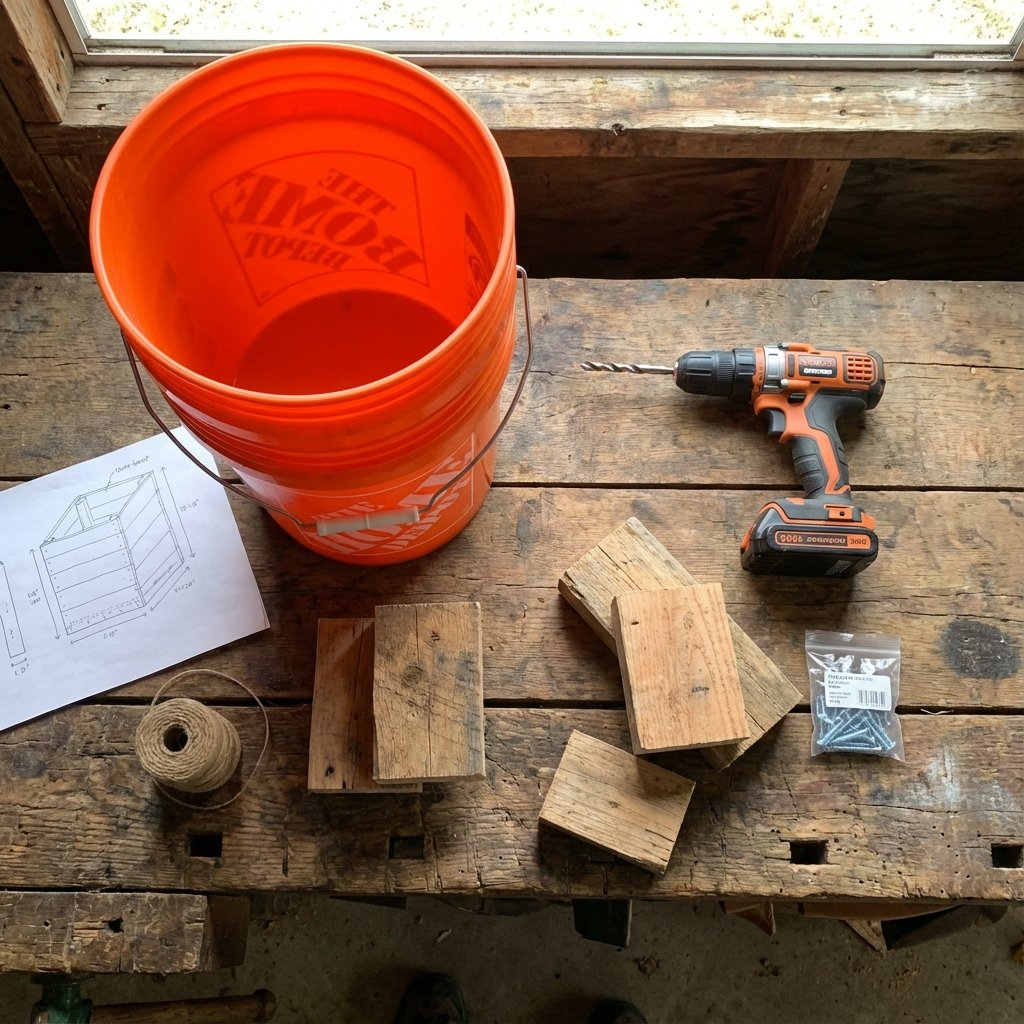
The Must-Haves:
- Two (2) 5-Gallon Buckets with One Tight-Fitting Lid: This is the core of your system. Don’t buy them new if you can avoid it. Ask at local bakeries, delis, or restaurants. They often get ingredients like frosting, pickles, or oils in food-grade buckets and are happy to give them away for free to get rid of them. Just give them a good rinse. If you must buy them, they’re a couple of bucks each at a hardware store.
- A Power Drill with a Small Drill Bit: Any size from 1/4″ to 1/2″ will do the job. Borrow one from a neighbor, a friend, or check if your local library has a ‘Library of Things’ where you can check out tools for free. This is not the time to buy a new tool for a 10-minute job.
The Nice-to-Haves (But Not Essential):
- A Couple of Bricks or Scrap Wood: You’ll use these to elevate the bin slightly, which helps with airflow and makes it easier to drain the compost ‘tea’. Look around your yard, a construction site (ask first!), or on the curb on trash day.
- A Small Screen or Mesh Piece (Optional): If you want to get fancy, you can place a small piece of window screen in the bottom of the top bucket to prevent compost from falling through the drainage holes. An old piece of screen from a torn window screen is perfect.
That’s it. We’re not building a spaceship. We’re building a simple, effective system designed to save you money from day one. Scrounge, ask around, and get creative. The less you spend, the bigger the win.
The Numbers Don’t Lie: DIY vs. Store-Bought

Talk is cheap. Let’s look at the cold, hard cash. The entire point of this project is to stop needlessly spending money. When you see the numbers side-by-side, the choice becomes ridiculously clear. You’re not just saving a few bucks; you’re avoiding a major retail markup for something you can build in minutes.
Here’s how your $5 setup stacks up against the stuff they’re pushing at the garden center:
| Compost Bin Type | Typical Cost | Key Features | The Real Deal |
|---|---|---|---|
| The Frugal Hacker DIY Bin | $0 – $5 | Compact, smell-free, portable, produces compost tea. | Does the exact same job for a fraction of the price. All profit. |
| Basic Plastic Compost Bin | $50 – $80 | Stationary, often black plastic, open bottom. | Basically a plastic shell you could make yourself. Takes up yard space. |
| Compost Tumbler (Single Chamber) | $90 – $150 | Sealed, rotates on a stand to ‘tumble’ compost. | You’re paying for a crank handle. You can shake a bucket for free. |
| Dual Chamber Compost Tumbler | $150 – $300+ | Two separate chambers to have two batches going. | The ultimate upsell. You can have multiple DIY buckets for a tiny fraction of this cost. |
The math is undeniable. By investing 10 minutes and pocket change, you’re saving a minimum of $50 and potentially up to $300. That’s money that can go toward paying down debt, investing, or funding your next side hustle. On top of that, think about the recurring savings. A bag of high-quality organic compost can cost $10-$15. If you use a few bags a year for your garden or houseplants, your DIY bin pays for itself and then starts making you ‘money’ in saved expenses almost immediately. This isn’t just a DIY project; it’s a financial power move.
The 10-Minute Build: Your Step-by-Step Guide
Alright, time to get to work. This is the easiest project you’ll do all week. Grab your gear, put on some music, and in about 10 minutes, you’ll have a fully functional compost system ready to go.
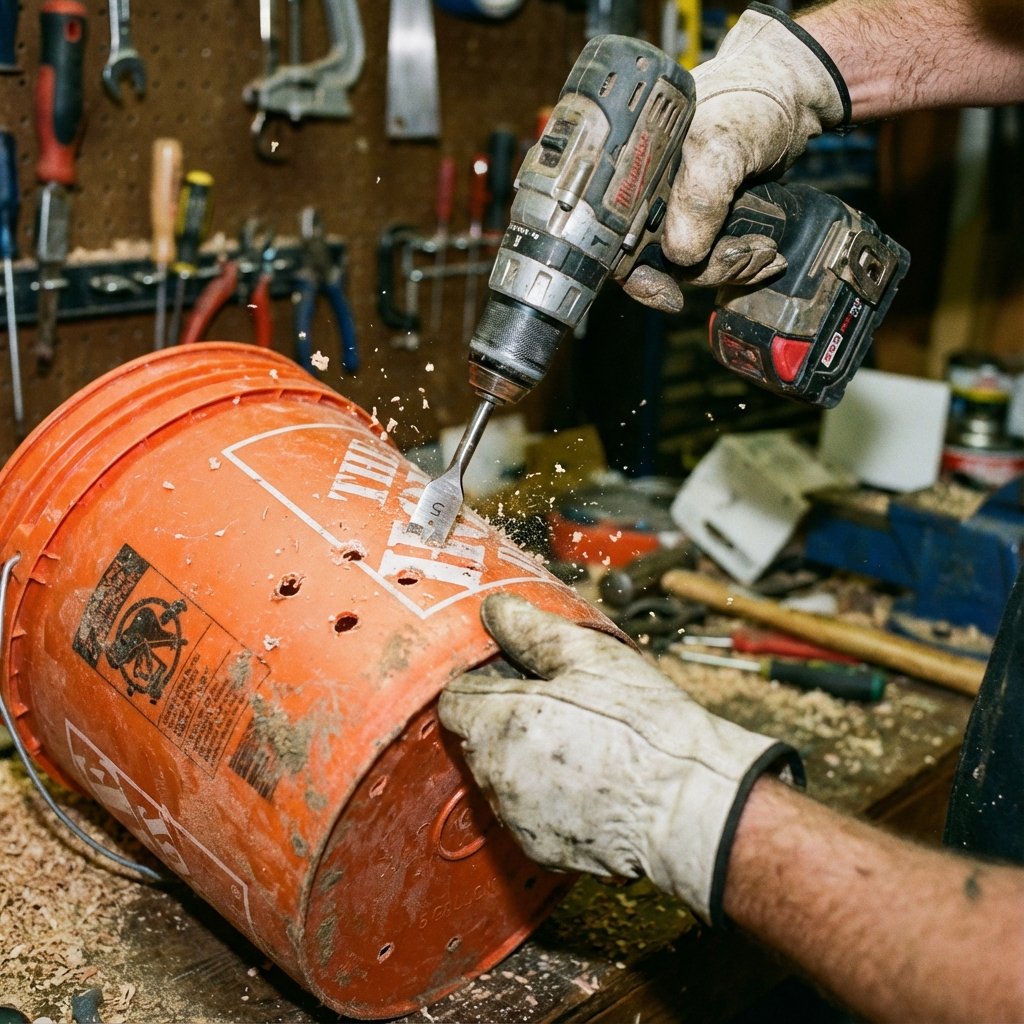
- Drill the Drainage Holes: Take ONE of the buckets (this will be your inner bucket). Flip it upside down. Drill 8-10 small holes (about 1/4″ to 1/2″ in diameter) through the bottom. This is critical for drainage. If water pools at the bottom, your compost will turn into a stinky, slimy mess. We’re building a smell-free system, and it starts here.
- Drill the Aeration Holes: Keeping that same drilled bucket, now drill a series of holes around the sides. Start about 2-3 inches from the top and drill a ring of holes every few inches. Go down another few inches and drill another ring. Do this all the way to the bottom. Airflow is the secret weapon against odor. These holes allow oxygen to get to the microorganisms doing all the hard work. No oxygen = smelly anaerobic decomposition.
- Assemble the System: Take your drilled bucket and place it directly inside the bucket that has NO holes. This is your two-bucket system. The inner bucket holds the compost, and the outer bucket catches the liquid that drains out. This liquid, known as ‘compost tea,’ is a potent, free liquid fertilizer. You just created a secondary product.
- Prepare the Lid: You only need one lid. You can choose to drill a few aeration holes in the lid as well, but it’s not always necessary. A tight-fitting lid is key to keeping pests out and odors in. Snap it onto the top (inner) bucket.
- Elevate for Success: Place the entire two-bucket system on top of your bricks or scrap wood. This tiny bit of elevation creates an air gap underneath, further improving airflow and making it easy to separate the buckets when you want to harvest your compost tea.
That’s it. You’re done. You just built a high-efficiency composting system that rivals the expensive store-bought models. Now, let’s learn how to feed it properly.
Feeding Your Bin: The Secret ‘Green & Brown’ Ratio
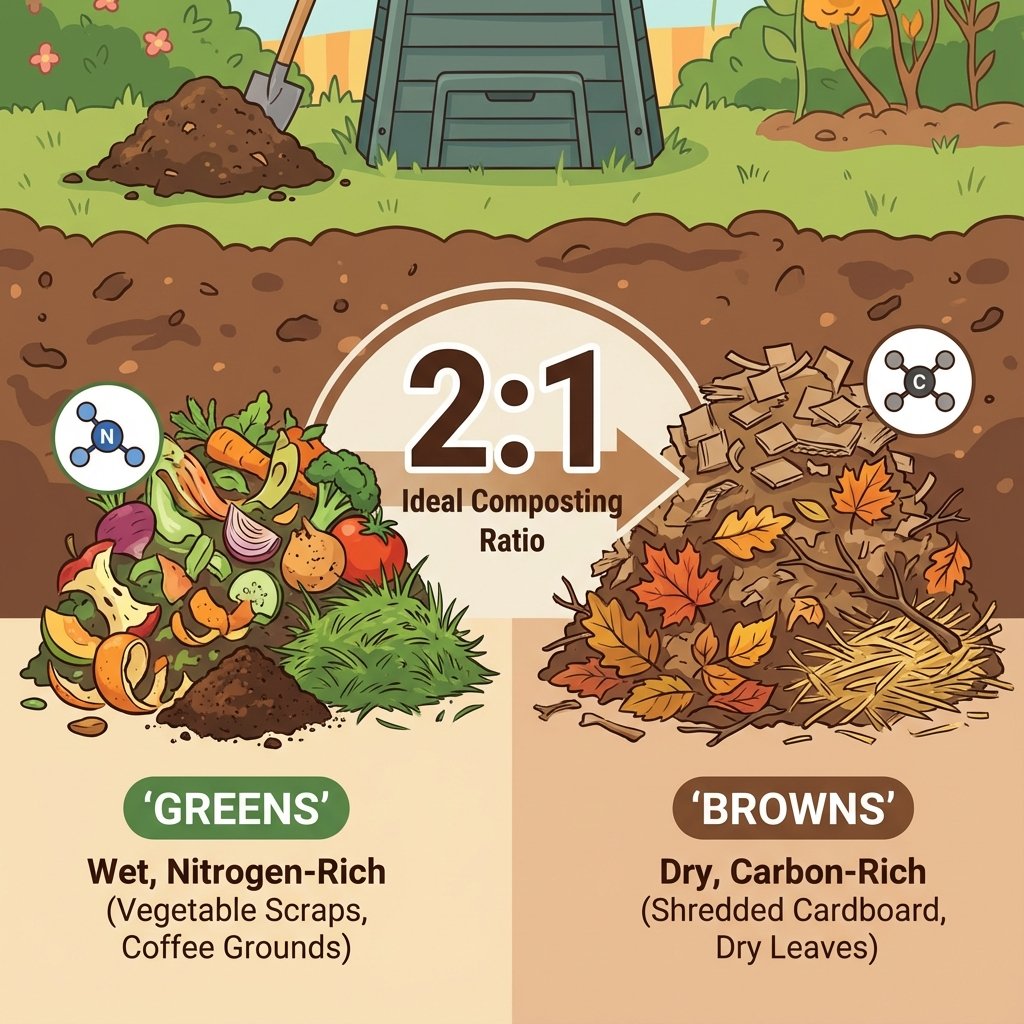
This is the most important part of the entire process. Getting this right is the difference between a bin full of rich, earthy ‘black gold’ and a bucket of stinking sludge. The concept is simple: you need a balance of ‘green’ materials and ‘brown’ materials. Think of it like a recipe. Too much of one ingredient throws the whole thing off.
The ‘Greens’ (Nitrogen-Rich):
These are the wet, fresh materials, often from your kitchen. They provide the nitrogen that fuels the microorganisms.
- Vegetable and fruit scraps (apple cores, banana peels, potato skins)
- Coffee grounds and used tea bags
- Eggshells (crush them up first)
- Fresh grass clippings and green plant cuttings
The ‘Browns’ (Carbon-Rich):
These are the dry, woody materials. They provide carbon, which is the energy source for the microbes, and they are essential for creating air pockets and preventing odors.
- Shredded newspaper (no glossy pages) or paper bags
- Torn-up cardboard (cereal boxes, toilet paper rolls, non-waxy delivery boxes)
- Dried leaves, twigs, and straw
- Sawdust from untreated wood
The Magic Ratio: 2 Parts Brown to 1 Part Green
For every handful of kitchen scraps (‘greens’) you add, you must add about two handfuls of ‘browns’. The easiest way to do this is to keep a small bag of shredded paper or torn cardboard next to your compost bin. Every time you dump your kitchen scraps in, immediately cover them with a layer of browns. This simple act is the #1 trick to a smell-free bin. It buries the food scraps, preventing fruit flies, and provides the necessary carbon to balance the nitrogen.
CRITICAL WARNING: What NEVER to Add
Adding the wrong stuff is a fast track to a smelly, pest-infested disaster. Do NOT add any of the following to your small-batch bin:
- Meat, fish, or bones
- Dairy products (cheese, milk, yogurt)
- Oily or greasy foods
- Pet waste
- Diseased plants
Stick to the plant-based materials and the ‘green’ and ‘brown’ ratio, and your bin will be an odorless, efficient recycling machine.
Keep It Fresh: The No-Fuss, Smell-Free Maintenance
You’ve built the bin and you know how to feed it. Now for the ‘set it and forget it’ part. Almost. Your compost machine needs just a tiny bit of attention to keep it running smoothly. This isn’t a chore; it’s a 30-second check-in every few days.
The Maintenance Checklist:
- Aerate Weekly: You don’t have a fancy crank handle, you have something better: your own two hands. Once or twice a week, put the lid on tight and give the bucket a good shake for 10-15 seconds. This mixes everything up and gets oxygen into the core of the pile, which speeds up decomposition and prevents odors. If the bucket gets too heavy to shake, just open it and give the contents a quick stir with a stick or small garden trowel.
- Monitor Moisture: Your compost should feel like a wrung-out sponge. Not sopping wet, not bone dry. If it looks too dry (decomposition will slow down), add a small splash of water. If it looks too wet (can lead to smells), add a big handful of extra ‘browns’ like shredded paper or cardboard to soak up the excess moisture. The two-bucket system helps a lot with this, as excess water will drain out.
- Harvest Your Liquid Gold: Every couple of weeks, lift the inner bucket out of the outer bucket. The dark liquid that has collected at the bottom is your ‘compost tea’. This stuff is a super-concentrated liquid fertilizer. Don’t use it straight! Dilute it with water at a 10:1 ratio (10 parts water to 1 part tea) and use it to water your houseplants or garden. You just made premium fertilizer for free.
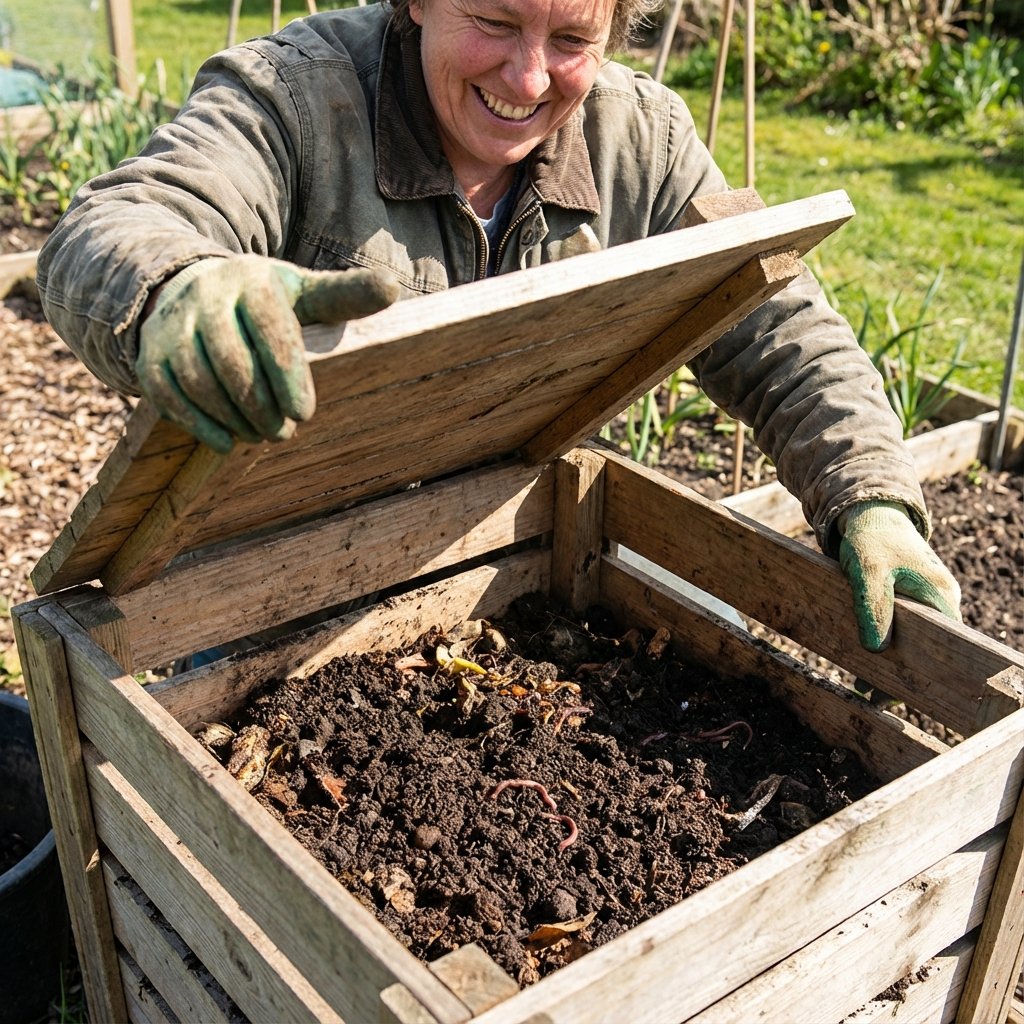
- When Is It Done? In a few months (2-6, depending on conditions), you’ll notice the material at the bottom of the bin looks dark, crumbly, and smells like rich earth. That’s finished compost! You can harvest it by dumping the contents onto a tarp and separating the finished stuff from the newer scraps on top. Use this ‘black gold’ to enrich the soil in your pots, garden beds, or even just sprinkle it on your lawn.
By following these simple steps, you’ll maintain a perfect, odorless ecosystem that continuously turns your waste into a high-value resource. No fuss, no smells, no cost. Just pure profit for your garden and your wallet.
Conclusion
There you have it. For less than the price of a fancy latte, you’ve built a powerful system that works for you. You’re intercepting your own waste stream and transforming it into a valuable asset. You’re saving a minimum of $50 on a store-bought bin and countless more on fertilizer and soil for years to come. You’re reducing your environmental footprint and improving the health of your soil and plants. This is the essence of being street-smart with your money and resources.
Don’t let anyone tell you that living frugally or sustainably has to be expensive or complicated. It’s about seeing the hidden value in the things others discard. You didn’t just build a compost bin; you built a system that proves you can create value out of thin air. That’s not just a hack; it’s a mindset. Now go turn that trash into gold.