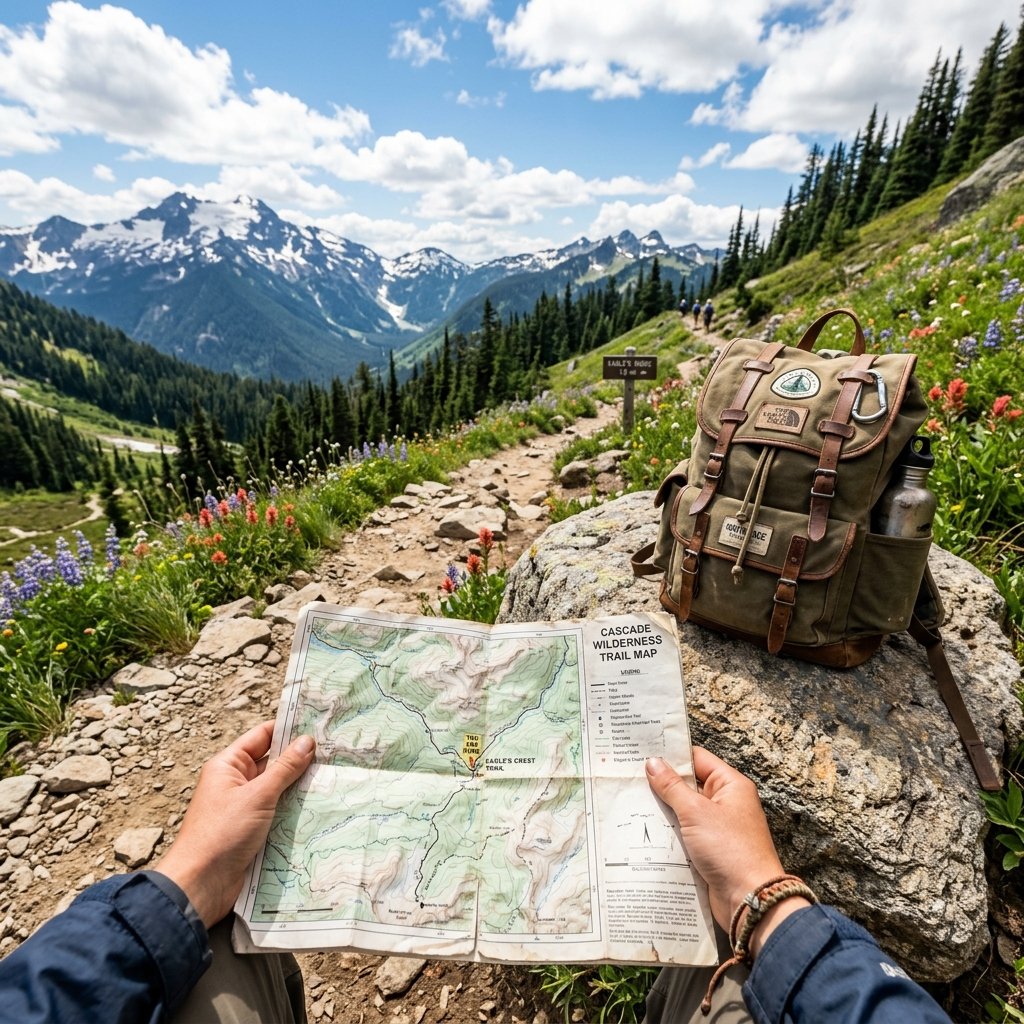

Hey there, frugal friends! Let us get right to the point: the outdoor industry has a massive marketing machine designed to make you believe you need to spend $1000 just to take a walk in the woods. You have seen the ads featuring pristine, color-coordinated outfits, high-tech carbon fiber trekking poles, and backpacks that cost more than a car payment. But here is the street-smart truth from your Ultimate Frugal Hacker: the mountains do not care what brand of pants you are wearing. Nature is entirely free, and enjoying it shouldn’t require you to drain your savings account. Today, we are going to break down exactly how you can start hiking immediately with a safe, reliable, and incredibly cheap gear setup. Whether you are looking to improve your physical health, find a free weekend activity, or just escape the hustle of daily life, hiking is the ultimate frugal hobby. We are going to raid your closet, hit the thrift stores, and use some clever dollar-store hacks to build your kit. By the end of this guide, you will have a complete action plan to get on the trail for under $50 out of pocket. Let us hack your hiking gear!
The Golden Rules of Frugal Gear Shopping
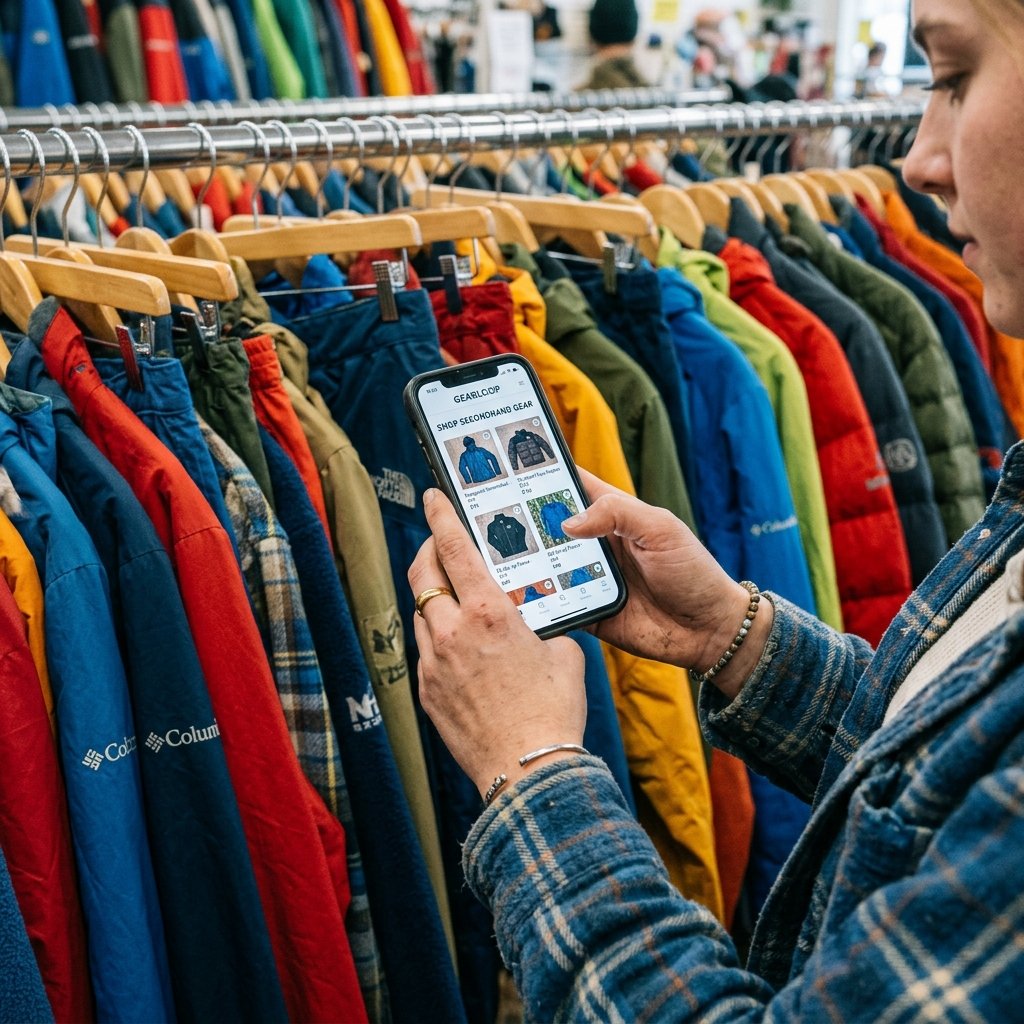
Before we dive into specific items, we need to establish the frugal hacker mindset. When you are building a hiking kit on a budget, patience and creativity are your best friends. You cannot just walk into a premium outdoor retailer and buy everything off the rack. Instead, you are going to use a strategic approach to source your gear.
The Frugal Hiker’s Manifesto: Never buy new what you can buy lightly used. Always check your own closet first. Ignore the logo, focus on the material.
First, recognize that many people buy expensive outdoor gear, use it once for a specific trip, and then let it collect dust in their garage. Your goal is to intercept that gear before it ends up in a landfill. Second, understand the difference between ‘wants’ and ‘needs’. You need water, navigation, and sun protection. You do not need a titanium spork or a Bluetooth-enabled water bottle. By sticking to the absolute essentials, you instantly save hundreds of dollars. Let us look at how this mindset applies to the most critical piece of gear you will own.
Footwear: The One Place Not to Skimp (But Still Save)
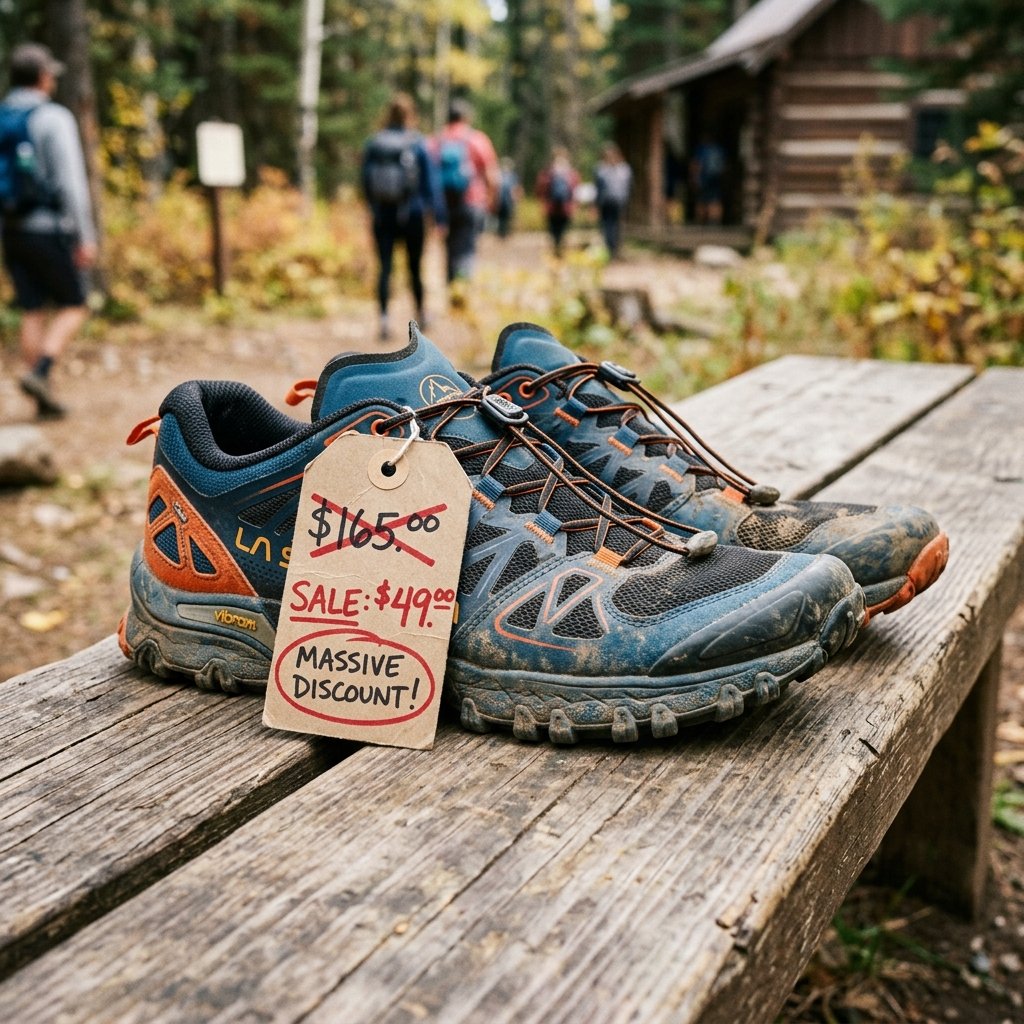
If there is one area where you need to be careful, it is your footwear. Blisters and twisted ankles will ruin your frugal adventure faster than anything else. However, ‘careful’ does not mean ‘expensive’. You do not need $200 heavy leather boots to start hiking. In fact, many long-distance backpackers prefer lightweight trail running shoes.
How to Hack the Shoe Market
Instead of buying the newest model, look for last year’s version of a popular trail runner or hiking shoe. Shoe companies update their colors and make minor tweaks every single year, instantly dropping the price of the previous model by $50 to $80. Check outlet websites, clearance racks, and discount shoe warehouses. Another incredible resource is the REI Re/Supply program (formerly REI Garage Sale), where members can buy returned gear at massive discounts. A shoe returned because it ‘did not fit right’ might be your perfect match for 50% off. If you are shopping secondhand on apps like Poshmark or eBay, look for photos of the sole to ensure the tread is still deep and unworn. Remember, a good pair of discounted trail runners for $60 is infinitely better than a cheap, poorly made discount-store boot that will fall apart on mile two.
Clothing: Raid Your Closet and the Thrift Store
The outdoor apparel industry wants you to believe you need specialized ‘hiking clothes’. You do not. You just need clothes made of the right materials. The golden rule of outdoor clothing is simple: avoid cotton. Cotton absorbs sweat, stays wet, and can make you dangerously cold. Instead, you want synthetics (polyester, nylon) or wool.
The Layering System Decoded
- Base Layer: This sits against your skin. Go to your drawer right now and find a polyester athletic shirt you use for the gym. Boom, you just saved $40 on a specialized hiking base layer.
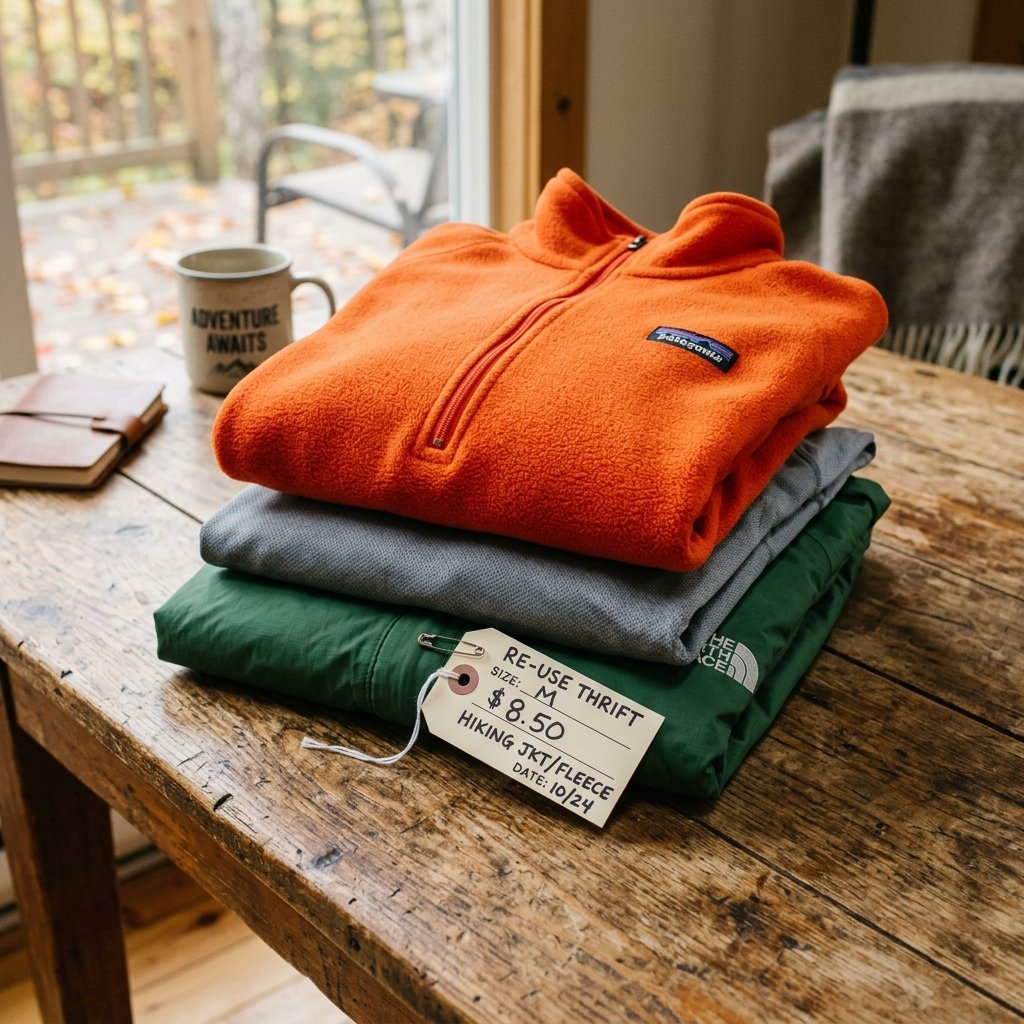
- Mid Layer: This provides insulation. Thrift stores are absolute goldmines for fleece jackets. You can easily find a high-quality, name-brand fleece pullover for $5 to $8 at your local secondhand shop.
- Outer Layer: This protects you from wind and rain. While a high-end Gore-Tex jacket can cost $300, a basic Frogg Toggs rain suit from a big box store costs about $20 and will keep you completely dry.
- Pants: Skip the expensive zip-off hiking pants. Any comfortable, synthetic athletic pants or leggings you already own will work perfectly for your first several hikes.
By utilizing what you already own and supplementing with thrift store finds, your entire hiking wardrobe can cost less than a single pair of brand-name hiking socks.
The 10 Essentials: Dollar Store Hacks
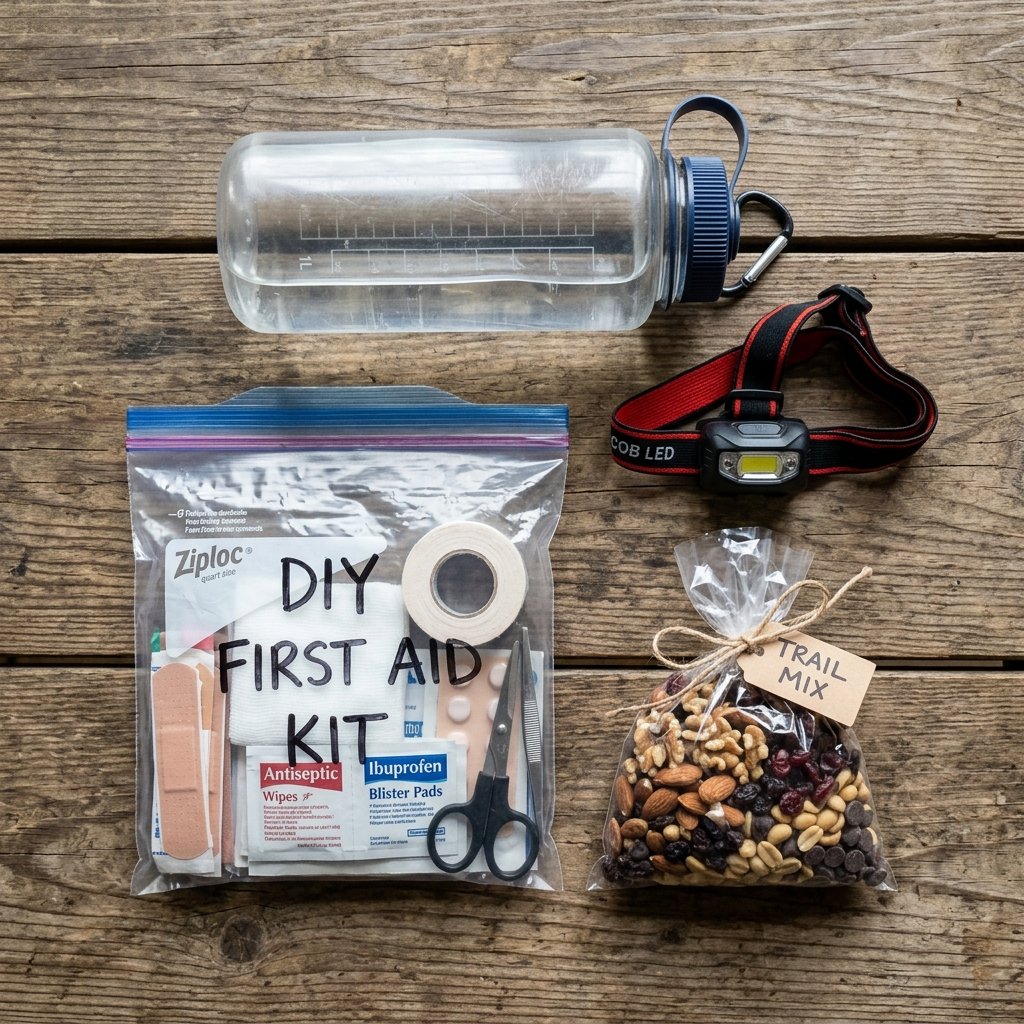
Safety is non-negotiable, but spending a fortune on safety gear is completely optional. The ’10 Essentials’ is a classic list of survival items every hiker should carry. Here is how the Ultimate Frugal Hacker acquires them for pennies on the dollar.
- Navigation: Skip the $400 GPS watch. Download a free app like AllTrails or Gaia GPS on your smartphone. Always carry a paper map (often free at the trailhead) and a basic compass ($5 online).
- Sun Protection: A baseball cap from your closet, sunglasses you already own, and generic sunscreen from the grocery store.
- Insulation: That thrifted fleece we talked about earlier.
- Illumination: A basic LED headlamp from a hardware store or online retailer for $10. Do not rely on your phone flashlight, as it drains your battery.
- First-Aid Supplies: Build your own! Buy a generic box of bandages, some gauze, athletic tape, and ibuprofen from the dollar store. Put them in a Ziploc bag. Total cost: $4.
- Fire: A $1 disposable lighter and some homemade fire starters (cotton balls dipped in petroleum jelly).
- Repair Kit: Wrap a few feet of duct tape around your water bottle. It fixes everything from torn jackets to blisters.
- Nutrition: Skip the $3 protein bars. Pack homemade trail mix (peanuts, raisins, chocolate chips) or classic peanut butter sandwiches.
- Hydration: You do not need a $100 hydration bladder or a $20 Nalgene. Buy a 1-liter SmartWater bottle from the gas station for $2. They are incredibly durable, lightweight, and reusable for months.
- Emergency Shelter: A basic mylar space blanket costs about $2 online and takes up zero room in your pack.
The Math: Cost Comparison of Hiking Setups
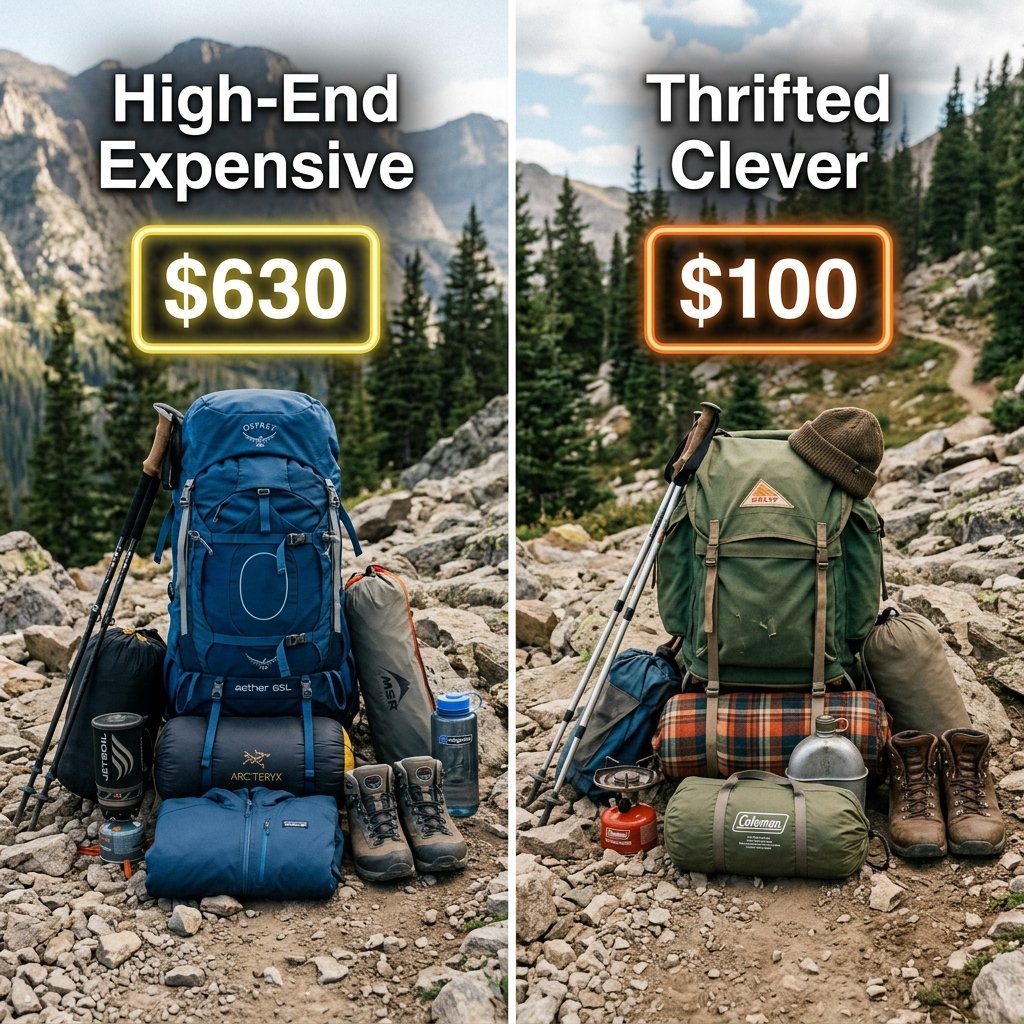
Numbers do not lie. Let us look at the massive difference between walking into a premium outdoor store with no plan versus using our frugal hacker strategies. This table breaks down the realistic earning potential of your saved money when you choose the smart route.
| Gear Item | Store-Bought (Name Brand) | The Frugal Hack | Total Savings |
|---|---|---|---|
| Footwear | $180 (New Boots) | $65 (Past-Season Trail Runners) | $115 |
| Backpack | $120 (Daypack) | $10 (Thrifted JanSport) | $110 |
| Clothing (Full Set) | $250 (Specialty Apparel) | $15 (Closet + Thrifted Fleece) | $235 |
| Hydration | $35 (Bladder/Premium Bottle) | $2 (Reusable SmartWater Bottle) | $33 |
| First Aid & Safety | $45 (Pre-made Kit) | $8 (Dollar Store DIY) | $37 |
| TOTAL COST | $630 | $100 | $530 |
By following this guide, you just saved $530. That is money you can put toward your emergency fund, pay off debt, or use to fund gas money for road trips to epic national parks.
Secret Weapons: Best Apps and Websites for Cheap Gear

To truly master frugal hiking, you need to know where to hunt for deals. Bookmark these websites and download these apps immediately. They are the secret weapons of the budget-conscious outdoors person.
- Geartrade & Steep and Cheap: These websites are dedicated to discounting outdoor gear. You can often find brand-new, overstocked items for 50-70% off retail prices.
- Facebook Marketplace & Craigslist: Search for terms like ‘camping gear’, ‘hiking backpack’, or specific brands. People constantly clean out their garages and sell perfectly good gear for pennies.
- Poshmark & Mercari: Excellent apps for finding gently used outdoor clothing and footwear.
Pro Script: When negotiating on these apps, use this polite script to get a better deal: “Hi! I am a beginner trying to get into hiking on a tight budget. Would you be willing to accept $X for this item? I can pay immediately. Thank you!”
- Local Thrift Stores: Stores located near wealthy suburbs or mountain towns often have incredible outdoor gear sections. Make it a habit to pop in once a week just to scan the jacket and backpack aisles.
Conclusion
Starting a new hobby does not have to mean taking on new financial stress. Hiking is one of the most rewarding, physically beneficial, and mentally clearing activities you can do, and it belongs to everyone—not just those with deep pockets. By raiding your closet, shopping secondhand, utilizing dollar-store hacks, and rejecting the hype of the outdoor marketing machine, you can build a fantastic, reliable kit for next to nothing. Remember, the trail does not judge your outfit, and the views from the summit look exactly the same whether you spent $10 or $1000 on your gear. So lace up those discounted shoes, grab your repurposed water bottle, and get out there. The wilderness is waiting for you, and your wallet is safe.
Disclaimer: I am a frugal living enthusiast and hacker, not a certified financial advisor, tax professional, or wilderness survival expert. The hacks and savings strategies provided are for educational and entertainment purposes. Always prioritize your personal safety and research trail conditions before heading out.

Makenzie is the founder and lead writer at MoneyHackTips.com — a personal finance blog dedicated to delivering street-smart financial wisdom for real people on real budgets. With 300+ published articles covering everything from debt management to investing fundamentals, Makenzie’s mission is to make every dollar work harder. When not writing about money hacks, Makenzie is testing frugal living strategies, optimizing side hustles, and helping readers build financial freedom from scratch.