
The Ultimate Frugal Win: Digital Products
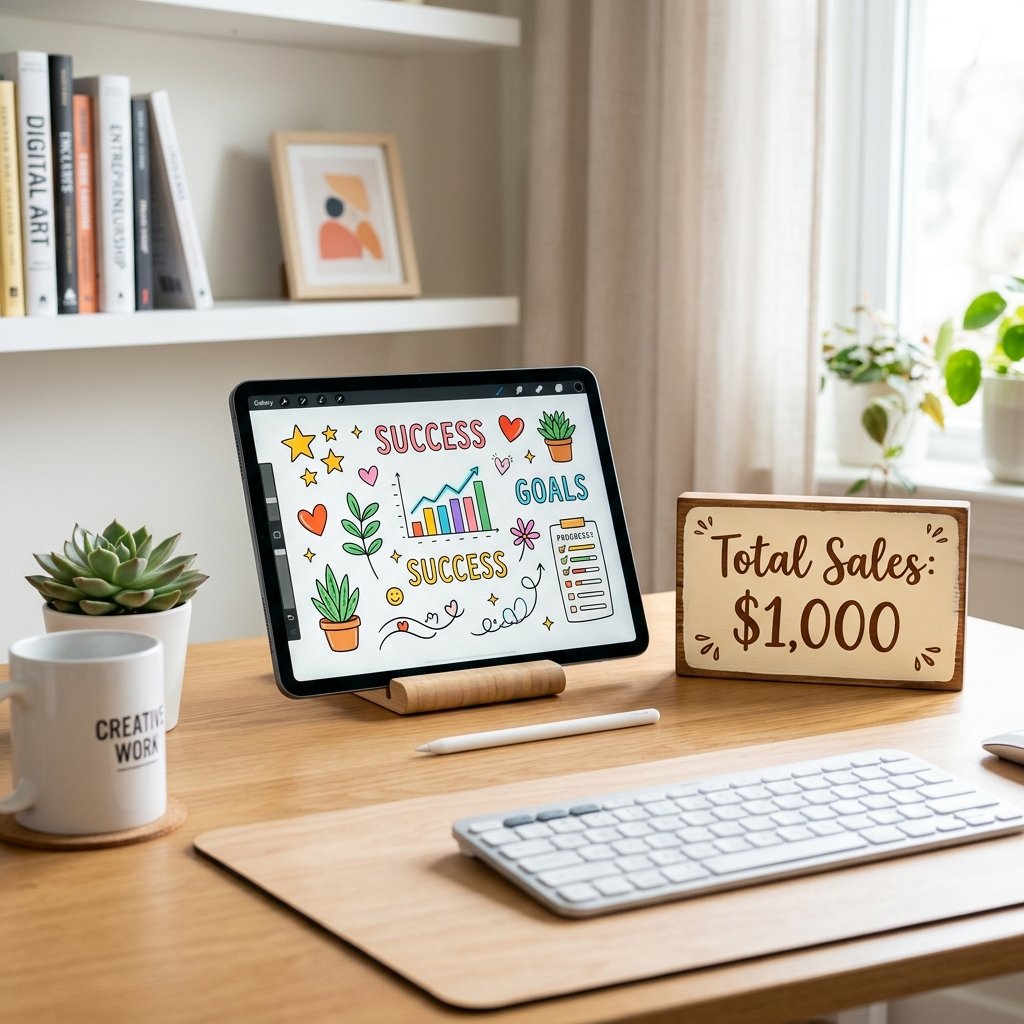
Listen, I’ve been where you are—scouring the web for a way to make extra cash without spending a fortune upfront. Most side hustles require ‘skin in the game,’ whether it is buying a lawnmower for a landscaping gig or stocking inventory for a boutique. But what if I told you that I made $1000 selling something that doesn’t actually exist in the physical world? Welcome to the world of digital stickers. As a frugal living enthusiast, this is the holy grail. You create it once, and you sell it a thousand times. There is no shipping, no storage fees, and almost zero overhead. In this guide, I am going to pull back the curtain on how I reached that $1000 milestone and how you can do it too, even if you are not a professional artist. We are going to talk about the tools that cost $0, the math that makes it work, and the street-smart strategies to get your shop noticed in a crowded market.
The Bare-Bones Budget: Startup Costs
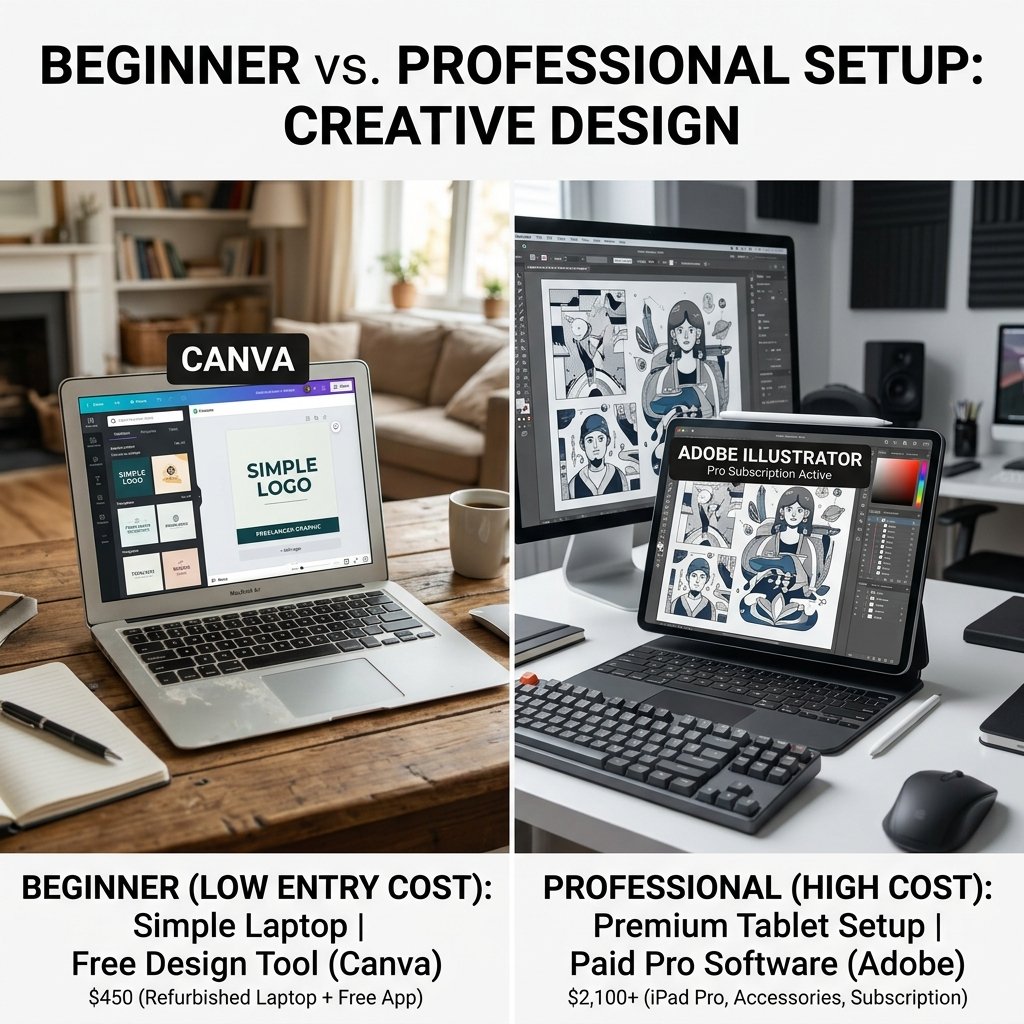
When you are living a frugal lifestyle, the last thing you want to do is drop $500 on software before you’ve made your first cent. The good news? You don’t have to. You can start this business for the price of a cup of coffee. While professionals might use expensive suites, I started with the basics. Here is a breakdown of how the costs compare when you are just starting out versus when you are ready to scale.
DIY vs. Professional Setup
| Item | Frugal Option | Professional Option |
|---|---|---|
| Design Software | Canva / Inkscape ($0) | Adobe Illustrator ($20.99/mo) |
| Hardware | Existing Laptop/Phone ($0) | iPad Pro & Pencil ($800+) |
| Marketplace | Etsy ($0.20 per listing) | Shopify ($39/mo) |
| Total Initial Investment | $0.20 | $860.00+ |
The secret to my success was starting with the $0.20 option. I used free web-based tools to create simple, functional stickers for digital planners. Think of things like ‘Payday’ flags, ‘Grocery Trip’ icons, and ‘Rent Due’ reminders. These are high-demand items that don’t require a degree in fine arts to design.
The Math of the $1000 Milestone
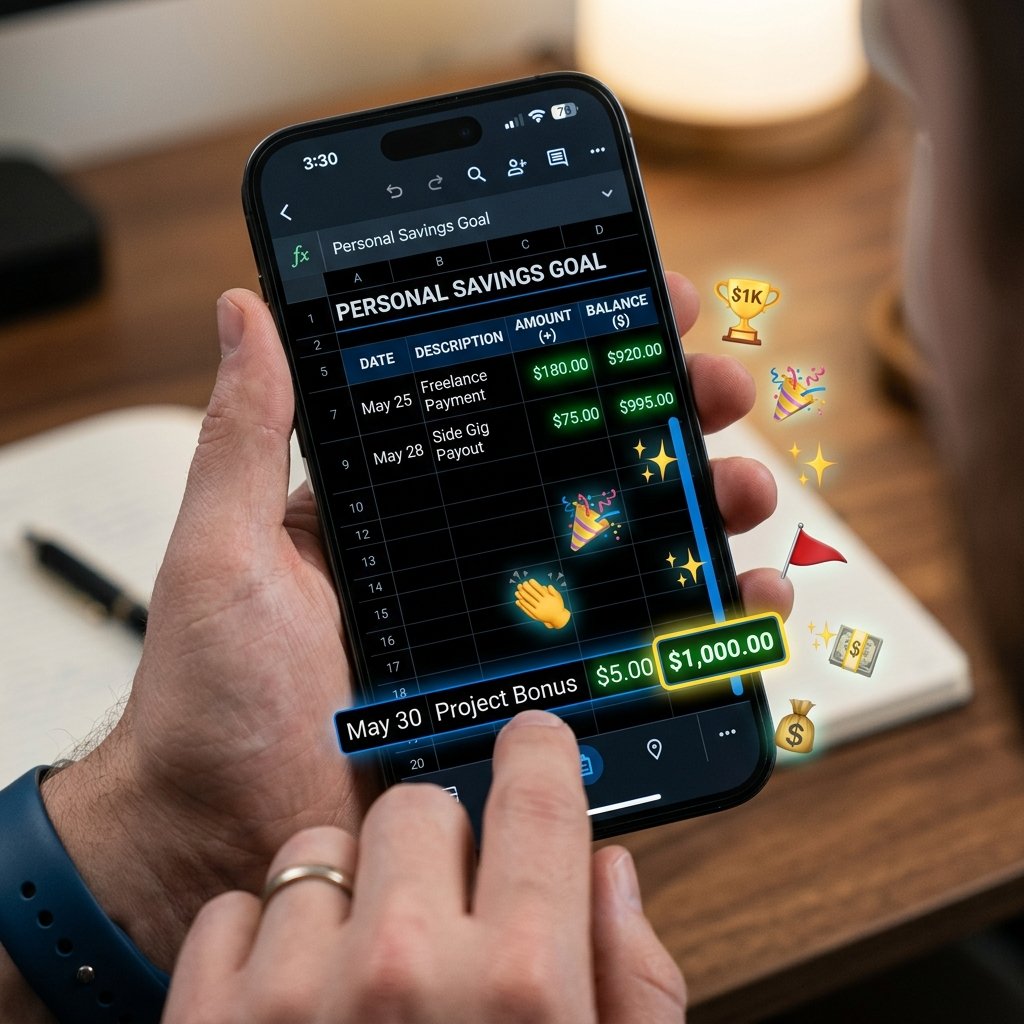
How many stickers do you actually need to sell to hit $1000? Breaking it down into manageable chunks makes the goal feel real. If you sell a pack of stickers for $5.00, you only need 200 sales. That might sound like a lot, but over the course of a few months, it is only a few sales a day. Let’s look at the earning potential based on different pricing strategies.
Earning Potential Breakdown
| Product Type | Price Point | Sales Needed for $1000 |
|---|---|---|
| Single Sticker | $1.50 | 667 |
| Small Themed Pack | $4.50 | 223 |
| Mega Bundle | $15.00 | 67 |
I found that the ‘Small Themed Pack’ was my sweet spot. It provided enough value for the customer to feel like they were getting a deal, but it didn’t take me weeks to create. By focusing on specific niches—like ‘Frugal Budgeting Stickers’ or ‘Student Planner Icons’—I was able to target buyers who were already looking for exactly what I had. Remember, $1000 is just $83.33 a month for a year, or $250 a month for four months. Once the work is done, it is pure profit minus the small platform fees.
Step-by-Step: From Blank Canvas to Profit
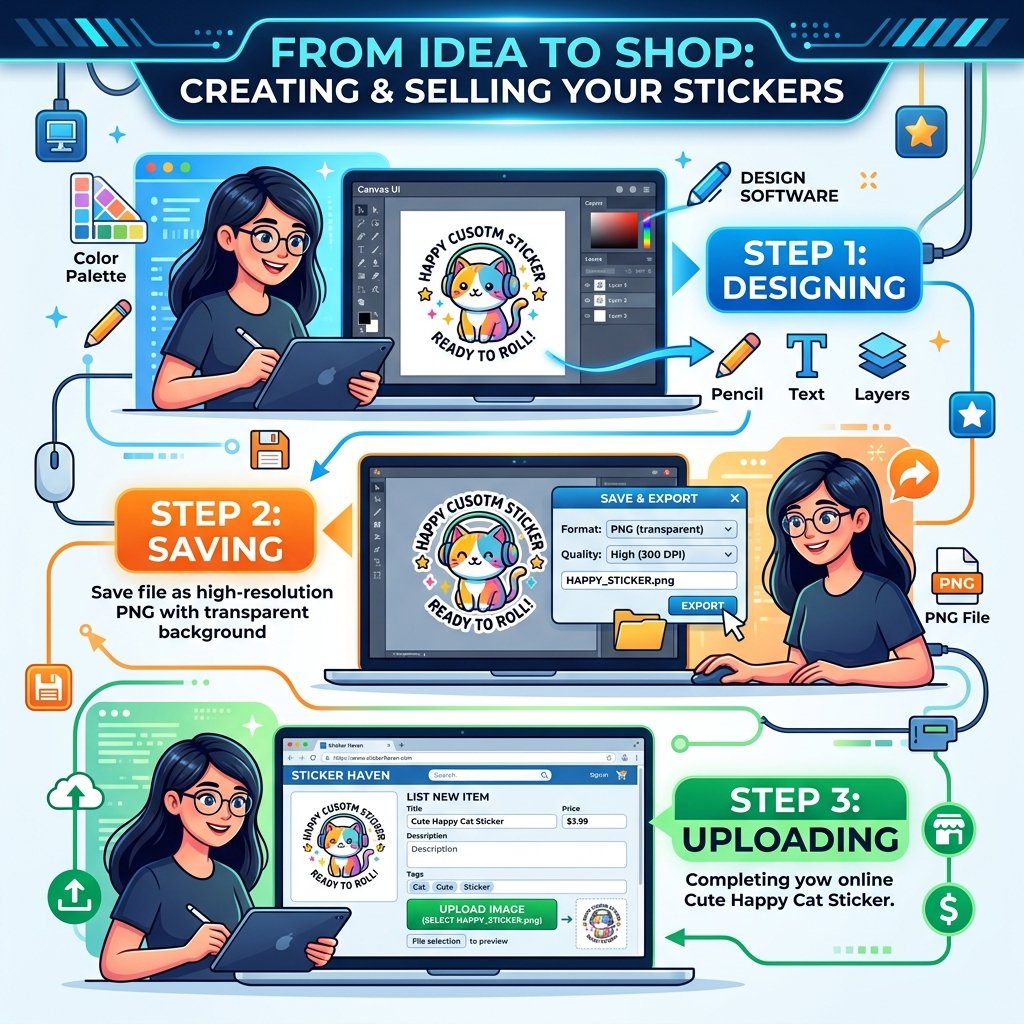
Ready to get your hands dirty? Here is the exact process I used to create my first best-selling pack. Don’t overthink it; your first set doesn’t have to be perfect, it just has to be useful.
- Identify a Problem: Look at digital planning groups. Are people complaining they can’t find ‘minimalist’ stickers? Or maybe stickers for a specific hobby like gardening?
- Sketch and Design: Use a tool like Canva or Procreate. Create your shapes. Ensure they have a transparent background (this is crucial for digital stickers!).
- Export as PNG: Save your designs as high-resolution PNG files. I usually export at 300 DPI to ensure they look crisp on all screens.
- Create a ‘Goodnotes’ File: Many digital planners use an app called Goodnotes. Pre-cropping your stickers into a .goodnotes file is a huge value-add that lets you charge a premium.
- Write Your Listing: Use keywords like ‘Digital Planner Stickers,’ ‘Goodnotes Stickers,’ and ‘Instant Download.’
When I was starting, I reached out to a few influencers in the planning community to see if they would test my stickers. Here is the script I used:
“Hi [Name]! I love your aesthetic. I’ve just launched a small set of digital stickers designed specifically for frugal budgeters. I’d love to send them to you for free just to get your feedback. No strings attached!”
This simple outreach led to two shoutouts that generated my first $100 in sales within 48 hours.
The Cheat Sheet: Marketing Without Spending a Dime
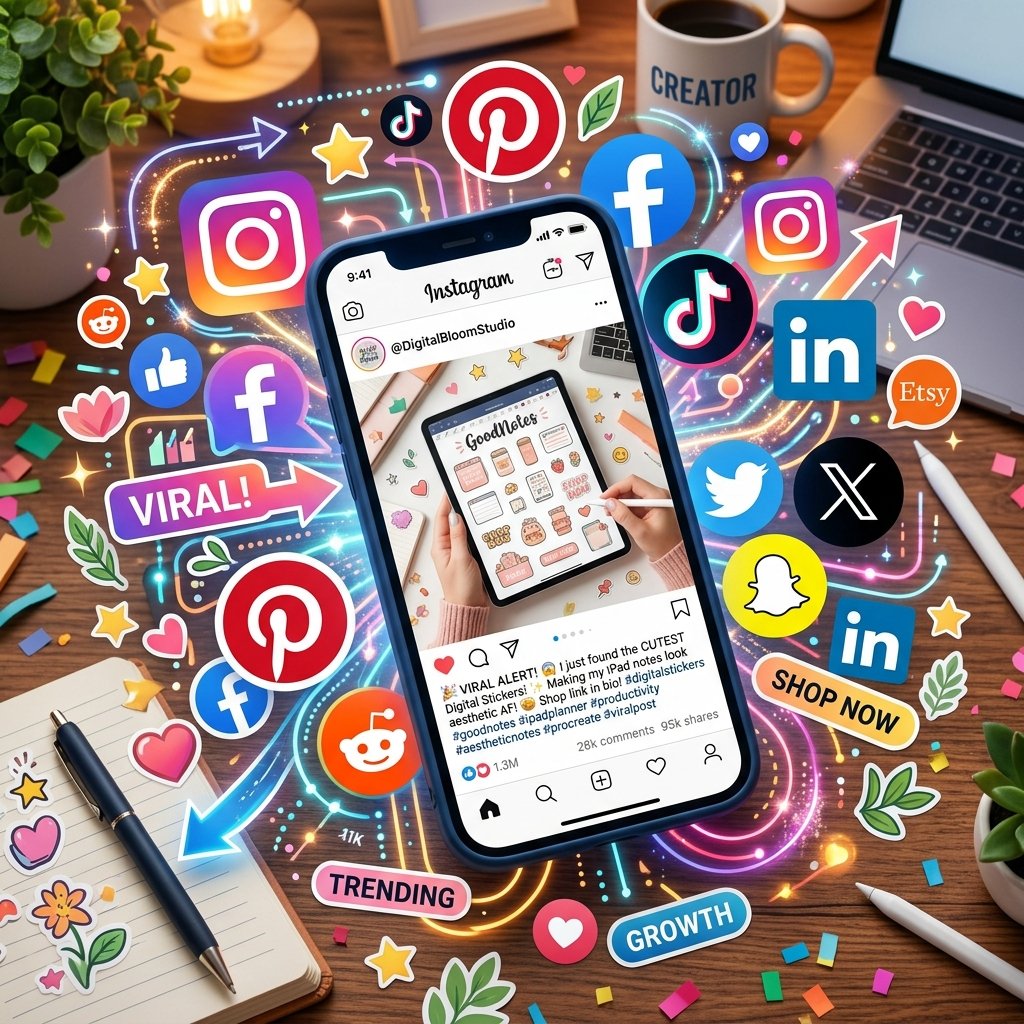
You’ve made the stickers, but how do people find them? Since we are being frugal, we aren’t going to spend money on Etsy Ads or Facebook Ads. We are going to use ‘Organic Hustle.’ Here are the tools and apps I used to drive traffic for $0.
- Pinterest: This is your best friend. Create ‘pins’ showing your stickers in action inside a digital planner. Pinterest is a search engine, not just social media. One viral pin can sustain your shop for months.
- Instagram Reels: Record a 15-second video of you ‘peeling’ and ‘sticking’ a digital sticker. People find the process incredibly satisfying to watch.
- Facebook Groups: Join digital planning groups, but don’t spam. Wait for someone to ask, ‘Where can I find stickers for [Topic]?’ and then helpfully mention your shop.
Consistency is key. I spent 30 minutes every morning pinning my products and engaging with the community. That 30 minutes of ‘free’ work eventually turned into $1000 in my bank account.
Scam Warning: Protect Your Hustle
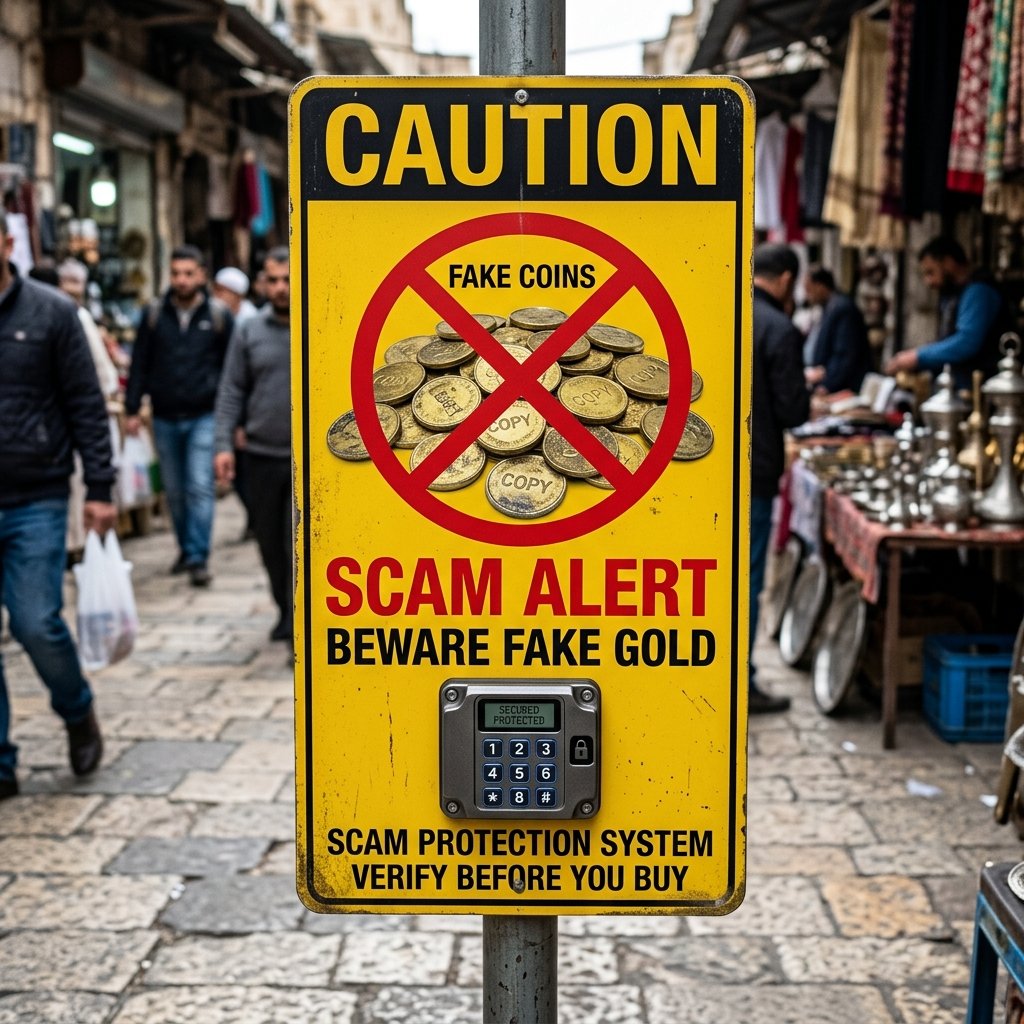
As you start looking into the world of digital products, you will see a lot of ‘gurus’ trying to sell you the dream. Be careful. The frugal hacker knows that if it sounds too good to be true, it probably is.
SCAM WARNING: Avoid any course that costs more than $100 and promises ‘guaranteed’ passive income. Most of what you need to know is available for free on YouTube. Also, beware of ‘Copyright Free’ bundles sold on shady websites; often these contain stolen art that will get your shop banned.
Stick to creating your own work. It takes a bit more time, but it protects you from legal headaches and ensures you keep 100% of your hard-earned $1000.
The Strategy Guide: Scaling to Your Next $1000
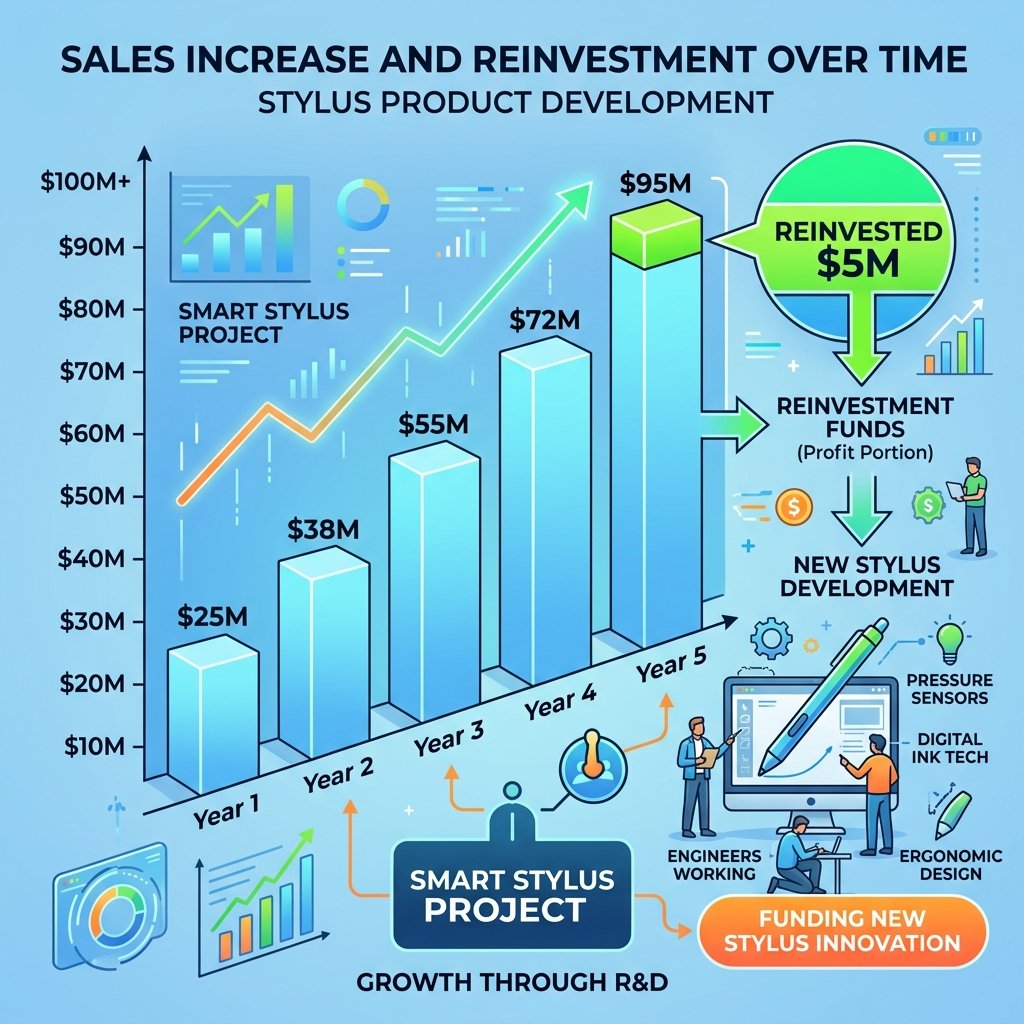
Once you hit that first $1000, the game changes. You now have ‘proof of concept.’ You know what people like. Now, it is time to work smarter, not harder. I took 10% of my earnings ($100) and reinvested it into better tools, specifically a high-quality tablet and a better design app. This allowed me to create more complex stickers faster.
Another hack? Bundling. I took five of my $5.00 packs and bundled them together for $18.00. New customers felt like they were getting a massive deal, and it increased my average order value significantly. Remember, the goal of the frugal hacker isn’t just to save money—it’s to maximize the value of every minute spent working.
Conclusion
Making $1000 selling digital stickers isn’t a fairy tale—it’s a calculated result of low-cost tools, smart niche selection, and consistent organic marketing. By keeping your overhead near $0, every sale you make is a victory for your budget. Whether you want to pay off a credit card, build an emergency fund, or just have some ‘fun money,’ digital stickers are a fantastic entry point into the world of passive income. So, grab a free design tool, pick a niche, and start creating. Your future self will thank you for the extra $1000 in the bank! Disclaimer: I am not a financial advisor. This guide is based on personal experience and does not guarantee specific financial results.

Makenzie is the founder and lead writer at MoneyHackTips.com — a personal finance blog dedicated to delivering street-smart financial wisdom for real people on real budgets. With 300+ published articles covering everything from debt management to investing fundamentals, Makenzie’s mission is to make every dollar work harder. When not writing about money hacks, Makenzie is testing frugal living strategies, optimizing side hustles, and helping readers build financial freedom from scratch.