Never Buy Cling Wrap Again: Easy DIY Beeswax Wraps
Let’s be real: that roll of plastic cling wrap in your drawer is a money pit. You pull, you tear, you wrap, you toss. And then you buy another roll. It’s a constant drain on your wallet and a disaster for the planet. Think of it as a ‘plastic tax’ you pay every time you want to save some leftovers. But what if you could opt out? What if you could replace that flimsy, frustrating plastic with something that works better, looks amazing, and saves you serious cash in the long run? That’s not a fantasy; it’s the power of DIY beeswax wraps. This isn’t just about being ‘eco-friendly’—it’s a street-smart financial move. We’re going to show you how to take a few bucks’ worth of simple ingredients and turn them into a kitchen arsenal that will last for years. Get ready to ditch the plastic trap and level up your frugal game for good.
Why Cling Wrap is a Bad Deal for Your Wallet and the Planet

Before we get to the solution, let’s break down the problem. That seemingly cheap roll of cling wrap is a master of disguise. It looks innocent, but it’s quietly siphoning money from your budget. The average household can easily burn through $50-$100 a year on plastic wrap, aluminum foil, and disposable bags. That’s money that could be going toward paying down debt, investing, or just treating yourself to something that doesn’t end up in a landfill after one use.
And that’s where the other cost comes in. Every piece of plastic wrap you’ve ever used is likely still sitting somewhere on this planet. It doesn’t biodegrade; it just breaks down into smaller and smaller toxic microplastics that pollute our water and soil. It’s a classic example of a single-use product designed to keep you buying. You’re paying for trash. When you stop and think about it, the entire concept is a scam designed to make someone else rich off your recurring purchases. Breaking that cycle isn’t just good for the environment; it’s an act of financial rebellion.
The Ultimate Upgrade: What Are Beeswax Wraps?
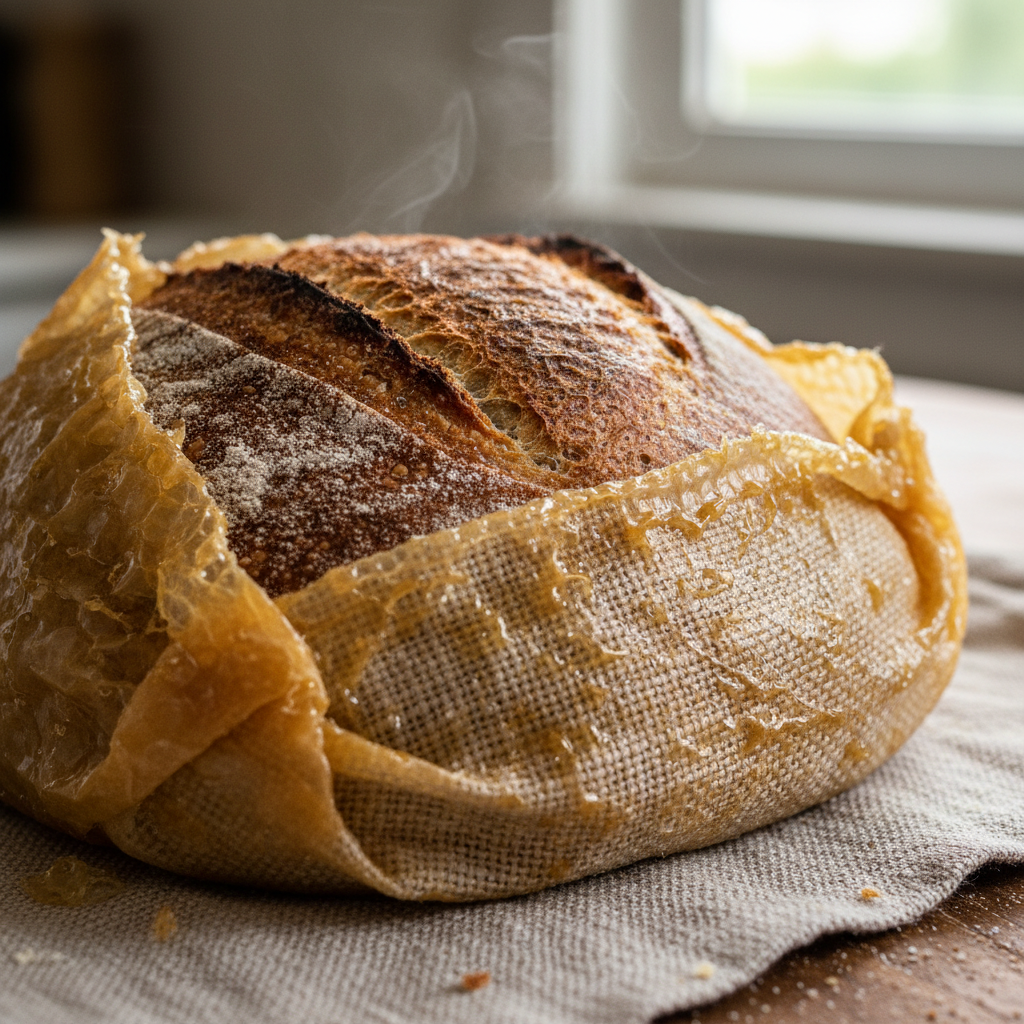
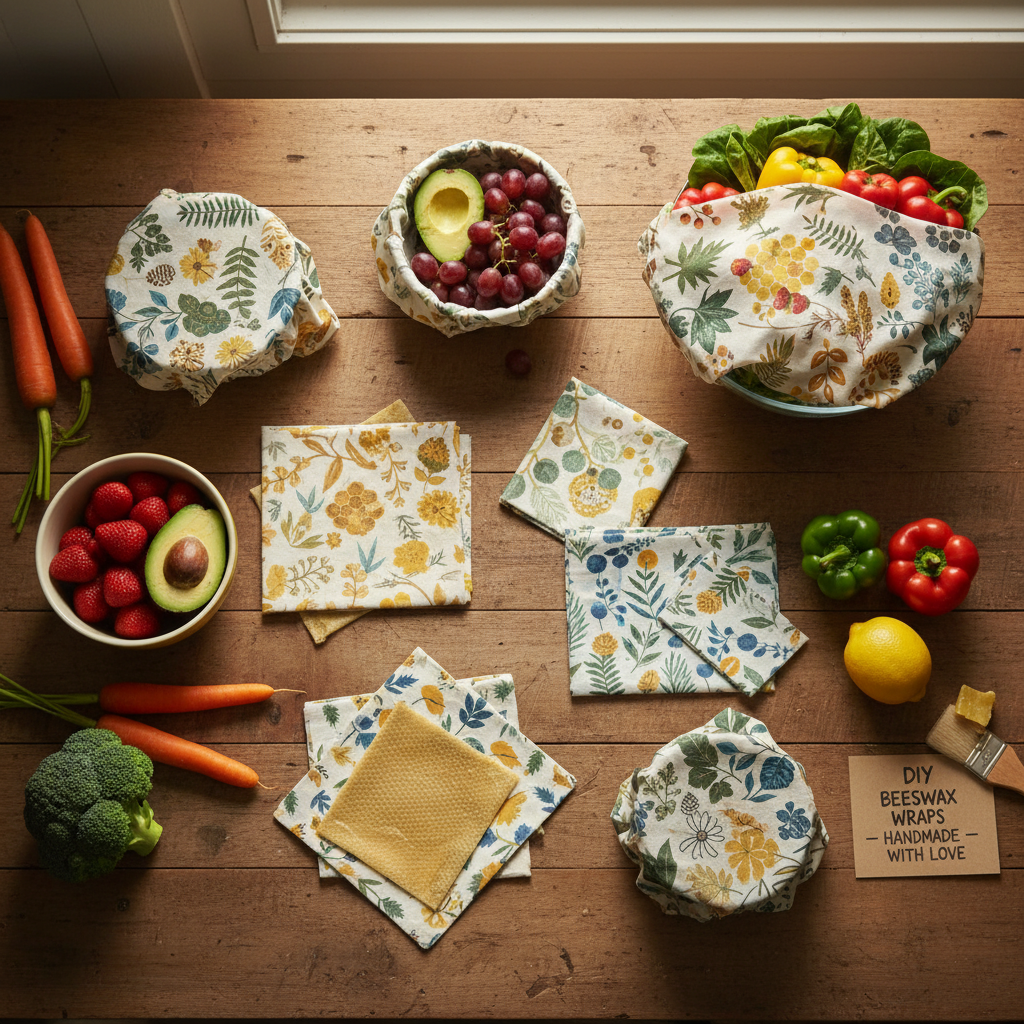
So what’s the alternative? Meet your new secret weapon: beeswax wraps. These are squares of cotton fabric infused with a mixture of beeswax, pine resin, and jojoba oil. The result is a flexible, slightly sticky, and completely reusable food wrap. You use the warmth of your hands to mold the wrap around a bowl, a piece of fruit, a sandwich, or a block of cheese. It creates a breathable seal that actually keeps food fresher for longer than airtight plastic, which can trap moisture and accelerate spoilage.
Here’s why they’re a massive upgrade:
- Reusable for a Year or More: Just a quick wash with cool water and mild soap, and they’re ready to go again. No more trash.
- Keeps Food Fresher: The natural breathability of the fabric and wax is perfect for cheese, bread, and vegetables, preventing the sliminess you get with plastic.
- All-Natural & Compostable: Made from ingredients you can actually pronounce. When your wrap finally reaches the end of its life, you can cut it up and toss it in your compost pile.
- Saves You Money: This is the big one. A small upfront investment in materials yields a set of wraps that replaces countless rolls of plastic. Your wallet will thank you.
Think of it as an investment in your kitchen. You’re buying a tool, not a disposable commodity. That’s the mindset shift that separates the frugal hacker from the average consumer.
Your Frugal Toolkit: Gathering the Supplies
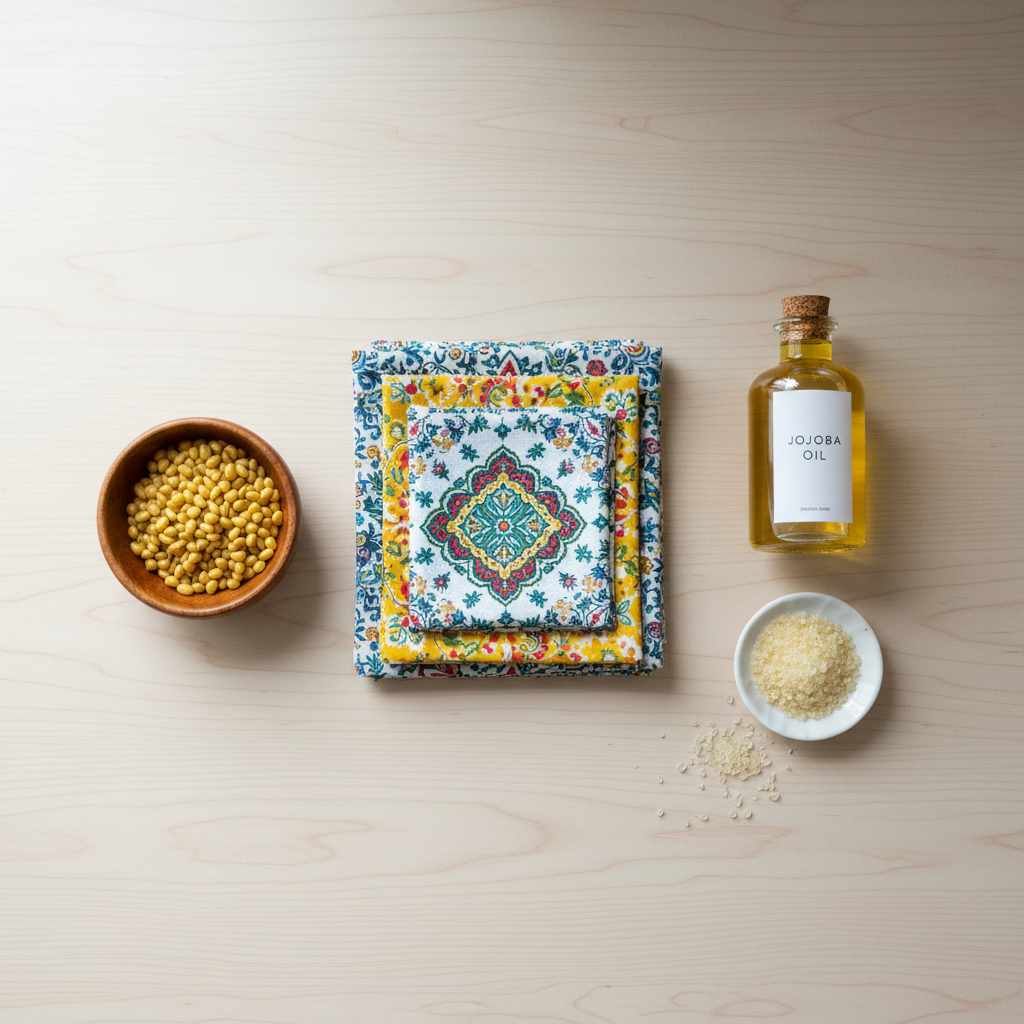
The best part about this DIY project is how cheap the materials are, especially if you’re resourceful. You don’t need a fancy lab; you just need a few key items. Hunt around your house first, then hit up craft stores or online suppliers for the rest.
- 100% Cotton Fabric: This is where you can really save. Got an old cotton bedsheet or a button-down shirt with a cool pattern that you don’t wear anymore? Perfect. Otherwise, ‘fat quarters’ from a craft store are cheap and pre-cut. Wash and iron it first!
- Beeswax Pellets: The star of the show. Make sure you get cosmetic-grade or food-grade beeswax. Don’t cheap out and get industrial wax. A 1lb bag will make a ton of wraps. Look for local beekeepers to get a better price.
- Powdered Pine Resin: This is the secret ingredient that gives the wraps their signature cling. It’s what makes them stick to themselves and to bowls. You can find it online from soap-making or craft suppliers.
- Jojoba Oil: A few drops of this keeps the final wrap pliable and prevents the wax from cracking.
- The Tools: You don’t need anything special. You’ll use an old paintbrush you don’t mind dedicating to wax, some parchment paper, pinking shears (to prevent fraying, but regular scissors work too), and either an iron or an oven.
The Main Event: Your Step-by-Step Guide to Making Beeswax Wraps
Alright, it’s time to get to work. There are two main methods: the oven method (great for making batches) and the iron method (good for precision and doing one at a time). Both work great. Pick your poison.
Step 1: Prep Your Fabric
First, cut your fabric to your desired sizes. Pinking shears give you a nice zig-zag edge that helps prevent fraying, but it’s not a dealbreaker if you don’t have them. Good starter sizes are:
- Small: 7″ x 7″ (for ends of cucumbers, small bowls)
- Medium: 10″ x 10″ (for sandwiches, cheese, medium bowls)
- Large: 13″ x 13″ (for large bowls, bread, celery)
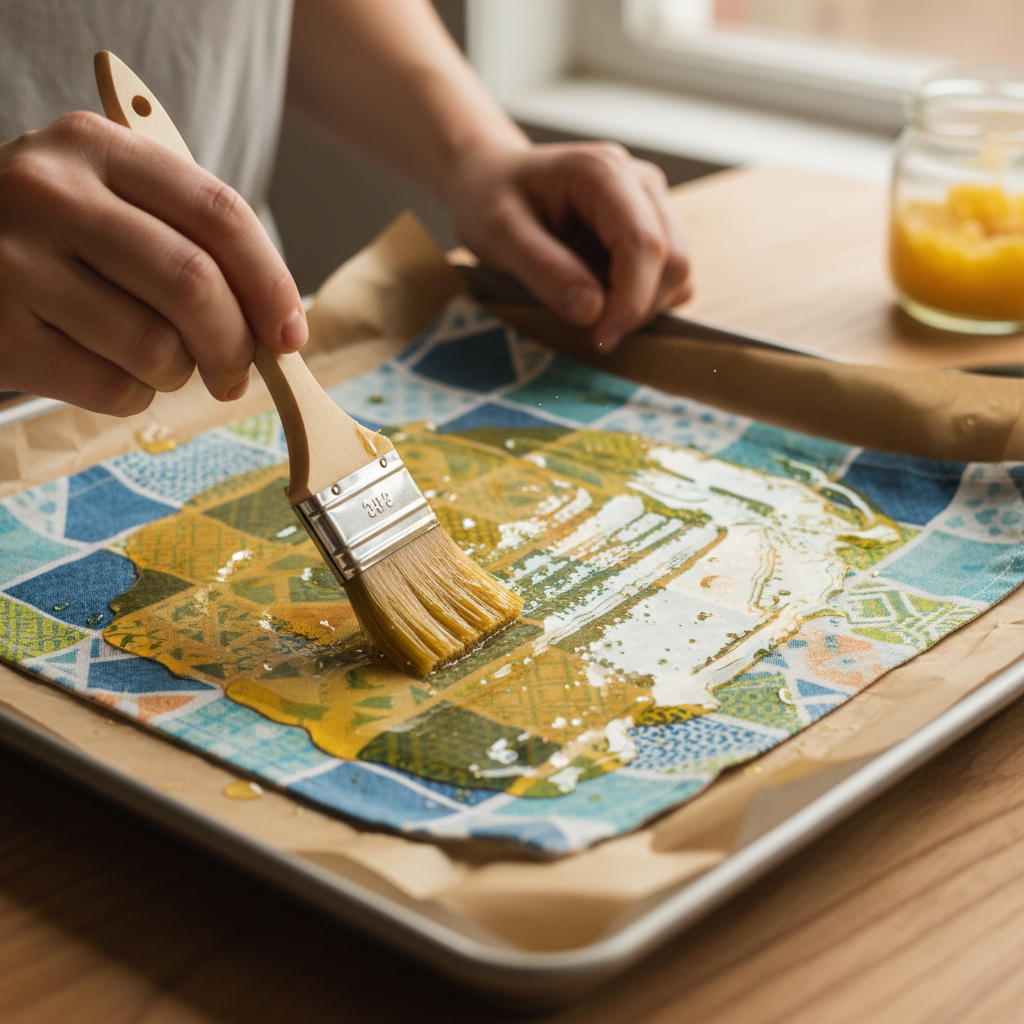
Step 2: The Oven Method (Batch Production)
- Preheat your oven to its lowest setting, around 185-200°F (85-95°C). Line a baking sheet with parchment paper.
- Place one square of fabric on the parchment paper.
- Generously sprinkle your ingredients over the fabric. A good starting ratio is about 2 parts beeswax, 1 part pine resin, and a few drops of jojoba oil. For a 10″ square, think about 1.5 tablespoons of beeswax pellets, 0.75 tablespoons of resin, and 4-5 drops of oil. Don’t stress about exact measurements; you can always add more.
- Place the baking sheet in the oven for 4-8 minutes, just until everything is completely melted and shiny.
- Take it out of the oven. You’ll see some dry spots. Use your dedicated paintbrush to quickly and evenly spread the melted mixture all the way to the edges. Work fast!
- Carefully pick up the wrap by two corners (it’ll be hot but cools fast). Hold it up and gently wave it in the air for about 20-30 seconds until it’s dry and no longer tacky.
- Lay it flat to finish cooling, and you’re done! Repeat with the rest of your fabric.
Step 3: The Iron Method (Precision Work)
- Set up your ironing board. Lay down a piece of parchment paper larger than your fabric square.
- Place your fabric square on the parchment.
- Sprinkle your ingredients (beeswax, resin, oil) evenly over the fabric, just like the oven method.
- Place another piece of parchment paper over the top, creating a ‘parchment sandwich’.
- Set your iron to a medium-high setting with NO STEAM. Gently press and move the iron over the top parchment paper. You’ll see the wax mixture melt and spread underneath. Keep ironing until the entire fabric square is saturated.
- Peel back the top layer of parchment. If you see dry spots, add a few more beeswax pellets and iron again.
- Once it’s fully coated, carefully peel the fabric wrap off the bottom parchment and hang it to dry for a minute.
The Math Doesn’t Lie: DIY vs. Store-Bought Cost Breakdown
This is where the frugal hacker in you gets to celebrate. Let’s run the numbers. Making your own beeswax wraps isn’t just a fun craft; it’s a ridiculously smart financial decision. The initial cost of supplies might seem like more than a $4 roll of cling wrap, but those supplies will make dozens of wraps that last for years.
We’ll assume you’re making a set of 12 mixed-size wraps. Your initial supply cost for a pound of beeswax, resin, and oil is roughly $30-$40, and you’ll only use a fraction of it for your first batch.
| Item | Cost Analysis | Total Cost (1 Year) |
|---|---|---|
| Cling Wrap | Average $4 per roll. A budget-conscious family might use 10-12 rolls per year. | ~$48.00 |
| Store-Bought Beeswax Wraps | A pre-made set of 3 wraps can cost anywhere from $15 to $30. To replace all cling wrap uses, you’d likely need 2-3 sets. | ~$45.00 – $90.00 |
| DIY Beeswax Wraps | Initial supplies (~$35) will make 20-30 wraps. Cost per wrap is less than $1.50. You’ll have tons of supplies left over for gifts or future batches. | ~$35.00 (with supplies to spare) |
The verdict is clear. Going DIY crushes the competition. You spend less upfront than buying pre-made sets, and that one-time cost replaces years of buying disposable plastic. By year two, when the cling wrap user has spent nearly $100, you’ve spent nothing more. That’s money back in your pocket.
Pro Tips: Using, Cleaning, and Reviving Your Wraps
You made them, now let’s make them last. Using and caring for your wraps is simple, but there are a few rules to follow to maximize their lifespan.
How to Use Them
Simply place the wrap over your container or food item. Use the warmth from your hands to press down on the edges for a few seconds. This softens the wax just enough to create a firm seal. It’s perfect for covering bowls, wrapping sandwiches, cheese, half an onion, or a loaf of bread.
Key Rule: Do NOT use beeswax wraps for raw meat, poultry, or fish due to the risk of bacterial contamination, as you can’t wash them with hot water.
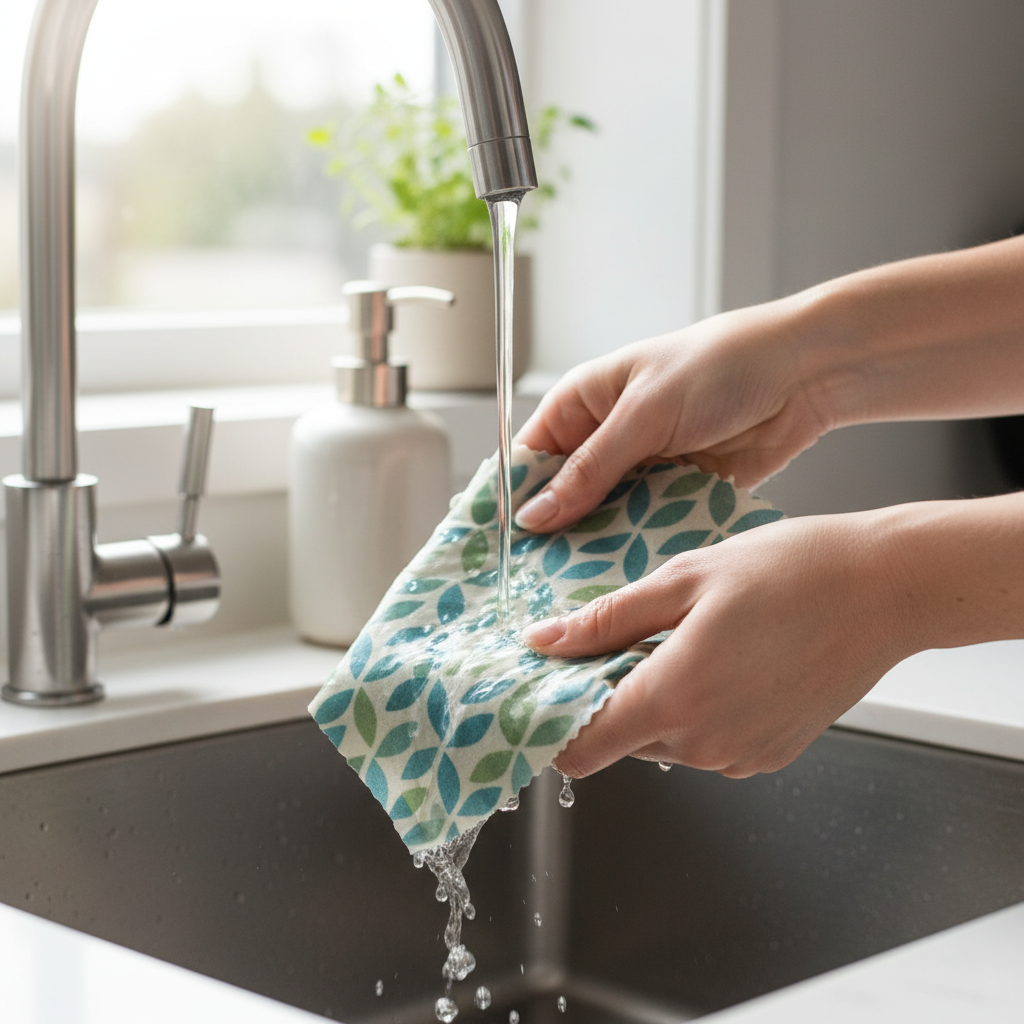
How to Clean Them
This is critical. Always use COOL water. Hot water will melt the wax right off. After use, rinse the wrap under a cool tap. If it needs more than a rinse, use a tiny bit of gentle, alcohol-free dish soap and a soft sponge. Gently wash and rinse. To dry, either drape it over your dish rack or use a clothespin to hang it on a line. Once dry, fold it and store it in a drawer.
How to Revive Them
After a year or so of heavy use, your wrap might start to look a bit wrinkly, feel less sticky, or have spots where the wax has flaked. Don’t throw it out! You can easily bring it back to life. Just lay it on a piece of parchment on a baking sheet, sprinkle a tiny bit more beeswax pellets on it, and pop it in a low oven for a few minutes. The heat will melt and redistribute the wax, making it good as new. This trick can extend the life of your wraps for years.
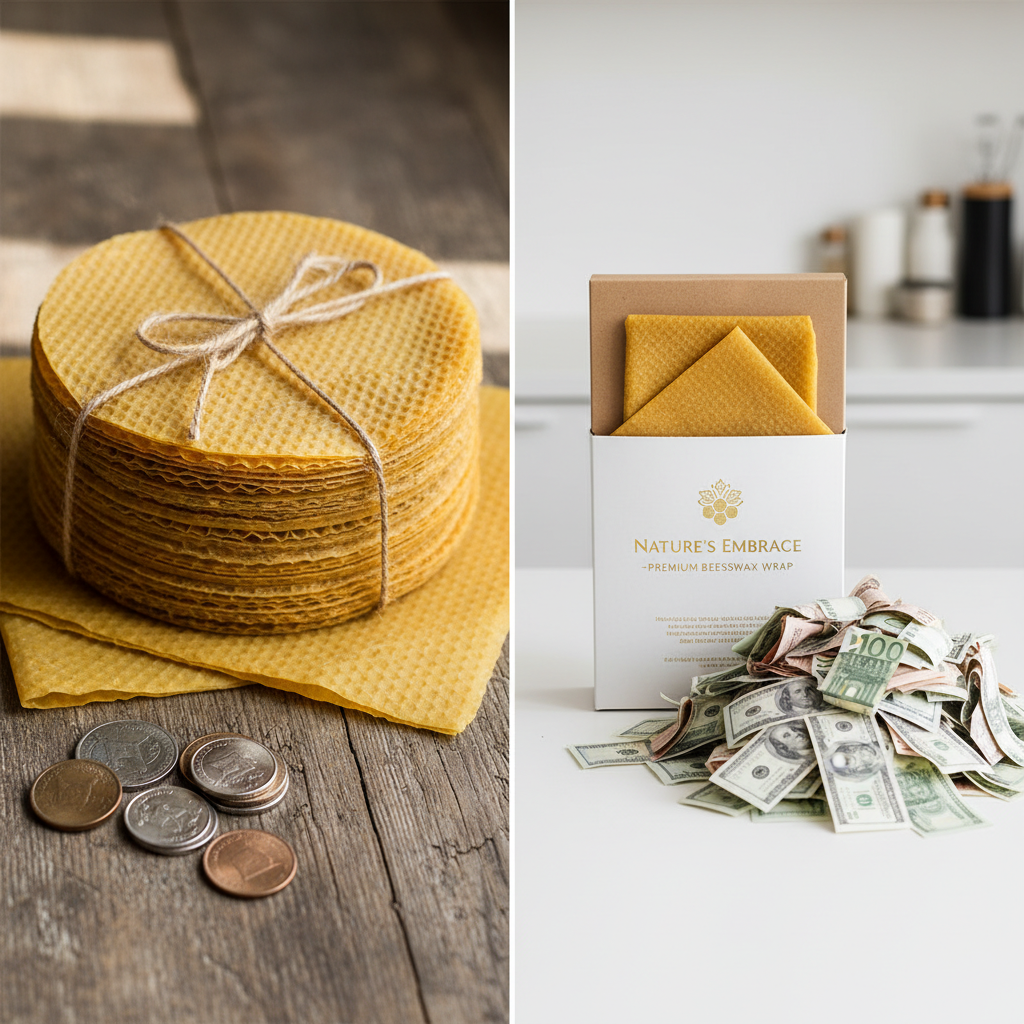
Side Hustle Alert!
Once you get good at this, you’ve got a potential side hustle. People love high-quality, handmade, eco-friendly products. Bundle your wraps into cute sets of three with twine and a recycled paper label. Sell them at local farmer’s markets, craft fairs, or on Etsy. It’s a fantastic way to turn a frugal habit into a stream of income.
Conclusion
You did it. You took a stand against disposable culture and made something better, cheaper, and more sustainable with your own two hands. By investing a little bit of time, you’ve unlocked a lifetime of savings and kicked a wasteful habit to the curb. Every time you reach for one of your custom-made wraps, it’s a win for your budget and a win for the planet. This is what being a frugal hacker is all about: identifying a problem, finding a smarter solution, and taking control. Now go enjoy your fresh food and your fatter wallet. You’ve earned it.