Cheap Chicken Keeping: Winterizing Your Coop for Under $20
Listen up. Every year, as the temperature drops, the farm supply stores roll out their ‘winter survival’ gear for chickens, and people start panicking. They’re selling you $70 heat lamps, $100 insulated panels, and fancy heated waterers. It’s a money pit designed to play on your fear that your flock will freeze. Here’s the real deal: chickens are tough. They’ve been surviving winters for centuries without designer coops. What they need is a dry, draft-free space, not a heated palace. Forget the marketing hype. We’re going to show you how to give your birds exactly what they need to thrive through the cold using clever, cheap materials—and keep the entire project under a $20 bill. It’s time to stop spending and start hacking.
The Great Winter Rip-Off: Debunking Expensive Coop Myths

Before we build, we need to deprogram. The industry wants you to believe that a cold chicken is a dead chicken. That’s how they sell you stuff. The truth is, a coop that’s too warm and sealed up tight is far more dangerous. It traps moisture and ammonia, which leads to frostbite and respiratory illness. That expensive heat lamp? It’s a massive fire hazard and it stops your chickens from acclimating to the cold naturally. Your goal isn’t to create a tropical paradise; it’s to block the two real winter enemies: drafts and dampness.
What Your Chickens ACTUALLY Need:
- Draft Protection: Cold wind blowing directly on them while they roost is the real danger. It steals their body heat.
- Good Ventilation: This is NOT the same as a draft. You need airflow, especially up high, to let moist air escape. A stuffy coop is a wet coop.
- Dry Bedding: Wet bedding sucks warmth from their feet and releases ammonia. A thick, dry layer is their best defense.
- Access to Unfrozen Water: Dehydration is a bigger threat than the cold. But you don’t need a $50 heated waterer to solve this.
Forget everything you’ve seen in the glossy catalogs. The most effective solutions are often the simplest and, lucky for us, the cheapest. We’re going to focus on these core needs and ignore the expensive junk.
The Under-$20 Frugal Hacker’s Shopping List

Your mission is to beg, borrow, and scavenge first, and only buy what’s absolutely necessary. Most of what you need is probably already in your garage, shed, or recycling bin. This isn’t about buying a pre-made kit; it’s about smart resourcefulness.
Cost Breakdown: The Frugal Way vs. The Store-Bought Trap
Here’s the proof. Look at the cash you’re saving by thinking like a hacker instead of a typical consumer. The difference is staggering.
| Frugal Hacker Item | Where to Get It | Your Estimated Cost | Store-Bought Alternative & Cost |
|---|---|---|---|
| Wall Insulation | Large Cardboard Boxes (Appliance stores, grocery stores) | $0 | Rigid Foam Insulation Panel ($50+) |
| Bedding & Floor Insulation | One Bale of Straw or Pine Shavings | $8 – $12 | Special ‘Hemp Bedding’ Bags ($30+) |
| Wind/Snow Barrier | One Medium-Sized Tarp | $8 – $10 | Custom Coop ‘Jacket’ or Windscreen ($80+) |
| Fasteners | Staple Gun, Screws, or Duct Tape | Already Owned / $0 | Special Mounting Hardware ($15) |
| Draft Blockers | Old Towels, Wood Scraps, Expanding Foam | Already Owned / $0 – $5 | Weather Stripping Kits ($20) |
| TOTAL COST | Under $20 | $195+ |
The math doesn’t lie. You can achieve the same, or even better, results for a tiny fraction of the cost. Now, let’s put these cheap materials to work.
The 4-Step No-Spend Winterizing Plan
Time to get to work. This process should take you a couple of hours on a dry afternoon. Put on some work gloves and let’s get this done before the first real freeze.
-
Step 1: Identify and Seal the Drafts
First, go inside your coop and close the door. Look for any cracks or holes where daylight is coming through, especially at floor level. These are your heat-sucking drafts. Use wood scraps, caulk, or even tightly packed old rags to seal them up. Pay special attention to corners and where the walls meet the floor. Don’t seal up the dedicated ventilation holes up high near the roofline—those are critical for letting moisture out.
-
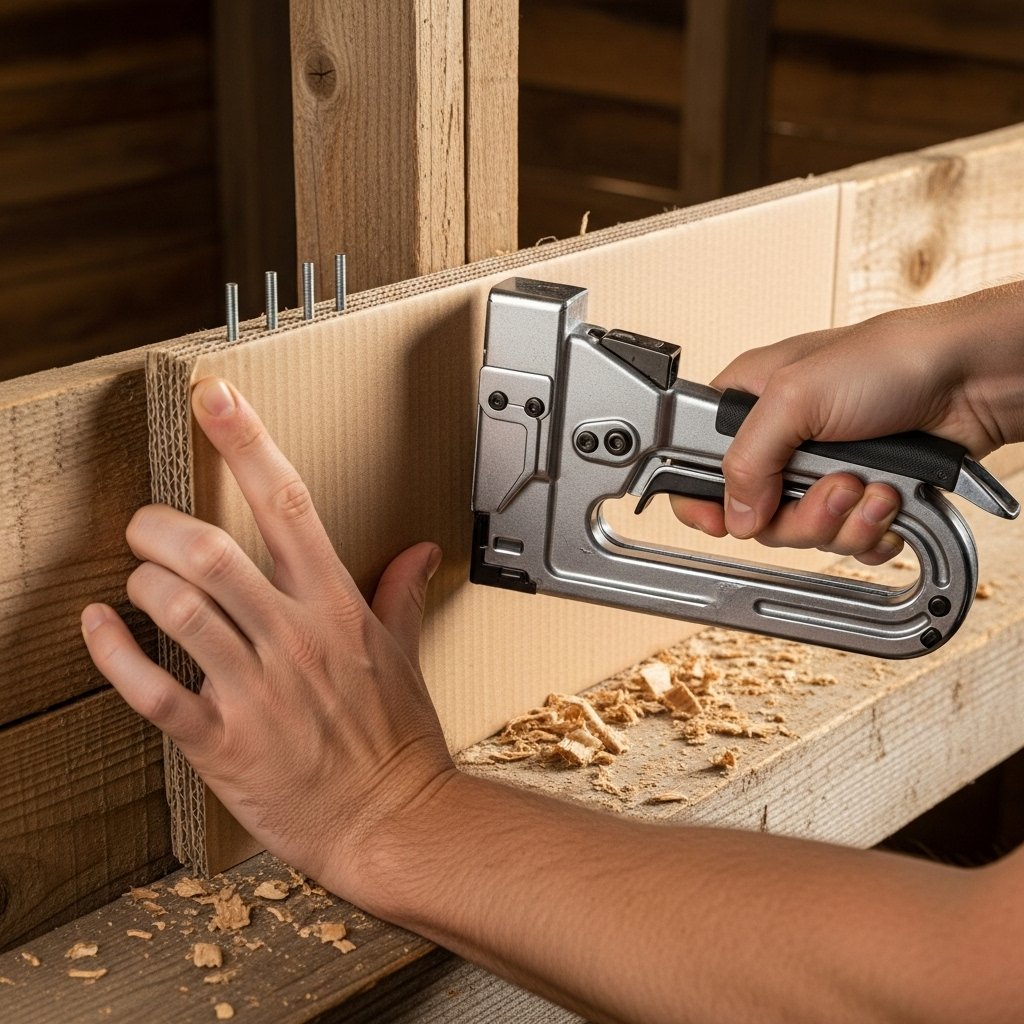
Step 2: The Cardboard Insulation Hack
This is the cheapest insulation on the planet. Take your large, flattened cardboard boxes and cut them to fit snugly against the inside walls of your coop. Staple or screw them into place. The corrugated air pockets in the cardboard create a surprising amount of insulation, acting as a barrier between the cold wood and your flock. For extra effectiveness, you can create two layers. It’s not pretty, but it works.
Key Rule: Ventilation is NOT a draft. Block drafts that blow directly on the roosting bars, but leave your high vents open. A stuffy, humid coop guarantees frostbite. Airflow is your friend.
-
Step 3: Master the Deep Litter Method
This is the secret weapon. Instead of cleaning the coop out weekly, you’re going to build a natural heater. Start with a clean floor and lay down a 4-6 inch layer of pine shavings or straw. As the chickens add their manure, you simply turn it over with a pitchfork every few days and add a fresh, thin layer of bedding on top. This creates a composting effect that generates its own heat, warming the coop from the ground up. By mid-winter, you’ll have a thick, 10-12 inch insulated cushion that keeps your birds’ feet warm and the ambient temperature stable.
-
Step 4: The Tarp Wind-Block
Identify the side of your coop that gets hit with the most wind and winter weather (usually the north or west side). Wrap the outside of this section with your tarp, securing it tightly with screws and washers or by wrapping it around posts. This creates a powerful windbreak, stopping the cold from penetrating the coop walls. If your run is exposed, you can also use the tarp to create a three-sided shelter where your chickens can get outside for fresh air without being blasted by snow and wind.
Bonus: Turn Winter Eggs into a Side Hustle
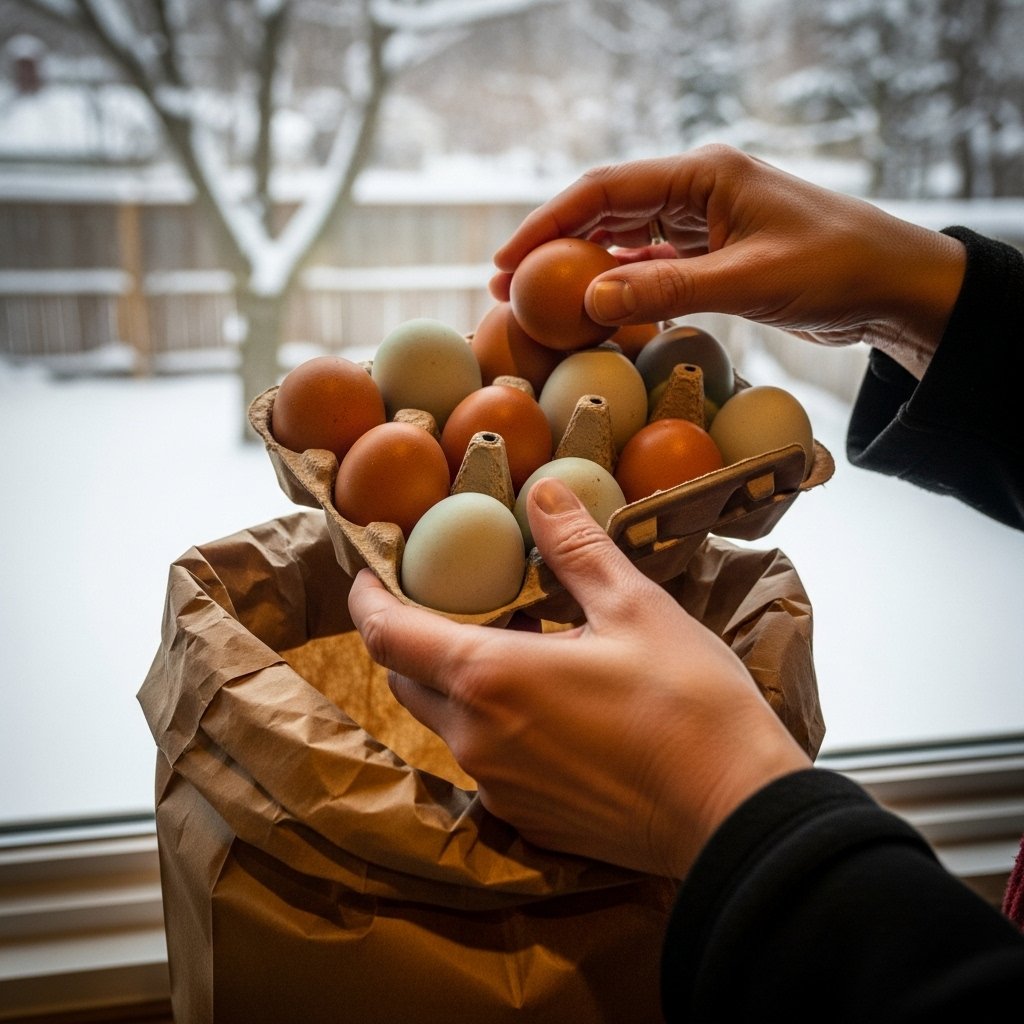
A properly winterized flock isn’t just surviving; they’re comfortable. And comfortable hens are productive hens. While many people see a drop in egg production during winter, your well-cared-for birds will likely keep laying. This is where the side hustle comes in. The demand for fresh, local eggs skyrockets in the winter when farmers’ markets close and other backyard keepers’ flocks stop laying. You’re now a premium supplier.
Realistic Earning Potential
Don’t expect to get rich, but you can easily cover your feed costs and make some extra cash. Let’s run the numbers for a small flock of 8 hens.
| Metric | Calculation | Potential Income |
|---|---|---|
| Daily Egg Production | 8 hens x ~0.75 eggs/day (average) | 6 eggs per day |
| Weekly Egg Production | 6 eggs/day x 7 days | 42 eggs (3.5 dozen) per week |
| Local Price Per Dozen | Premium for fresh, winter eggs | $5.00 – $7.00 |
| Gross Weekly Income | 3.5 dozen x $6.00/dozen | $21.00 per week |
| Gross Monthly Income | $21.00/week x 4 weeks | $84.00 per month |
That $84 a month more than covers the cost of feed for your flock, and your initial $20 winterizing investment is paid back in the first week. Everything else is pure profit.
The Simple Sales Script
Don’t overthink it. Post on your local town Facebook group, Nextdoor, or just text your friends and neighbors. Here’s a script that works:
“Hey neighbors! Our happy hens are still laying strong through the cold! We have a few dozen delicious, fresh eggs available this week. Perfect for holiday baking or a great breakfast. $6/dozen. Contactless porch pickup available. DM me to claim yours!”
Conclusion
You did it. For less than $20 and a bit of hands-on work, you’ve created a safe, warm, and effective winter shelter for your chickens. You didn’t fall for the marketing gimmicks or waste money on fire hazards. You used your brain and a little elbow grease to solve a problem like a true frugal hacker. You’ve protected your assets—your egg-laying flock—and even turned them into a potential income stream during the leanest months. That’s not just good chicken keeping; that’s smart, self-sufficient living. Now go enjoy those fresh winter eggs, knowing you outsmarted the system.