Thrift Flip: How to Restore Leather Boots to Look Brand New
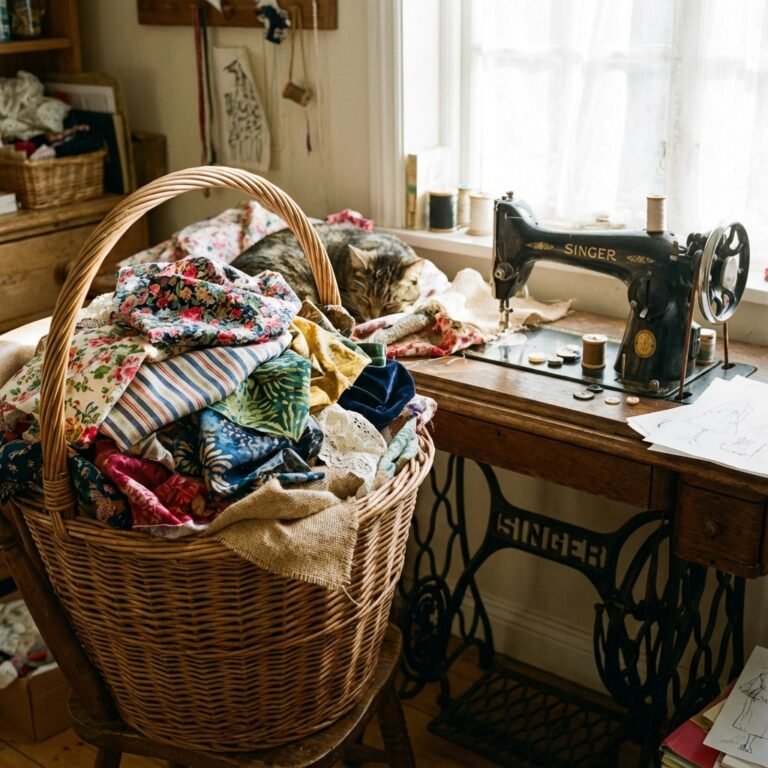
You walk past them all the time. Those sad, forgotten leather boots slumped on a shelf at the thrift store, looking like they’ve seen better decades. Most people see junk. But you’re about to see a goldmine. That $10 pair of scuffed-up boots isn’t a lost cause; it’s a $100 payday waiting to happen. Welcome to the world of thrift flipping, where a little elbow grease and the right know-how can turn forgotten leather into a serious stream of income.
Forget gatekeepers and expensive courses. This is the street-smart guide to leather restoration for the modern hustler. We’re not just making things pretty; we’re building a profitable side gig from the ground up. Whether you want to revive your own favorite pair of boots or start a reselling empire, this is your playbook. Let’s get to work.
The Treasure Hunter’s Toolkit: Gear You Actually Need
First things first: you can’t win the game without the right gear. But don’t get it twisted—you don’t need a pro-level workshop that costs hundreds. You just need a few key players in your corner. This is your starting lineup for bringing leather back from the dead. Most of this stuff can be bought once and used on dozens of flips, making your per-project cost ridiculously low.
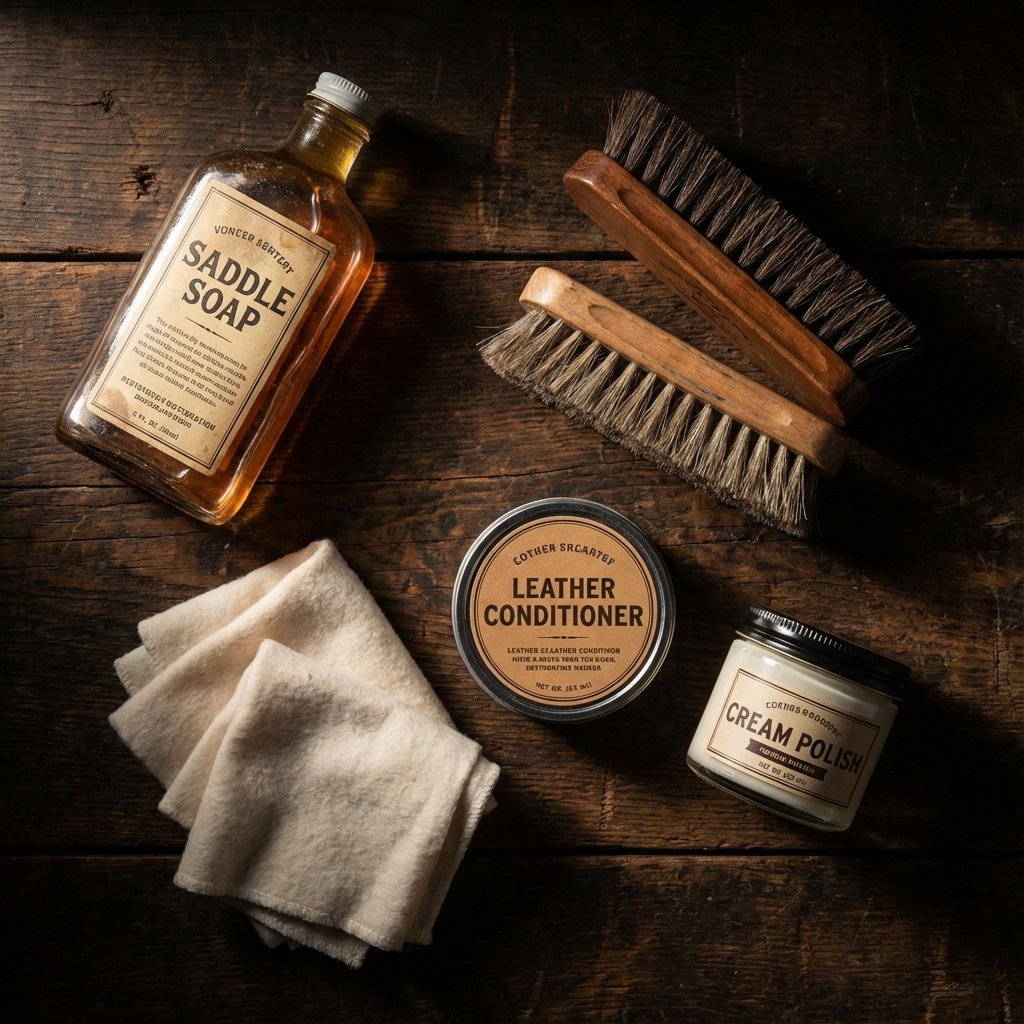
Your Restoration Arsenal:
- Saddle Soap: This is your heavy-duty cleaner. It strips away years of dirt, grime, and old, caked-on polish. It’s the reset button for leather.
- Horsehair Brushes (x2): You need one for cleaning/applying product and a separate one for buffing. Don’t mix them up. Horsehair is gentle enough not to scratch the leather but stiff enough to work out grime and bring out a shine.
- Leather Conditioner: Think of this as lotion for leather. After a deep clean, the leather is thirsty. A good conditioner restores moisture, prevents cracking, and brings back that soft, supple feel.
- Cream Polish (in key colors): Forget cheap wax polish. Cream polish has pigment to cover scuffs and conditioners to nourish the leather. Start with black, dark brown, and neutral. You can always mix them to get a custom shade.
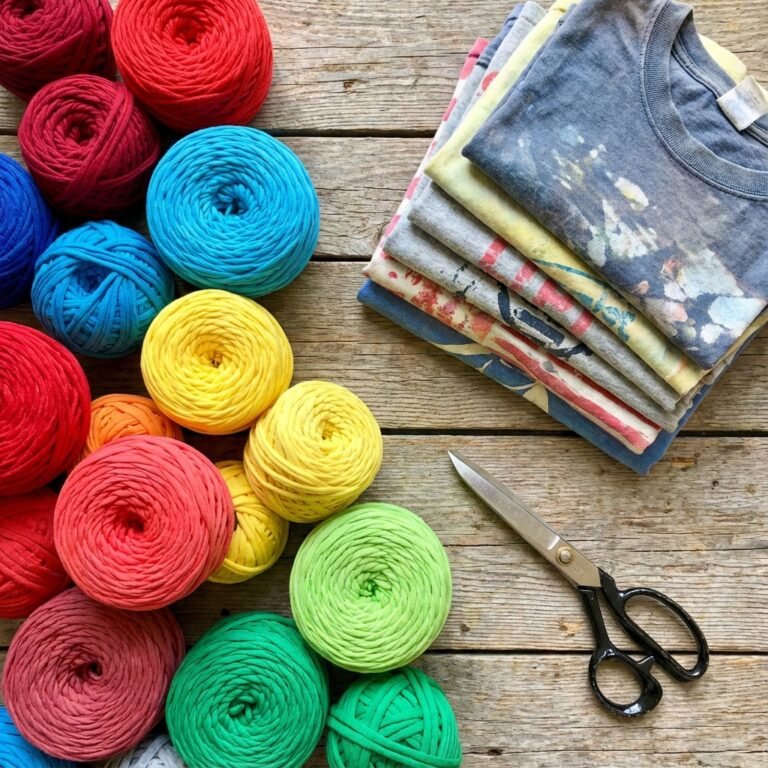
- Soft Cloths: Old cotton t-shirts, cut into rags, are perfect. You’ll need them for applying and wiping off products. Free and effective.
- Optional Power-Ups: A toothbrush for cleaning welt stitching, a bit of rubbing alcohol for tough stains, and quality replacement laces.
The initial investment is where people get scared, but let’s break down the math. This isn’t an expense; it’s a one-time buy-in for a profitable business.
Cost Breakdown: DIY vs. The Alternatives
| Item | DIY Restoration Kit (One-Time Cost) | Professional Cobbler Repair (Per Pair) | Buying New Mid-Range Boots |
|---|---|---|---|
| Initial Outlay | $40 – $60 (for tools that last 20+ pairs) | $50 – $120 | $150 – $300 |
| Per-Pair Cost | ~$2 – $3 (after initial investment) | $50 – $120 | $150 – $300 |
| The Verdict | A no-brainer investment. Your kit pays for itself after ONE successful flip. | Eats up your entire profit margin. Only for personal, high-value items. | The exact opposite of what we’re trying to do here. |
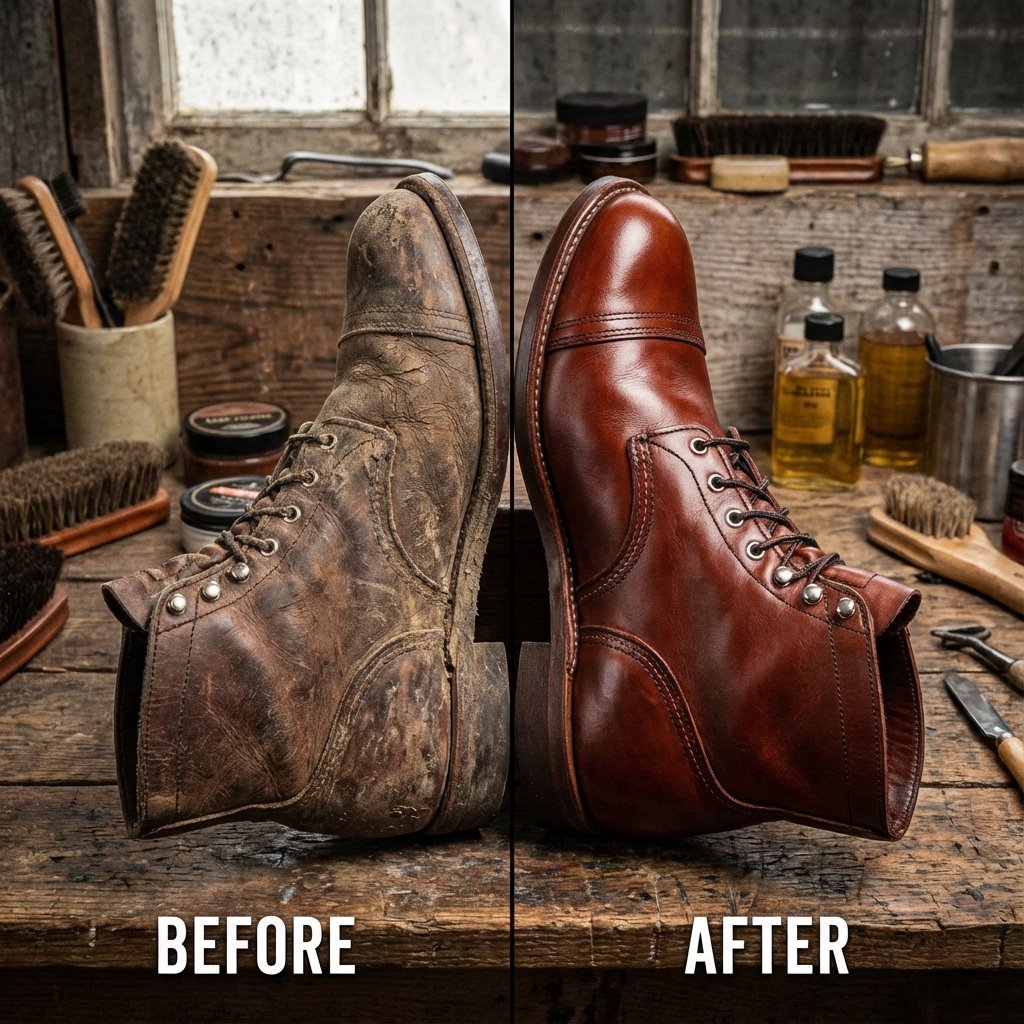
The 5-Step Restoration Hustle: From Grimy to Gleaming
Alright, you’ve got your tools and a pair of boots that look like they’ve walked through a desert. It’s time for the transformation. Follow these steps exactly. Don’t cut corners. The details are what separate an amateur shine from a professional restoration that commands a high price.
- Step 1: The Deep Clean. This is the most important step. Remove the laces. Take your first horsehair brush, dip it in a little water, and work up a lather with the saddle soap directly on the boot. Use small, circular motions. You’ll see the dirt and old polish lift right off. Don’t be afraid to get in the seams and welt. Once you’ve scrubbed the entire boot, wipe away all the soap residue with a clean, damp cloth. Let the boots air dry completely—do not use heat, it will crack the leather. This can take a few hours.
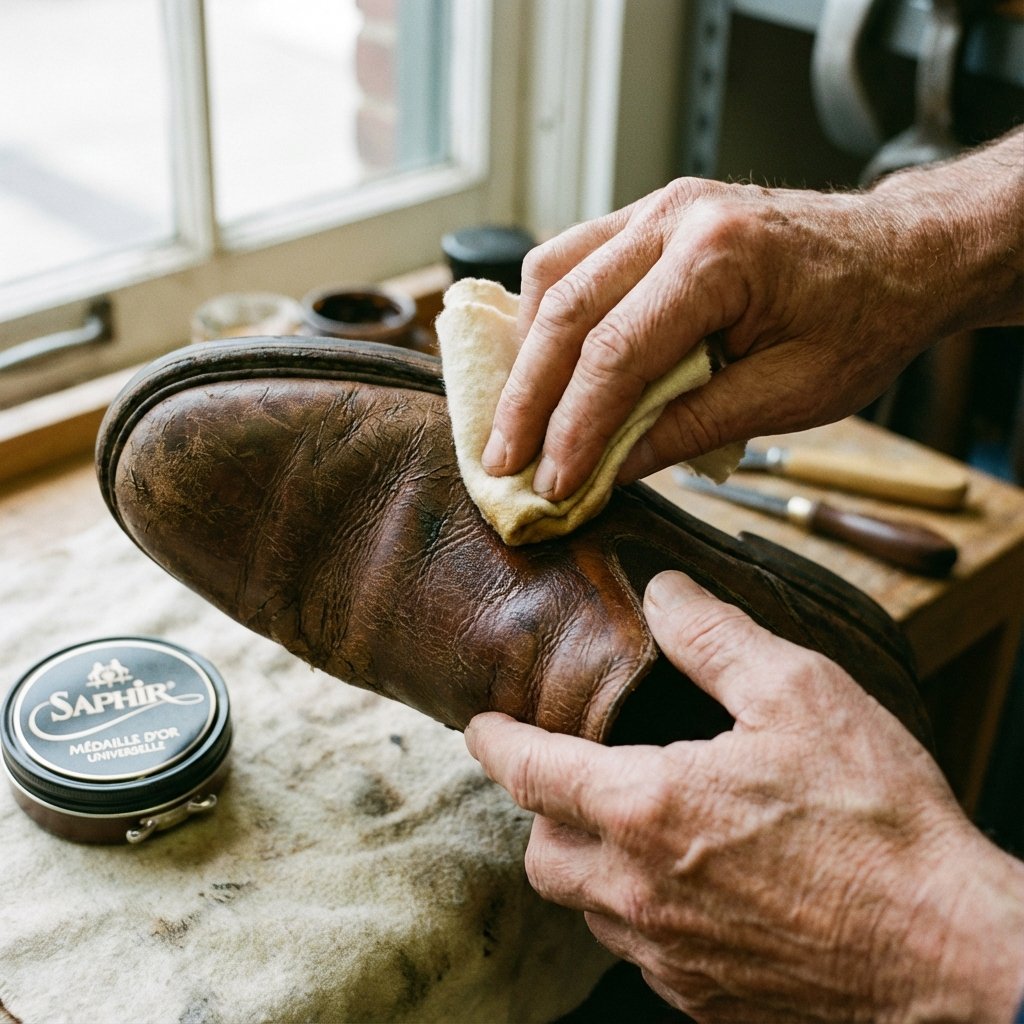
- Step 2: Condition and Revive. Once bone dry, the leather will look dull. It’s thirsty. Take a clean cloth and apply a small, dime-sized amount of leather conditioner. Work it into the leather in circular motions. Cover every inch. The leather will drink it up. Let it sit for at least 20-30 minutes, or even an hour. Then, take another clean cloth and wipe off any excess conditioner.
- Step 3: Color and Polish. Now we fix the scuffs and bring back the color. Dab a clean cloth into your cream polish (choose the color that best matches the boot). Apply a thin, even layer across the entire boot. Pay special attention to the scuffed areas, like the toe and heel, working the cream into the scratches. Let the polish dry to a haze, usually about 10-15 minutes.
- Step 4: The Power Buff. Take your clean, dedicated buffing brush. Now, it’s all about speed and light pressure. Use quick, short back-and-forth strokes across the entire boot. This action creates friction and heat, which melts the polish and brings out a deep, rich shine. You’ll literally see the boot transform from dull to glossy in front of your eyes. For a final mirror shine on the toe, you can add a tiny drop of water and buff with a soft cloth (a technique called a ‘spit shine’).
- Step 5: The Finishing Touches. The devil is in the details. Clean the welt stitching with a toothbrush. Polish the heel and edges of the sole with a darker polish or edge dressing. And for the love of profit, replace the laces. A pair of $2 new laces can make a $50 boot look like a $150 boot. It’s the cheapest, highest-impact upgrade you can make.
The Profit Play: Pricing and Selling Your Masterpiece
You’ve done the work, and now you’ve got a pair of boots that look incredible. It’s time to get paid. Selling is an art, but pricing is a science. Don’t just guess. Your price should reflect the brand, the quality, the condition, and the work you put in.
Research is King
Before you slap a price tag on it, you need to do 5 minutes of recon. Go to eBay, Poshmark, or Depop and search for the exact brand and style of your boot. Filter by “Sold Listings.” This shows you what people are actually paying, not what sellers are asking for. This is your market value. Price your boots competitively within that range. If yours look better than the rest, price them at the higher end of the spectrum.
Realistic Earning Potential: The Hard Numbers
Let’s look at a typical flip to see how this works. This isn’t a get-rich-quick fantasy; it’s a repeatable formula.
| Expense/Revenue Line Item | Example Cost/Profit | Notes |
|---|---|---|
| Thrift Store Boot Cost | -$12.00 | Found a pair of Frye boots with good soles but heavy scuffing. |
| Supplies Cost (Per Pair) | -$3.00 | Prorated cost of your one-time kit purchase. |
| New Laces | -$2.00 | A non-negotiable upgrade. |
| Platform Fees (e.g., Poshmark 20%) | -$20.00 | Based on a $100 sale price. Always factor this in. |
| Sold Price | +$100.00 | Based on market research for the same boots in excellent condition. |
| TOTAL PROFIT | $63.00 | For about 1-2 hours of work. Do this a few times a week, and you have a serious side income. |
How to Write a Killer Listing Description
Your photos do 80% of the selling, but the description seals the deal. Be honest, be detailed, and use keywords. Here’s a template that works.
Title: [Brand Name] [Style Name] Leather Ankle Boots – Women’s Size [Size] – Fully Restored!
Description:
Up for sale is a stunning pair of vintage [Brand Name] [Style Name] boots in a beautiful [color]. These aren’t just used boots; they’ve been professionally restored to bring them back to life.The Restoration Process:
- Deep cleaned with saddle soap to remove all impurities.
- Treated with premium leather conditioner to restore moisture and flexibility.
- Polished with [Color] cream polish to cover scuffs and provide a rich, lasting shine.
- Finished with brand new waxed cotton laces.
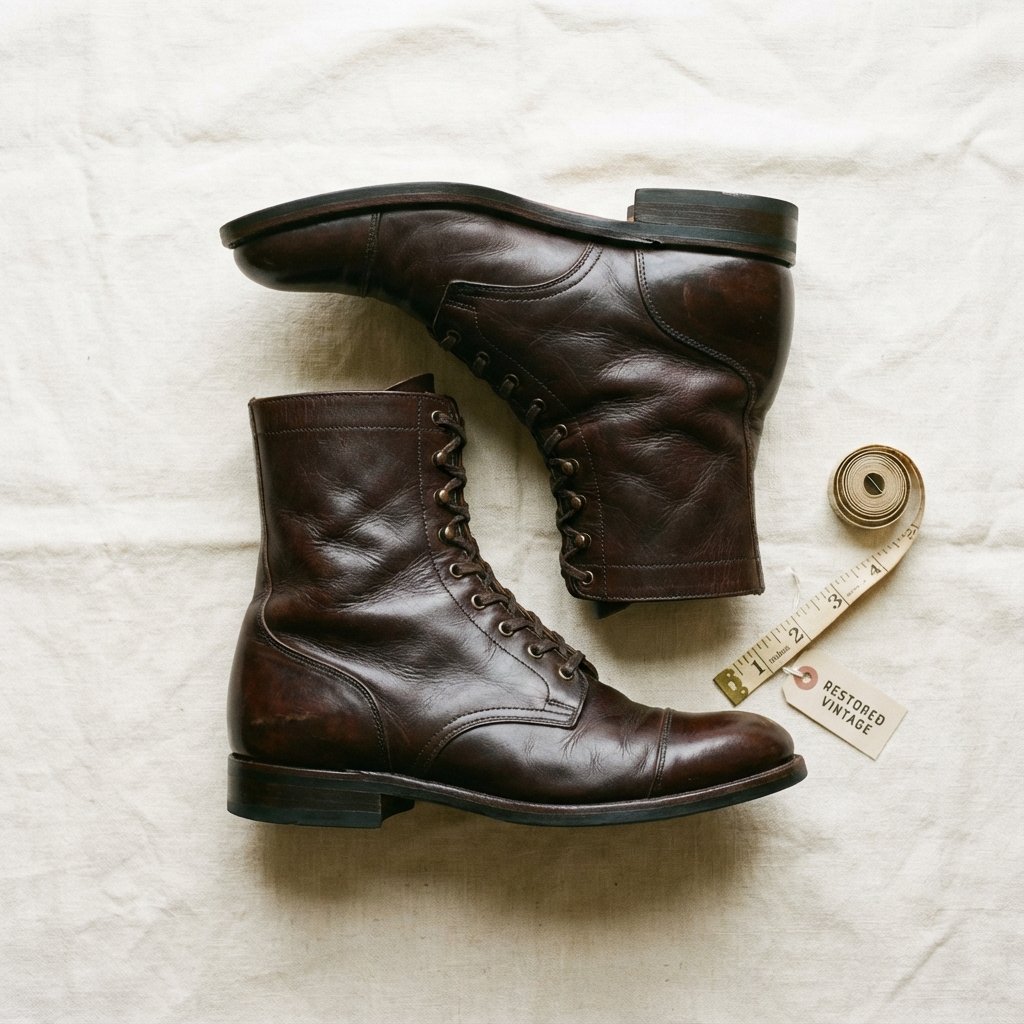
Condition: Excellent restored condition. The uppers are supple and gleaming. Soles show minimal wear. Please see all photos for details. These boots are ready for their next adventure!
Keywords: [Brand], Leather Boots, Moto, Biker, Grunge, Vintage, 90s, Boho, Restored, Upcycled
Street Smarts: Dodging Duds and Spotting Gold
Not every boot is a candidate for flipping. The real skill is learning to walk away. Wasting time and money on a project that’s doomed from the start will kill your profits and your motivation. You need to develop a quick eye for what’s gold and what’s garbage. Here’s your cheat sheet.
Red Flags: The Deal Breakers
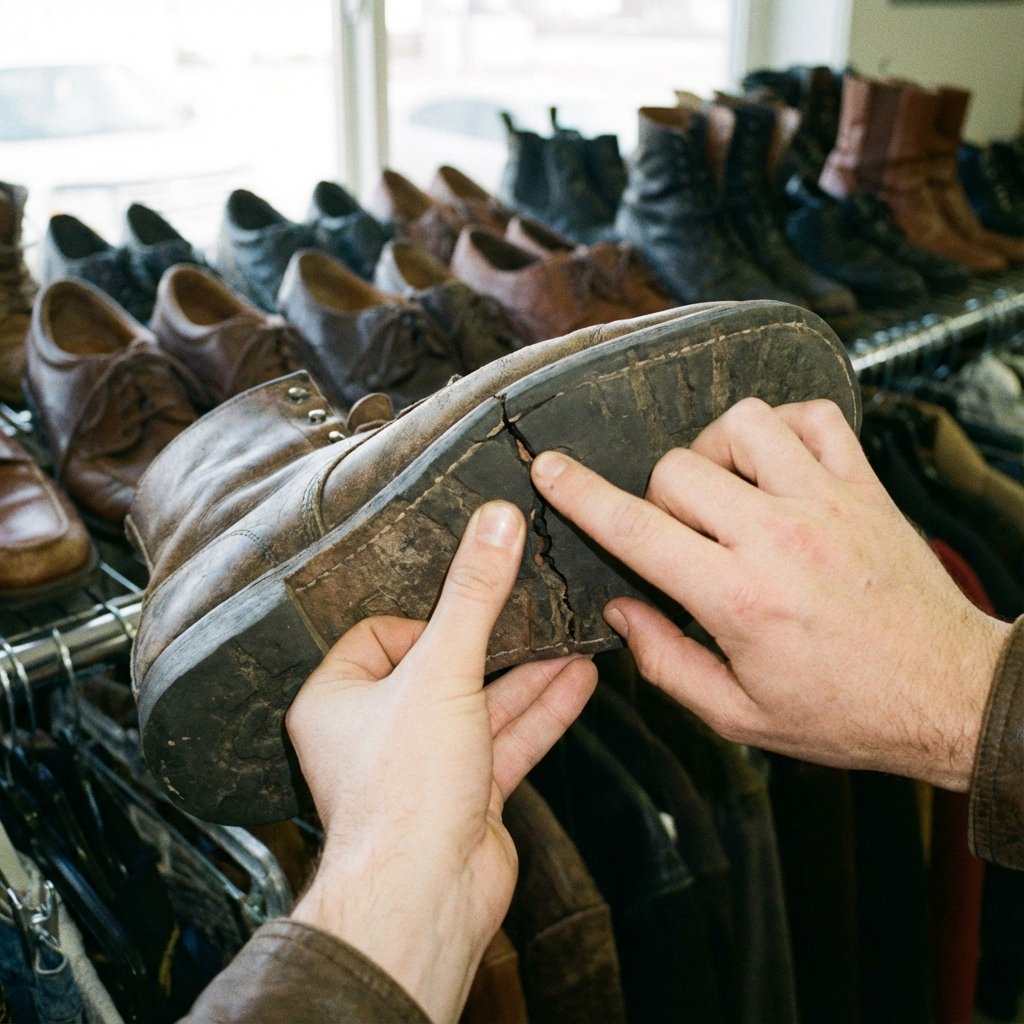
- Cracked Leather: Scuffs are fixable. Deep cracks in the leather, especially where the foot bends, are not. This leather is too far gone and will only get worse. Walk away.
- Mold or Mildew: If you see fuzzy spots or smell a strong musty odor, put it down. Mold spores can be impossible to fully remove and are a health hazard. Not worth the risk.
- Major Sole Damage: If the sole is separating from the boot, has a hole in it, or is worn down to nothing, it’s a pass. A full resole costs $80-$150, destroying any potential profit.
- Funky Interior: Stick your hand inside. If the lining is ripped to shreds or feels sticky or gummy, it’s a no-go. No one wants to put their foot in that.
- “Genuine Leather” Traps: Look for quality brand names known for good construction (Frye, Red Wing, Doc Martens, quality vintage brands). The stamp “Genuine Leather” often means it’s the lowest quality split leather, which won’t restore well or last long.
Your time is your most valuable asset in this hustle. Spending an hour fixing a boot you can sell for a $60 profit is smart. Spending three hours on a boot that might net you $15 is a losing game. Be ruthless in your selection process.
The Golden Rule of Boot Hunting: Always check three things before you even think about buying: 1) Bend the toe to check for deep cracks. 2) Check the connection where the sole meets the upper leather. 3) Check the condition of the interior lining. If all three pass the test, you might have a winner.
Conclusion
There you have it—the complete playbook for turning thrift store trash into cash. This isn’t just about restoring boots; it’s about building a skill that pays. You’ve learned how to spot potential, how to do the work, and how to cash in on your effort. The initial $50 you spend on a starter kit can easily turn into $500 or more in pure profit. It’s a low-risk, high-reward hustle that puts you in control.
So next time you’re in a thrift store, walk over to that sad shoe rack with a new set of eyes. Look for the quality leather hiding under the dust and scuffs. Grab a pair, invest a little time, and start your thrift flipping journey. Your wallet will thank you.