The Silent Money Leaker: How To Fix A Running Toilet In 5 Minutes
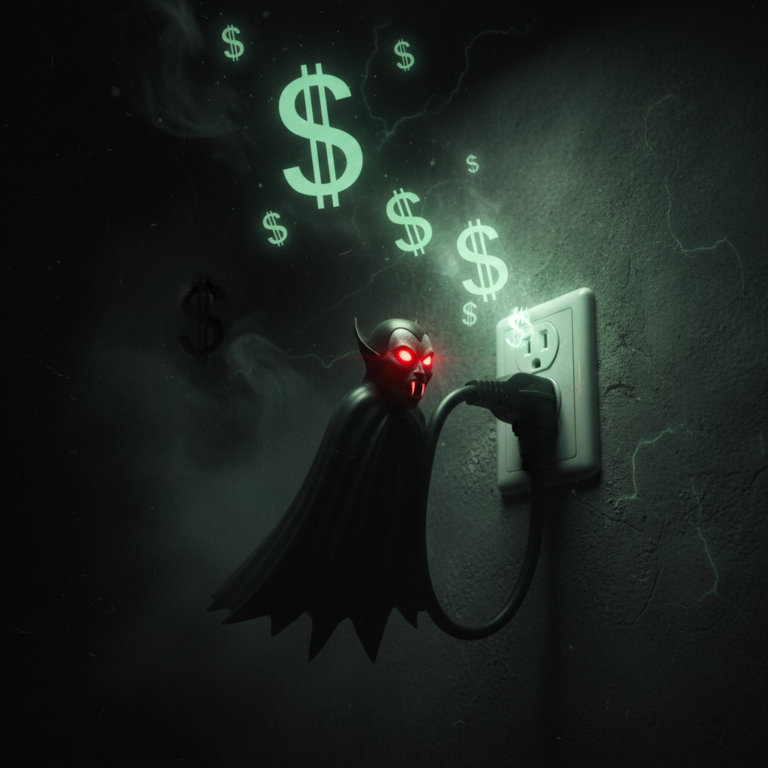
Listen up. You hear that? That faint, constant hissing from the bathroom? That’s not just water; it’s the sound of your hard-earned cash being flushed away, 24/7. A running toilet is one of the sneakiest budget-killers in any home. It’s a silent money leaker that can waste up to 200 gallons of water a day. We’re not talking about a few cents here—we’re talking about a significant drain on your bank account over time.
But here’s the deal: you don’t need to call an expensive plumber and watch your money circle the drain. You’re smarter than that. For less than the price of a fancy coffee, you can fix this problem yourself. This isn’t some complicated, all-day project. This is a five-minute power move. It’s time to take control, stop the leak, and put that money back where it belongs: in your pocket. Let’s get to it.
The Math: Exposing Your Toilet’s Secret Spending Habit
Before we get our hands dirty, let’s talk numbers. Because nothing motivates a frugal hacker like cold, hard cash. Most people underestimate how much a running toilet actually costs. They hear the hiss, jiggle the handle, and forget about it. That’s a rookie mistake.
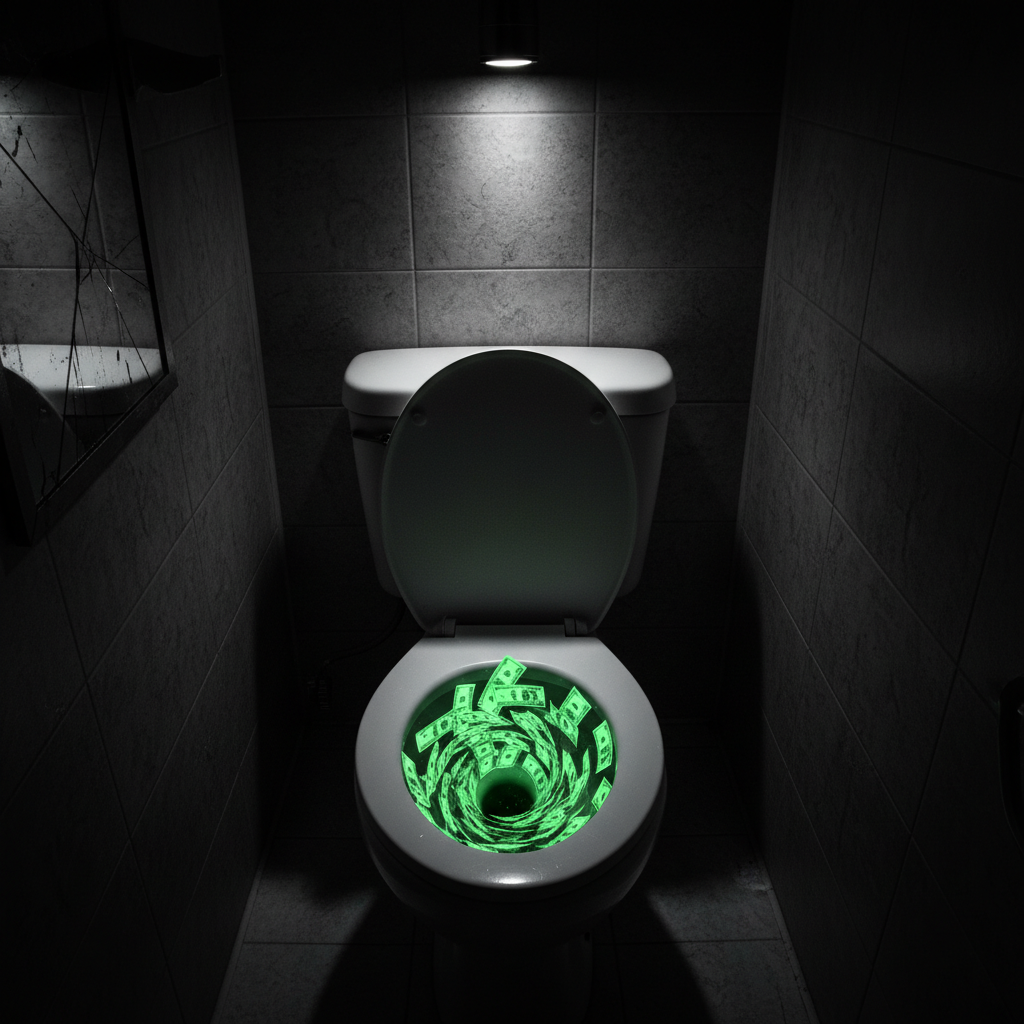
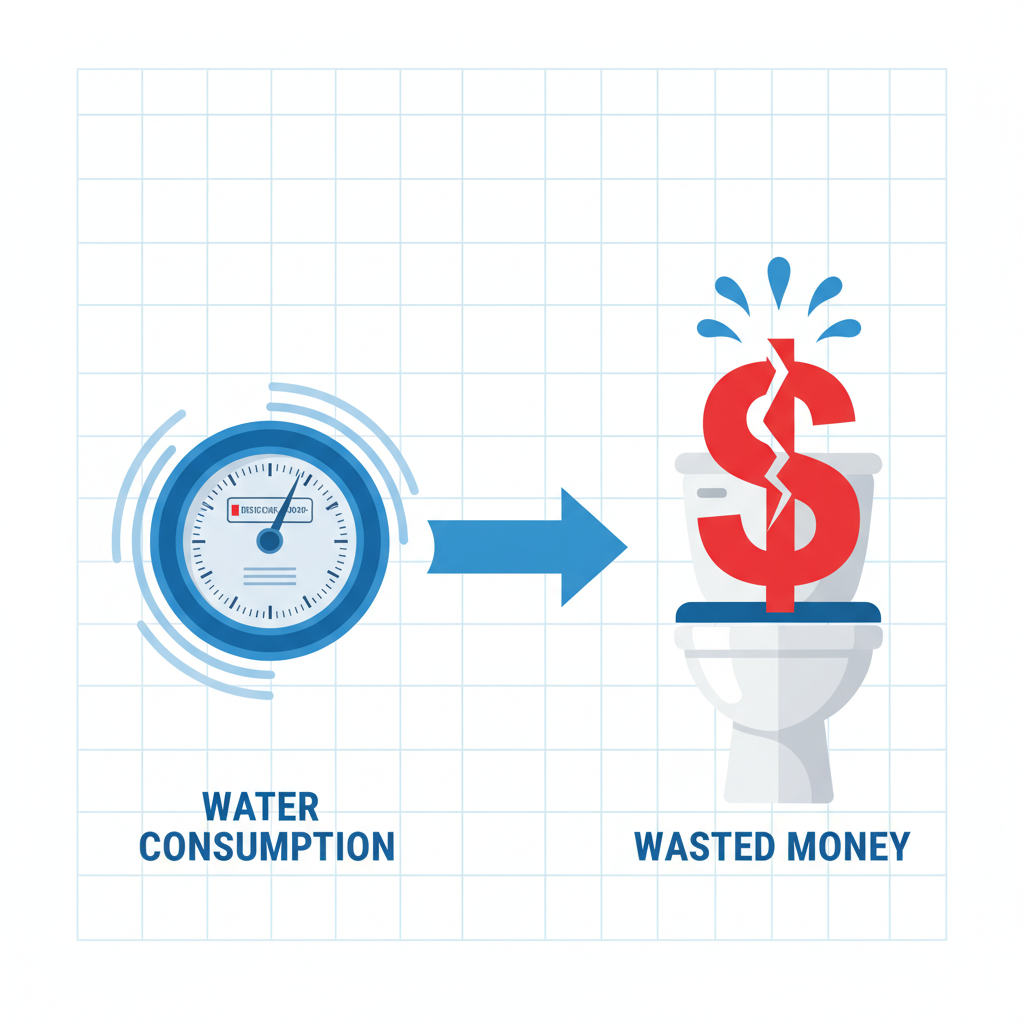
A moderately running toilet can waste about 6,000 gallons of water per month. Let’s break down what that looks like in real money, using the average U.S. water rate:
- Daily Cost: A leak of this size can cost you around $2 to $5 per day. Doesn’t sound like much, right? Wrong.
- Monthly Cost: That daily trickle adds up to a staggering $60 to $150 per month. That’s a streaming subscription, your gym membership, or a serious chunk of your grocery bill, just gone.
- Annual Cost: Over a year, you could be flushing away anywhere from $720 to over $1,800. Imagine what you could do with an extra $1,800. That’s a vacation, a paid-off credit card, or a serious boost to your emergency fund.
The culprit is almost always a cheap, worn-out piece of rubber called the flapper. It’s a classic case of a $10 part causing a $1,000 problem. Seeing the numbers in black and white makes it clear: ignoring this isn’t an option. Fixing it is one of the highest-return investments you can make in your home.
Your 5-Minute Fix Toolkit: No Fancy Gear Required
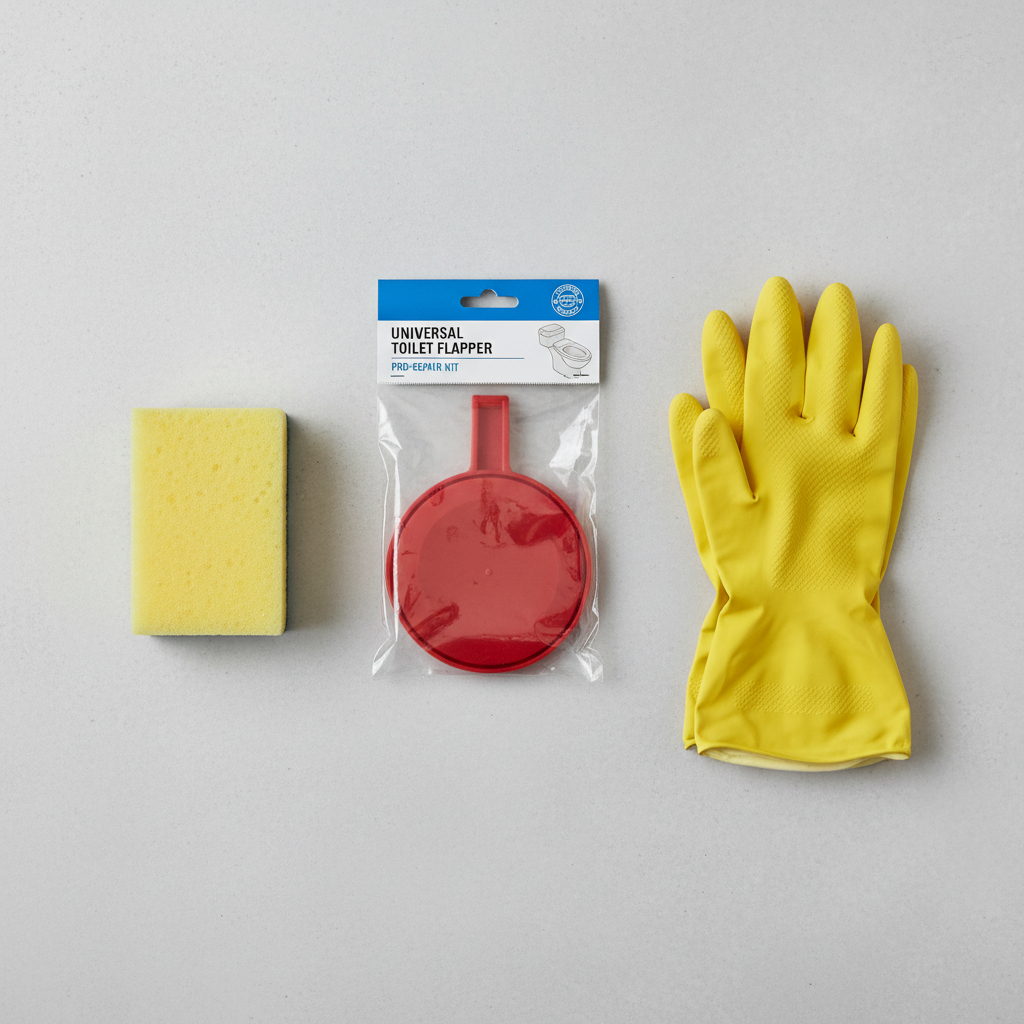
Alright, time to gear up. The good news is you don’t need a professional-grade toolbox that costs a fortune. This is a minimalist operation. You likely have most of what you need already, and the one part you have to buy is dirt cheap.
Here’s your entire shopping list:
- A New Toilet Flapper: This is the star of the show. They cost between $5 and $15 at any hardware or home improvement store. Pro Tip: Take a picture of the inside of your toilet tank before you go to the store. There are a few different types, and showing the photo to an employee can help you get the right one fast. Most are universal, but it never hurts to check.
- An Old Sponge or Towel: Something you don’t mind getting a little grimy. This is for soaking up the last bit of water in the tank.
- Optional – Rubber Gloves: The water in the tank is clean, but some people prefer to keep their hands dry. Your call.
That’s it. No fancy wrenches, no sealants, no complicated machinery. The most important tool you have is the drive to stop wasting money. The flapper is the gatekeeper between the tank and the bowl. Over time, the rubber warps, degrades, or gets mineral buildup, preventing a perfect seal. That tiny gap is where your money is escaping.
The Takedown: Your Step-by-Step Guide to Silencing the Leak
This is where the magic happens. Follow these steps exactly, and you’ll be done before your coffee gets cold. No shortcuts, no second-guessing. You got this.
- Shut Off the Water: Look for the small valve on the wall or floor behind the toilet. Turn the handle clockwise until it stops. This cuts the water supply to the tank. This is the most important step. Do not skip it.
- Empty the Tank: Take the lid off the tank and set it aside carefully. Flush the toilet and hold the handle down until as much water as possible drains from the tank into the bowl.
- Sop Up the Rest: There will be an inch or two of water left. Use your sponge or towel to soak it all up. You want the tank as dry as possible so you can work without splashing.
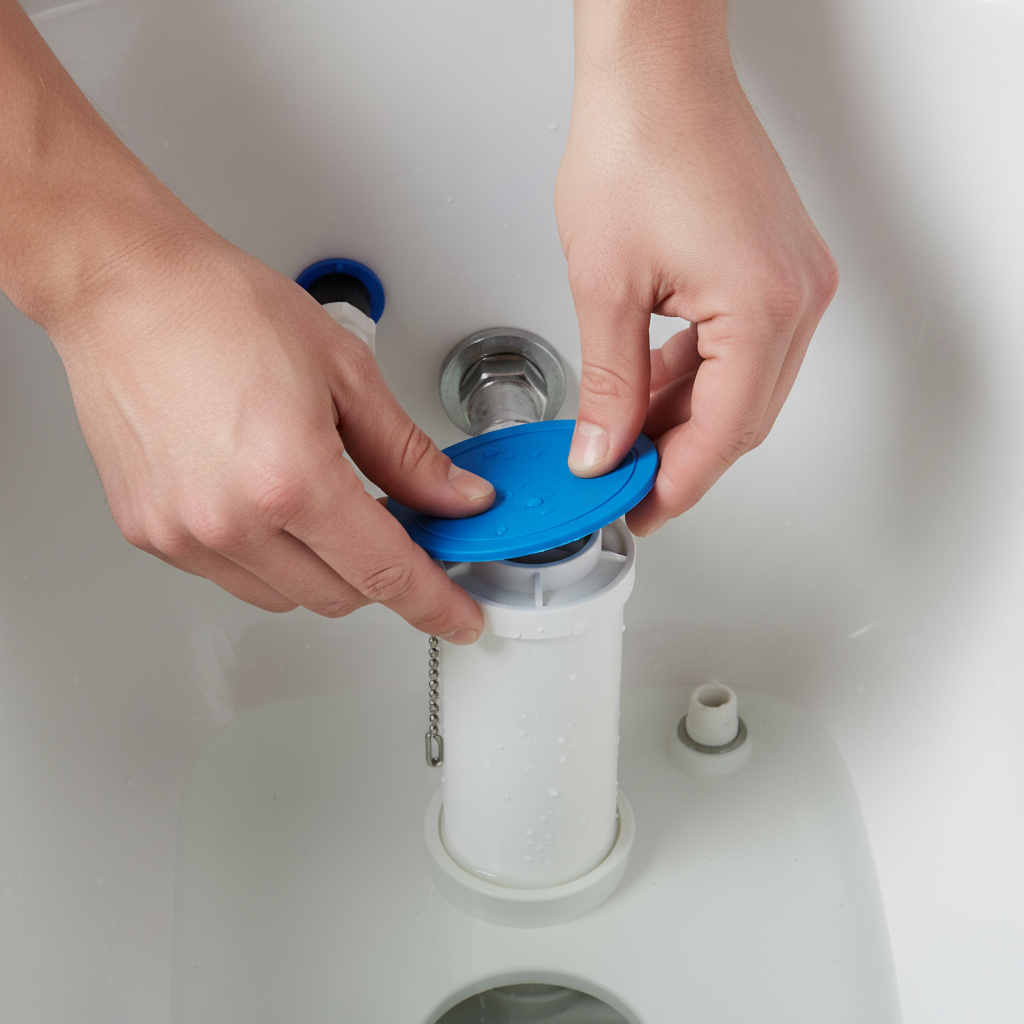
- Remove the Old Flapper: The flapper is the rubber or plastic stopper in the middle of the tank. It’s connected in two places: two little ‘ears’ hook onto the sides of the overflow pipe (the big vertical tube), and its chain is clipped to the flush lever arm. Unhook the chain first, then gently pop the ears off the overflow pipe. Toss the old, leaky flapper.
- Install the New Flapper: Grab your new flapper. Hook its ears onto the same posts on the overflow pipe where the old one was. Make sure it’s seated correctly.
- Connect the Chain: Clip the chain of the new flapper to the flush lever arm. Here’s the key: you want about a half-inch of slack in the chain.
Key Rule: Too tight, and the flapper won’t seal. Too loose, and it won’t lift enough to flush properly. Adjust the clip on the chain links to get it just right.
- Turn the Water Back On: Slowly turn the water supply valve counter-clockwise. You’ll hear the tank start to fill. Watch for any obvious drips or problems.
- The Final Test: Once the tank is full, wait a minute. Listen. The sweet sound of silence means you’ve won. Flush the toilet to make sure it works correctly. The flapper should lift, then drop back down and create a solid seal.
And that’s it. You just performed a plumbing repair and saved yourself a massive headache and a pile of cash.
The Payoff: DIY vs. Calling the Plumber

Let’s look at the final score. You took the DIY route. Your friend, who has the same problem, decides to call a plumber. How do your bank accounts compare at the end of the day? This is the real bottom line, the proof that your street smarts pay off—literally.
| Expense Category | Your DIY Cost | Cost of Calling a Plumber |
|---|---|---|
| Parts | $10 (for a universal flapper kit) | $30 – $50 (parts markup is standard) |
| Labor/Service Fee | $0 (5 minutes of your time) | $75 – $150 (for the service call, even for a quick job) |
| Time & Hassle | One quick trip to the store | Scheduling, waiting for the appointment window, etc. |
| Total Cost | ~$10 | ~$105 – $200+ |
| Your Immediate Savings | You saved at least $95, and potentially up to $190! | |
The table doesn’t lie. You spent less than $15 and a few minutes to solve a problem that would have cost someone else well over $100. This isn’t just about one repair. It’s about a mindset. Every time you tackle a simple fix like this, you’re building skills and saving money that compounds over time. This is how you get ahead.
Advanced Tactics & When to Surrender
You replaced the flapper, and the toilet is *still* running? Don’t panic. The flapper is the culprit 90% of the time, but occasionally the leak is a little sneakier. Before you throw in the towel, here are a couple of other things to check.
Advanced Tactic 1: Check the Fill Valve
The fill valve is the tall assembly on the left side of the tank that refills it after a flush. Sometimes, it can fail to shut off completely, causing water to constantly trickle into the tank and down the overflow pipe. To test this, wait for the tank to fill, then make a pencil mark at the water line. Come back in 30 minutes. If the water level is now above your mark and spilling into the overflow tube, your fill valve is the problem. These are also replaceable and cost around $15-$25, though the installation is a bit more involved than the flapper.
Advanced Tactic 2: Adjust the Float
Attached to the fill valve is a float. If the float is set too high, the water level will rise above the overflow pipe, creating a constant, silent leak. Most modern floats can be adjusted easily, often with a small screw or clip. Lowering the float will make the fill valve shut off sooner, saving water and stopping the leak. The water level should always be about an inch below the top of the overflow pipe.
When to Fold ‘Em and Call a Pro
Listen, empowerment is also about knowing your limits. You’ve tried the basics, and it’s still not working. It’s time to call for backup if:
- You see water pooling around the base of the toilet. This could be a failed wax ring, a more serious issue.
- You can’t turn off the water supply valve (it’s frozen or broken).
- You’ve replaced the flapper and fill valve, and it’s *still* running.
There’s no shame in calling a professional for a complex problem. You’ve already saved money by diagnosing the simple stuff first. That’s a win.
Conclusion
You did it. You identified a silent money leaker, you assembled your gear, and you executed the fix in minutes. You didn’t just fix a toilet; you took a stand against the small, hidden expenses that drain your wealth. That $100+ you saved isn’t just a one-time win; it’s a testament to your ability to take control of your home and your finances. You are now the boss of your plumbing. That feeling of competence and the real money in your pocket is what frugal hacking is all about. So go ahead, enjoy the silence. It’s the sound of victory. Now, what’s the next silent leak in your budget you’re going to conquer?