Take Pro Photos With Your iPhone: No Expensive Camera Required
Let’s get one thing straight: anyone who tells you that you need a $3,000 DSLR camera with a lens the size of a coffee can to take professional photos is either trying to sell you one or they’re stuck in the past. The truth? The most powerful camera is the one you have with you, and for most of us, that’s our iPhone. That little glass rectangle in your pocket isn’t just for doomscrolling and texting—it’s a legit, high-powered tool capable of capturing jaw-dropping images that can build a brand, launch a side hustle, or just make your social media feed look fire.
Forget gatekeepers and gear snobs. This is your guide to ditching camera envy and mastering the art of iPhone photography. We’re not talking about complicated tech jargon or expensive accessories. We’re talking about street-smart techniques, free resources, and the hustle mentality to turn your existing phone into a cash-generating machine. Get ready to level up your photo game without spending a dime.
Your Pocket-Sized Studio: Mastering the iPhone Camera You Already Own

Your Pocket-Sized Studio: Mastering the iPhone Camera You Already Own
Before you even think about downloading an app or buying a tripod, you need to master the beast that’s already built-in. Apple has poured billions into making the native camera app incredibly powerful, but most people only use about 10% of its features. Let’s change that right now. This isn’t about becoming a tech genius; it’s about knowing which buttons to push to get the results you want. Think of it as learning the cheat codes for your own phone.
Key Settings to Activate Immediately:
- Grid Lines: Go to Settings > Camera > Composition and turn on ‘Grid’. This is non-negotiable. It overlays two horizontal and two vertical lines on your screen, helping you use professional composition techniques like the Rule of Thirds. It’s the single fastest way to stop taking boring, centered photos.
- Exposure Control: When you tap your screen to focus, a little sun icon appears. Don’t ignore it. Slide your finger up or down to manually adjust the brightness before you take the shot. This gives you instant control over the mood and prevents your photos from being too dark or completely blown out.
- AE/AF Lock: See a perfect shot with perfect lighting, but your phone keeps trying to refocus? Tap and hold on the screen where you want to focus until you see ‘AE/AF Lock’ appear at the top. This locks in your exposure and focus settings, so you can reframe your shot without the camera going rogue. It’s a game-changer for consistency.
- Portrait Mode Mastery: Don’t just turn on Portrait Mode and hope for the best. Tap the ‘f’ icon in the corner to adjust the depth of field (the background blur). A lower f-stop number (like f/1.4) gives you a super blurry, dreamy background, perfect for making your subject pop. A higher number (like f/16) keeps more of the background in focus. Play with it.
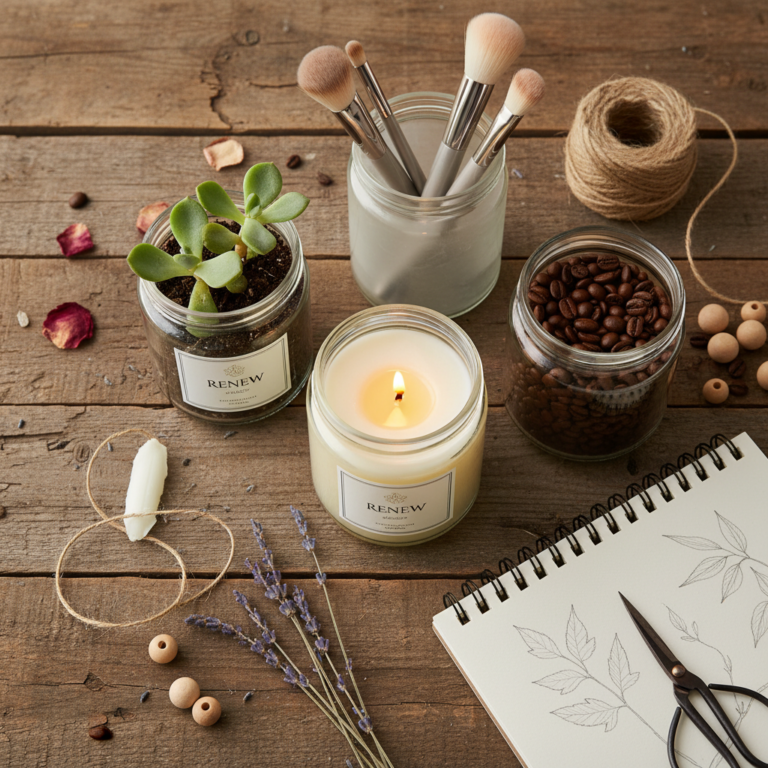
Spend an hour just playing with these settings. Take 20 photos of a coffee mug on your table, changing the exposure, locking the focus, and framing it with the grid lines. This is your training ground. Master the fundamentals here, and everything else becomes ten times easier.
Lighting is Everything: Pro Secrets for Zero Dollars
Lighting is Everything: Pro Secrets for Zero Dollars
You can have the best camera in the world, but with bad lighting, your photos will look like they were taken on a potato. The good news is that the best light is completely free. You just need to know where to find it and how to use it. Pros obsess over light, and you should too. It’s the secret sauce that separates an amateur snapshot from a professional photograph.
The Broke Photographer’s Lighting Toolkit:
- Hunt the Golden Hour: This isn’t some mystical secret. The ‘golden hour’ is the period shortly after sunrise and before sunset. The sun is low, creating soft, warm, and flattering light that makes everything look amazing. Harsh midday sun creates ugly shadows. If you want to take photos of people or products outdoors, this is your time to shine.
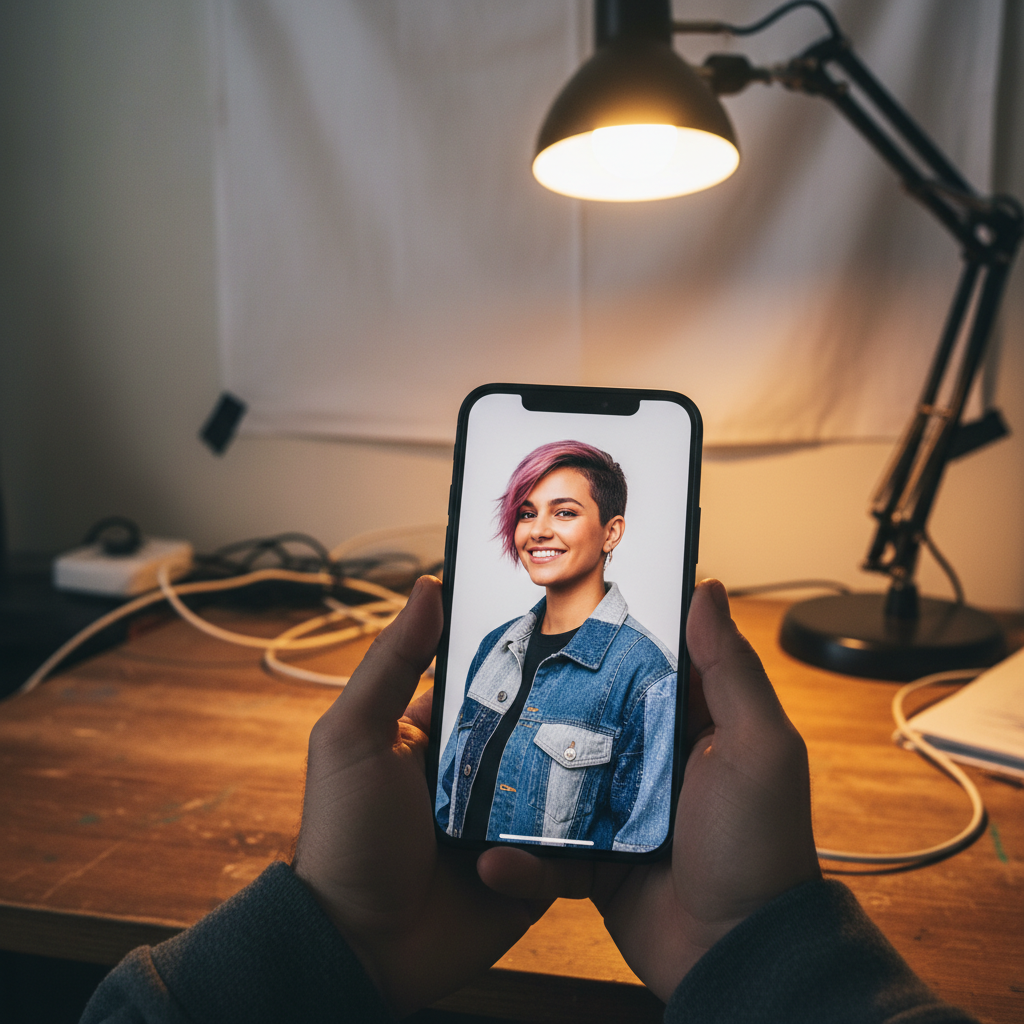
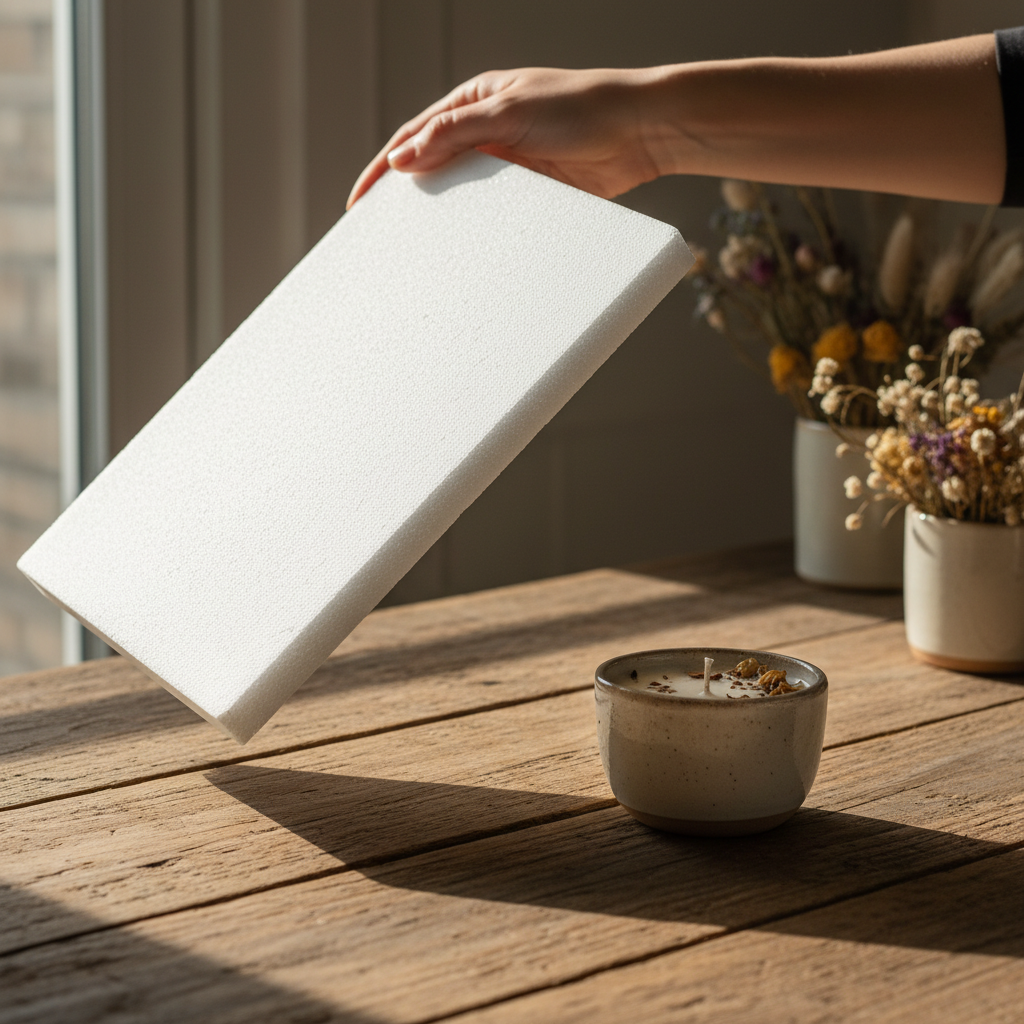
- Become a Window Worshipper: The biggest, softest light source you have is a window. Place your subject (a person, a plate of food, a product) facing the window light, not with their back to it. This creates beautiful, even lighting. If the light is too harsh, you can hang a thin white sheet over the window to diffuse it, creating a giant softbox for $0.
- The $1 Reflector Hack: Go to the dollar store. Buy a piece of white foam board or poster board. Done. You now have a professional reflector. When shooting near a window, hold this board on the opposite side of your subject from the window. It will bounce the light back, filling in any dark shadows and making your subject pop. You can also use aluminum foil taped to cardboard for a brighter, more specular light.
Key Rule: Turn Off Your Flash. The built-in iPhone flash is harsh, ugly, and makes everyone look like a deer in headlights. It flattens your subject and creates terrible shadows. There are almost no situations where it looks good. If you think you need a flash, what you really need is to find a better light source. Move closer to a window, turn on a lamp, or wait for a better time of day.
The Final Touch: Free Apps That Are Better Than Photoshop
The Final Touch: Free Apps That Are Better Than Photoshop
Shooting a great photo is only half the battle. The edit is where you inject your style and make the image truly stand out. Forget paying for expensive subscriptions to Adobe Photoshop or Lightroom. Your phone is packed with free tools that can do 99% of what the pros do. A good edit should enhance the photo, not look like a cheap filter from 2012.
Your Free Mobile Darkroom:
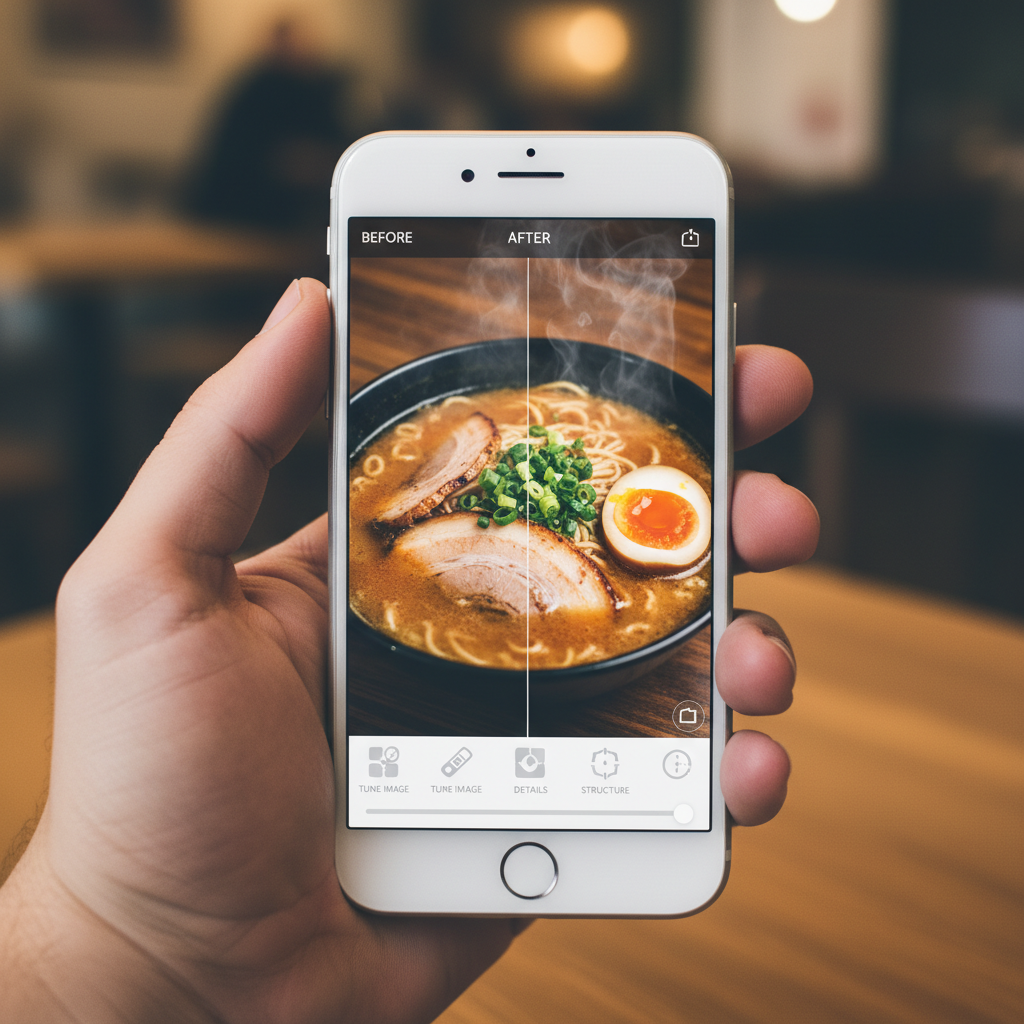
- Start with the Built-In Editor: Before you download anything, open your photo in the Photos app and hit ‘Edit’. The tools here are surprisingly robust. The ‘Auto’ button is smarter than you think and often provides a great starting point. From there, you can manually tweak exposure, contrast, saturation, and sharpness. It’s powerful and, best of all, completely free and already on your phone.
- Level Up with Snapseed: Google’s Snapseed app is the Swiss Army knife of free photo editors. It’s 100% free with no ads or subscriptions. The two most powerful tools are ‘Tune Image’ for basic adjustments and ‘Selective’. The Selective tool is a game-changer: you can place a pin on a specific part of your photo (like a person’s face or a specific color) and adjust the brightness, contrast, and saturation of just that area. This lets you make your subject pop without over-editing the entire image.
- Find Your Vibe with VSCO: While VSCO has a paid membership, its free version offers a solid collection of beautiful, film-like presets (filters). These are much more subtle and professional than Instagram’s built-in filters. Find one or two presets that you like and use them consistently to create a cohesive, professional look for your feed or portfolio. A consistent editing style makes your work look intentional and high-end.
The 60-Second Pro Edit Workflow:
Don’t get lost in the weeds. Here’s a simple workflow that works for almost any photo:
- Step 1: Crop & Straighten. Fix your composition first. Make sure the horizon is level.
- Step 2: Adjust Brightness & Contrast. Make sure the image is properly exposed.
- Step 3: Boost Vibrance/Saturation. Add a little color pop, but don’t overdo it.
- Step 4: Sharpen. A little bit of sharpening makes the details crisp and look professional.
That’s it. This simple process can take a good photo and make it great in under a minute, all from the palm of your hand.
Show Me the Money: How to Turn Your New Skills into a Side Hustle
Show Me the Money: How to Turn Your New Skills into a Side Hustle
Alright, you’ve mastered the tech, the light, and the edit. Now what? It’s time to stop just taking pretty pictures and start making money. Your iPhone photography skill is a legitimate, in-demand service. Small businesses, entrepreneurs, and brands are desperate for high-quality visual content but often can’t afford a professional photographer with a $5,000 day rate. That’s where you come in.
Your First Hustles:
- Local Product Photography: Look around your town. The new bakery, the Etsy seller making jewelry, the craft brewery. They all need killer photos for their websites, social media, and delivery apps. Your crisp, well-lit iPhone photos are a massive upgrade from the blurry, dark photos they’re currently using.
- Social Media Content Creation: Offer a package deal. For a monthly retainer, you provide a local business with 15-20 high-quality photos they can use for their Instagram feed. You’re saving them time and making their brand look a hundred times better.
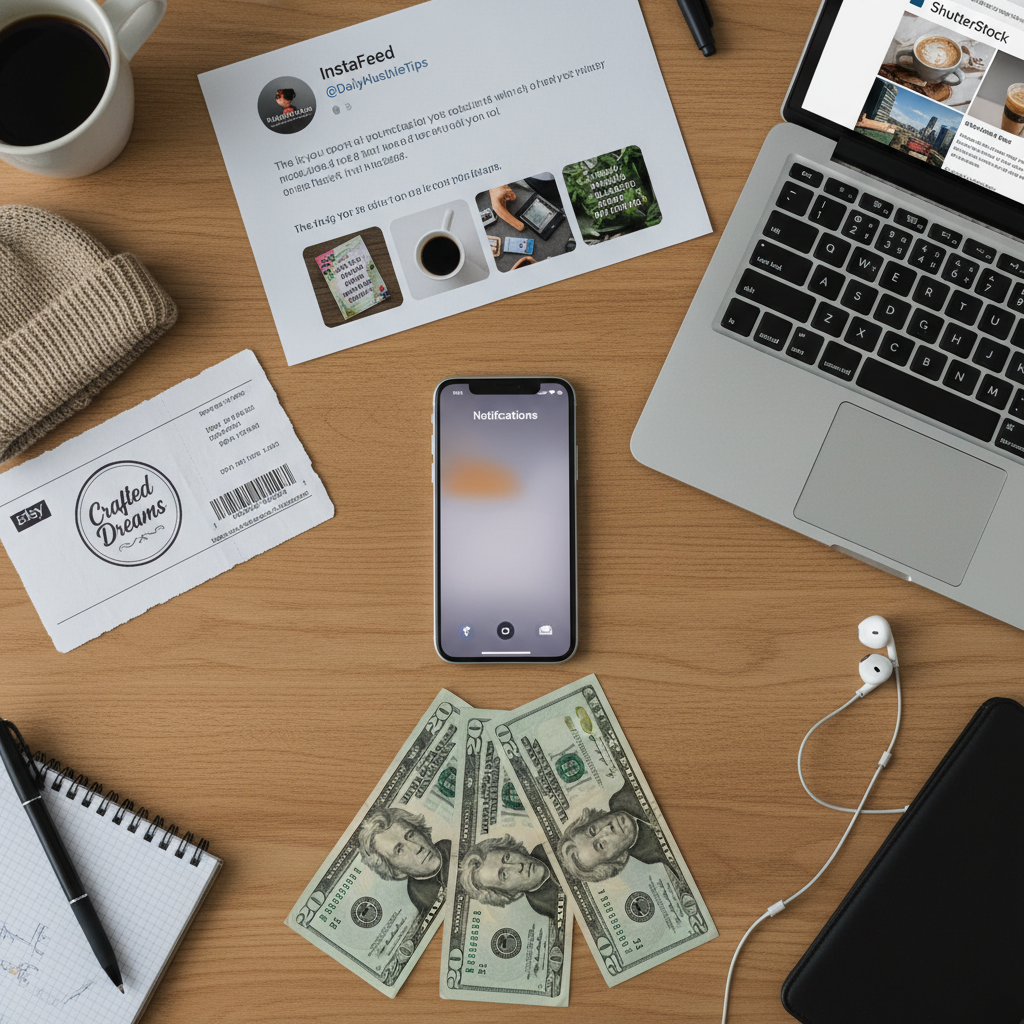
- Stock Photography: It’s a volume game, but sites like Adobe Stock, Shutterstock, and even newer apps like Foap allow you to upload your photos. Every time someone downloads one, you get a small royalty. It’s passive income. Shoot what you know: photos of your city, people working from home, flat lays of your hobbies. Authenticity sells.
| Side Hustle | Pricing Strategy | Realistic Earning Potential (Monthly) |
|---|---|---|
| Local Product Photography | $50 – $150 per session (5-10 photos) | $200 – $600 |
| Social Media Content Package | $250 – $500 per month/client | $500 – $1,500+ (with 2-3 clients) |
| Stock Photography | Royalty-based ($0.25 – $5.00 per download) | $20 – $100 (passive, grows over time) |
The Pitch Script That Works:
Don’t be shy. Find a local business on Instagram with lackluster photos and send them a direct message or email. Be direct, provide value, and make it a no-brainer for them.
Hi [Business Name],
My name is [Your Name] and I’m a local photographer specializing in creating clean, vibrant images that help businesses like yours stand out online.
I love what you’re doing with [mention something specific, like ‘your amazing sourdough bread’]! I noticed your social media photos could use a little extra pop to really show off how great your products are.
I shoot with professional-grade mobile gear, which allows me to offer high-end results at a rate that’s friendly for small businesses. Could I offer you a no-obligation trial shoot of 3 photos for just $25? You can see the quality for yourself.
Looking forward to hearing from you!
Best,
[Your Name]
Stay Sharp: Red Flags and Scams to Avoid

Stay Sharp: Red Flags and Scams to Avoid
As soon as you start putting yourself out there as a photographer, you’re going to run into people trying to take advantage of you. The world of ‘creatives’ is full of hustlers, and not the good kind. Knowing the red flags will save you time, money, and a massive headache. Your time and your skill have value. Don’t let anyone tell you otherwise.
Scam Warning Signs:
- ‘Payment via Exposure’: This is the oldest scam in the book. A brand or business will ask you to provide photos for free in exchange for a ‘shoutout’ on their social media page. Exposure doesn’t pay your rent. Unless it’s a massive, globally recognized brand (and even then, be skeptical), this is a hard pass. Your work is worth real money.
- Vague Contests & Rights Grabs: Be very careful with online photo contests. Read the fine print. Many of them have terms that state by submitting a photo, you grant them a perpetual, worldwide license to use your image for free, forever, whether you win or not. They are building their stock photo library with your free labor.
- The Overpayment Scam: A ‘client’ will send you a check for more than your agreed-upon fee (e.g., they send $2,000 for a $500 job). They’ll ask you to deposit the check and wire them back the difference. The original check will eventually bounce, but the money you wired them is gone forever. Never accept overpayment.
- Clients Who Won’t Sign a Contract: Even for a small $100 job, have a simple agreement in writing. It should state the number of photos, the price, and when payment is due. If a client is resistant to putting anything in writing, it’s a massive red flag. It means they want the ability to change the terms or refuse payment later.
The Golden Rule: No Cash, No Clicks. Always get a deposit before you start shooting for a new client. A standard practice is 50% upfront and 50% upon delivery of the final, watermarked images. The client gets the non-watermarked, high-resolution files only after the final payment is made. This protects you from doing a bunch of work and then getting ghosted.
Conclusion
There you have it. The myth is busted. You don’t need a mountain of expensive gear to take incredible, professional-quality photos. You need knowledge, a little practice, and the hustle to make it happen. Everything you need to start is already in your possession. You’ve learned how to master your iPhone’s camera, how to manipulate light for free, how to edit like a pro using free apps, and most importantly, how to turn this valuable skill into a legitimate side hustle.
Stop waiting for the ‘right’ camera or the ‘perfect’ time. The perfect time is now. Grab your phone, find a window with good light, and start shooting. Experiment, make mistakes, and develop your eye. Your next side hustle, your next income stream, your next creative passion—it’s literally in your pocket, waiting for you to unlock it.