Stop Throwing Money Away: The Fridge Setup That Doubles Food Shelf Life
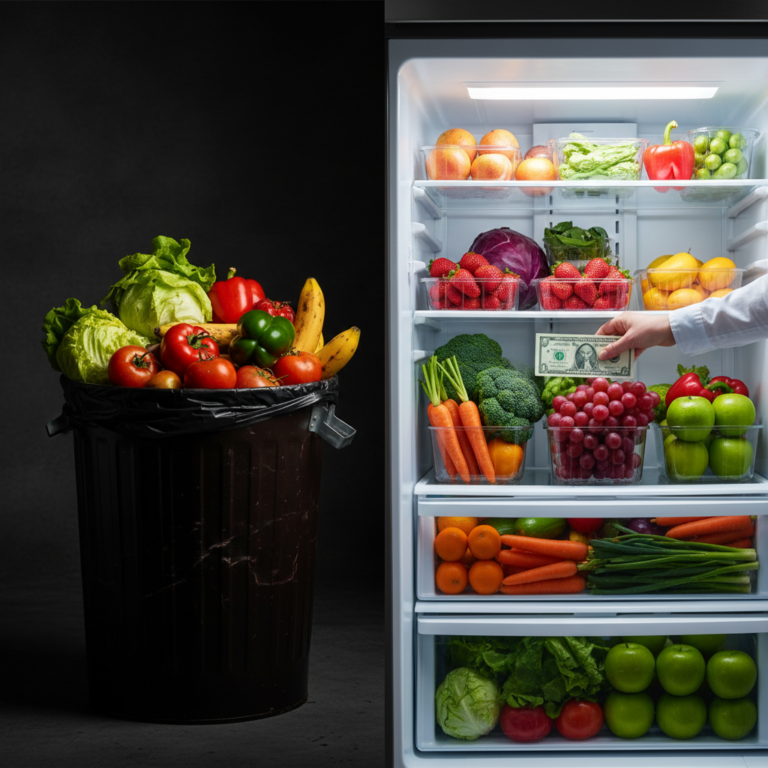
Let’s be real. You’ve done it. I’ve done it. We’ve all stared into the abyss of the vegetable crisper, pulled out a bag of what used to be lettuce, and felt that familiar pang of guilt. That’s not just spoiled food you’re tossing; you’re literally throwing your hard-earned cash into the garbage can. The average American family throws out about $1,500 worth of food each year. That’s a vacation, a debt payment, or a serious boost to your savings account, all going straight to a landfill.
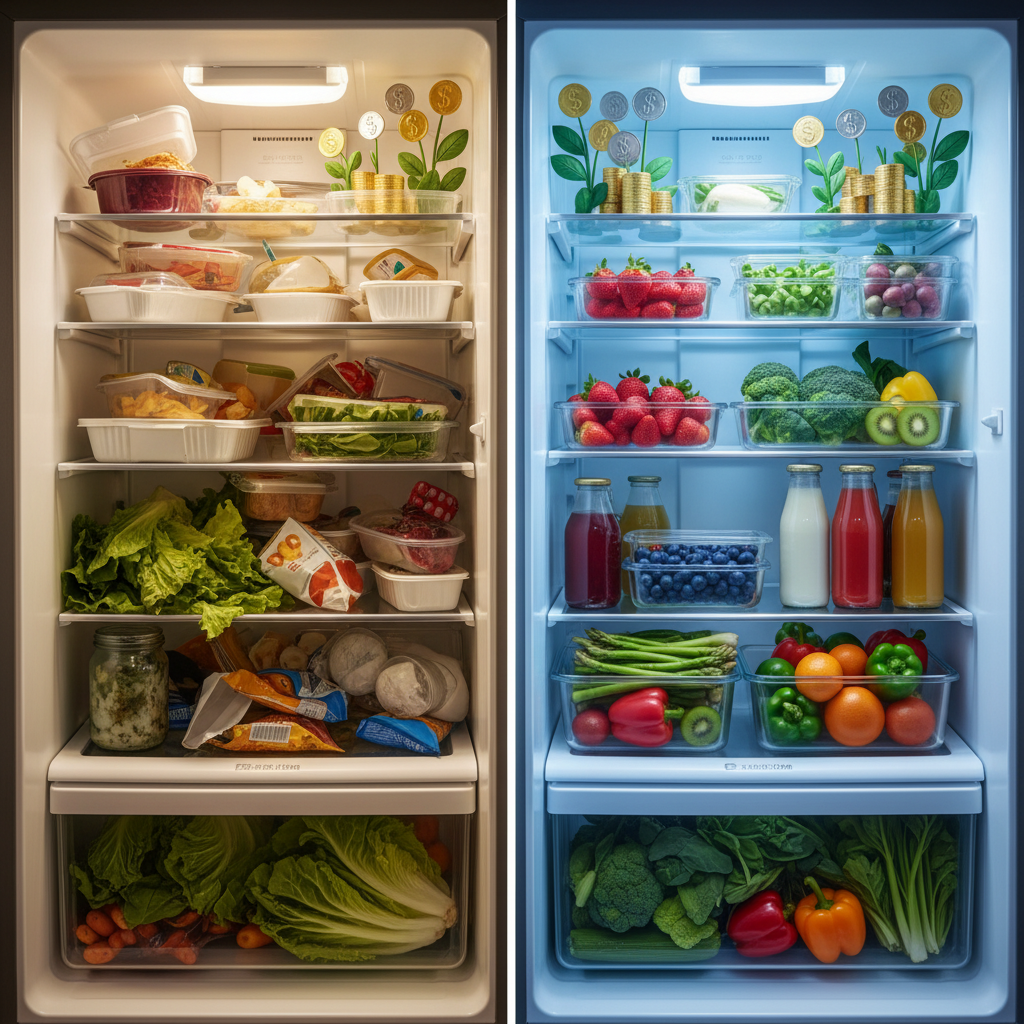
But what if I told you the problem isn’t you? It’s your setup. Your refrigerator, the appliance you trust to preserve your food, is probably working against you. It’s a chaotic, unoptimized space that encourages waste. Forget feeling guilty. It’s time to get smart. This isn’t about complicated systems or expensive gadgets. This is a street-smart blueprint to reclaim your cash by turning your fridge into a fortress of freshness. Get ready to double the life of your groceries and put that $1,500 back where it belongs: in your pocket.
Why Your Fridge is Secretly a Money Shredder
The Hidden Enemies of Freshness
Before you can win the war, you have to know the enemy. Inside your fridge, a silent battle is being waged against your food by three culprits: ethylene gas, humidity, and temperature fluctuation. Most people just shove food wherever it fits, not realizing they’re creating the perfect conditions for spoilage.
- Ethylene Gas: Think of this as the ‘bad influence’ gas. Fruits like apples, bananas, and tomatoes release it as they ripen, and it causes nearby vegetables (like lettuce, broccoli, and carrots) to rot prematurely. Storing them together is like putting a lit match in a fireworks factory.
- Humidity Havoc: Your crisper drawers aren’t just bins; they’re humidity controllers. Leafy greens, herbs, and broccoli need high humidity to stay crisp. Fruits that rot easily, like stone fruits and apples, need low humidity. Most people have no idea their drawers are adjustable or what to put in each one, so their produce either wilts or rots.
- Temperature Danger Zones: The temperature in your fridge isn’t uniform. The door is the warmest spot, yet it’s where most people store highly perishable items like milk and eggs. This constant temperature fluctuation from opening and closing the door speeds up spoilage. You’re basically paying to make your food go bad faster.
Every time you throw out a $4 container of moldy berries or a $3 bag of slimy spinach, it feels small. But that’s the trap. It’s death by a thousand cuts. A few bucks here, a few bucks there… and by the end of the year, you’ve shredded over a thousand dollars without even noticing.
The Frugal Hacker’s Fridge Arsenal: Gear You Actually Need
Don’t Buy Junk. Invest in Tools.
Forget the fancy, single-purpose gadgets you see on social media. Building a money-saving fridge is about strategic, multi-use tools. You might even have some of this stuff already. The goal is a small, one-time investment that pays you back tenfold within a couple of months.
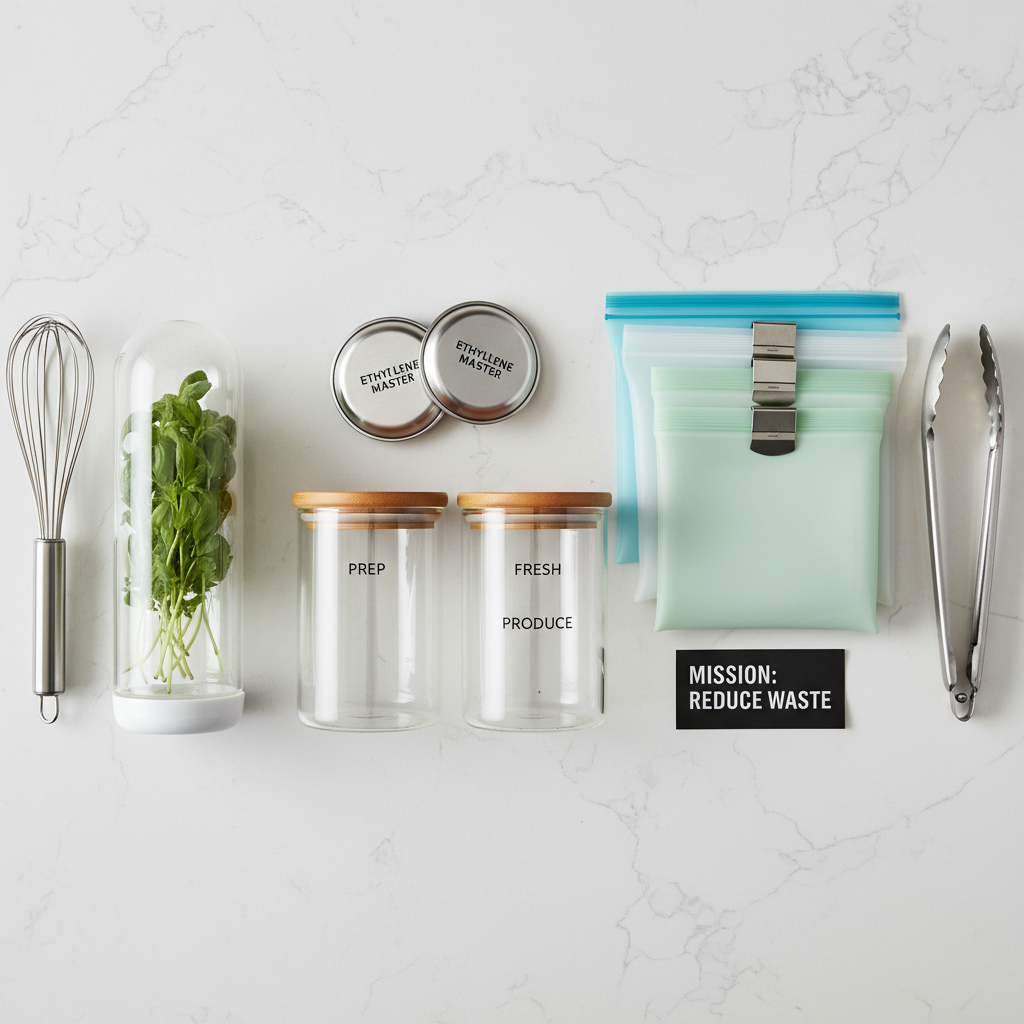
Your Core Toolkit:
- Clear, Airtight Containers: Glass is king. It doesn’t stain or hold odors, and you can see exactly what’s inside, which means no more forgotten science experiments in the back of the fridge. They’re perfect for leftovers, pre-chopped veggies, and washed berries.
- Ethylene Gas Absorbers: These are little pods or discs (often look like a small apple or a simple packet) that you toss in your crisper drawers. They act like a sponge, soaking up the ethylene gas and dramatically slowing down the ripening and rotting process. A total game-changer.
- An Herb Keeper or Mason Jars: Fresh herbs can cost $3-$4 a bunch and often die in two days. An herb keeper or a simple mason jar with an inch of water will make them last for two weeks. The ROI on this is insane.
- Reusable Silicone Bags: Great for marinating, storing snacks, and freezing leftovers. They cut down on plastic waste and are way more durable than flimsy sandwich bags.
The initial cost might seem like a lot, but let’s run the numbers. This isn’t spending; it’s a strategic investment to plug a massive leak in your budget.
| Tool | Estimated One-Time Cost | Estimated Monthly Savings | Payback Period |
|---|---|---|---|
| Glass Container Set (10-pc) | $30 | $20 (by saving one large meal’s leftovers & prepped veggies) | ~ 6 weeks |
| Ethylene Gas Absorbers (1-year supply) | $15 | $15 (by saving produce like lettuce, apples, and broccoli) | ~ 1 month |
| Herb Keeper / Mason Jar | $15 / $2 | $10 (by saving 2-3 bunches of herbs per month) | ~ 1-2 weeks |
| Reusable Silicone Bags (4-pack) | $20 | $5 (in Ziploc bag costs + preventing freezer burn) | ~ 4 months |
| TOTAL INVESTMENT | ~$80 | ~$50+ | Less than 2 months! |
The 5-Step Fridge Zoning Blueprint: Your Step-by-Step Guide
Time to Get Tactical. Here’s the Plan.
Alright, you’ve got your gear. Now it’s time to execute the blueprint. This will take an hour of your time, once, and will save you money every single day afterward. Crank up some music and let’s do this.
-
Step 1: The Purge & Deep Clean
Take EVERYTHING out. Yes, everything. Be ruthless. If it’s expired, fuzzy, or you can’t remember buying it, toss it. This is a fresh start. Scrub down every shelf, drawer, and wall with warm, soapy water or a vinegar solution. You’re creating a clean slate for a high-performance machine.
-
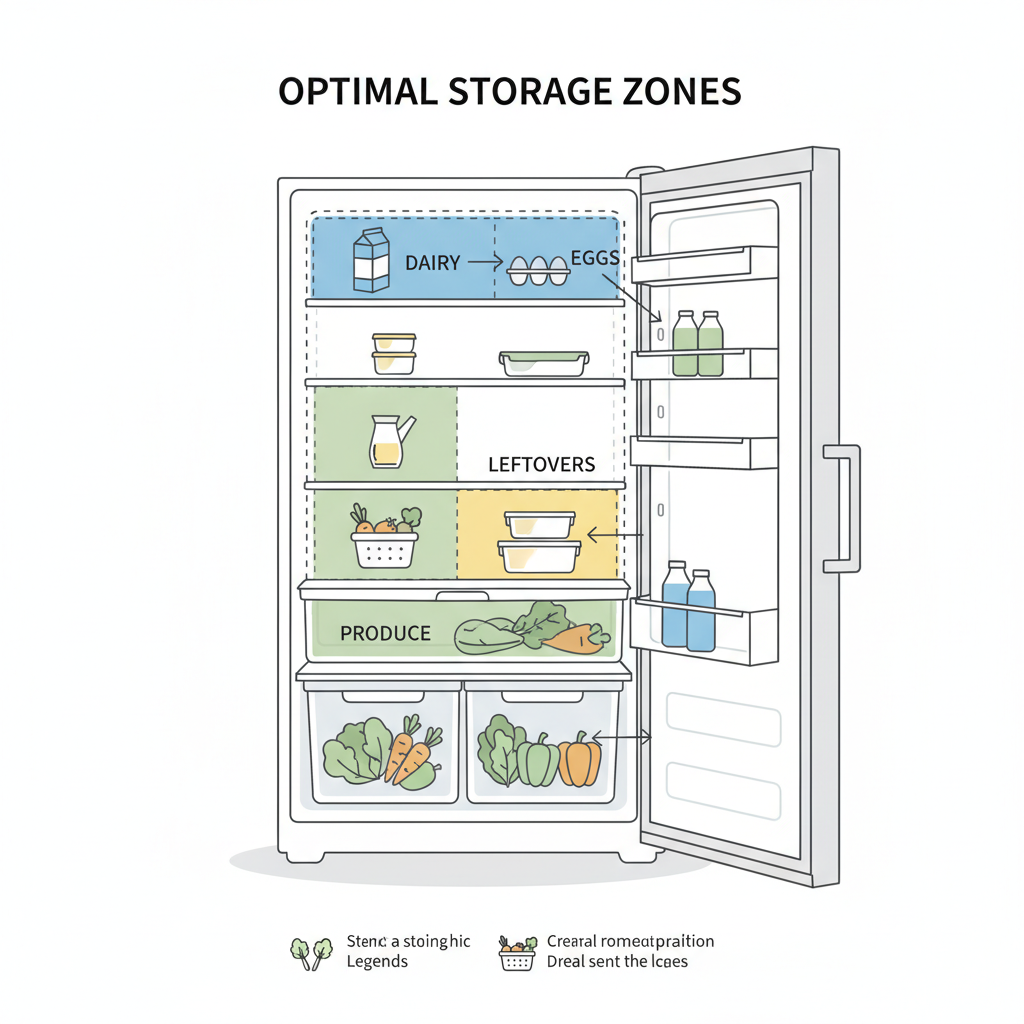
Step 2: Map Your Temperature Zones
Your fridge has micro-climates. Learn them. Use them to your advantage.
- Upper Shelves: The most consistent temperature is here, but it’s slightly warmer than the bottom. Perfect for leftovers, drinks, yogurts, and ready-to-eat foods.
- Lower Shelves: The coldest part of your fridge. This is prime real estate for raw meat, poultry, fish, eggs, and dairy. Store raw meat on a plate or in a container on the very bottom shelf to prevent drips from contaminating anything else.
- The Door: The warmest zone. DO NOT store milk or eggs here. This area is for condiments, jams, butter, and other items high in vinegar, salt, or sugar that are naturally more preserved.
-
Step 3: Master the Crisper Drawers
This is where the real magic happens. Most crisper drawers have an adjustable slide that opens or closes a small vent.
- High-Humidity Drawer (Vent Closed): Closing the vent traps moisture. This is for things that wilt: leafy greens, kale, spinach, fresh herbs, broccoli, carrots, and celery.
- Low-Humidity Drawer (Vent Open): Opening the vent lets moisture and ethylene gas escape. This is for things that rot: most fruits like apples, pears, stone fruits, and avocados.
Separating them this way can literally add a week or more to their lifespan.
-
Step 4: Prep & Store Like a Pro
How you store food is as important as where. Don’t just dump your groceries in.
- Berries: Give them a quick vinegar wash (1 part vinegar, 3 parts water), rinse, dry THOROUGHLY, and store in a glass container with a paper towel at the bottom. They’ll last over a week instead of two days.
- Leafy Greens: Wash, dry completely (a salad spinner is your best friend), and store in an airtight container with a paper towel to absorb excess moisture.
- Herbs: For hardy herbs (rosemary, thyme), wrap in a damp paper towel and place in a reusable bag. For soft herbs (cilantro, parsley), trim the stems and place them in a jar with an inch of water, like a bouquet of flowers.
-
Step 5: Implement the ‘First In, First Out’ (FIFO) Rule
This is a non-negotiable rule used in every professional kitchen for a reason. It eliminates waste.
The Golden Rule: When you buy new groceries, move the older items to the front of the shelf and place the new items behind them. This ensures you always use up the older food first.
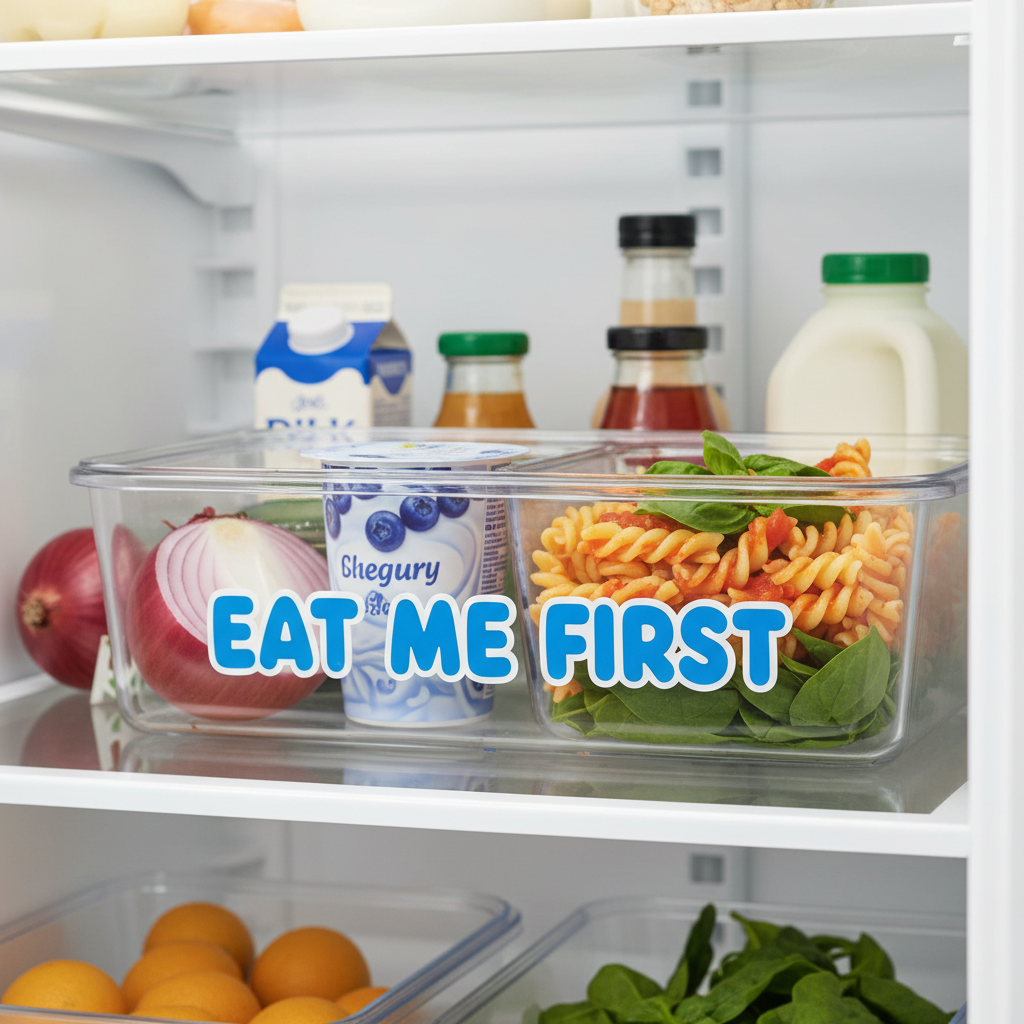
You can even create an ‘Eat Me First’ bin for items that are close to their expiration date or leftovers that need to be finished. This visual cue is incredibly powerful.
The Math: How This Fridge Hack Saves You $1,200+ a Year

Let’s Talk Real Numbers.
This isn’t about saving a few pennies. This is about a substantial financial impact. Let’s break down the potential savings for a typical household that stops throwing away common grocery items.
Weekly Savings Breakdown:
- Leafy Greens: You save one $4 clamshell of spinach or spring mix from turning to slime. Savings: $4.00
- Berries & Grapes: You save one $5 container of berries or a bag of grapes from getting moldy. Savings: $5.00
- Fresh Herbs: You save one $3 bunch of cilantro or parsley from wilting. Savings: $3.00
- Vegetables: You save that half-used bell pepper, cucumber, and head of broccoli from going soft. Estimated value: $6.00
- Leftovers: You actually eat the leftovers from two meals instead of forgetting about them. Estimated value: $10.00
Calculating the Annual Windfall:
Let’s be conservative and say you consistently save just $25 per week by implementing this system. That might not sound like a lottery win, but check this out:
- Weekly Savings: $25.00
- Monthly Savings: $25 x 4.33 weeks = $108.25 per month
- Annual Savings: $108.25 x 12 months = $1,299 per year!
That’s $1,299 back in your control. That’s a plane ticket, a new laptop, a significant chunk of a credit card paid off. All from organizing your refrigerator. It’s one of the highest-return, lowest-effort financial hacks you can possibly do.
| Frequency | Conservative Savings Estimate |
|---|---|
| Per Week | $25 |
| Per Month | $108 |
| Per Year | $1,299 |
| Over 5 Years | $6,495 |
Advanced Tactics: Level Up Your Food-Saving Game
For the Hardcore Frugal Hacker.
Once you’ve mastered the basics, you can push your savings even further with these pro-level moves.
- The ‘Eat Me First’ Box: We mentioned it before, but it’s worth repeating. Dedicate a clear, visible container on the top shelf for anything that needs to be eaten ASAP. Half an onion, a single yogurt, leftover chicken breast. This visual cue trains your brain to look there first when you’re hungry.
- Regrow Your Scraps: Don’t throw away the root ends of green onions, leeks, celery, or romaine lettuce. Place them in a shallow dish of water on a windowsill, and they’ll start to regrow. It’s free food!
- Use a Fridge Inventory App: For the tech-savvy, apps like NoWaste or Cozi can help you track what you have and when it expires. You can create a digital inventory of your fridge, pantry, and freezer, which is a lifesaver for meal planning and preventing duplicate purchases.
- The Whiteboard Method: If you’re low-tech, a simple magnetic whiteboard on the fridge door works just as well. List your leftovers and produce that needs to be used soon. Cross them off as you go.
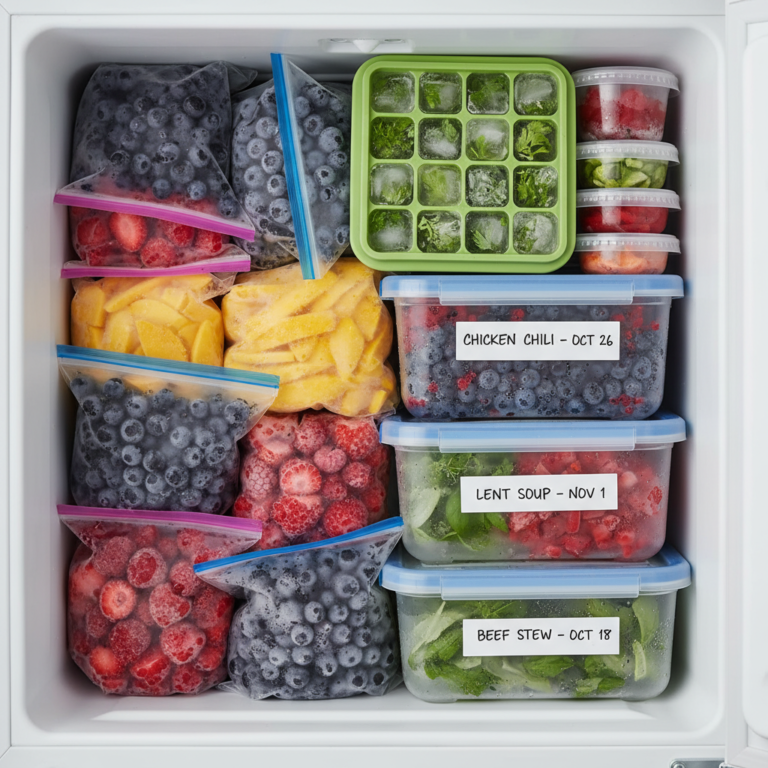
- Blanch and Freeze: If you know you won’t get to that giant head of broccoli or those green beans, take 15 minutes to blanch them (a quick dip in boiling water, then into an ice bath) and freeze them on a baking sheet before transferring to a silicone bag. This locks in the nutrients and stops them from going bad, saving them for a future stir-fry or soup.
These aren’t just tips; they are systems. By building these small habits, you create a powerful, automated process that continuously saves you money without you even having to think about it.
Conclusion
An organized fridge is not about having a pretty, Instagram-worthy kitchen. It’s a financial strategy. It’s a tool for taking back control of your budget from the silent drain of food waste. You work hard for your money; don’t let it rot away in the back of a disorganized appliance. By investing one hour into this blueprint, you’re not just cleaning your fridge—you’re giving yourself a raise of over $1,200 a year.
So, stop seeing it as a chore and start seeing it for what it is: one of the smartest money moves you’ll make all year. Stop throwing money away. Open your fridge, take control, and start saving. The power is, and always has been, in your hands.