Stop Paying The Dry Cleaner! The $5 Hack For Professional Laundry At Home
Let’s be real: that weekly trip to the dry cleaner is a total money pit. You’re paying a premium for someone to do something you can absolutely master yourself. They bank on you thinking it’s some kind of dark art, a secret process only they understand. That’s a myth. You’re getting played, and your wallet is paying the price. For every ‘dry clean only’ tag you surrender to them, you’re handing over cash that could be funding your side hustle, paying down debt, or just buying you a decent dinner. It’s time to take back control. We’re about to show you the under-$5 hack that delivers that same crisp, professional finish right from your own laundry room. No more inconvenient drop-offs, no more surprise fees, just perfectly pressed clothes and a fatter bank account.
The Real Cost of ‘Convenience’: Why Dry Cleaning is Draining Your Wallet
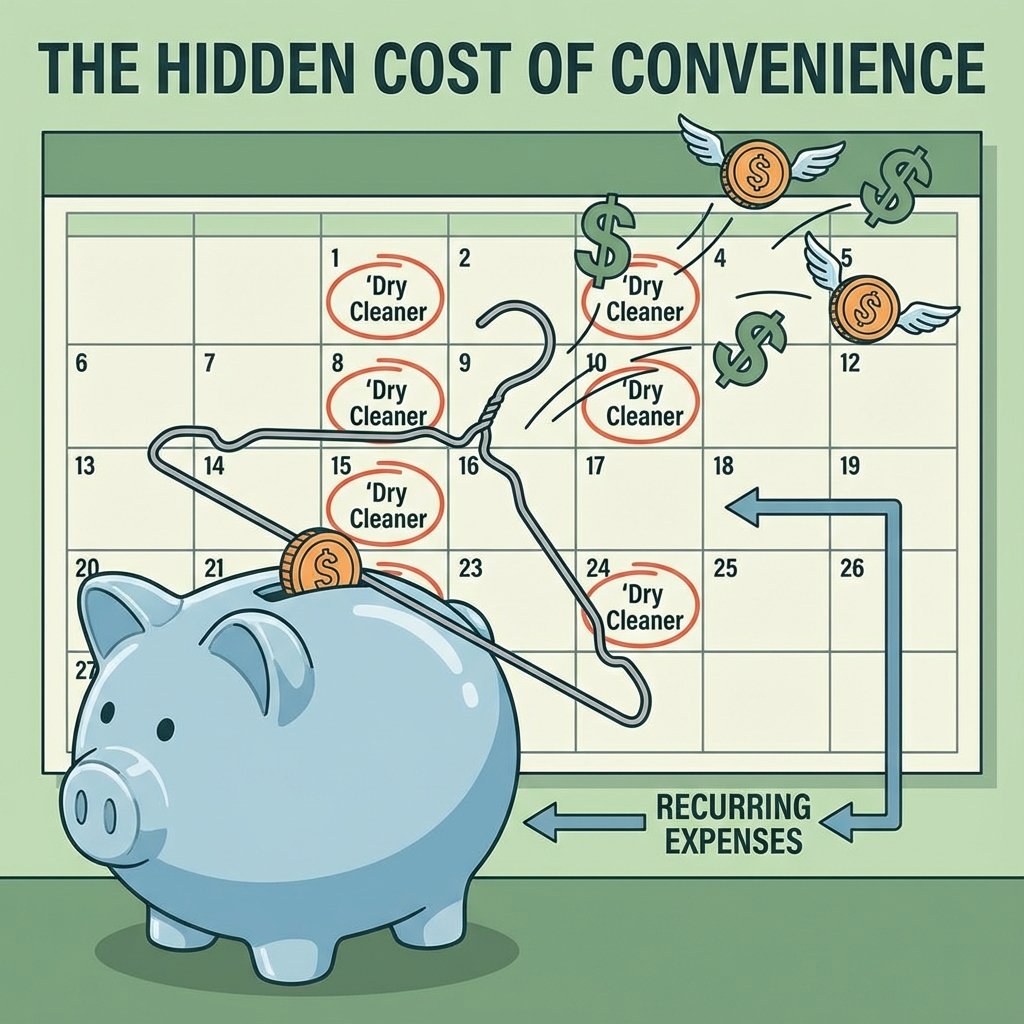
You might think $5 for a shirt or $15 for a suit isn’t a big deal, but that’s the trap. It’s a classic case of small leaks sinking a big ship. Let’s do the math. Say you take two shirts and a pair of pants to the cleaner every two weeks. At an average of $4 per shirt and $6 per pair of pants, that’s $14 per trip. Twice a month, that’s $28. Over a year, you’ve torched $336. And that’s a conservative estimate. If you’re in a corporate job or live in a big city, you could easily be spending $50-$100 a month, which adds up to a staggering $600 to $1200 a year. That’s money that could be invested, saved, or used for something you actually enjoy. This doesn’t even account for the hidden costs: the gas to drive there, the time wasted in your day, and the risk of them losing or damaging your favorite clothes. The ‘convenience’ they sell you comes at a ridiculously high price.
Your $5 Arsenal: The Tools You Need for the At-Home Pro Finish
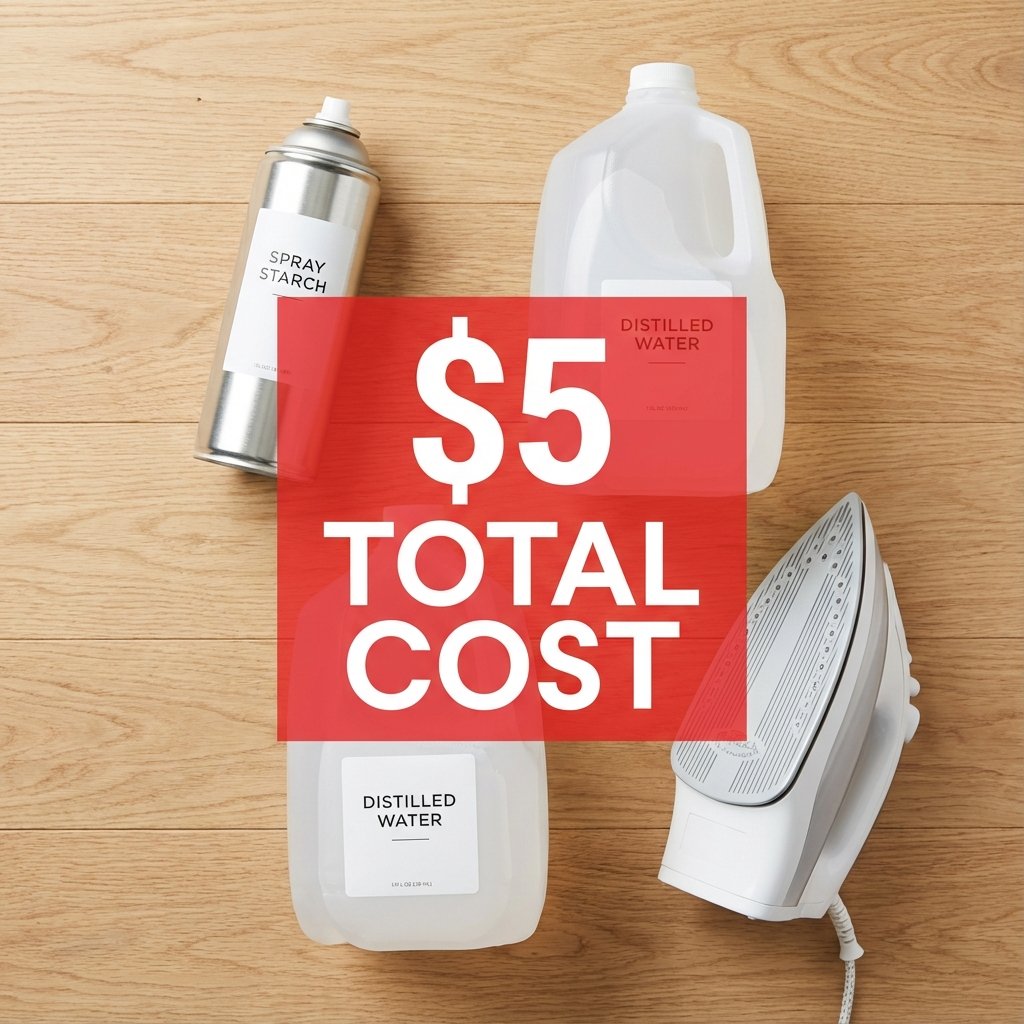
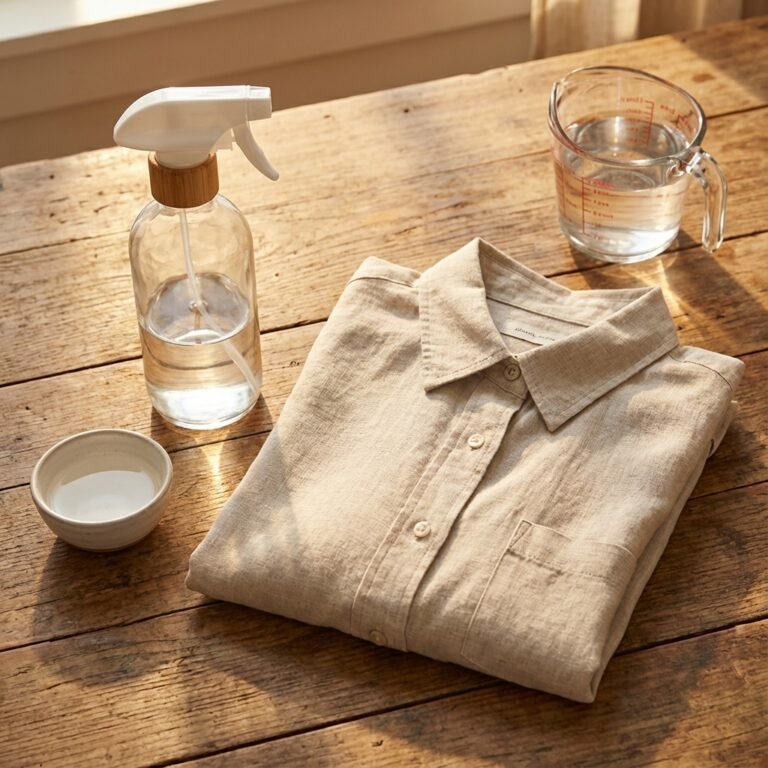
Forget fancy equipment or expensive detergents. The secret to breaking up with your dry cleaner lies in a few dirt-cheap items you can grab on your next grocery run. This isn’t about buying a whole new setup; it’s about weaponizing what you already have with one or two key additions. Here’s your entire shopping list to build your pro-laundry toolkit:
- High-Quality Spray Starch: This is the MVP. Don’t cheap out on the dollar store version. A good brand like Faultless or Niagra costs about $2-$3 and will last you for months. This is what creates that crisp, structured finish.
- A Good Steam Iron: You probably already own one. If not, you can get a solid one for $20 that will last for years. This isn’t part of the $5 hack, but it’s a non-negotiable tool for adulting.
- Distilled Water: A gallon costs about $1. Using it in your iron prevents mineral buildup from tap water, which can cause spitting and stain your clothes. This simple switch makes your iron work better and last longer.
- A Clean Spray Bottle: Optional, but great for mixing your own wrinkle-release spray (we’ll get to that) or for applying a finer mist of water while ironing. You can get one for $1.
That’s it. For the cost of cleaning one blazer, you’ve got the supplies to handle your laundry like a pro for the next six months. It’s not just about saving money on one item; it’s about changing the entire system.
The Frugal Tutorial: Your Step-by-Step Guide to a Perfect Press
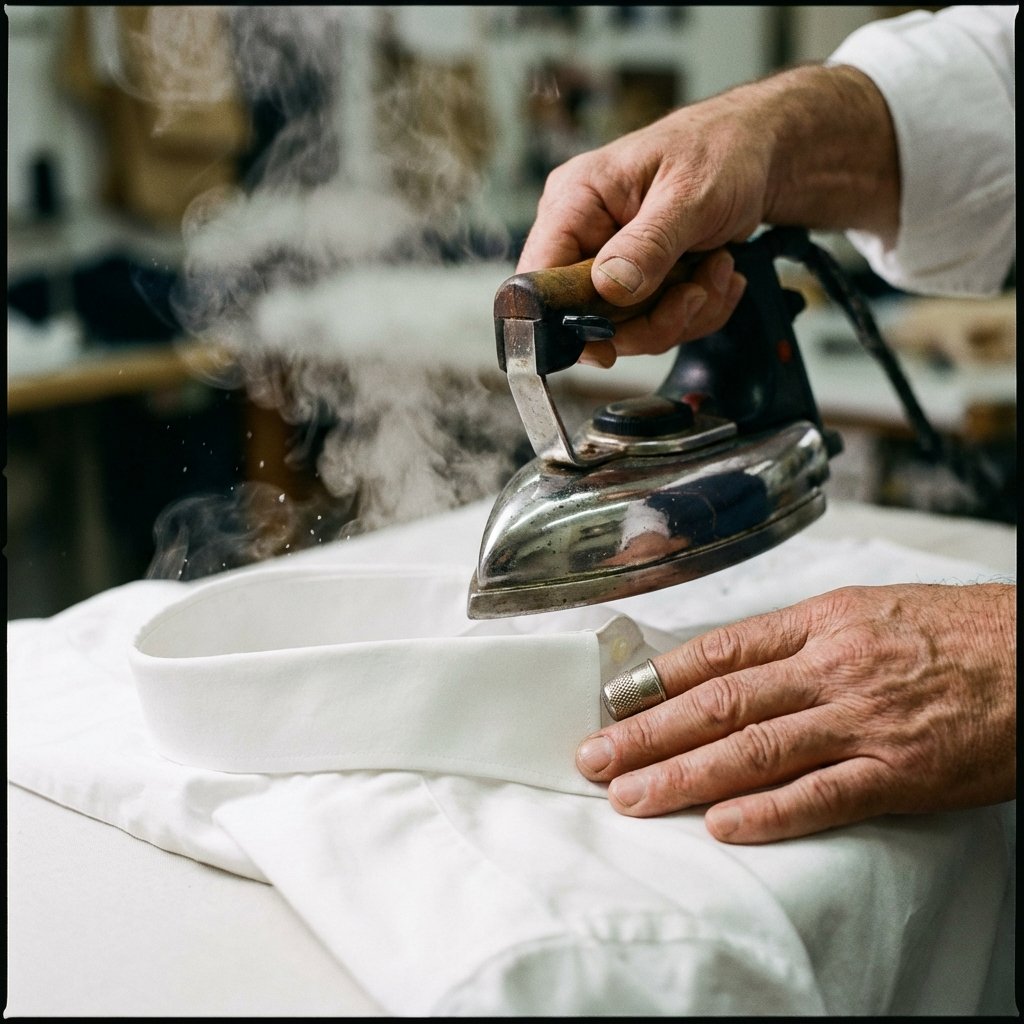
Alright, it’s time to get to work. Follow these steps exactly, and you’ll wonder why you ever paid someone else to do this. This process works wonders on cotton dress shirts, blouses, and slacks.
A Quick Word on ‘Dry Clean Only’ Tags
Many ‘dry clean only’ items, especially those made of cotton, linen, and even some polyesters, can be safely washed at home. The tag is often a manufacturer’s way to play it safe. Silks, structured wool suits, and delicate velvets are best left to the pros. Use your judgment. When in doubt, test a small, hidden area first.
- Step 1: The Right Wash Cycle. Forget the hot water. Use a delicate or permanent press cycle with cold water. This prevents shrinking and fading. For extra protection, place your items in a mesh laundry bag.
- Step 2: The Damp-Dry Is Key. This is the most critical step. Do not dry your clothes completely. Tumble dry on low or medium heat for about 15-20 minutes, just until they are still noticeably damp but not dripping wet. Bone-dry clothes have wrinkles baked in; damp clothes are a perfect canvas for ironing.
- Step 3: Apply the Starch. Take your damp garment and put it on a hanger. Holding the spray starch can about 8-10 inches away, give the entire garment a light, even mist. Don’t soak it. Let it sit for a minute to allow the starch to penetrate the fibers.
- Step 4: Master the Ironing Sequence. Set your iron to the correct temperature for the fabric. A proper sequence prevents you from wrinkling areas you just ironed. For a dress shirt, follow this order:
- The Collar: Iron from the points inward to the center.
- The Cuffs: Iron the inside first, then the outside.
- The Yoke (shoulders): Drape it over the narrow end of the ironing board.
- The Sleeves: Fold them flat along the seam and press.
- The Body: Do the front panels first, then the back.
- Step 5: The Final Hang. As soon as you finish ironing, immediately place the garment on a quality, structured hanger (no wire hangers!). Let it hang and cool completely for at least 20-30 minutes before putting it in your closet. This final step is crucial for ‘setting’ the press and ensuring that crispness lasts.
The Bottom Line: DIY vs. The Dry Cleaner
Talk is cheap. Let’s look at the cold, hard numbers. The savings aren’t just a few bucks; they are substantial enough to make a real difference in your monthly budget. We’ve broken down the cost of professionally laundering one dress shirt versus doing it yourself with our $5 hack. The results speak for themselves.
| Expense Category | Professional Dry Cleaner | DIY Home Method |
|---|---|---|
| Cost Per Shirt | $4.00 (average) | $0.15 (approx. cost of starch/water/electricity) |
| Cost for 5 Shirts (Weekly) | $20.00 | $0.75 |
| Monthly Cost (20 Shirts) | $80.00 | $3.00 |
| Annual Cost | $960.00 | $36.00 |
| Total Annual Savings | $924.00 | |
Seeing it in black and white is a gut punch, isn’t it? You’re paying a nearly $1,000 annual premium for a service you can replicate at home for pennies on the dollar. That $924 in savings is a weekend trip, a serious boost to your emergency fund, or the seed money for a new side hustle. The choice is yours.
Conclusion
You now have the knowledge and the strategy. The myth of the mysterious dry cleaning process is busted. It’s nothing more than a simple, repeatable technique that they’ve managed to monetize into a multi-billion dollar industry at your expense. Armed with a $3 can of starch and a little bit of know-how, you have the power to claim back hundreds, if not thousands, of your hard-earned dollars every single year. Stop outsourcing your savings. Stop paying for ‘convenience’ that costs a fortune. Take the 20 minutes it requires to master this skill, and start funneling that dry cleaning money where it really belongs: back into your own pocket.