Stop Paying $50! The Ultimate Guide to Salon-Quality Gel Nails at Home
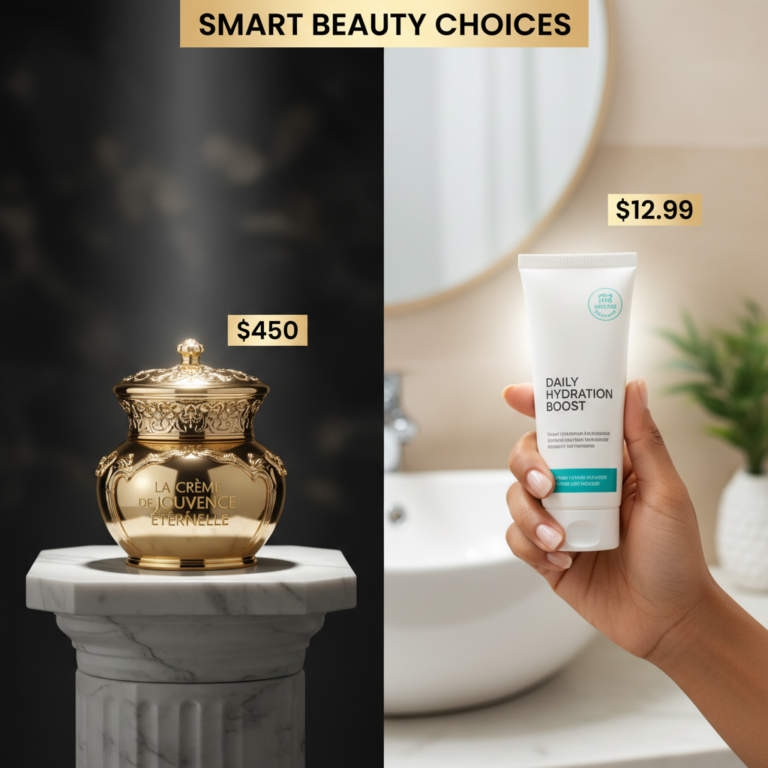
Let’s be real. That feeling of walking out of the salon with fresh, glossy, indestructible gel nails is a serious confidence boost. But let’s also talk about the feeling a few hours later when you check your bank account. That $50, $60, or even $75 charge hits hard, especially when you know you’ll be back in the same chair in three weeks. It’s a cycle that drains your cash for a temporary luxury. What if I told you that you could get that same bulletproof shine and long-lasting wear for less than the price of a couple of lattes? It’s not a gimmick; it’s a skill. And it’s one that will not only save you a boatload of money but can also become a legit side hustle. Forget appointment times and overpriced services. It’s time to fire your nail tech (nicely, of course) and become your own boss. This guide is your new playbook for achieving flawless, salon-quality gel nails from your couch, putting hundreds of dollars back where they belong: in your pocket.
The Cold Hard Math: Why Your Salon Habit is Breaking the Bank
Numbers don’t lie. You might think of a manicure as a small treat, but those ‘small’ expenses are the ones that quietly sabotage your budget. When you break down the annual cost, the reality is staggering. A bi-weekly gel manicure at a conservative $50 (including a modest tip) adds up faster than you think. Let’s run the numbers and see just how much cash you’re leaving on the table.
The initial investment in a quality at-home kit might seem like a lot upfront, but it pays for itself after just two or three uses. After that? It’s pure profit. You’re not just saving money; you’re making a smart investment in a skill that pays you back every single time you use it. Look at this breakdown and let it sink in. This is the financial motivation you need to make the switch.
| Expense Category | Salon Manicures (Annual Cost) | DIY At-Home Kit (Annual Cost) |
|---|---|---|
| Manicure Cost ($50/visit) | $1,300 (26 visits/year) | $0 |
| Initial Kit Investment (Lamp, Tools, etc.) | $0 | $65 (One-time) |
| Polish & Supplies (Base, Top, Colors, Remover) | Included in service | $100 (for a variety of colors/supplies) |
| Total Year 1 Cost | $1,300 | $165 |
| Total Year 1 Savings | – | $1,135 |
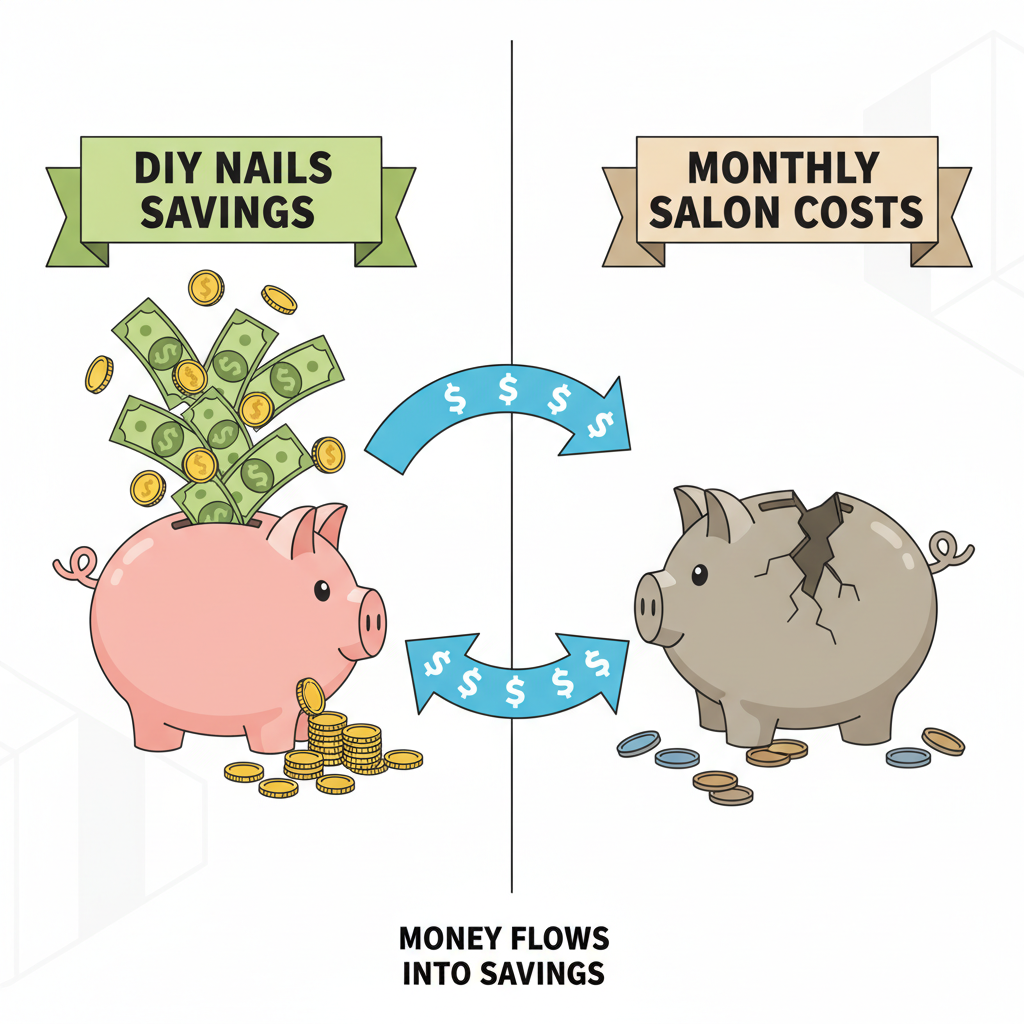
Seeing that $1,135 in savings should be a wake-up call. That’s money you could put toward debt, an investment, a vacation, or funding another side hustle. By year two, your only costs are replenishing supplies, making your savings even greater. The financial argument is a slam dunk. The only question left is how to get started.
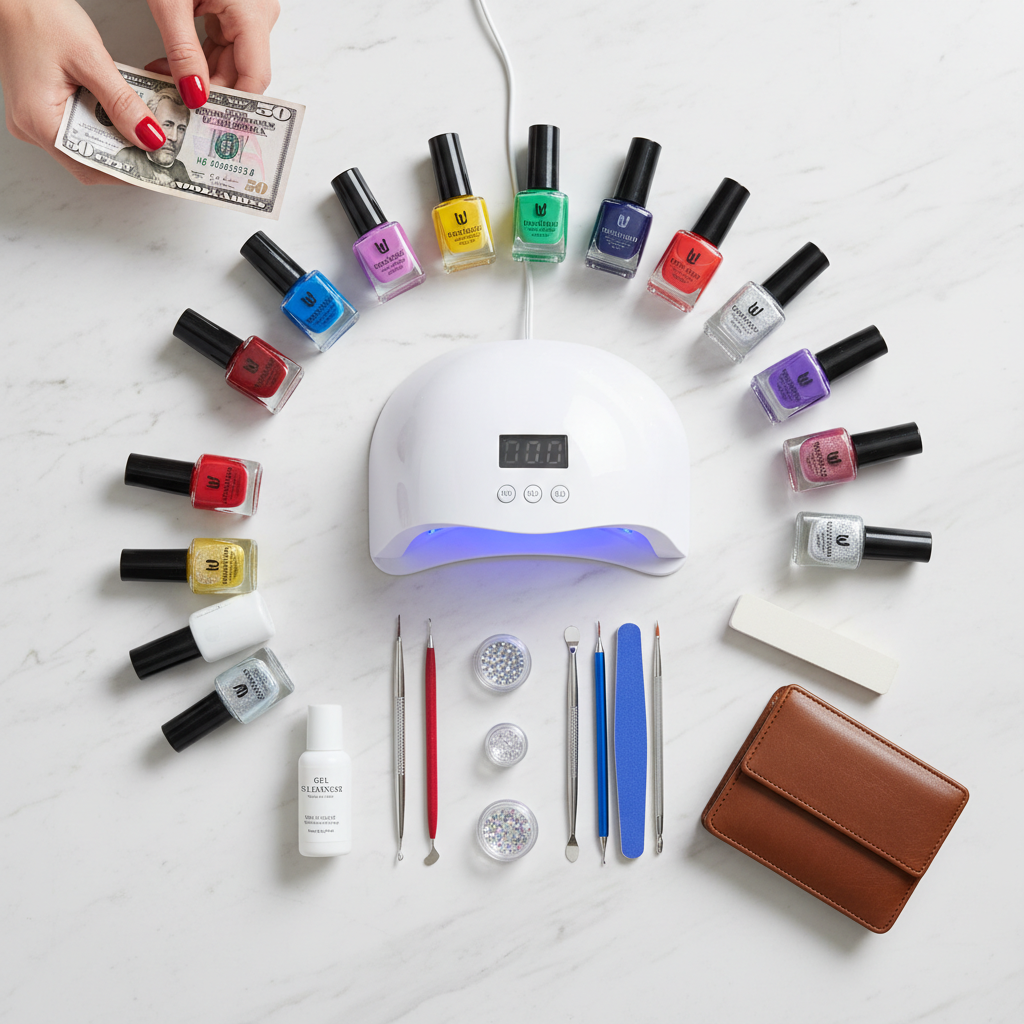
Gearing Up: Your Essential At-Home Gel Nail Toolkit
Walking into the nail supply aisle or browsing online can be overwhelming. Don’t get suckered into buying a bunch of junk you don’t need. The secret is to start with a solid foundation of essentials. Many brands offer all-in-one starter kits that are incredibly cost-effective and take the guesswork out of it. Look for kits from reputable brands like Gelish, Beetles, or Aimeili. Here’s the no-fluff breakdown of what you absolutely need versus what’s just nice to have.
The Must-Haves
This is your non-negotiable shopping list. Without these items, you simply can’t do a proper gel manicure.
- LED/UV Nail Lamp: This is the most important piece of equipment. It cures (hardens) the gel polish. A lamp with at least 48 watts is a great starting point to ensure a proper, quick cure. Don’t cheap out here; a weak lamp leads to peeling and chipping.
- pH Bonder / Dehydrator: This product removes oils from your nail plate, creating the perfect canvas for the gel to adhere to. Skipping this step is asking for your manicure to lift prematurely.
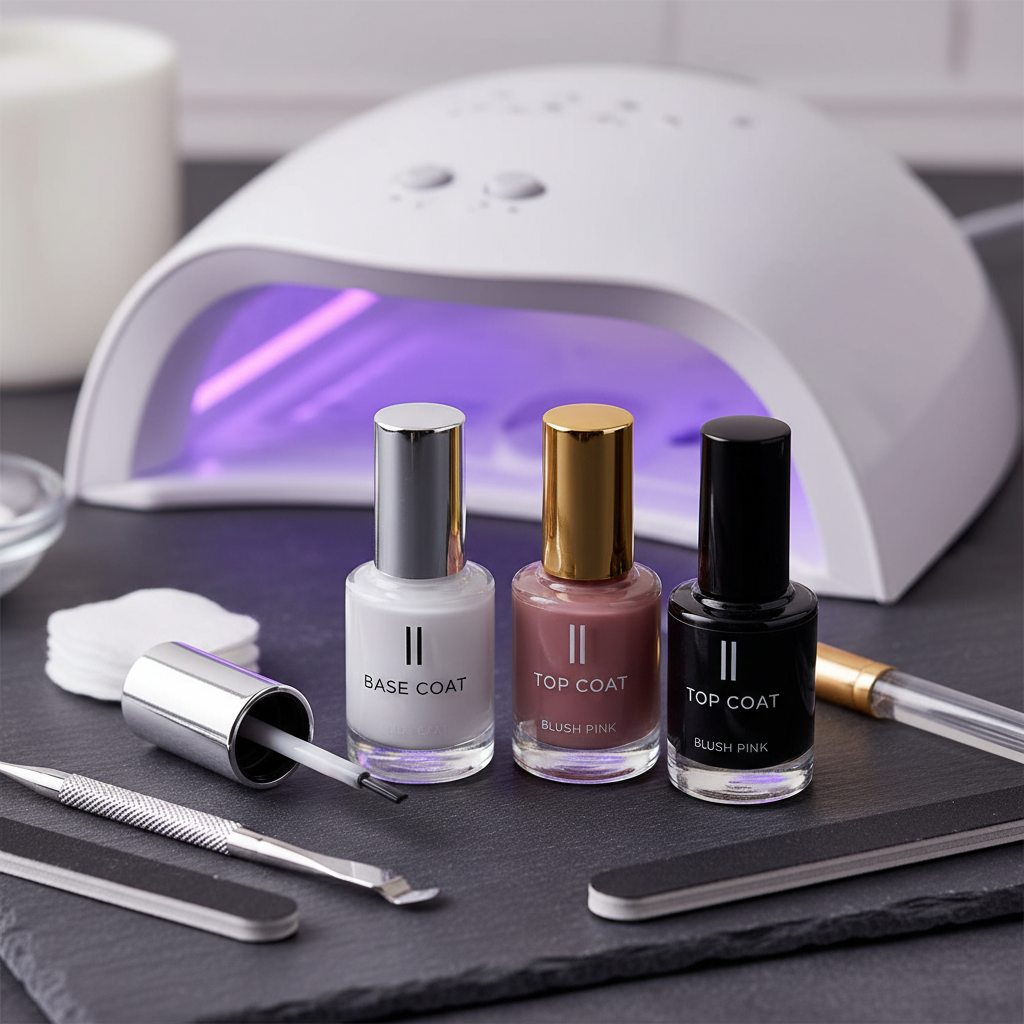
- Gel Base Coat: The foundation of your manicure. It protects your natural nail and gives the color something to grip onto.
- Gel Color Polish: The fun part! Start with a few versatile colors you know you’ll wear often.
- Gel Top Coat (No-Wipe): This seals in the color, provides that signature high-gloss shine, and protects against chips. A ‘no-wipe’ version means you don’t have to cleanse a sticky layer off at the end.
- 100/180 Grit Nail File: For shaping your nails. The 180 grit side is for natural nails, and the 100 grit is for shaping extensions or quickly filing down length.
- Nail Buffer: A buffer block gently removes the shine from your natural nail, which is crucial for adhesion.
- Cuticle Pusher & Nipper: Clean, prepped cuticles are the key to a professional-looking manicure. A metal pusher is a great long-term investment.
- Lint-Free Wipes & Isopropyl Alcohol (91%+): Used for cleansing the nail before and after application to remove dust and oils.
The Nice-to-Haves
Once you’ve mastered the basics, you can add these to your arsenal to up your game.
- Cuticle Oil: Hydrates the skin around your nails, making your manicure look fresh and preventing hangnails.
- Gel Nail Polish Remover / Acetone: While you can use regular acetone, specific gel removers are often formulated with conditioning agents to be less drying.
- Nail Art Brushes & Dotting Tools: For when you’re ready to move beyond single-color manicures.
- Rhinestones, Foils, and Glitters: Easy ways to add some personality and flair to your designs.
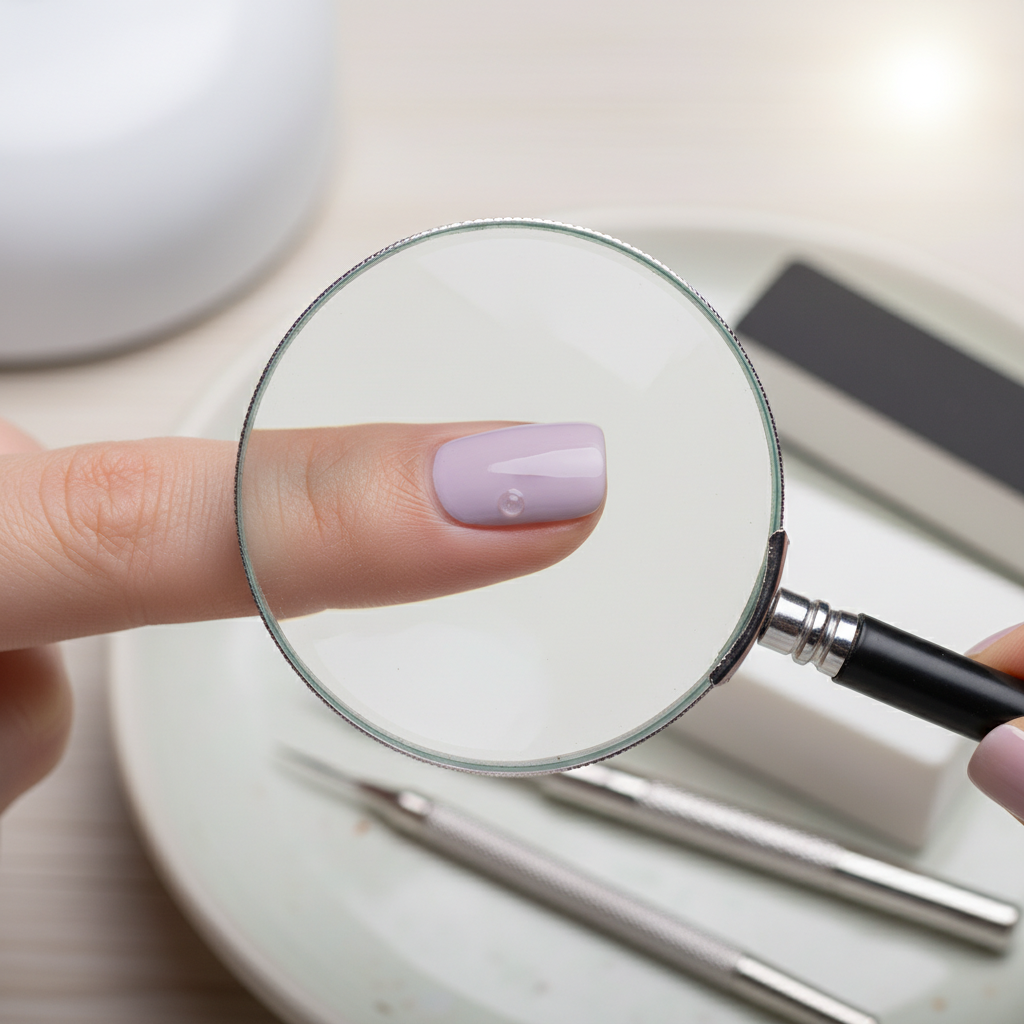
The Frugal Tutorial: Step-by-Step to Flawless Gel Nails

Alright, this is where the magic happens. Don’t be intimidated. The process is methodical, and once you get the hang of it, you can probably knock out a full set during an episode of your favorite show. The absolute key to a long-lasting manicure is PREP and THIN COATS. Read that again. Rushing your prep or gooping on thick layers of polish is a guaranteed recipe for disaster.
The Golden Rule: Never, ever let any gel product touch your skin or cuticles. If it touches the skin, it will lift when it cures, causing the entire nail to peel off within days. Use an orangewood stick or a small brush dipped in alcohol to clean up any mistakes *before* you cure.
- Step 1: Prep Like a Pro. This is 80% of the work. Push back your cuticles gently. Lightly buff the entire surface of your nail to remove the shine—don’t go crazy, you’re just creating a slightly rough surface for the gel to grip. Shape your nails with your 180-grit file. Finally, cleanse each nail thoroughly with a lint-free wipe soaked in isopropyl alcohol.
- Step 2: Dehydrate and Prime. Apply a thin layer of the pH bonder/dehydrator to each nail. It will air dry in seconds. This step is critical for longevity.
- Step 3: Apply the Base Coat. Apply a very thin, even layer of your gel base coat. Be sure to ‘cap the free edge’ by running the brush along the tip of your nail. This seals it and prevents chipping. Cure under your lamp for the recommended time (usually 30-60 seconds).
- Step 4: The Color Coats. Apply your first layer of color. Again, the key is THIN. If the color looks streaky, don’t worry—that’s what the second coat is for. A thick coat will not cure properly and will wrinkle or bubble. Cap the free edge. Cure for 60 seconds. Repeat for a second coat (and a third, if needed for an opaque finish), curing for 60 seconds after each one.
- Step 5: The Top Coat Seal. Apply a thin layer of your no-wipe gel top coat. This is what gives you that incredible shine and durability. Cap the free edge one last time to seal everything in. Do a final cure, perhaps for a little longer (60-90 seconds) to ensure it’s rock solid.
- Step 6: Finish and Moisturize. Since you used a no-wipe top coat, you’re done! There’s no sticky layer to remove. Finish by applying a drop of cuticle oil to the skin around each nail and massage it in. You’re done! Enjoy your flawless, chip-proof manicure that cost you pennies.
Pro-Level Troubleshooting: Fixing Common DIY Gel Fails
Your first few attempts might not be perfect, and that’s okay. Every pro was once a beginner. The difference is that a pro knows how to fix their mistakes. Here are the most common issues you’ll run into and how to handle them like a boss.
Why Is My Polish Peeling or Lifting?
This is the most common complaint. 99% of the time, the cause is improper prep. Did you thoroughly cleanse the nail with alcohol? Did you buff away all the shine? Did you get any product on your cuticles or skin? Lifting from the cuticle edge is almost always caused by the gel touching the skin. Lifting from the tip is usually because you didn’t cap the free edge properly with every single layer (base, color, and top).
Fixing Bubbles and Wrinkles
This is a dead giveaway that your polish application was too thick. Gel polish doesn’t ‘air dry’—it cures under the light. If the layer is too thick, the light can’t penetrate all the way through to the bottom. The top surface cures, but the polish underneath remains wet. As the top shrinks, it wrinkles. The fix? Always, always use thin coats. It’s better to do three super-thin coats than two thick ones.
Safe and Easy Removal
Don’t you dare peel or pick off your gel polish! You will rip off layers of your natural nail and cause serious damage. The right way is to break the seal of the top coat by gently filing over the entire nail surface. Then, soak a cotton ball in acetone, place it on your nail, and wrap the nail in a small piece of aluminum foil. Let it sit for 10-15 minutes. The gel should have a melted, crumbly texture that can be gently scraped off with a cuticle pusher. Never force it; if it’s not coming off easily, re-wrap it and soak for another 5 minutes.
The Side Hustle Angle: Turn Your New Skill into Cash
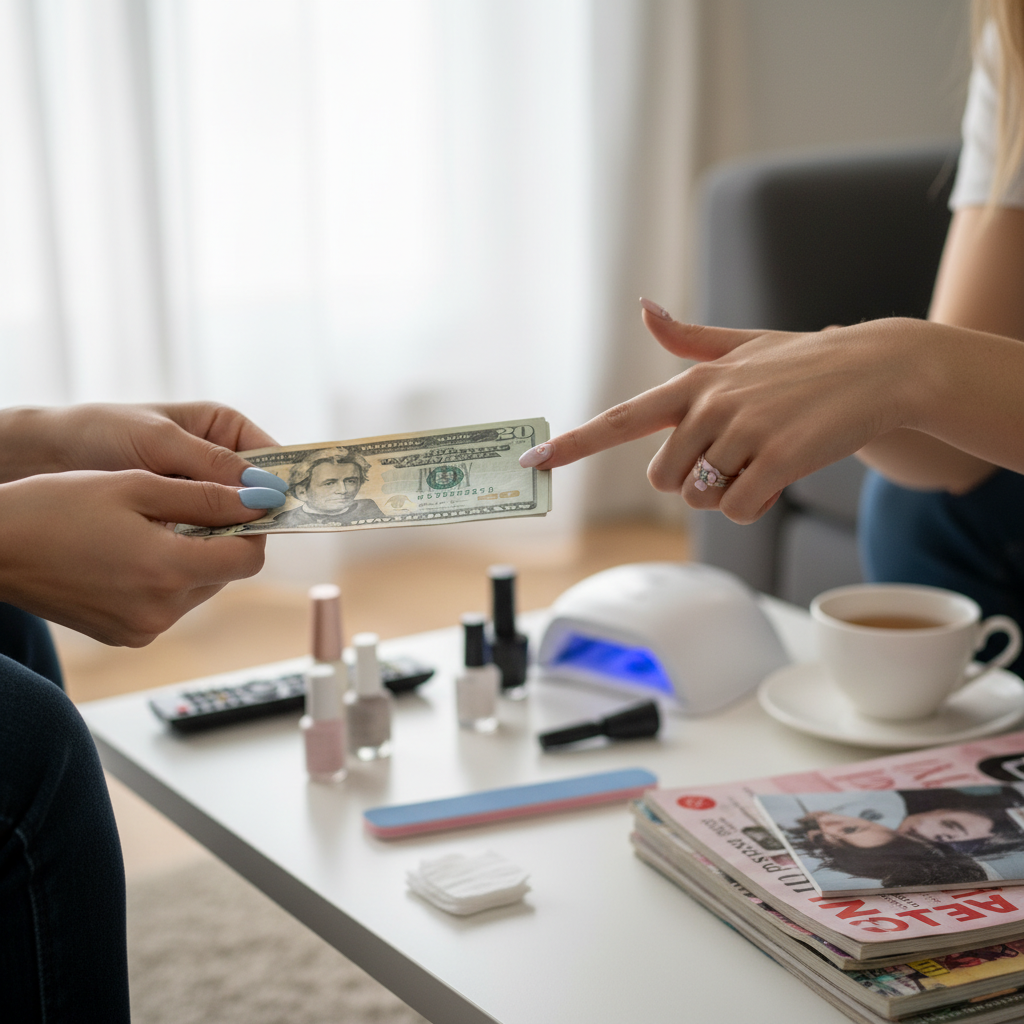
Once you get good at doing your own nails, people will notice. And when they ask where you got them done, you have a golden opportunity. You’ve already made the initial investment in the kit, so every manicure you do for someone else is almost pure profit. Start with friends and family to build your confidence and your portfolio.
Realistic Earning Potential
Don’t try to compete with salon prices. Your selling point is convenience and affordability. You can offer a great service for a price that’s a steal for them and a sweet profit for you.
| Service Level | Your Price | Profit Per Manicure | Potential Monthly Earnings (4 clients/week) |
|---|---|---|---|
| Friends & Family Rate | $25 | ~$22 (after supplies) | $352 |
| Established Side Hustle Rate | $35 | ~$32 (after supplies) | $512 |
Imagine earning an extra $500 a month just for doing something you enjoy. That’s a car payment, a huge chunk of rent, or a serious boost to your savings goals. To get your first clients, use this simple, no-pressure approach:
The Script: “Hey! Thanks for the compliment on my nails—I actually did them myself! I bought a whole professional kit to save money. Since I have all the stuff, if you ever want to skip the salon and save some cash, I could do yours for like $25. No pressure at all, just let me know!”
Scam Warning: Professional Products Only
BEWARE: The internet is full of tutorials using non-cosmetic grade products like craft glitter or acrylic paint. DO NOT do this, especially if you’re working on other people. Only use products specifically designed for use in gel nail systems. Using unsafe products can lead to severe allergic reactions, contact dermatitis, and permanent nail damage. Your reputation and your clients’ health are not worth the few cents you might save.
Conclusion
The power is literally in your hands. For a one-time investment that’s less than the cost of three salon visits, you can unlock a skill that will save you over $1,000 a year and give you the freedom to have perfect nails whenever you want. No more scheduling appointments, no more awkward small talk, and no more watching your hard-earned money disappear for a service you are fully capable of mastering yourself. You’ve got the knowledge, the shopping list, and the step-by-step plan. Now go take back control of your beauty budget and start stacking that cash.