Stop Buying Paper: 7 Chic & Zero-Waste Gift Wrap Ideas Using Trash
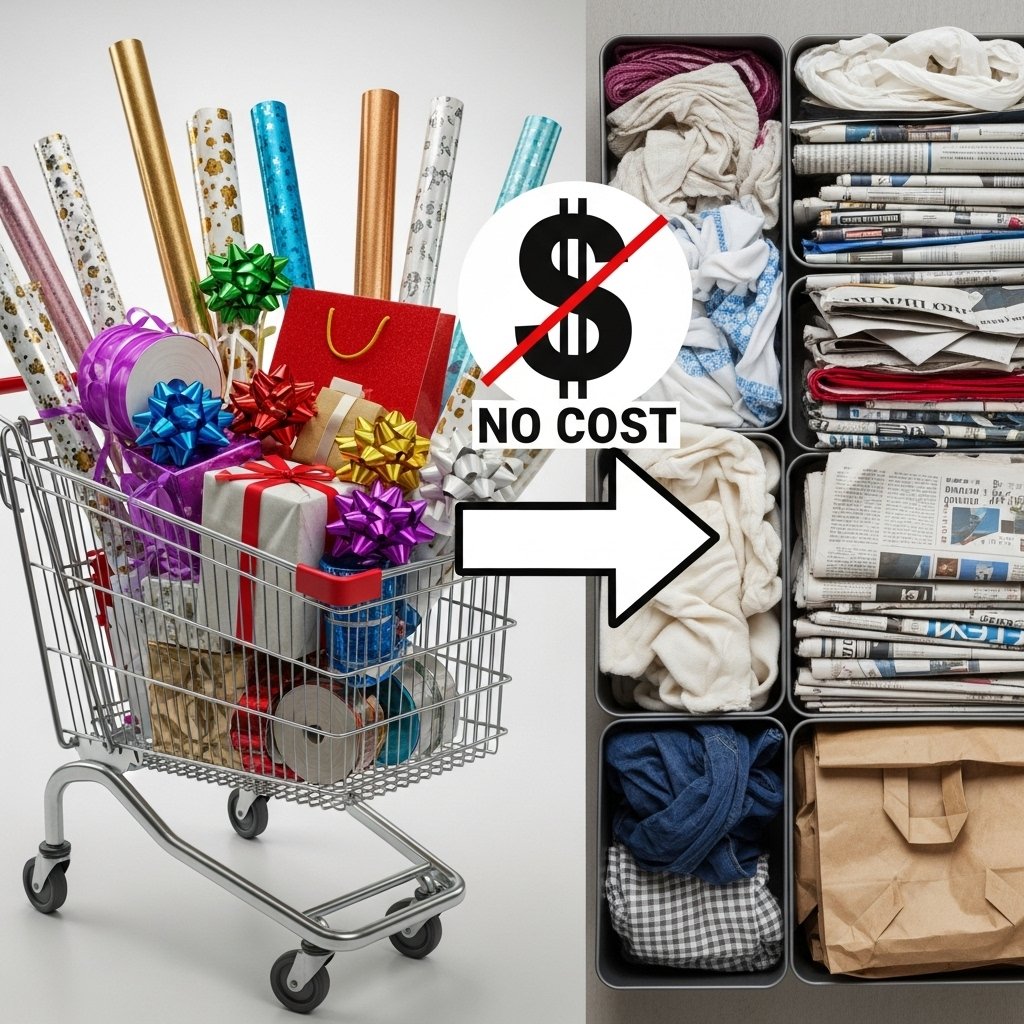
Let’s get real. You hunt for the perfect gift, spend your hard-earned cash, and then what? You spend another $5 to $10 on shiny paper and a plastic bow, just to watch it get annihilated in under 10 seconds and tossed in the trash. It’s a cycle of waste—wasted money, wasted resources. Most glossy gift wrap isn’t even recyclable. You’re paying to pollute.
But the frugal hustler, the savvy shopper, sees things differently. You don’t see a recycling bin; you see a treasure chest of raw materials. That newspaper, that old scarf, that junk mail—that’s not trash. That’s your new arsenal for creating stunning, personalized, and completely free gift wrap. This isn’t about being cheap; it’s about being smart. It’s about taking back control from consumer culture and adding a personal touch that no store-bought roll of paper can ever replicate. Get ready to transform your ‘trash’ into chic, unforgettable gift presentations.
The Cost Breakdown: How Much You’re Wasting on Gift Wrap
Before we dive into the how-to, let’s talk numbers. The average person buys multiple rolls of paper, gift bags, tissue, and bows every year. It feels like a small purchase at the time, but it’s a classic ‘death by a thousand cuts’ budget leak. You think it’s just a few bucks, but it adds up to a significant, and frankly, unnecessary expense. Don’t believe it? Let’s break down the math on what you’re likely spending versus what you could be saving.
| Item | Typical Store-Bought Annual Cost | DIY Zero-Waste Cost |
|---|---|---|
| Wrapping Paper Rolls (4x $5) | $20.00 | $0.00 |
| Gift Bags (5x $3) | $15.00 | $0.00 |
| Ribbons & Bows (Assorted) | $10.00 | $0.00 (using twine, fabric strips, natural elements) |
| Gift Tags (1 pack) | $5.00 | $0.00 (using cardstock scraps) |
| TOTAL ANNUAL COST | $50.00 | $0.00 |
| SAVINGS OVER 5 YEARS | $250.00 | |
Seeing it laid out like that is a gut punch, right? You could be putting $50 a year back into your pocket, your savings account, or toward your debt. That’s $250 over five years you’re literally throwing in a landfill. It’s time to stop the leak.
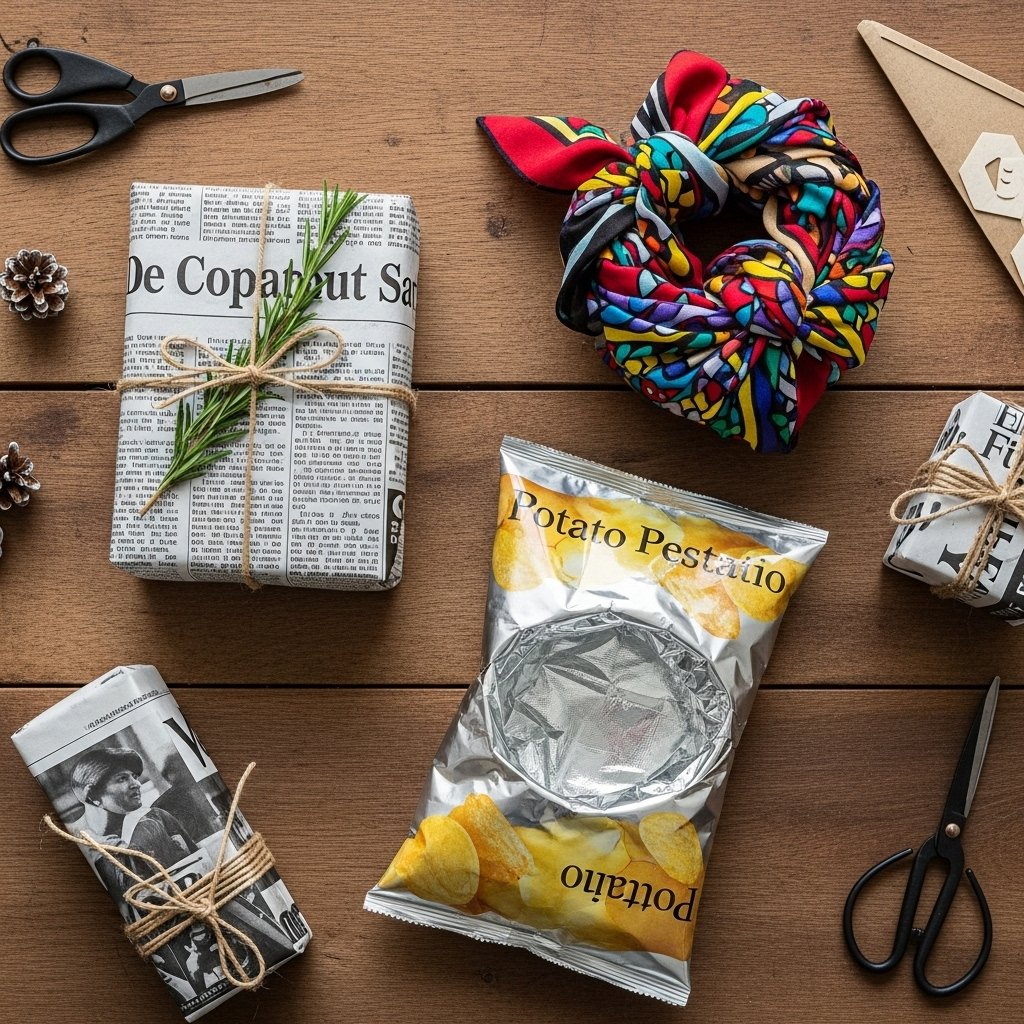
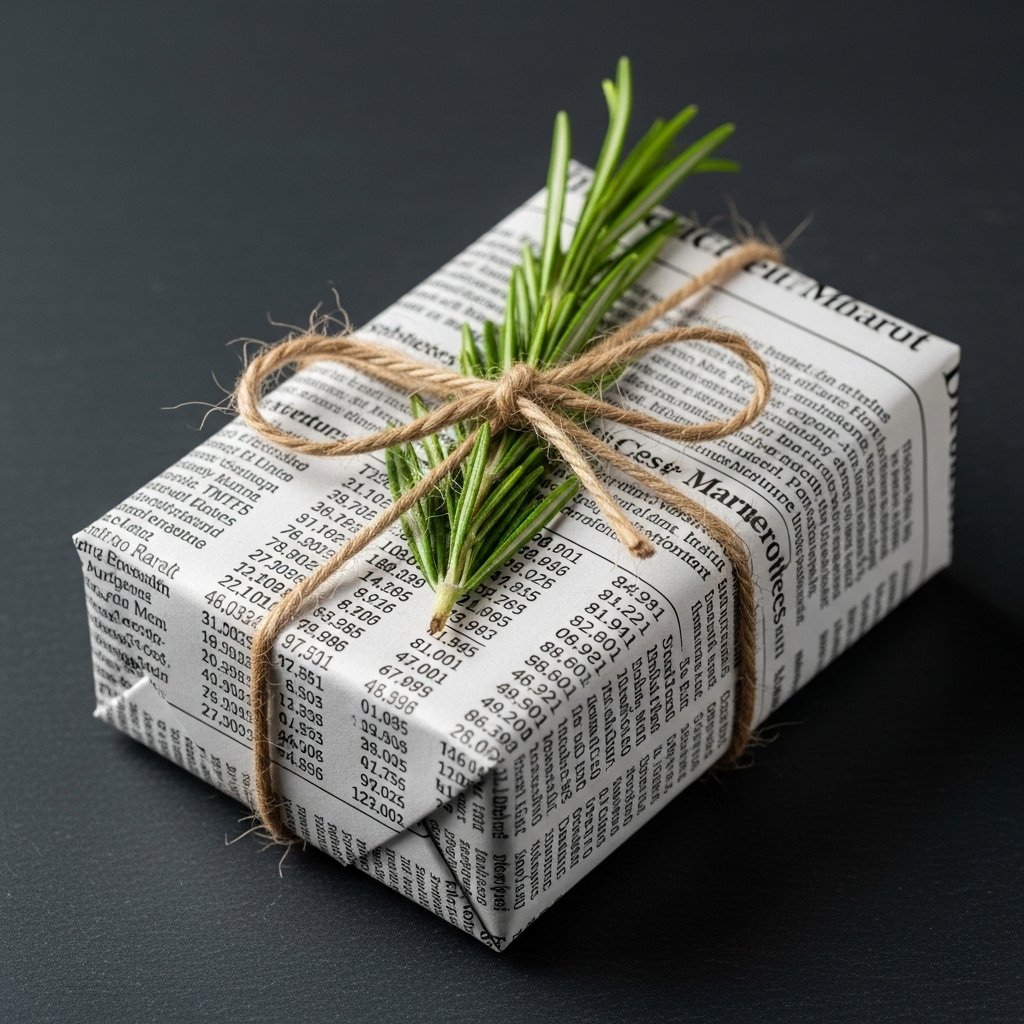
Idea #1: The Newspaper Noir
What You’ll Need:
- Old newspapers (the stock market pages or foreign language papers look extra chic)
- Twine or natural string
- Optional: A sprig of rosemary, eucalyptus, or a dried orange slice
The How-To:
- Select Your Section: Don’t just grab any page. Be intentional. The dense text of the financial section creates a sophisticated, monochrome pattern. The comics section is perfect for kids or anyone with a sense of humor. Black and white pages offer a classic, minimalist vibe.
- Wrap It Tight: Newspaper is thinner than regular wrapping paper, so be gentle but firm. Use double-sided tape for the cleanest seams. If the gift has sharp corners, consider using two layers to prevent tearing.
- Elevate with Embellishments: This is where the magic happens. A simple piece of jute twine tied in a neat bow instantly elevates the look from ‘I used newspaper’ to ‘this is a stylistic choice.’ For the final power move, tuck a small sprig of fresh greenery or a cinnamon stick under the twine. It adds a pop of color, a beautiful scent, and a touch of class that costs nothing.
Key Rule: Contrast is your friend. The rustic, organic feel of twine and greenery against the graphic, urban look of newsprint is what makes this work.
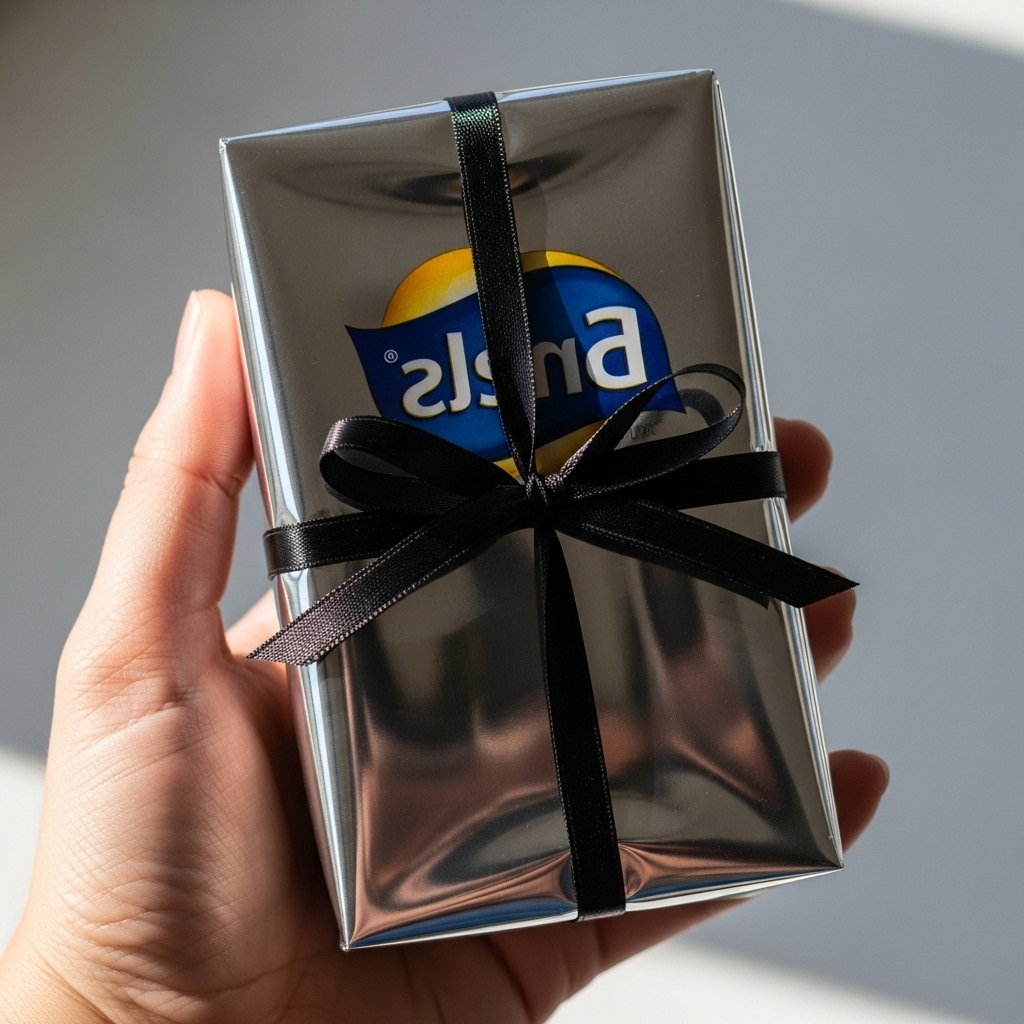
Idea #2: The Potato Chip Bag Shine
What You’ll Need:
- An empty potato chip or snack bag
- Soap and water
- Scissors
- Tape
The How-To:
- Clean It Up: This is non-negotiable. Cut the bag open along the seams to lay it flat. Thoroughly wash the inside with warm, soapy water to remove all grease and crumbs. Let it air dry completely. You want a gift, not an ant farm.
- Deconstruct the Bag: Carefully cut off the sealed top and bottom edges of the bag. You should now have a flat, rectangular sheet of shiny, metallic material. The bigger the bag, the bigger the gift you can wrap.
- Wrap with the Shiny Side Out: Use the brilliant, mirror-like silver interior as your wrapping paper. It’s crinkly, eye-catching, and looks incredibly futuristic and expensive. Because the material is plastic, it doesn’t hold a crease as well as paper, so use strong tape to secure the edges.
- Keep it Simple: The wrap itself is the statement piece. Don’t clutter it with a big bow. A simple, elegant ribbon in a bold color like black or red, or even a simple string, is all you need.
Scam Warning: Don’t try this with paper-lined bags. You need the purely foil/plastic kind for this hack to work. Check the material before you start washing.
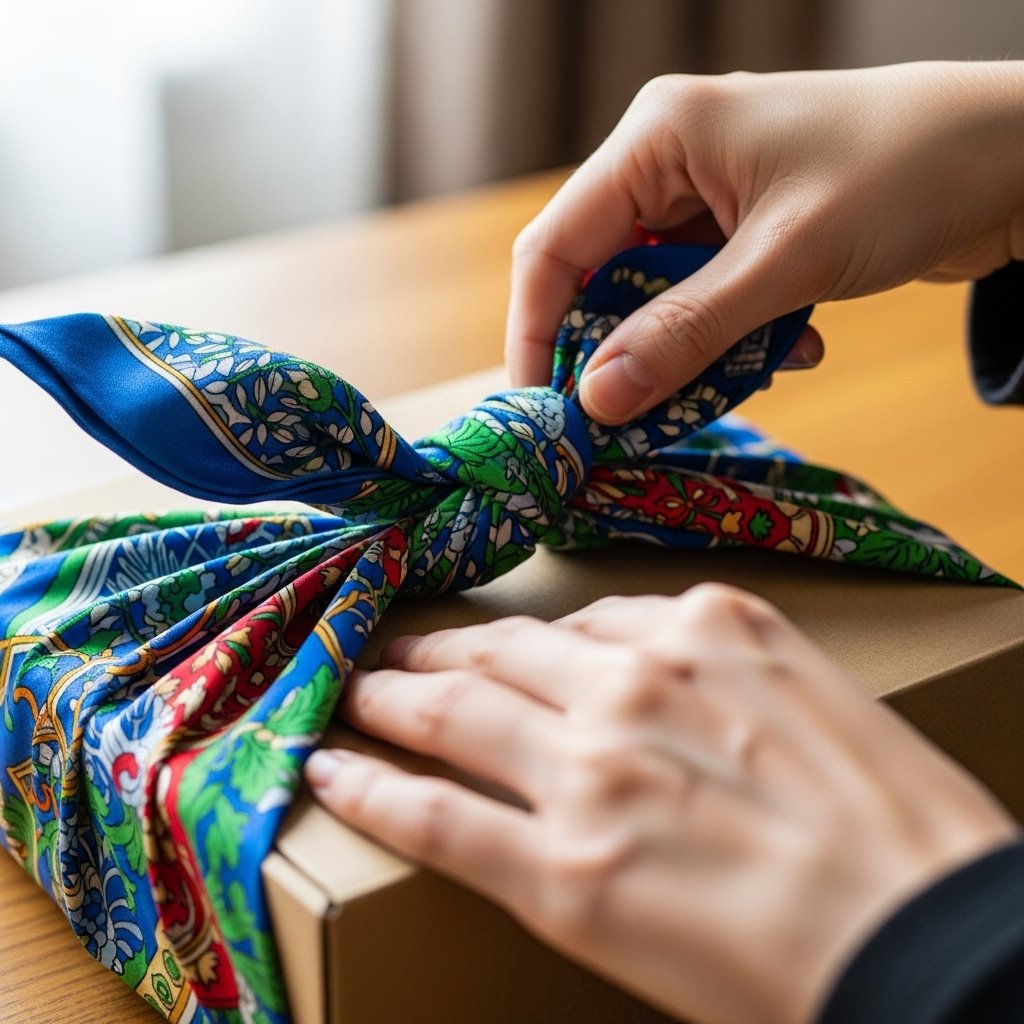
Idea #3: The Fabric Furoshiki Hack
What You’ll Need:
- A square piece of fabric (old silk scarf, a cut-up t-shirt, a bandana, a cloth napkin, or even a tea towel)
- No tape, no scissors, no ribbon needed!
The How-To:
- Pick Your Fabric: The beauty of Furoshiki, the Japanese art of fabric wrapping, is its versatility. A vintage silk scarf from a thrift store adds a touch of luxury. A clean, graphic-print t-shirt can be perfect for a friend. A simple linen tea towel is great for a housewarming gift. The fabric should be roughly three times the size of the object you’re wrapping.
- The Basic Wrap: Place your gift in the center of the fabric square, which is laid out like a diamond. Take two opposite corners and tie them in a tight, simple knot over the top of the gift.
- The Final Knot: Take the remaining two corners, bring them up and over the first knot, and tie them in another secure knot. You can tuck the ‘tails’ of the knot neatly or let them flow. The fabric itself becomes the bow.
- The Two-in-One Gift: The best part? The wrap itself is a bonus gift. You’re not creating trash; you’re giving them a reusable scarf, napkin, or tea towel. This is the peak of zero-waste, smart gifting. There are tons of Furoshiki tying tutorials online for different shaped objects—it’s a skill worth learning.
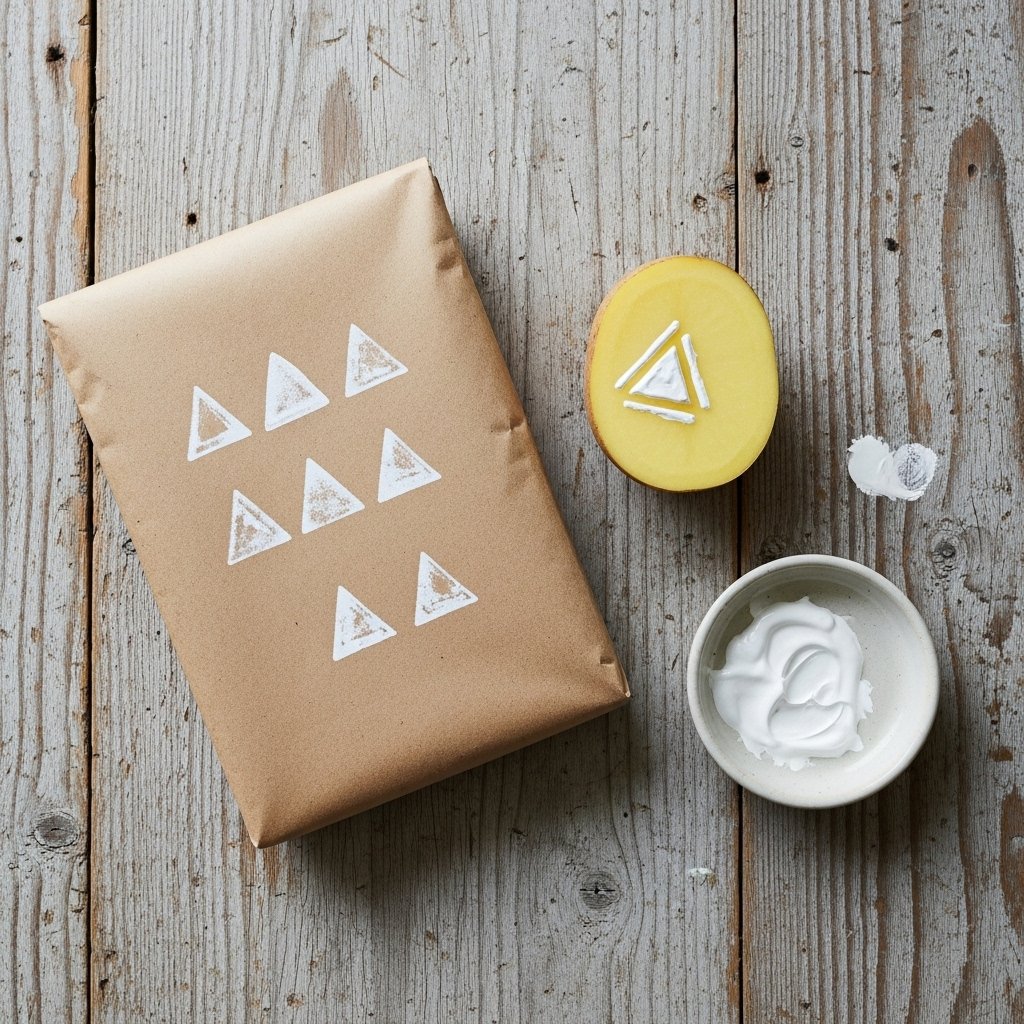
Idea #4: The Brown Paper Bag Revival
What You’ll Need:
- A paper grocery bag
- Scissors
- Optional: A potato, a knife, craft paint, or a black marker
The How-To:
- Break It Down: Carefully deconstruct the paper bag. Cut down one of the corner seams and then cut out the bottom panel. You’ll be left with a large, flat sheet of brown kraft paper. Use the side with no logos or printing.
- Get Creative: Now you have a blank canvas. This is where you can personalize it. For a ridiculously easy and chic pattern, make a potato stamp. Cut a potato in half, carve a simple shape (a star, a triangle, a heart), dip it in paint, and stamp away. Let it dry completely.
- No Paint? No Problem: If you don’t have paint, a black permanent marker is your best friend. Doodle a custom pattern, write the recipient’s name in cool block letters all over the paper, or draw something meaningful to them. It’s infinitely more personal than generic store-bought paper.
- Finish the Look: Wrap your gift and tie it with some simple baker’s twine or even a strip of leftover fabric. The rustic, custom-stamped look is incredibly popular in high-end boutiques—and you just made it for free.
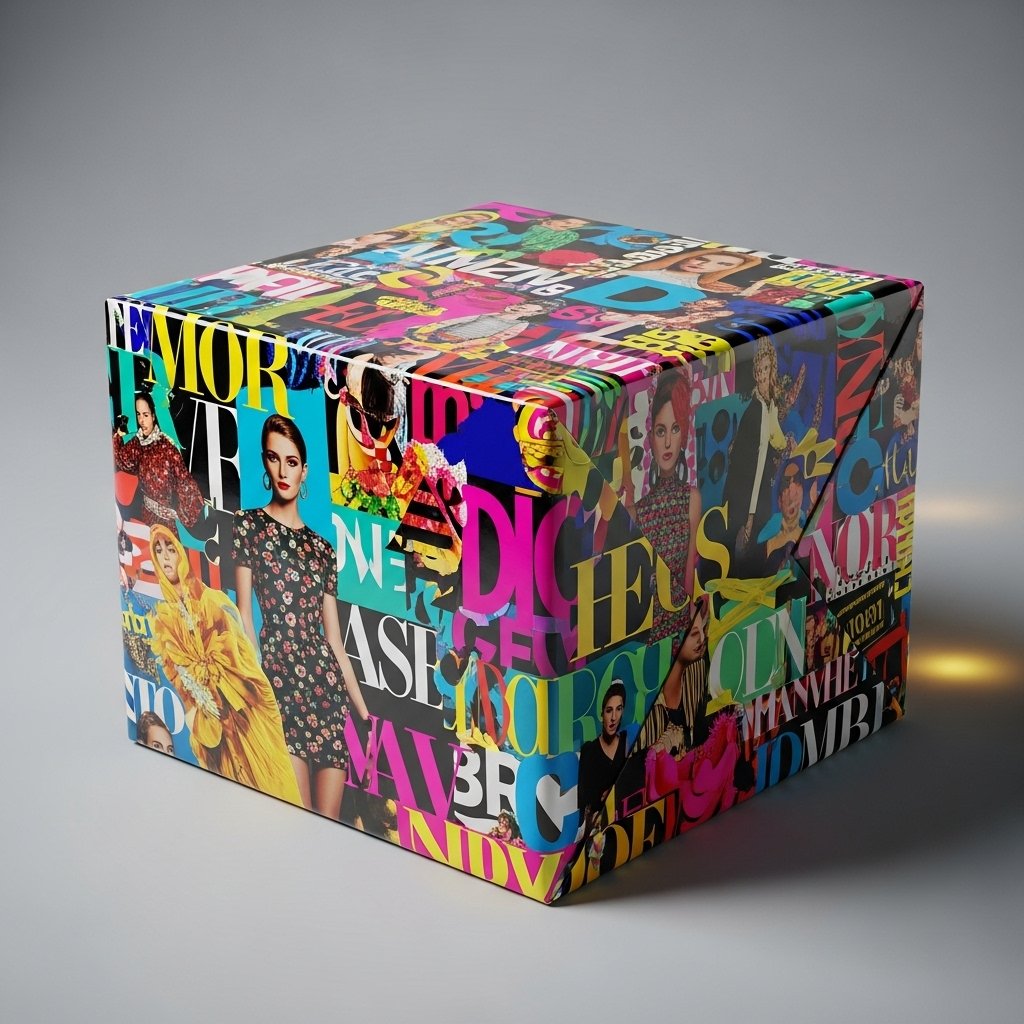
Idea #5: The Magazine Collage Pop
What You’ll Need:
- Old magazines or catalogues with vibrant images
- A base paper (like the brown paper bag from the last idea, or any large sheet of paper)
- Glue stick
- Scissors
The How-To:
- Curate Your Content: Flip through magazines and catalogues and hunt for a theme. Is the gift for a foodie? Rip out gorgeous photos of food. For a fashion lover? Find textures, patterns, and designer ads. For a gardener? Flowers and landscapes. Cut out way more than you think you’ll need.
- Create the Collage: Take your base paper and start gluing. Overlap the images to create a rich, seamless collage. Don’t worry about perfect edges; you want it to look dynamic and textured. Cover the entire sheet of paper.
- Let It Dry: Give the glue plenty of time to dry completely before you try to wrap with it. A couple of hours should do it. If the paper is curling, place it under a heavy book for a while.
- Wrap and Admire: Wrap your gift with your custom-made art paper. The result is a vibrant, deeply personal, and visually stunning package that is a conversation starter in itself. People will be more impressed with the paper than the gift inside!
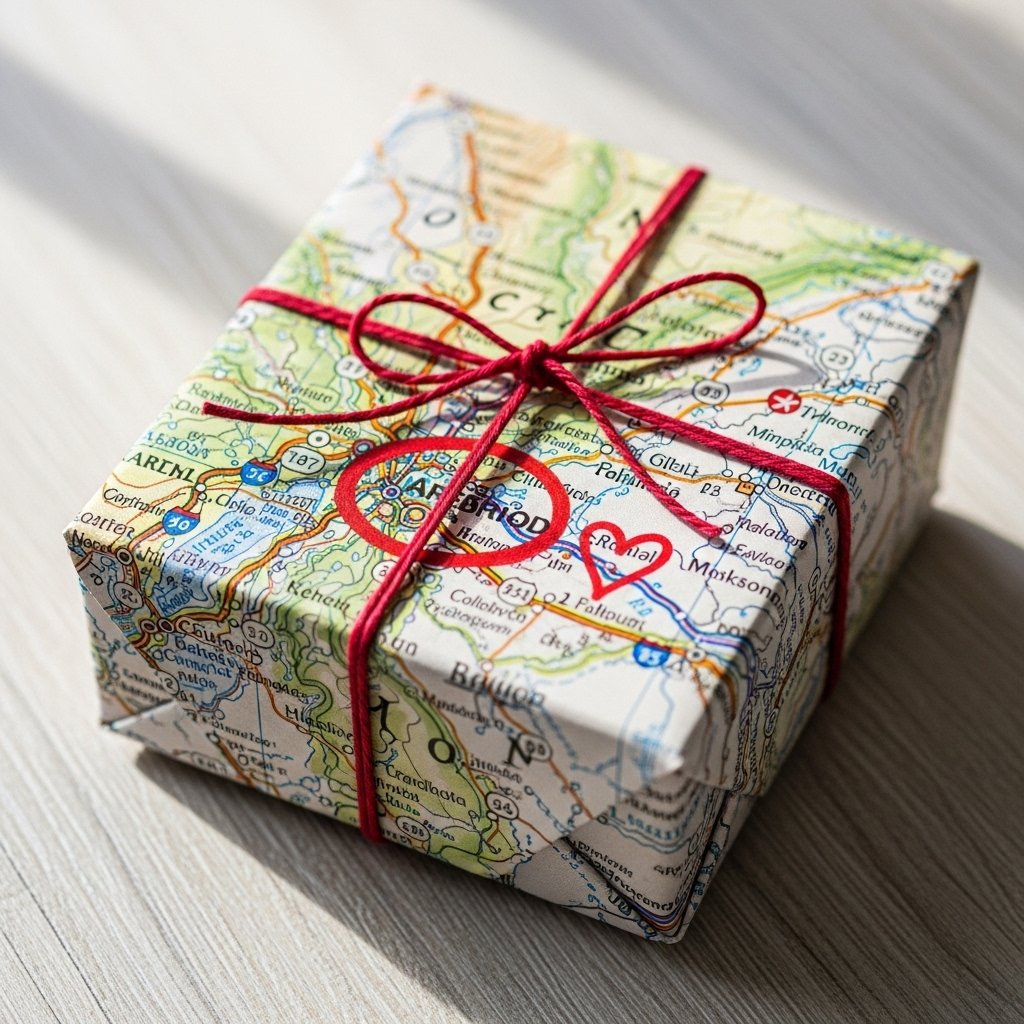
Idea #6: The Map Quest Wrap
What You’ll Need:
- Old, outdated maps, atlases, or even printed directions
- Tape
- A red marker
The How-To:
- Source Your Maps: Everyone has an old road atlas gathering dust in their car or a map from a vacation tucked in a drawer. These are perfect. The thin paper and intricate lines make for beautiful wrapping material.
- Make it Personal: This is the key to making this hack special. Find a map of a location that’s meaningful to the recipient. The city where they were born, the place you went on vacation together, their dream destination.
- Mark the Spot: Once you’ve wrapped the gift, use a red marker to circle the specific location and draw a little heart or a star with a ‘You Are Here’ note. It’s a simple gesture that shows an incredible amount of thought.
- The Finishing Touch: A simple string or a dark-colored ribbon works best here, as it won’t compete with the intricate details of the map. This idea is perfect for wanderlusters, long-distance friends, or anyone with a sense of adventure.
Conclusion
There you have it. Seven ways to completely eliminate gift wrap from your budget forever. You’re not just saving $50 a year; you’re developing a new skill, reducing your environmental footprint, and giving gifts that are more thoughtful and memorable than ever before. The next time you’re about to grab a roll of glittery paper at the store, stop. Remember the power you have sitting in your recycling bin.
This is the essence of being street-smart with your money. It’s about seeing value where others see trash. It’s about turning a mindless expense into a creative, empowering act. So go ahead—start hacking your gift wrap. Your wallet, your creativity, and the planet will thank you for it.