Salon Quality Color at Home: The Fail-Proof Guide to Box Dye on a Budget
Let’s be real: walking out of a salon with a fresh color feels amazing. What doesn’t feel amazing is that gut-punch when you see the bill. A simple single-process color can set you back anywhere from $80 to $200+, and that’s before the cut, the tip, and the pressure to buy their overpriced products. If you’re getting touch-ups every 6-8 weeks, you’re looking at a $600 to $1,500+ annual line item in your budget just for your hair color. That’s a car payment, a vacation, or a serious boost to your savings account.
For too long, we’ve been told that box dye is a one-way ticket to fried, splotchy, disaster hair. That’s a myth perpetuated by an industry that profits from your insecurity. The truth? With the right strategy and a little street-smarts, you can achieve stunning, dimensional, salon-quality color at home for less than the price of a fancy coffee. This isn’t about being cheap; it’s about being smart with your money. This guide is your fail-proof playbook to taking control of your hair and your wallet. Get ready to fire your colorist and become your own hair guru.
The Real Cost: Why Your Salon Visits Are a Budget Killer
Before we even get into the ‘how,’ let’s talk about the ‘why.’ The numbers don’t lie, and understanding the massive savings is the ultimate motivation to master this skill. A salon isn’t just charging you for a tube of color; you’re paying for their rent, their utilities, their fancy decor, and hours of their time. When you DIY, you cut out all the overhead. You’re paying for the product, and that’s it.
Let’s break down the math. We’re not just talking about saving a few bucks on one appointment. We’re talking about a significant financial hack that adds up to hundreds, even thousands, of dollars over time. Look at this side-by-side comparison and see for yourself where your money is going.
| Expense Category | Typical Salon Visit | DIY At-Home Box Dye |
|---|---|---|
| Single-Process Color Service | $80 – $200 | $0 |
| Box Dye Kit (incl. color, developer, gloves) | $0 | $9 – $15 |
| Pro-Level Application Brush & Bowl | Included in Service | $5 (One-time purchase) |
| Mandatory Tip (20%) | $16 – $40 | $0 |
| TOTAL COST PER SESSION | $96 – $240 | $9 – $20 |
The Annual Savings Breakdown
Let’s assume you color your hair every 8 weeks, which is about 6 times a year. Using the low end of the salon estimate ($96 per visit), you’re spending $576 a year. On the high end ($240 per visit), that’s a staggering $1,440. Now, let’s look at the DIY cost. Six sessions at $15 each is just $90 for the entire year. Add the one-time cost for a good brush and bowl, and you’re still under $100.
Your potential annual savings: $486 to over $1,350. That’s money that goes directly back into your pocket for debt payoff, investing, or whatever else you’re hustling for. The choice is a no-brainer.
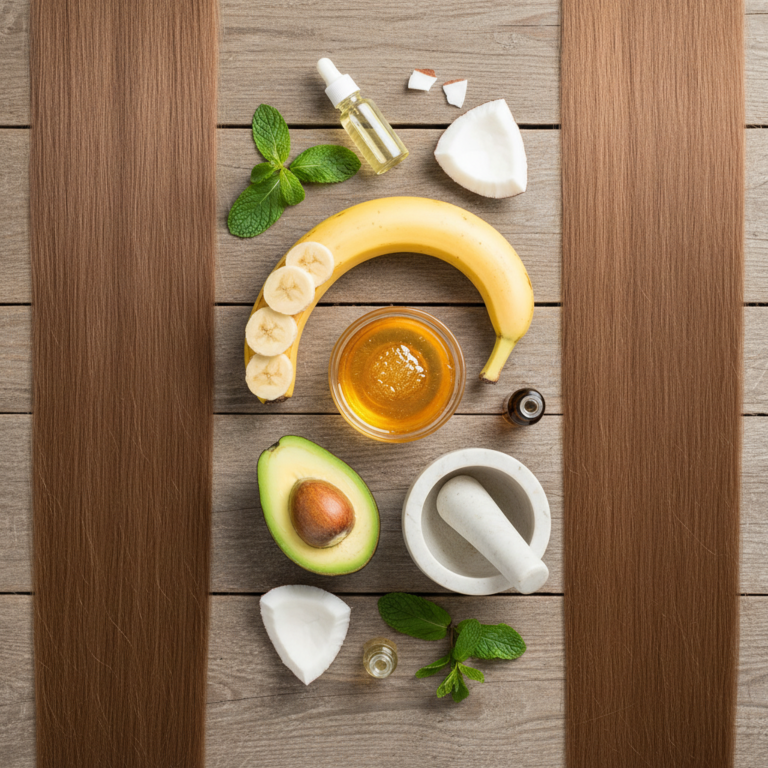
Your Pre-Flight Checklist: Prep Work for a Flawless Finish
The difference between a box dye disaster and a triumph is one word: preparation. Don’t you dare just rip open the box and start slathering. A pro result requires a pro setup. This is your mission-critical checklist.
Rule #1: The Two-Shade Rule
This is non-negotiable. When choosing a color, never go more than two shades lighter or darker than your current hair color. Box dye is designed for subtle shifts, not radical transformations. Trying to go from black to blonde with a box is a recipe for orange, damaged hair. Stick to enhancing your natural color or covering grays within that two-shade window for predictable, gorgeous results.
Rule #2: Always Do a Strand Test
Yes, it’s annoying. Yes, it takes an extra 30 minutes. Do it anyway. Your hair’s porosity, previous color, and texture all affect how it will take the dye. A strand test is your crystal ball—it shows you exactly what the final color will look like and how long you need to process it. Snip a small, hidden piece of hair from the nape of your neck, mix a tiny bit of the dye, and test it. This single step can save you from a full-blown hair catastrophe.
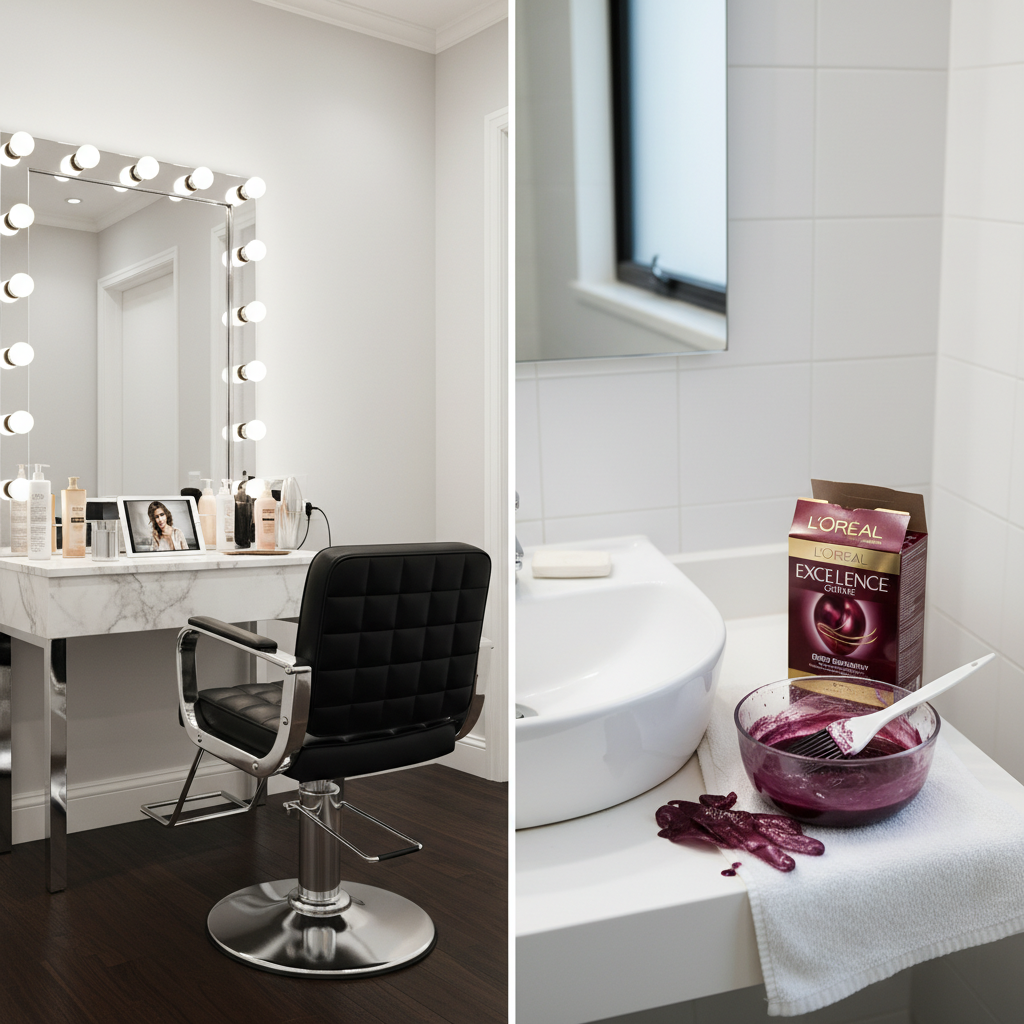
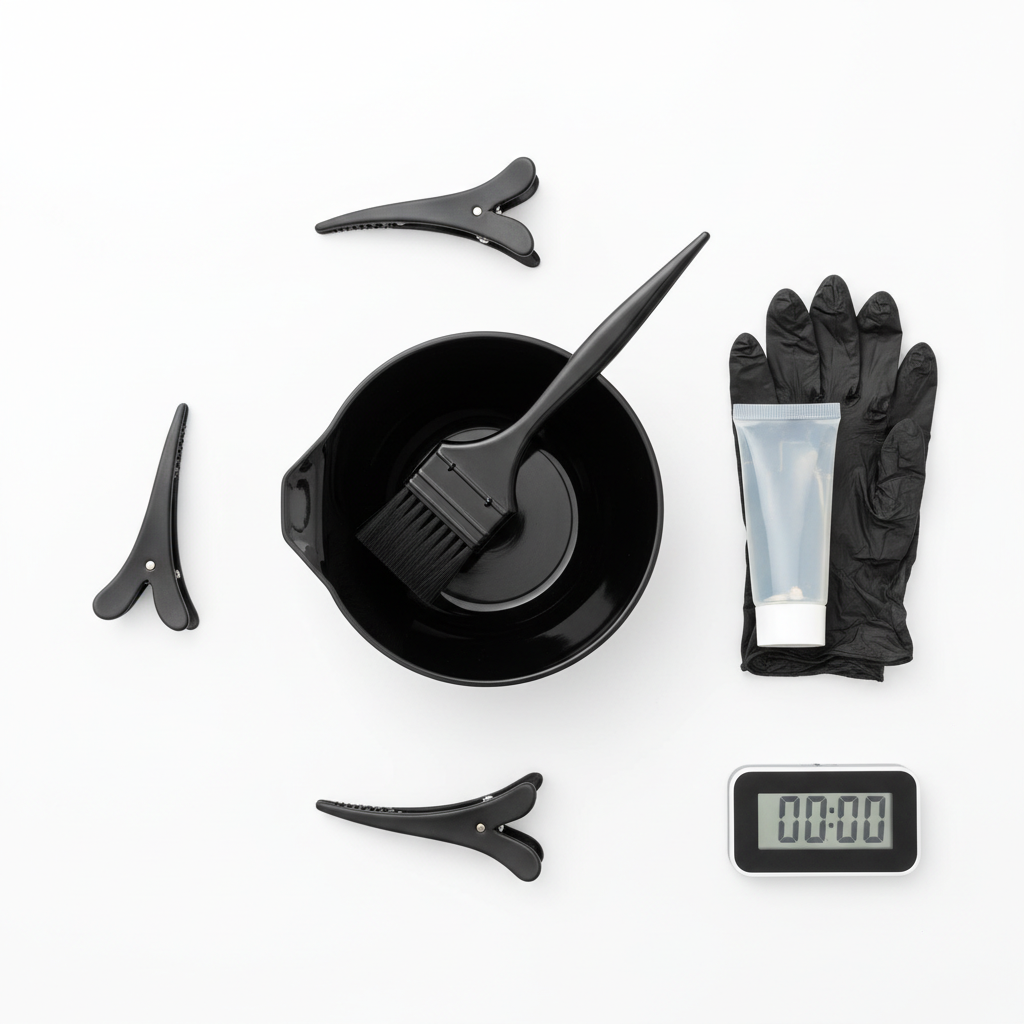
Rule #3: Assemble Your Pro Toolkit
The flimsy gloves and nozzle bottle in the box are for amateurs. We’re aiming for salon quality. Here’s what you really need:
- A real application brush and bowl: This gives you precision and control that a bottle can’t. You can get a cheap set online or at any beauty supply store.
- Hair clips: You need to work in clean, manageable sections. Get at least four large clips.
- An old button-down shirt or towel: Something you can easily remove without pulling it over your freshly dyed head.
- Petroleum jelly or a thick conditioner: Apply this along your hairline, ears, and neck to prevent staining your skin.
- A timer: Don’t guess. Use your phone or a kitchen timer for precise processing.
Rule #4: Prep Your Canvas
Don’t color freshly washed hair. The natural oils on your scalp act as a protective barrier against irritation. The ideal time to color is on hair that’s one or two days post-wash. Make sure your hair is completely dry and brushed out to remove any tangles before you begin.
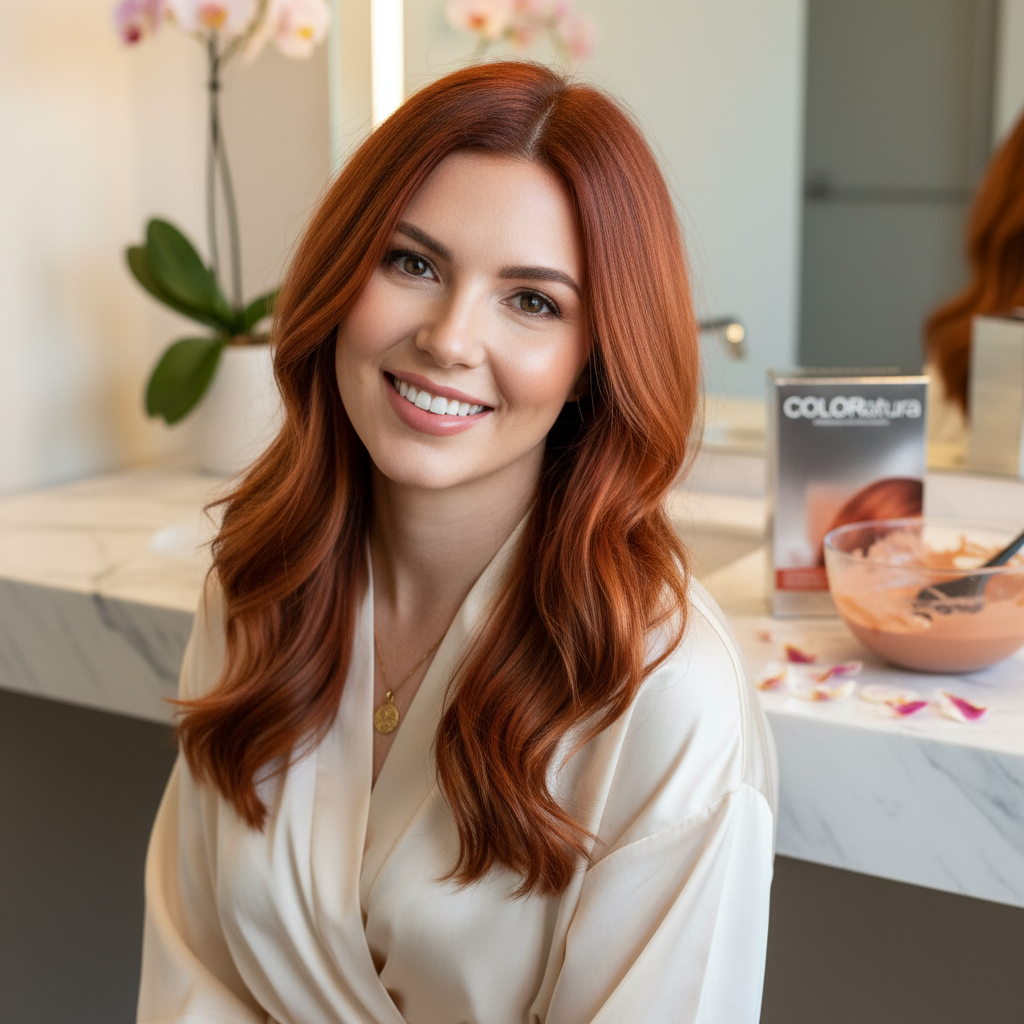
The Main Event: The Step-by-Step Application Playbook

Alright, you’re prepped and ready to go. This is where the magic happens. Put on some music, pour yourself a drink, and let’s do this. Follow these steps meticulously for even, saturated, professional-looking color.
- Set Up Your Station: Lay down old towels on the floor and counter of your bathroom. Put on your old shirt. Apply petroleum jelly around your entire hairline, including over your ears and on the back of your neck. Put on your gloves.
- Mix the Color: Following the box instructions, squeeze the color tube and the developer bottle into your plastic bowl. Use your application brush to mix them together until the color is uniform and there are no streaks.
- Section Your Hair: This is the most critical step for even coverage. Part your hair down the middle, from your forehead all the way to the nape of your neck. Then, part it again from ear to ear. You should have four clean, equal sections. Clip each section up and out of the way.
- Start the Application: Unclip one of the front sections. Using the tip of your brush handle, take a small horizontal sub-section of hair, about a quarter-inch thick. Paint the dye onto the root area first. Be thorough but don’t overlap onto hair that’s already been colored if you’re just doing a root touch-up.
- Work Through the Sections: Continue working in small sub-sections, painting the dye onto the roots until you’ve covered the entire quadrant. Re-clip the finished section and move on to the next one. Always work from the front two sections to the back two sections.
- Apply to Mid-Lengths and Ends: Once all your roots are covered, go back through and apply the remaining dye to the rest of your hair. Use your gloved hands to gently massage the color through your mid-lengths and ends to ensure every strand is saturated. This helps create a blended, seamless look.
- Set Your Timer: Once your entire head is saturated, pile your hair loosely on top of your head (don’t clip it, as this can create weird lines). Set your timer according to the strand test you did or the box instructions.
Key Rule: Start the timer *after* you finish applying the color, not when you start.
- Rinse and Condition: When the timer goes off, head to the shower. Rinse your hair with lukewarm water—not hot—until the water runs completely clear. Do not shampoo! Squeeze out the excess water and apply the conditioning treatment that came in the box. This is specially formulated to seal the hair cuticle and lock in your new color. Let it sit for 2-5 minutes, then rinse thoroughly.
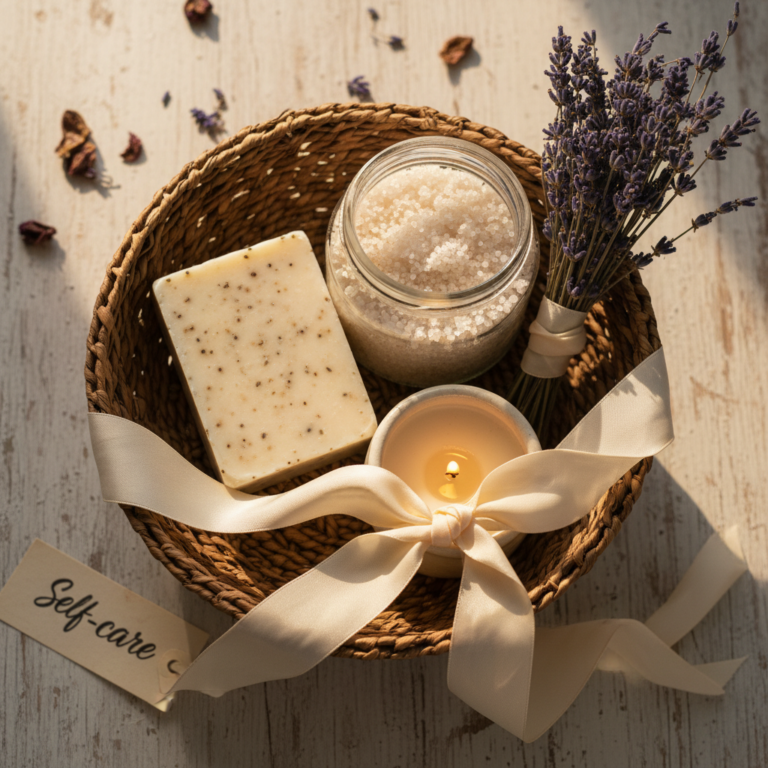
Post-Color Lockdown: Make Your Color Last and Look Expensive
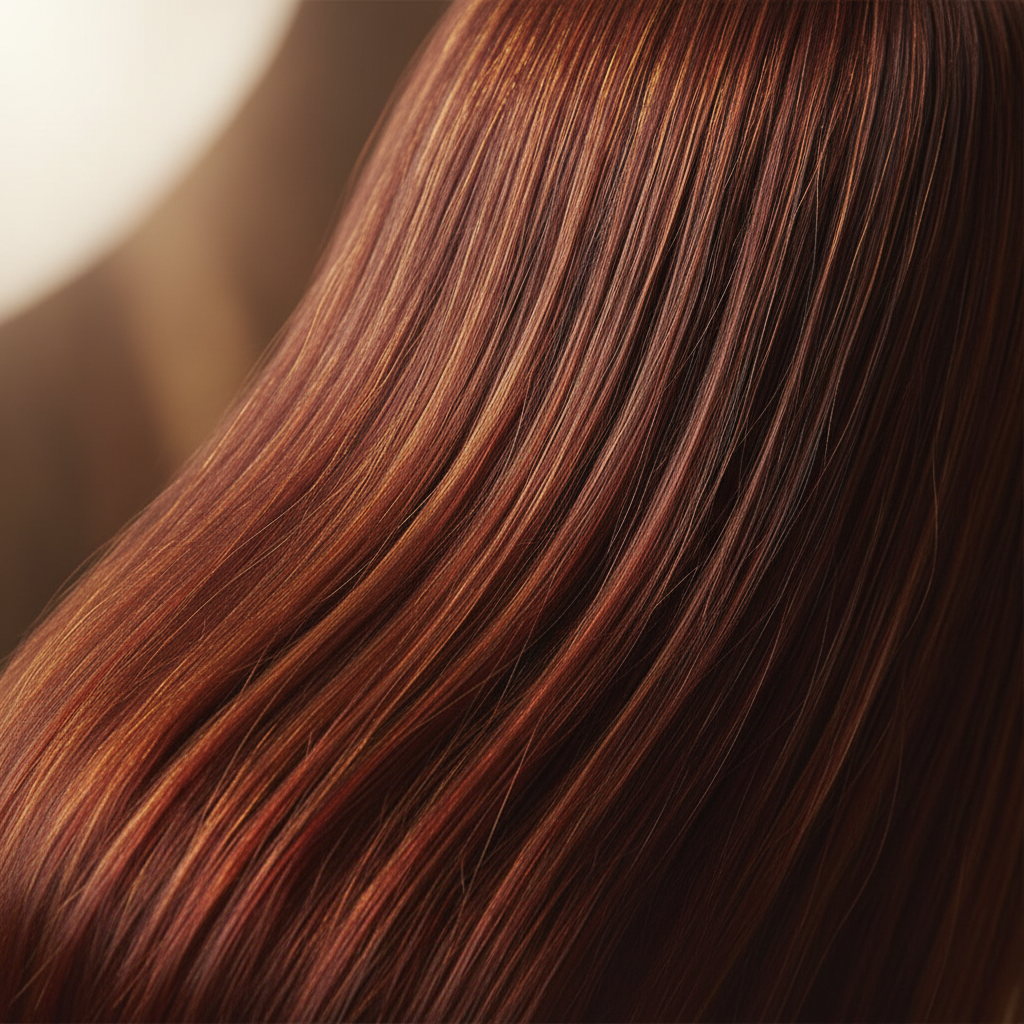
You did it! The color looks amazing. Now, the mission is to keep it that way. Fading is the number one enemy of fresh color, but you can fight back. Protecting your investment of time and money is key to making your DIY job look salon-fresh for weeks.
Cool It Down
Hot water is your color’s worst enemy. It opens up the hair cuticle, allowing color molecules to escape with every wash. Switch to washing your hair with lukewarm or cool water. It might be a little jarring at first, but your hair’s vibrancy will thank you for it.
Switch to Sulfate-Free
Sulfates are harsh detergents found in many shampoos that strip hair of its natural oils… and its color. Investing in a quality sulfate-free shampoo and conditioner for color-treated hair is a non-negotiable. It’s a small expense that will dramatically extend the life of your dye job.
Don’t Over-Wash
Try to stretch the time between washes. Every time you shampoo, you fade your color just a little bit. Embrace dry shampoo—it’s your new best friend. It will absorb oil and give you volume, allowing you to go two, three, or even four days between washes.
Add Back What You Take Out
Coloring is a chemical process, and it can be drying. Keep your hair looking healthy and expensive with these weekly treatments:
- Deep Conditioning Masks: Once a week, swap your regular conditioner for a deep conditioning mask to replenish moisture and keep your hair soft and shiny.
- At-Home Gloss Treatments: These are the ultimate secret weapon. A clear or tinted gloss treatment (available at beauty supply stores) will boost shine and refresh your color’s tone in between full dye jobs. It’s like a top coat for your hair.
- Heat Protectant Spray: If you use hot tools, always use a heat protectant spray. Heat damage not only fries your hair, but it also accelerates color fading.
Damage Control: Common Box Dye Disasters and How to Fix Them
Even with the best prep, sometimes things go a little sideways. Don’t panic. Most common box dye issues are totally fixable at home without running to a salon for an expensive color correction. Here’s your troubleshooting guide.
The Problem: The Color is Too Dark or ‘Inky’
This is the most common ‘oh no’ moment. You were going for chocolate brown and ended up with black. The fix is surprisingly simple.
The Fix: Go buy a clarifying shampoo. These are designed to strip product buildup, but they’re also great at gently lifting out fresh hair dye. Wash your hair with the clarifying shampoo two or three times in a row, letting it sit for a few minutes each time. You’ll see the water run with color. Follow up with a deep conditioner, as clarifying shampoos can be drying. This should lift the color by at least one shade.
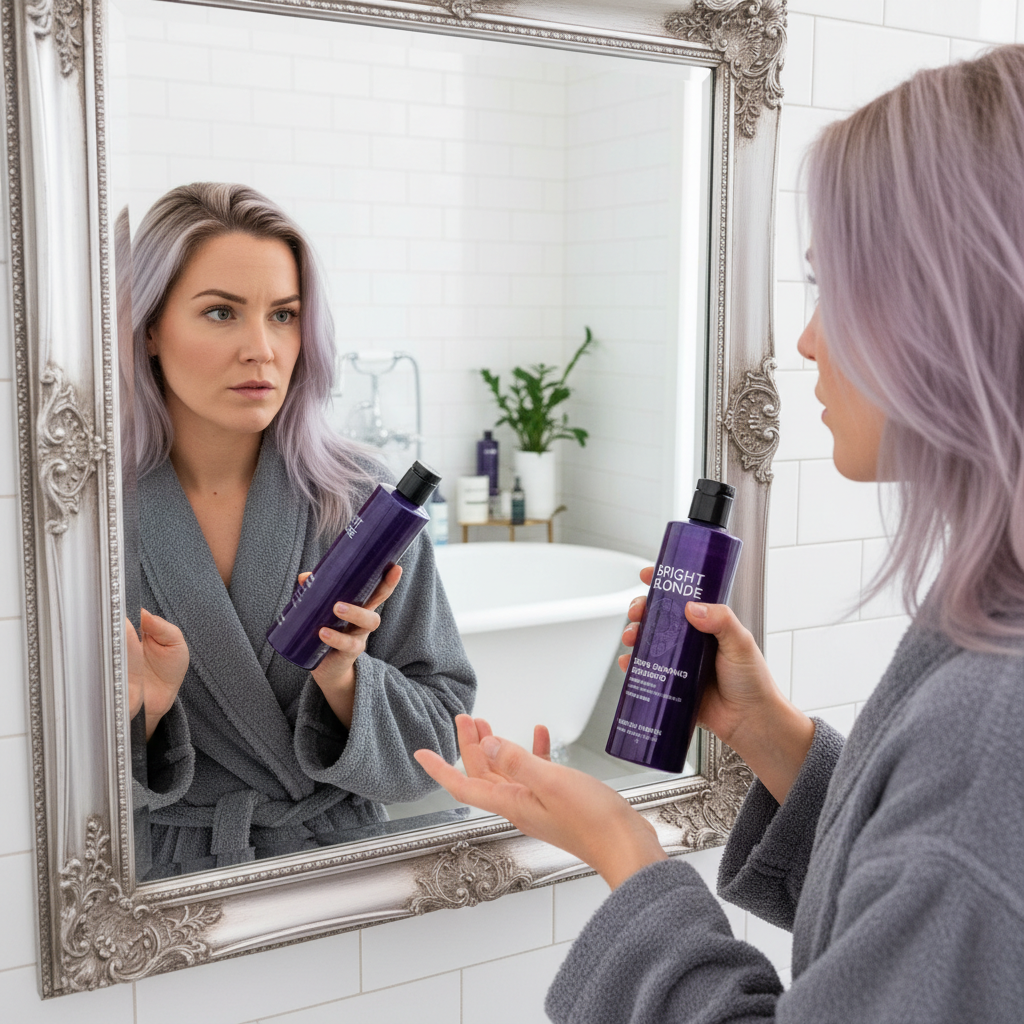
The Problem: Your Blonde Went Brassy (Yellow or Orange)
You wanted cool ash blonde but got a brass band instead. This is caused by underlying warm pigments in your hair being exposed during the lightening process.
The Fix: This is a color theory problem. To neutralize unwanted yellow tones, you need violet. To neutralize orange tones, you need blue. Invest in a good purple or blue toning shampoo and conditioner. Use it once or twice a week in place of your regular shampoo. Let it sit on your hair for 3-5 minutes before rinsing to let the toning pigments do their work. It will instantly cool down the brassiness and restore your desired shade.
The Problem: The Coverage is Splotchy or Uneven
You missed a spot, and now you have patches of your old color showing through.
The Fix: Unfortunately, the only real fix for this is to re-apply. But this time, be smarter. Buy a second box of the same color. Get a friend to help you with the back of your head if you can. If not, stand with your back to your bathroom mirror and use a handheld mirror to see what you’re doing. Be extra methodical with your sectioning and make sure every single strand is fully saturated with dye. It’s better to use too much product than not enough.
Conclusion
You now have the complete playbook. Coloring your hair at home isn’t just a way to save a few dollars—it’s a powerful financial hack that can save you over $1,000 a year. It’s about taking a skill that seems intimidating, breaking it down, and mastering it for yourself. You don’t need an expensive salon to look and feel fantastic. You just need a good plan, the right tools, and the confidence to do it yourself. So go ahead, grab that box dye. Your hair—and your bank account—are ready for the upgrade.