Safe At-Home Dermaplaning: Get Glowing Skin For Cheap
Let’s get real. That glass-skin, ultra-smooth, perfectly-glowing look you see everywhere comes with a hefty price tag. Salons and medispas charge a fortune for treatments like dermaplaning, selling it as some kind of exclusive secret. But here’s the truth they don’t want you to know: you can get the same incredible results right in your own bathroom for less than the cost of a couple of fancy coffees. This isn’t just about saving a few bucks; it’s about taking back control from an industry that profits off making you think you need them. Forget dropping $150 or more per session. We’re about to break down the ultimate frugal hack to safely dermaplane at home, revealing the peach fuzz-free, radiant skin you’ve been paying way too much for. Get ready to upgrade your skincare game and your bank account at the same time.
Why You’re Getting Played: The Dermaplaning Cost Breakdown
Before we dive into the ‘how,’ let’s talk about the ‘why.’ Why are you here? Because you’re smart with your money. You know that paying for the ambiance of a spa and a marked-up service is a financial drain. Professional dermaplaning is essentially a deep physical exfoliation where a practitioner uses a surgical scalpel to gently scrape away the top layer of dead skin cells and vellus hair (aka peach fuzz). The results are undeniable: smoother skin, better product absorption, and flawless makeup application. But the cost is outrageous.
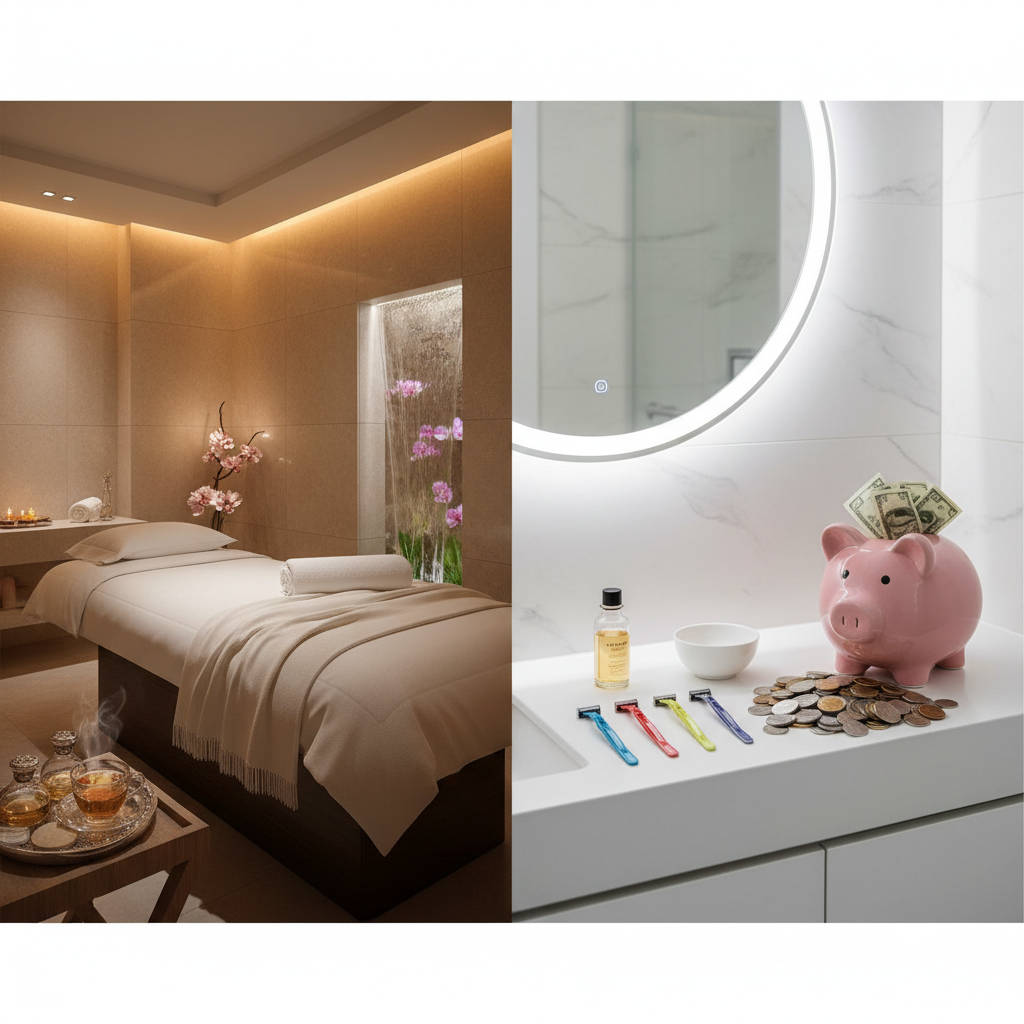
A single session can range from $75 to over $250, depending on where you live and how fancy the establishment is. Most places recommend a session every 3-4 weeks to maintain results. Let’s do the math on the conservative end. At $100 per session every month, you’re looking at $1,200 a year. That’s a vacation, a serious debt payment, or a huge boost to your savings account. Now, let’s compare that to the DIY approach. You’re not using a surgical scalpel (and you shouldn’t be), but specially designed at-home dermaplaning tools that are safe and effective. The difference in cost is staggering.
| Expense Category | Professional Treatment (Annual Cost) | DIY At-Home Method (Annual Cost) |
|---|---|---|
| Treatment/Tools | 12 sessions @ $100/each = $1,200 | Pack of 12 blades = $15 |
| Associated Products (Cleanser, Oil, Moisturizer) | Often includes up-selling on pricey products | Using your existing affordable products = $0 (or maybe $30 for a new facial oil) |
| Time & Transportation | Travel time + Appointment time (approx. 12 hours/year) | 15 minutes at home (approx. 3 hours/year) |
| Total Annual Cost | $1,200+ | $15 – $45 |
| Total Annual Savings | Over $1,150! | |
Seeing it in black and white is a game-changer, isn’t it? That’s over a thousand dollars you can put toward things that actually build your wealth or bring you joy, all without sacrificing the results. This is the essence of frugal hacking: getting premium results without the premium price tag.
Your Frugal Arsenal: Gearing Up for At-Home Dermaplaning
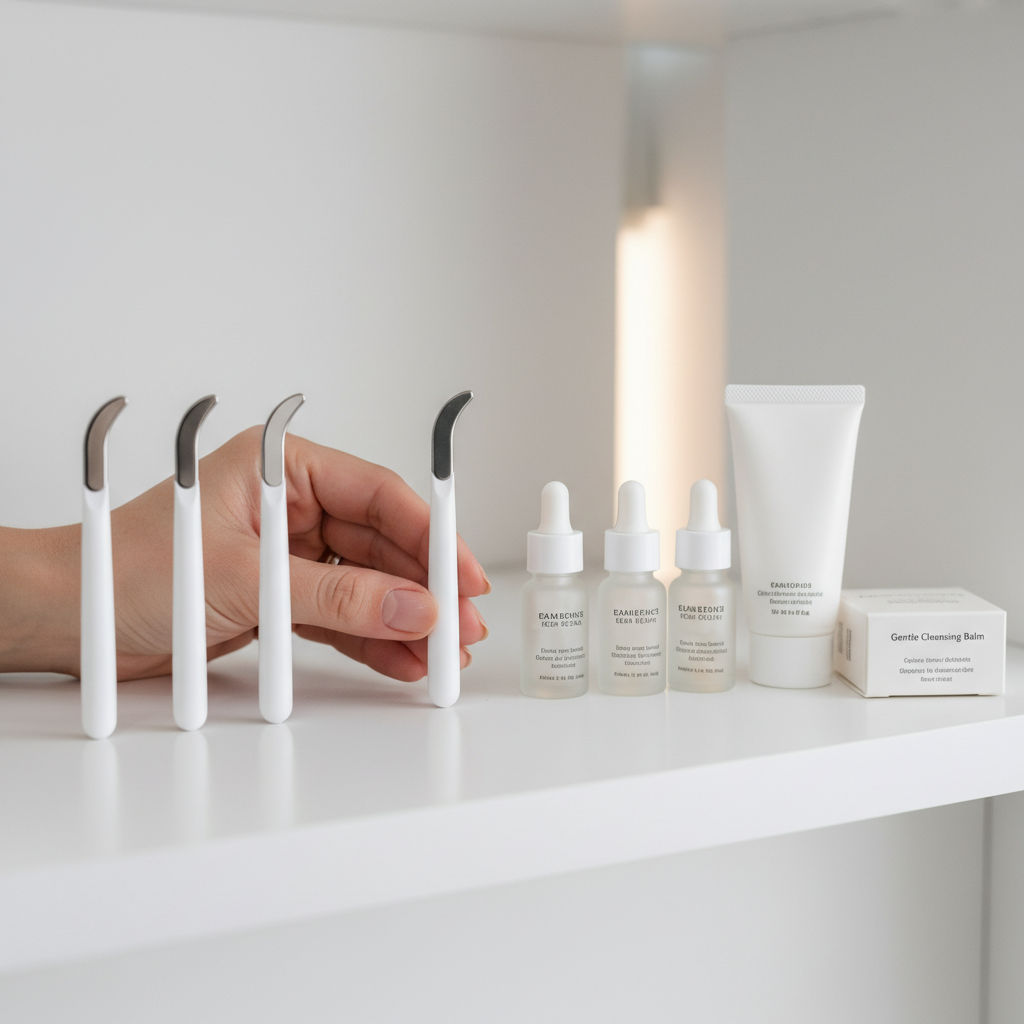
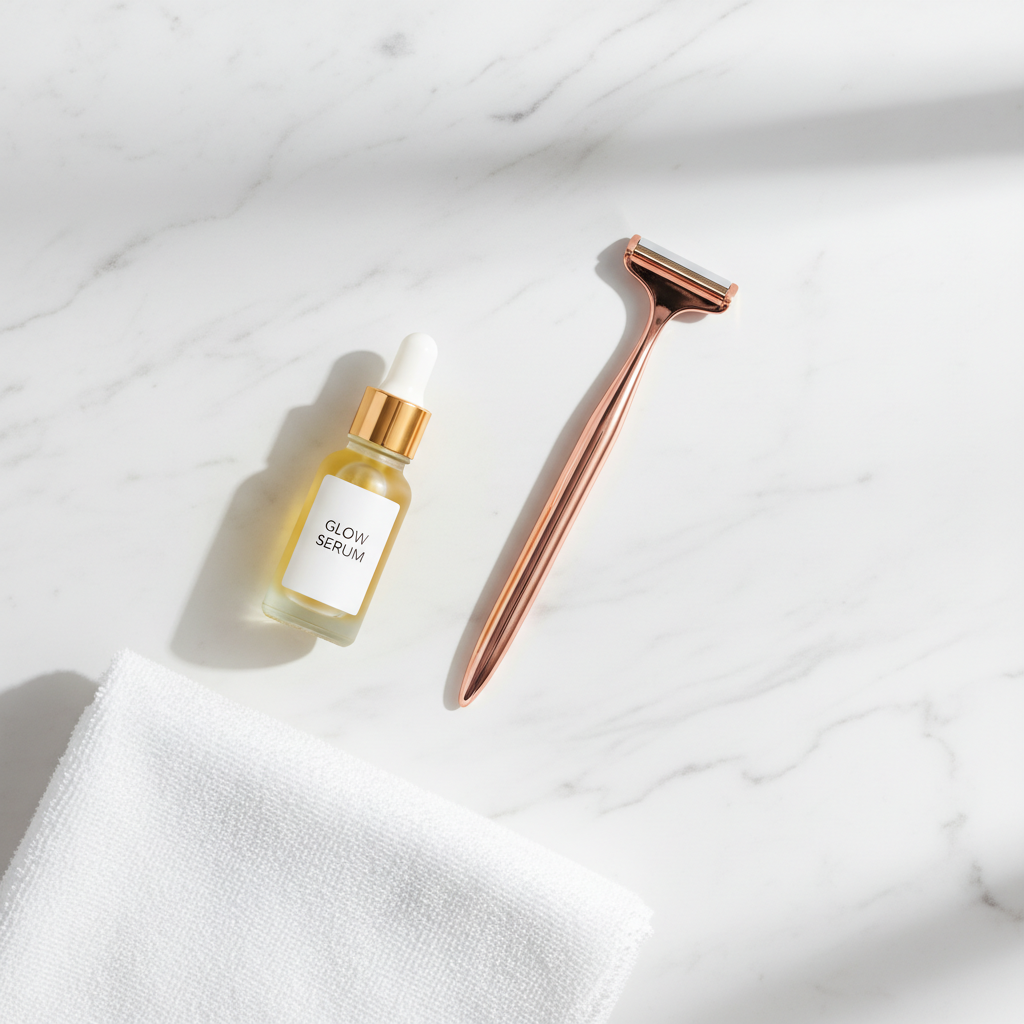
You don’t need a drawer full of expensive gadgets to do this right. In fact, the beauty of at-home dermaplaning is its simplicity. Here’s your no-fluff, budget-conscious shopping list. You probably own most of this already.
- The Main Event: Dermaplaning Tool. This is the most important piece. Do NOT grab a regular eyebrow or leg razor. You need a tool specifically designed for this. They are single-blade, often with safety guards, and designed to be used on the delicate skin of your face. You can find packs of them on Amazon or at drugstores for cheap. Brands like Tinkle, Schick Silk, or countless others offer multi-packs for under $10. One blade, one use. Never reuse a blade.
- A Gentle Cleanser. Whatever you normally use to wash your face is perfect. No need to buy anything special. The goal is a clean, dry canvas.
- Facial Oil (Optional but Recommended). While many dermaplane on dry skin (which is the traditional method), using a very light layer of a non-comedogenic facial oil can provide a bit of slip for beginners, reducing the risk of nicks. A simple squalane or jojoba oil works wonders and costs very little.
- Hydrating Serum/Moisturizer. Your skin will be freshly exfoliated and ready to drink up moisture. Have your favorite hydrating, non-irritating moisturizer or serum ready for after. Think ingredients like hyaluronic acid or ceramides.
- Sunscreen. This is non-negotiable. Your skin will be more sensitive to the sun after treatment. A broad-spectrum SPF 30 or higher is your new best friend.
That’s it. No fancy prep solutions, no expensive post-treatment masks required. You’re looking at an initial investment of maybe $20 if you need to buy everything, which will last you for months. It’s about being resourceful, not being a product junkie.
The Ultimate DIY Dermaplaning Playbook: Step-by-Step
Alright, it’s go time. Put on some music, lock the bathroom door, and let’s do this. Follow these steps precisely for a safe and effective treatment. Don’t rush it—this is your time.
- Start with a Clean Slate. Wash your hands first. Then, double cleanse your face to remove every trace of makeup, oil, and dirt. The blade needs to glide over clean skin to be effective and prevent the spread of bacteria. Pat your face completely dry with a clean towel. Your skin must be 100% dry if you’re not using oil.
- Prep Your Blade. Sanitize your new, fresh blade with rubbing alcohol and let it air dry for a moment. Even though it’s new, this is a crucial step for hygiene.
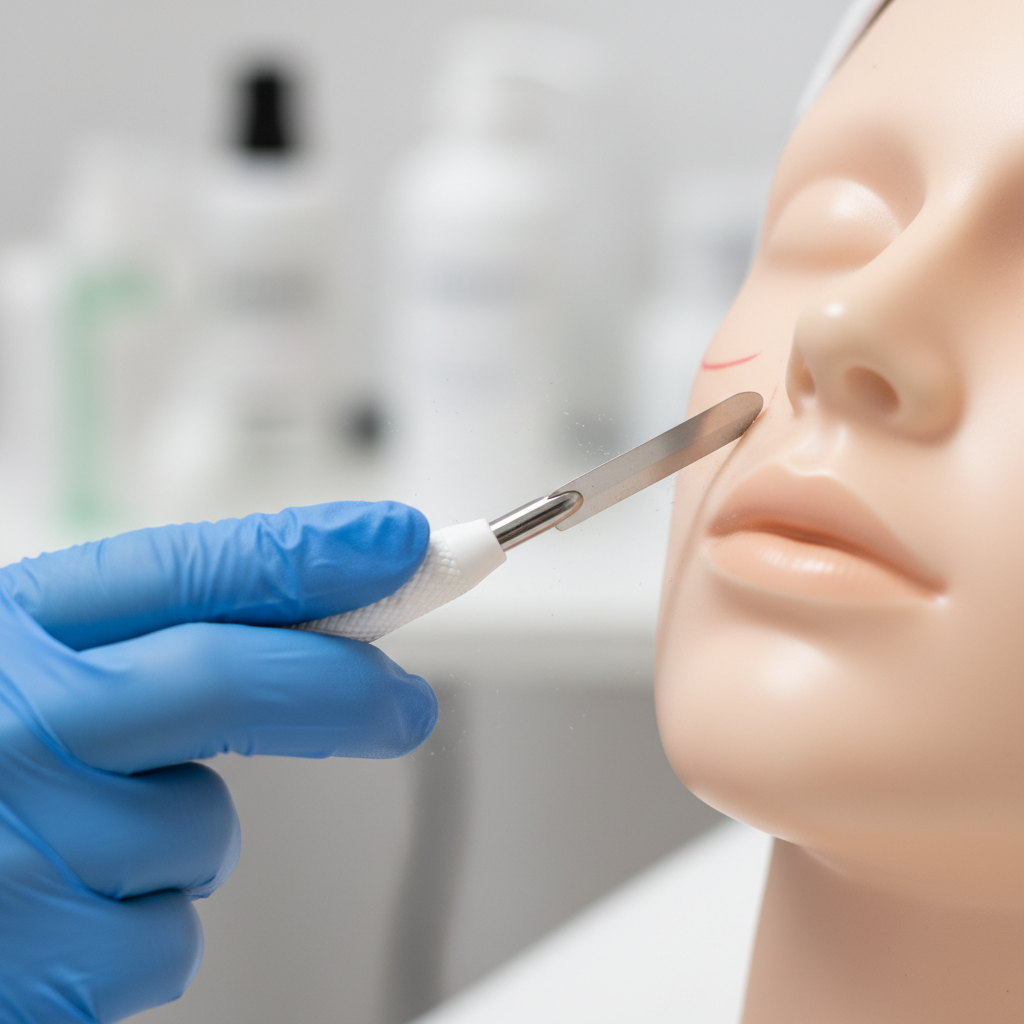
- Find Your Angle. Hold the blade at a 45-degree angle to your skin. This is the sweet spot. Too steep, and you risk cutting yourself. Too flat, and it won’t be effective. Practice holding it against the back of your hand to get a feel for it.
- The Technique. Use your free hand to pull a section of your skin taut. This creates a smooth, firm surface for the blade to glide over. Starting near your ear, use very short, light, feathery strokes, moving downwards. Work in small sections. Let the weight of the blade do the work.
Key Rule: Absolutely no pressure. You are not shaving a beard. You are gently gliding the blade over the surface of your skin to lift away dead cells and fuzz. If you feel like you have to press, you’re doing it wrong.
- Wipe and Repeat. After a few strokes, you’ll see a small buildup of skin cells and hair on the blade. Gently wipe it clean on a dry towel or cotton pad and continue to the next small section.
- Know Your No-Go Zones. Avoid going over any active acne, inflamed breakouts, moles, or any broken or irritated skin. Also, be very careful around the hairline, eyebrows, and the bony areas around your nose and eyes. Don’t go over the same spot more than once.
- Post-Glow Aftercare. Once you’ve covered the areas you want to treat (cheeks, forehead, chin, upper lip), rinse your face with cool water or just go straight to your skincare. Apply a generous amount of a soothing, hydrating serum or moisturizer. Your skin will absorb it like a sponge.
- SPF is Mandatory. The next morning, and for the next several days, be extra diligent with sunscreen. Your freshly exfoliated skin is vulnerable to sun damage. This step protects your results and your skin’s health.
Rookie Mistakes to Avoid (So You Don’t Mess Up Your Face)
Being a frugal hacker means being smart and avoiding costly mistakes. When it comes to your face, the stakes are high. Here are the common traps people fall into and how you can sidestep them like a pro.
- Using a Dull or Dirty Blade. This is the cardinal sin of at-home dermaplaning. A dull blade will drag, causing irritation and nicks. A dirty blade is a one-way ticket to breakouts or infection. Use a brand new, sanitized blade for every single session. They are cheap for a reason—they are disposable.
- Going Too Fast or Using Too Much Pressure. This isn’t a race. Rushing leads to cuts. Applying pressure is how you go from exfoliation to injury. Remember: short, feathery, gentle strokes. If you wouldn’t use that pressure near your eye, don’t use it on your cheek.
- Dermaplaning on Irritated Skin. If you have an active breakout, a sunburn, rosacea flare-up, or any kind of skin irritation, just wait. Exfoliating compromised skin will only make it angrier and can spread bacteria, leading to more breakouts. Patience is a virtue.
- Ignoring Aftercare. You’ve just removed a layer of dead skin cells. Your skin barrier is temporarily vulnerable. Skipping moisturizer and SPF is like leaving the front door of your house wide open. You need to hydrate and protect that fresh new skin. Avoid using other harsh exfoliants (like acids or scrubs) for at least 48-72 hours after.
Scam Warning: The “Hair Grows Back Thicker” Myth. Let’s bust this once and for all. It is biologically impossible for dermaplaning to change the structure of your hair follicle. Shaving or dermaplaning cuts the hair at a blunt angle, so as it grows out, it might *feel* stubbly for a day or two, but it is not thicker, darker, or coarser. This is a myth often perpetuated to scare you into paying for expensive waxing or laser treatments. Don’t fall for it.
Conclusion
You did it. You’ve officially unlocked a high-end beauty treatment for pennies. By investing 15 minutes a month, you’re not just saving over $1,000 a year; you’re taking ownership of your skincare routine. This is what being a frugal hacker is all about: identifying the fluff, cutting the costs, and getting the same, if not better, results on your own terms. Your skin will be smoother, your products will work better, your makeup will look flawless, and your wallet will be heavier. Now go enjoy that extra cash and your ridiculously radiant skin. You’ve earned it.