Renter Friendly Reno: How to Install Peel and Stick Flooring on a Budget
Let’s be real: renting can feel like you’re living in someone else’s house with their questionable design choices. And nothing screams ‘temporary’ louder than scuffed, stained, or just plain ugly flooring. You want to upgrade, but the fear of losing that precious security deposit keeps you stuck. What if you could totally transform your space for a weekend’s worth of work and less than the cost of a fancy dinner out? Enter peel-and-stick flooring, the ultimate hack for the budget-conscious renter. This isn’t your grandma’s flimsy vinyl. We’re talking durable, stylish, and—most importantly—completely removable flooring that gives you a luxury look for a bargain price. Forget asking your landlord for permission. This guide is your ticket to upgrading your home on your terms, with your own two hands. Get ready to turn that frustrating rental into a space you’re proud to show off.
Why Peel-and-Stick is a Renter’s Best Friend

Before you dive in, you need to understand why this isn’t just another DIY project; it’s a strategic move for any savvy renter. Traditional renovations are off the table. They’re expensive, permanent, and guaranteed to make your landlord furious. Peel-and-stick vinyl flooring flips the script. It’s designed for people like us who want to make a big impact without leaving a permanent mark or emptying our wallets.
The Core Benefits:
- Budget-Friendly: We’re talking a fraction of the cost of traditional flooring. You can often find quality options for under $2.00 per square foot. A whole room can be transformed for less than $200.
- Completely Reversible: This is the magic bullet. When it’s time to move out, you can simply heat the tiles and peel them up, leaving the original floor underneath untouched. Say goodbye to security deposit anxiety.
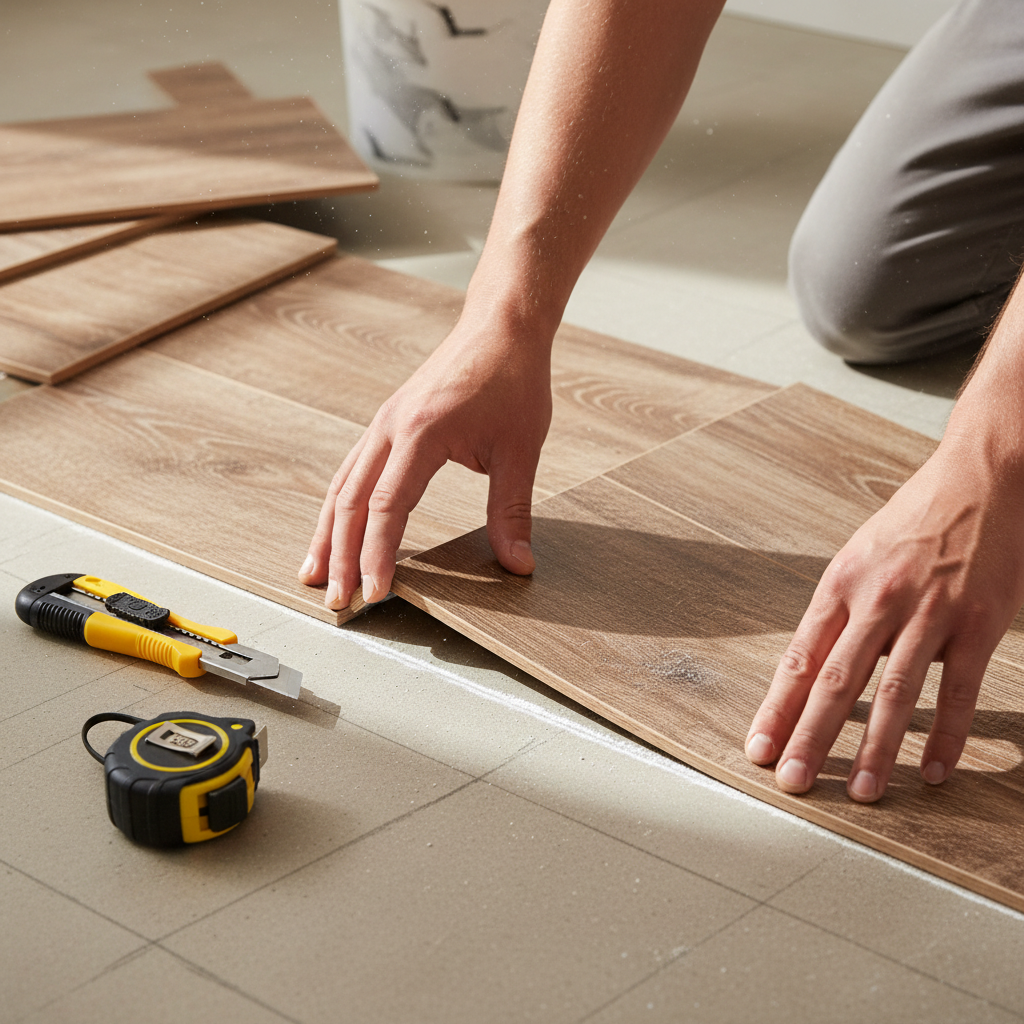
- Insanely Easy to Install: You don’t need a contractor, a saw, or any heavy-duty equipment. If you can use a ruler and a utility knife, you can do this. It’s a true weekend project.
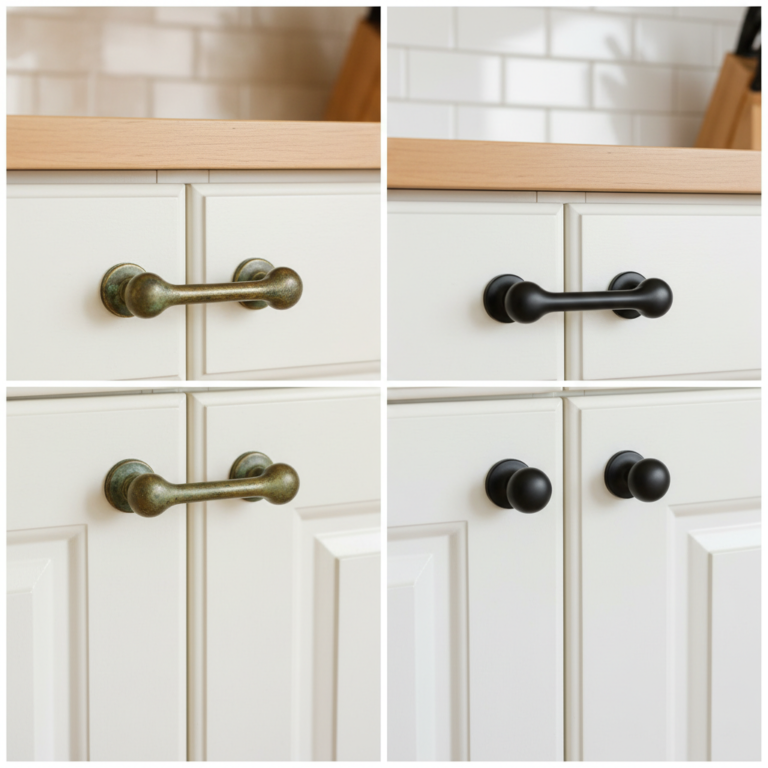
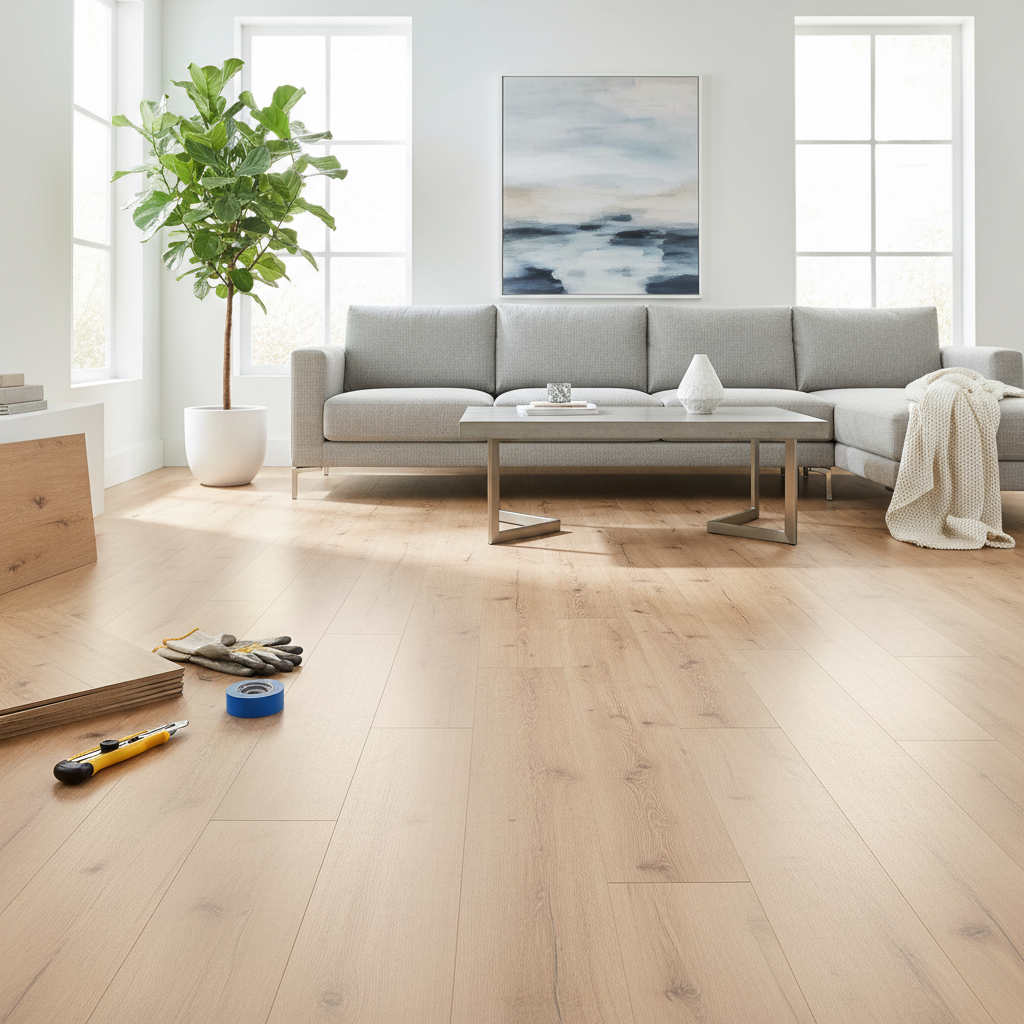
- Huge Style Variety: Long gone are the days of boring linoleum patterns. Today’s peel-and-stick options mimic everything from high-end hardwood to chic ceramic tile to bold geometric patterns. You can find a style that actually matches your aesthetic.
- Durable and Easy to Clean: Most vinyl tiles are water-resistant and tough enough to handle everyday life. Spills wipe up easily, making them perfect for kitchens, bathrooms, and entryways.
Think of it as a temporary outfit for your floor. It looks amazing, protects the original surface from your own wear and tear, and comes off when you’re ready for a change. It’s the smartest way to invest in your current happiness without sacrificing your future savings.
The Game Plan: Tools and Materials You Actually Need
Don’t get intimidated by the idea of a ‘materials list’. This isn’t a major construction project. You probably have half of this stuff already. The key is getting the right stuff to make the job smooth and give you a professional-looking result. No wasted money on tools you’ll never use again.
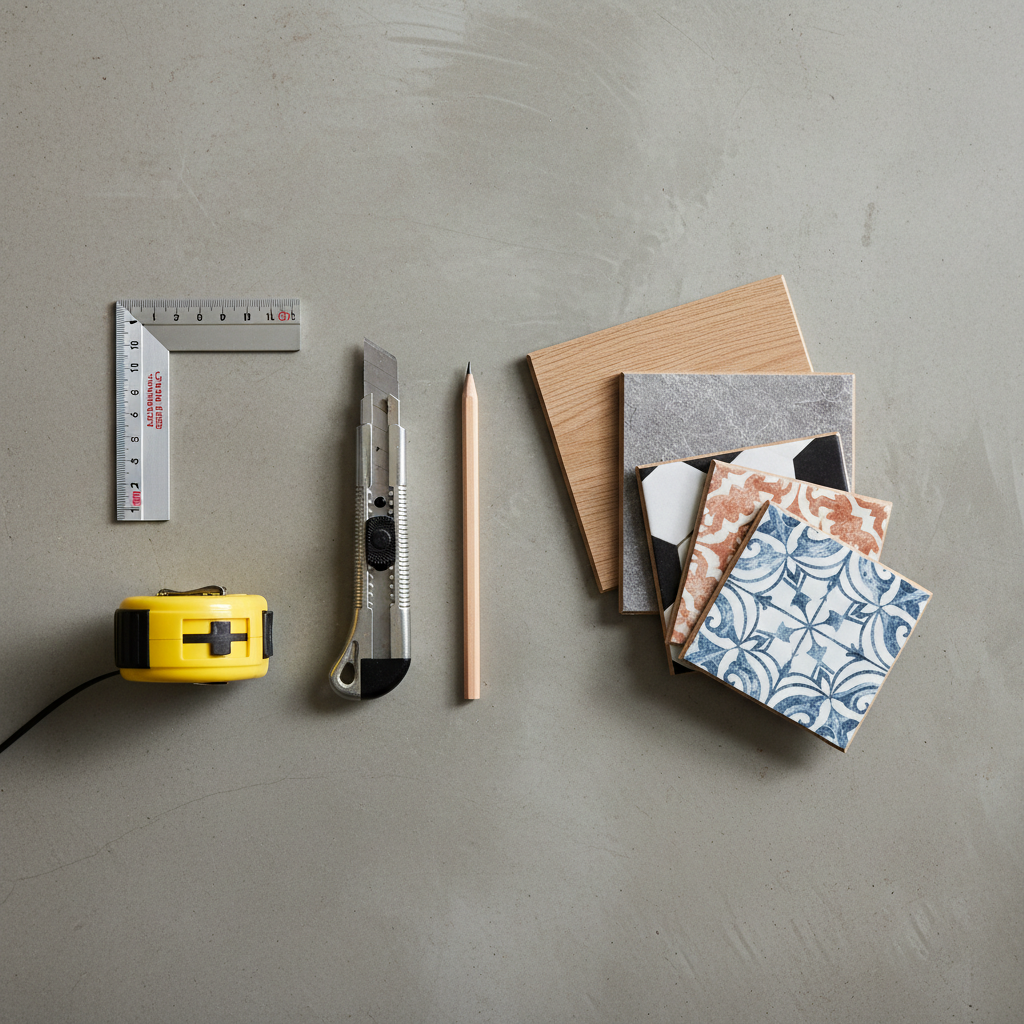
Your Shopping List:
- Peel-and-Stick Tiles/Planks: The star of the show. Measure your room’s square footage (length x width) and then buy at least 10% extra to account for mistakes, tricky cuts, and potential replacements.
- Utility Knife with Extra Blades: A sharp blade is your best friend. A dull blade will tear the tiles and give you sloppy edges. Don’t be cheap here; get extra blades.
- Measuring Tape: Obvious, but essential. Measure twice, cut once.
- Carpenter’s Square or Straight Edge: This is crucial for getting perfectly straight cuts and ensuring your lines are square. A ruler won’t cut it.
- Pencil or Marker: For marking your cut lines on the back of the tiles.
- Floor Cleaner/Degreaser: Your new floor is only as good as the surface it’s sticking to. The original floor needs to be spotlessly clean and free of any grease or grime.
- Optional but Recommended: A small hand roller (like a J-roller) to press the tiles down firmly and ensure a strong bond.
How to Choose the Right Tiles
Not all peel-and-stick tiles are created equal. The rock-bottom cheapest option might save you $20 now but will look terrible in six months. Here’s the inside scoop:
- Check the Wear Layer: This is the top protective coating. Look for a thickness of at least 8 mil for moderate traffic areas. For high-traffic spots like an entryway, aim for 12 mil or more. It’s the difference between flooring that scuffs if you look at it wrong and flooring that holds up to real life.
- Read the Reviews: See what other people are saying about the adhesive. Some brands are known for having a super-strong grip, while others might need a little extra help. User photos are your best source of truth for color and pattern accuracy.
- Get Samples: If you can, order samples. See how the color looks in your room’s lighting and get a feel for the texture and thickness. It’s a small investment to avoid a big mistake.
Cost Breakdown: DIY Upgrade vs. The Alternatives
Let’s talk numbers. Seeing the math is what separates wishful thinking from a strategic financial decision. Upgrading your space feels good, but saving a ton of money while doing it feels even better. Here’s how a DIY peel-and-stick project stacks up against other options—or the lack thereof.
| Expense Category | DIY Peel-and-Stick (100 sq. ft. room) | Professional LVP Install (100 sq. ft. room) | The ‘Cost’ of Doing Nothing |
|---|---|---|---|
| Flooring Materials | $150 – $250 (at $1.50-$2.50/sq. ft.) | $300 – $600 (materials are often pricier) | $0 |
| Tools & Supplies | $30 (knife, square, cleaner) | Included in labor, but you pay for it | $0 |
| Labor | $0 (Your time & effort!) | $300 – $500+ | $0 |
| Security Deposit Risk | Extremely Low (if done correctly) | Extremely High (permanent change) | Low (but you risk your own damage) |
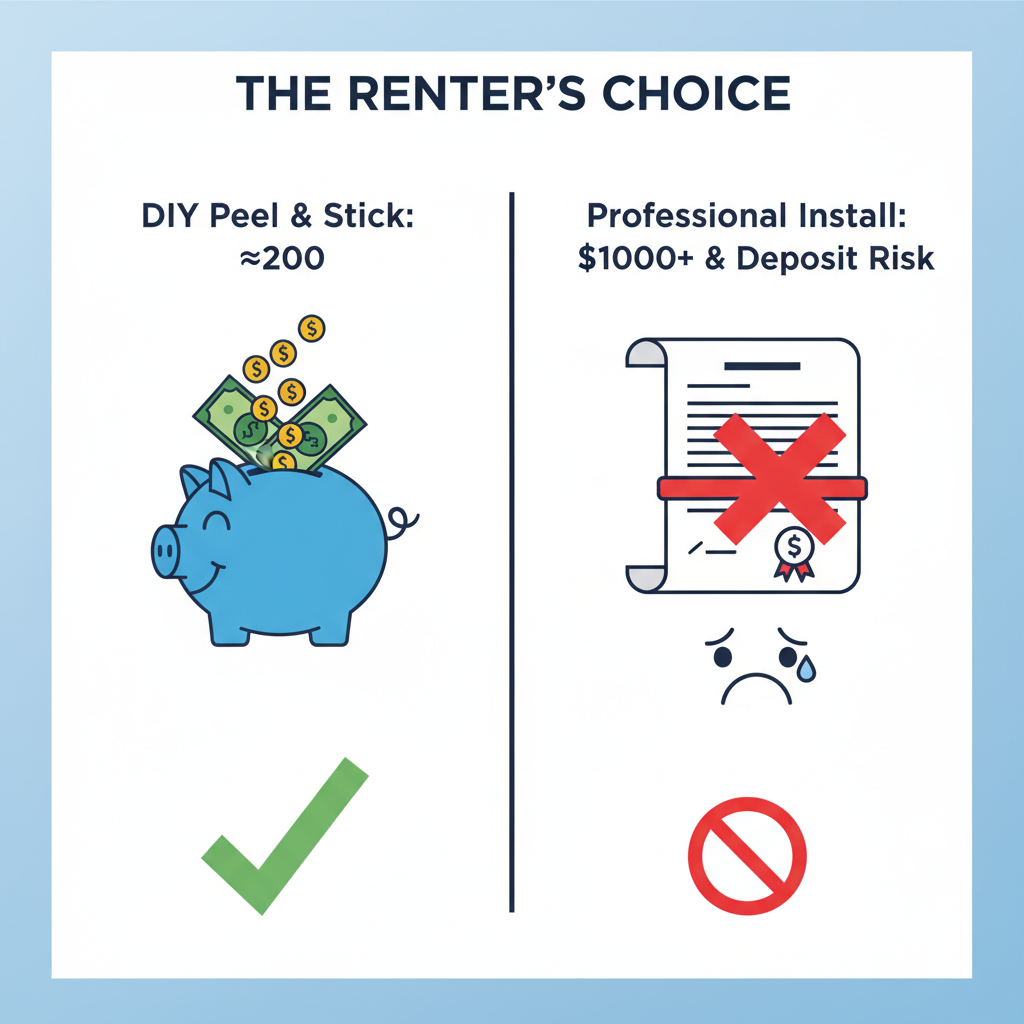
| Total Financial Cost | ~$180 – $280 | ~$600 – $1,100+ | $0 |
| Return on Happiness | High! You love your space. | High, but with high cost and risk. | Negative. Daily frustration with your surroundings. |
The table makes it crystal clear. For less than $300 and a weekend of your time, you can achieve a result that would cost over three times as much to have done professionally. And the professional option isn’t even truly an option for most renters! The real comparison is between the small investment in peel-and-stick versus the daily emotional cost of living in a space you don’t enjoy. That makes this project a no-brainer.
The Step-by-Step Install: Your Guide to a Flawless Floor
This is where the magic happens. Follow these steps, don’t rush, and you’ll have a floor that looks like it was done by a pro. Put on some music, grab a drink, and let’s get to it.
- Step 1: The Prep Work is Everything. Do not skip this. Clean your existing floor like you’ve never cleaned it before. Use a degreasing cleaner to remove any oils, wax, or grime. Any dirt left behind will prevent the tiles from sticking properly. Let the floor dry completely—and I mean completely. Any moisture is your enemy.
- Step 2: Find Your Starting Point. Don’t just start in a corner! You’ll end up with weird, thin slivers of tile on the other side of the room. Find the center of your two longest walls and snap chalk lines to create a cross in the middle of the room. Your first tile will be laid at the intersection of these lines. This ensures your layout is balanced and looks intentional.
- Step 3: The ‘Dry Fit’. Before you peel any backing, lay a row of tiles out from the center to each wall. This shows you how the final layout will look. If you end up with a tiny, difficult-to-cut piece against a wall, you can adjust your starting line by a few inches now to avoid the headache later.
- Step 4: Peel, Stick, and Press. It’s time. Take your first tile, carefully peel off the paper backing, and align it perfectly with your guideline intersection. Lower it into place and press down firmly, starting from the center and working your way out to the edges. If you have a roller, use it now to get a solid bond. Lay the next tile snugly against the edge of the first. Do not overlap the tiles. They should be perfectly flush.
- Step 5: The Art of the Cut. When you reach a wall or an obstacle, you’ll need to cut a tile. Place the tile you need to cut directly on top of the last full tile you laid. Then, take another full tile and place it on top of that, but slide it up to the wall (leaving a tiny expansion gap, about 1/16th of an inch). Use the edge of this top tile as your guide to draw a line on the tile below it. Remove the tile, and cut along your line with your utility knife and straight edge. It may take a few passes to score it deeply. Then, you can simply snap it along the line.
- Step 6: Stagger Your Seams (for Planks). If you’re using wood-look planks, you don’t want the seams to line up like a grid. It looks unnatural. For a realistic wood floor look, stagger the seams. A common method is to start a new row with the piece you cut off from the end of the previous row (as long as it’s not too small). This creates a random, natural pattern and also reduces waste.
Pro-Tips and Avoiding Deposit-Losing Mistakes
Installing the floor is one thing; making sure it looks amazing and comes up clean is another. These are the street-smart tips that separate a good DIY job from a great one that gets you your full security deposit back.
Tricks for a Pro-Level Finish
- Acclimate Your Tiles: Let the boxes of tiles sit in the room where you’ll be installing them for at least 48 hours. This allows them to adjust to the temperature and humidity, preventing them from expanding or shrinking after you’ve laid them.
- Mind the Gap: Leave a very small gap (about the thickness of a credit card) between the edge of your flooring and the wall or baseboards. This allows for slight expansion and contraction and will be covered by shoe molding or the baseboard itself.
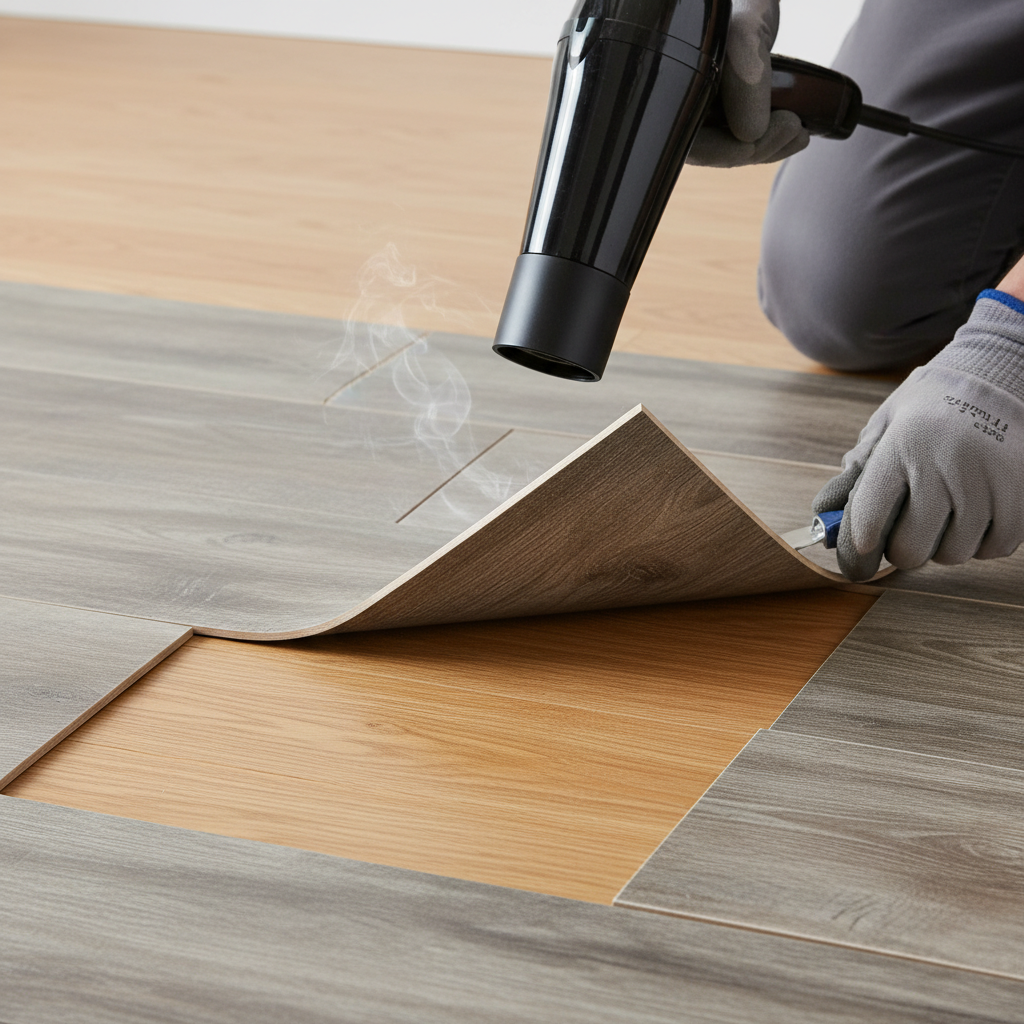
- Use a Hairdryer for Tricky Spots: If a corner isn’t sticking perfectly or you need to mold a tile around a weird curve, a little bit of heat from a hairdryer can make the tile more pliable and the adhesive tackier.
The Removal: Leaving No Trace
This is the most critical part for any renter. When it’s time to move, you don’t want to spend days scraping adhesive residue. Here’s how to do it right:
Key Rule for Removal: Heat is your secret weapon. Never try to just rip the tiles up cold. You’ll likely leave a sticky mess behind.
Use a hairdryer or a heat gun on a low setting to warm up a tile. This softens the adhesive underneath. Once it’s warm to the touch, use a putty knife to gently lift one corner. It should peel up with minimal resistance. Work in sections, heating and peeling as you go. If any residue is left behind, a bit of Goo Gone or another adhesive remover and a rag will typically take it right off. Test the remover on an inconspicuous area first, just to be safe. By following this method, you can restore the floor to its original state, making your move-out inspection a breeze.
Conclusion
There you have it—the complete playbook to reclaiming your rental floors. You don’t have to live with a space you don’t love just because you don’t own it. With a small budget, a free weekend, and this guide, you have the power to create a home that reflects your style and makes you happy. This project is more than just a new floor; it’s proof that you can make smart, impactful changes without breaking the bank or your lease. So measure your room, pick a style you love, and get ready to transform your space. You’ve got this.