Meal Prep Mastery: Freezer Breakfast Burritos for Less Than $1 Each
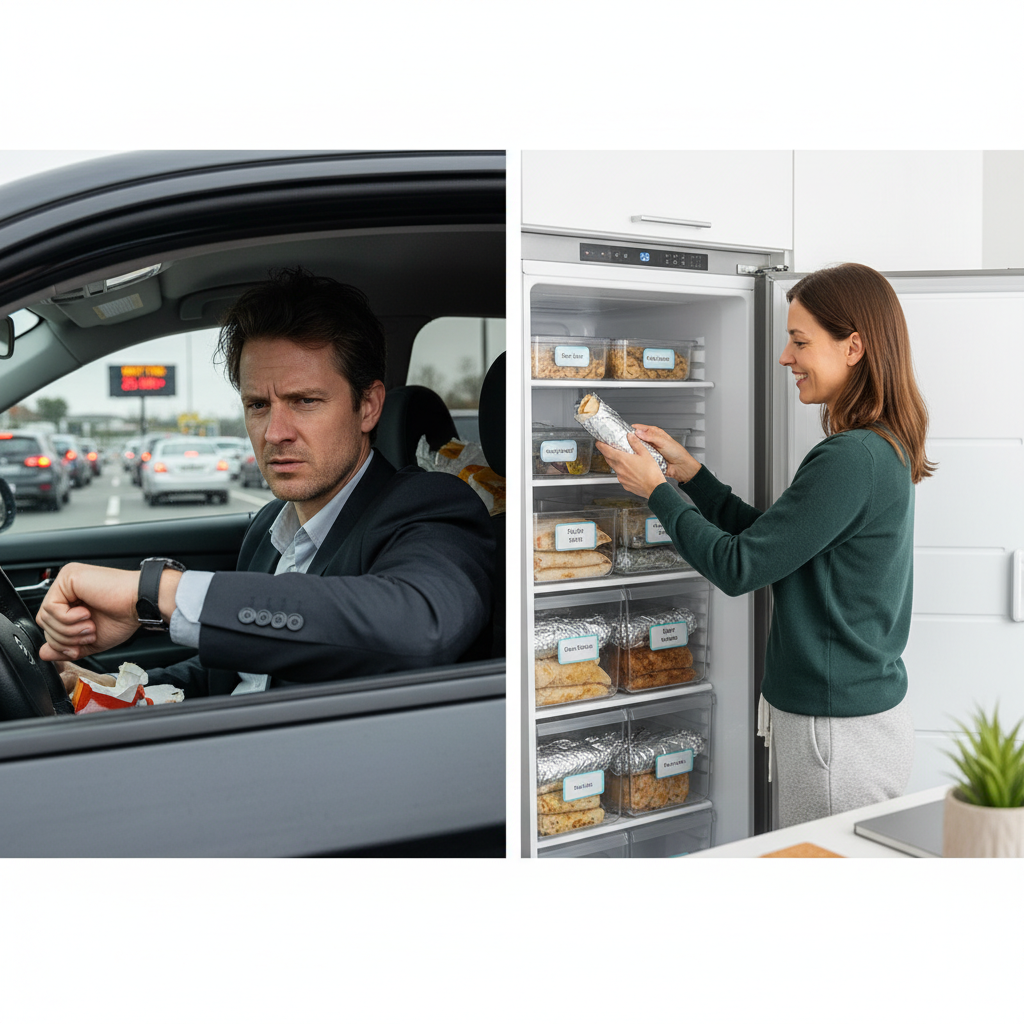
Let’s be real: mornings are chaos. You hit snooze one too many times, and suddenly you’re faced with a choice: skip breakfast and be a zombie until lunch, or hit the drive-thru and burn $5 on a mediocre, greasy gut bomb. It feels like a trap, a daily tax on being busy. But what if you could break the cycle? What if you could have a hot, delicious, and satisfying breakfast every single morning for less than the cost of a gas station coffee?
This isn’t a fantasy. This is your new reality. We’re talking about the ultimate frugal power move: the freezer breakfast burrito. By investing about one hour on a Sunday, you can stock your freezer with a month’s worth of grab-and-go breakfasts that cost less than $1 a piece. This isn’t just about saving a few bucks; it’s about taking back control of your mornings, your budget, and your health. Forget the drive-thru. It’s time to build your breakfast empire from your own kitchen.
The Game Plan: Why Freezer Burritos Are Your Secret Weapon
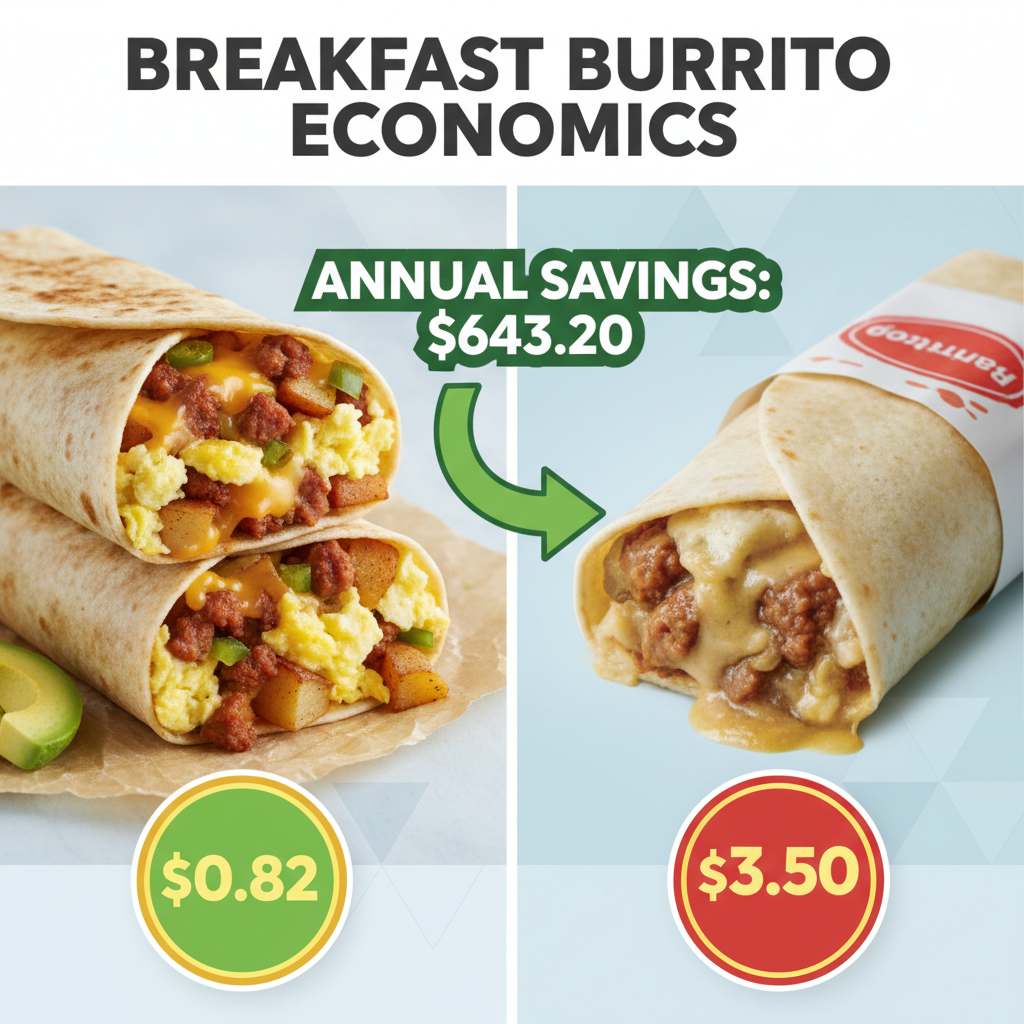
Before we roll up our sleeves, you need to understand the strategy. This isn’t just ‘cooking.’ This is a calculated financial decision. The average drive-thru breakfast burrito costs around $3.50. Do that every workday, and you’re torching over $70 a month—that’s $840 a year—on something you can make better, faster, and cheaper at home.
This meal prep hack operates on three core principles of being street-smart with your money and time:
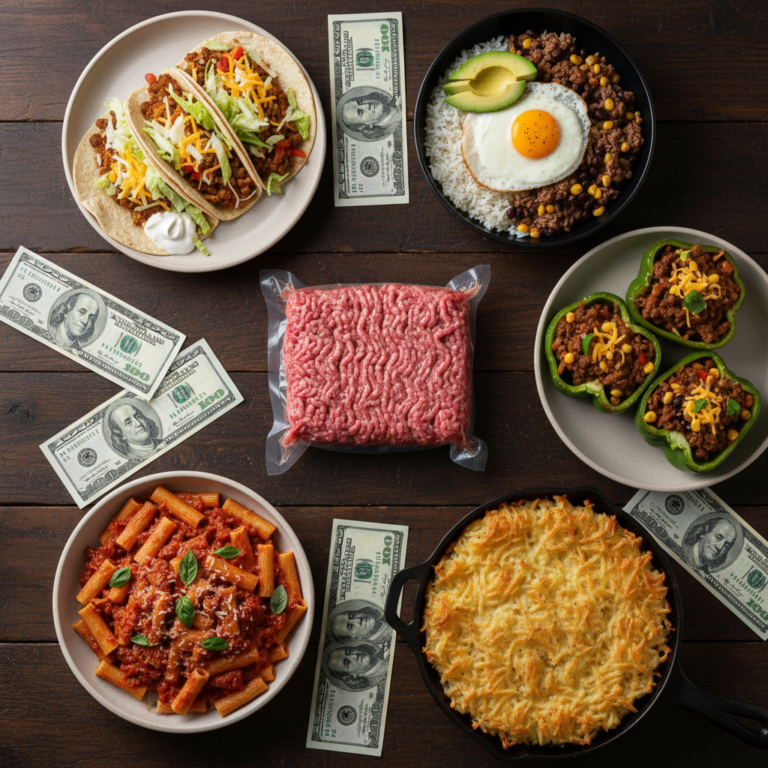
- Economy of Scale: Buying ingredients in bulk (a carton of 36 eggs, a large block of cheese, a family pack of sausage) drastically cuts your per-unit cost. You’re leveraging the same purchasing power that grocery stores use, but for your own benefit.
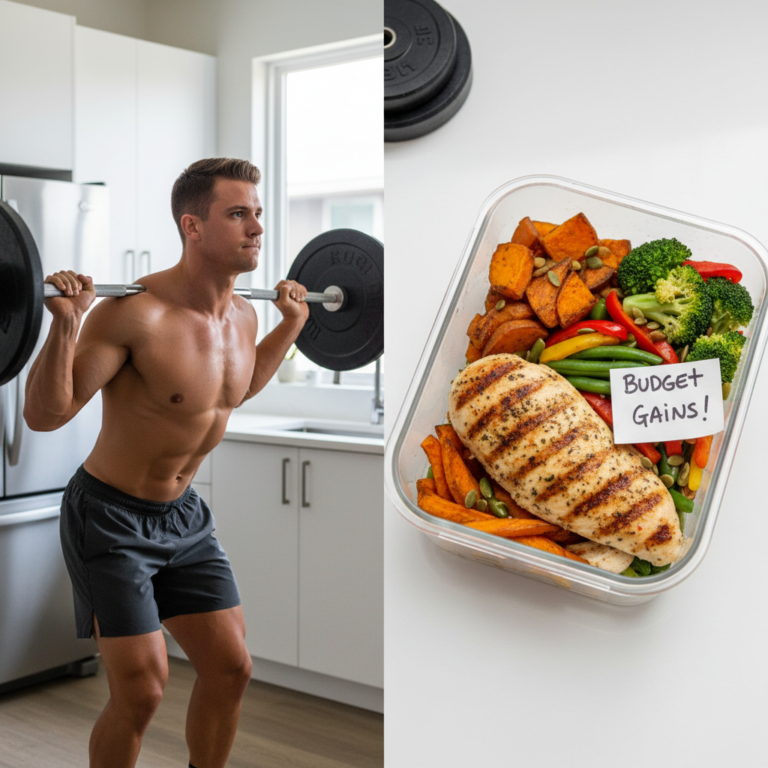
- Time Arbitrage: You invest one hour of low-value time (like a lazy Sunday afternoon) to free up 15-20 minutes of high-value time every single weekday morning. That’s time you could use to get ahead on work, hit the gym, or just enjoy your coffee in peace instead of waiting in a line of cars.
- Total Control: You are the boss of what goes into your body. No mystery ingredients, no insane sodium levels, no cheap fillers. You control the macros, the flavor, and the quality. Want more protein? Add extra eggs. Watching your sodium? Use spices instead of salt. You’re the chef and the CEO of your breakfast.
Think of each burrito in your freezer as a little frozen asset, ready to be deployed. It’s your defense against impulse buys, your shield against hectic mornings, and your ticket to a fatter wallet.
The Math Doesn’t Lie: DIY vs. The Drive-Thru
Talk is cheap. Let’s look at the cold, hard numbers. Below is a realistic cost breakdown for a batch of 24 burritos. Prices are based on average costs at a budget-friendly grocery store like ALDI or a Walmart Supercenter. We’re not talking fancy organic ingredients here; we’re talking about getting the job done effectively.
Cost Breakdown: The Sub-$1 Burrito
| Ingredient | Typical Cost | Amount Used | Cost for Batch (24) |
|---|---|---|---|
| Large Eggs | $4.50 for 36-count | 24 eggs | $3.00 |
| Pork Sausage | $4.00 per lb | 1.5 lbs | $6.00 |
| Shredded Cheese | $7.00 for 2 lbs | 1 lb | $3.50 |
| Large Tortillas | $3.50 for 20-count | 24 tortillas (1.2 packs) | $4.20 |
| Potatoes/Hash Browns | $3.00 for 32oz bag | 32oz bag | $3.00 |
| TOTAL COST | For 24 Burritos | $19.70 |
Now, let’s do the final calculation: $19.70 divided by 24 burritos equals $0.82 per burrito. That’s right. You’re eating for less than a dollar. Let’s compare that to the alternative.
Savings Analysis: Your Wallet Will Thank You
| Metric | DIY Freezer Burrito | Fast Food Drive-Thru | Your Savings |
|---|---|---|---|
| Cost Per Breakfast | $0.82 | $3.50 (conservative) | $2.68 per day |
| Cost Per Week (5 days) | $4.10 | $17.50 | $13.40 per week |
| Cost Per Month | $16.40 | $70.00 | $53.60 per month |
| Cost Per Year | $196.80 | $840.00 | $643.20 per year |
You are literally saving over $640 a year just by making this one simple change. That’s a vacation, a debt payment, or a serious boost to your savings account. The numbers don’t lie. This hack pays.
The Assembly Line: Your Step-by-Step Masterclass

Alright, it’s time to execute. The key to making this process fast and not a total chore is to think like a factory. You’re creating an assembly line. Put on some music, clear your counters, and let’s get to work.
Step 1: Cook Your Fillings
- The Meat & Potatoes: In a large skillet, brown your sausage over medium-high heat, breaking it up with a spoon. While it’s cooking, either bake your frozen hash browns/diced potatoes according to package directions or pan-fry them until golden and crispy. Once the sausage is cooked through, drain off the excess grease. Don’t you dare wash that pan!
- The Eggs: In that same skillet with the remaining sausage essence (that’s pure flavor, my friend), scramble your two dozen eggs. Cook them until they’re *just* set. Don’t overcook them to a rubbery death; they’ll cook a bit more when you reheat the burritos. Season them simply with salt and pepper for now.
Step 2: Set Up Your Station
- Mise en Place: This is the pro move. Set up your ingredients in a line: a stack of tortillas, a bowl of cooked sausage, a bowl of scrambled eggs, a bowl of potatoes, and a bowl of shredded cheese.
- Wrapping Station: Tear off 24 sheets of aluminum foil (or parchment paper if you prefer). Stack them up at the end of your assembly line.
Step 3: Fill, Roll, and Wrap
- Warm the Tortillas: This is non-negotiable if you don’t want your burritos to split open. Wrap a stack of 5-6 tortillas in a damp paper towel and microwave for 30-45 seconds. They should be soft and pliable.
- Layer the Fillings: Place a warm tortilla on your work surface. Don’t overfill! A good rule of thumb is a scoop of each filling (about 1/4 cup) in a line down the center. I like to put the cheese down first so it gets melty on the reheat.
- Roll Like a Pro: This is the technique. Fold the bottom flap up and over the filling, tucking it in tightly. Then, fold in the two sides. Finally, roll the whole thing forward into a tight, compact cylinder. A tight roll is key to a good freezer burrito.
- Wrap for Freshness: Immediately roll the finished burrito in a sheet of foil. This locks out air and prevents freezer burn.
Step 4: Freeze and Store
- The Flash Freeze: For best results, place all your wrapped burritos on a baking sheet and pop them in the freezer for about an hour. This prevents them from freezing into one giant, inseparable brick.
- Long-Term Storage: Once they’re individually frozen solid, toss them all into a large freezer bag. Squeeze out all the air. Label the bag with the date. They’ll be good for at least 3 months, but they’ll never last that long.
Key Rule: Cool Your Fillings! Before you start rolling, make sure your cooked fillings have cooled down for at least 10-15 minutes. Rolling piping hot ingredients into a tortilla will create steam and lead to a soggy, sad burrito when you reheat it. Patience here pays off big time.
Level Up: Customizing Your Burrito Empire
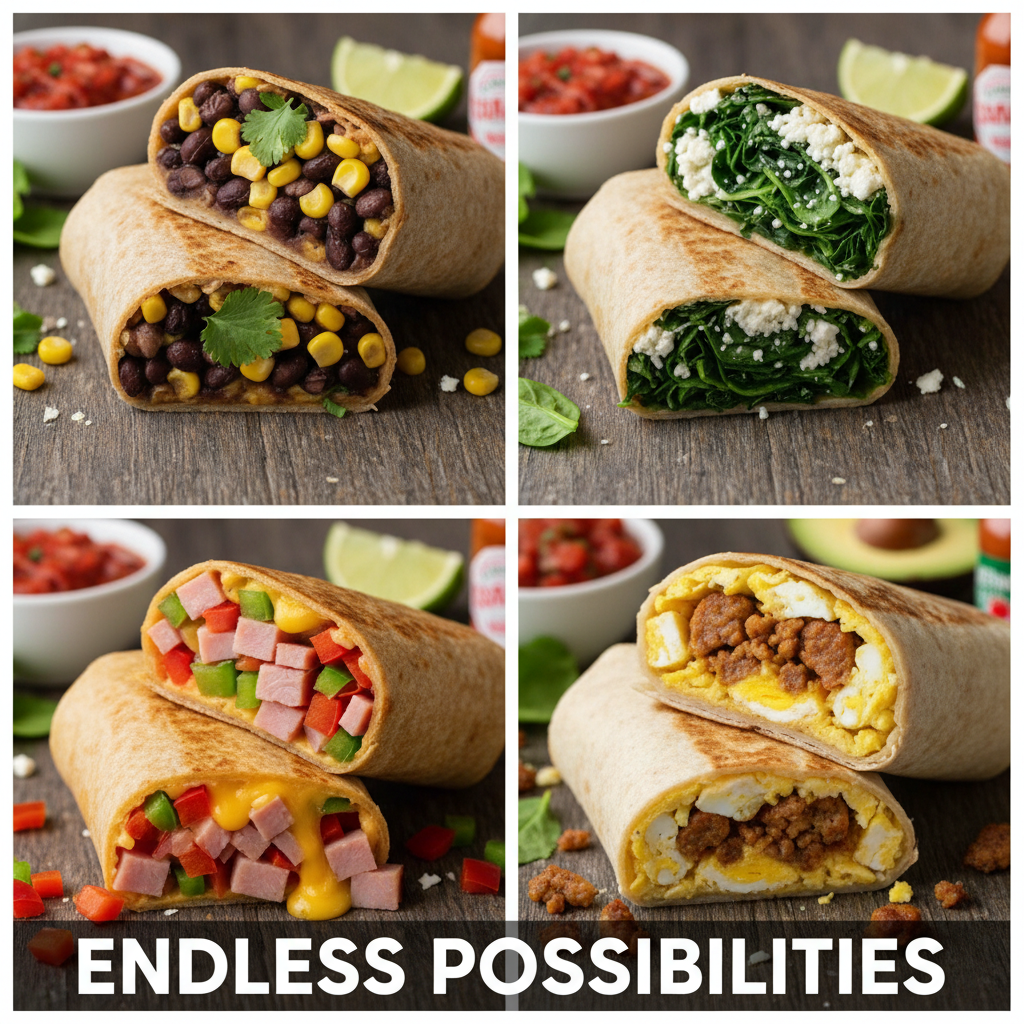
The basic sausage, egg, and cheese burrito is a classic for a reason. It’s a workhorse. But once you’ve mastered the technique, you can become the architect of your own perfect breakfast. The formula is simple: Protein + Egg + Starch + Cheese + Extras. Mix and match to keep things interesting and use up whatever you have on hand.
Blueprint Variations
- The Southwestern: Use chorizo instead of sausage. Add in a can of drained black beans, some corn, and a sprinkle of chili powder to your eggs. Serve with salsa.
- The Veggie Powerhouse: Ditch the meat. Sauté diced bell peppers, onions, and spinach until soft. Mix with the eggs and some black beans. Use pepper jack cheese for a kick.
- The Lean Machine: Use turkey sausage or chicken breast. Use egg whites instead of whole eggs. Add in some chopped kale or spinach for extra nutrients. Use a low-fat cheese.
- The Denver: Add diced ham, bell peppers, and onions to your scrambled eggs for an omelet-style burrito.
The Perfect Reheat Method
You’ve done the work, now enjoy the reward. Don’t sabotage your masterpiece with a bad reheat. Here’s the undisputed best way:
- Remove the burrito from the freezer and unwrap the foil.
- Wrap the frozen burrito in a damp paper towel. This is the secret—it steams the tortilla, making it soft instead of tough.
- Microwave on high for 1.5 to 2 minutes, flipping halfway through.
- Optional Pro Move: For a crispy finish, throw the microwaved burrito on a hot, dry skillet for 30 seconds per side. This takes it from a good breakfast to a great one.
Conclusion
You now have the blueprint. This isn’t just a recipe; it’s a system for reclaiming your time and your money. For the price of a couple of lattes, you’ve secured a delicious, hot breakfast for an entire month. You’ve outsmarted the morning rush and sidestepped the drive-thru money pit. Every time you pull one of these from the freezer, it’s a win. You’re starting your day one step ahead, with more cash in your pocket and one less decision to make. So, what are you waiting for? Get in the kitchen and start building your burrito empire. Your future self will thank you.