Make Your Apartment Look Expensive With These Cheap Lighting Hacks
Let’s be real. You scroll through Pinterest, see those magazine-worthy apartments dripping with ambiance, and then you look at your own place lit by that one sad, harsh overhead light. The vibe is less ‘luxury loft’ and more ‘interrogation room.’ High-end lighting fixtures can cost hundreds, even thousands, of dollars—money you’d rather spend on, well, anything else. But here’s the secret the pros don’t want you to know: expensive lighting is one of the easiest things to fake. You don’t need to hire an electrician or blow your budget. You just need to be smart, a little sneaky, and ready to hack the system. This guide will show you exactly how to manipulate light to make your space look bigger, feel cozier, and seem way more expensive than it actually is. Get ready to transform your apartment from drab to fab for less than the cost of a fancy dinner out.
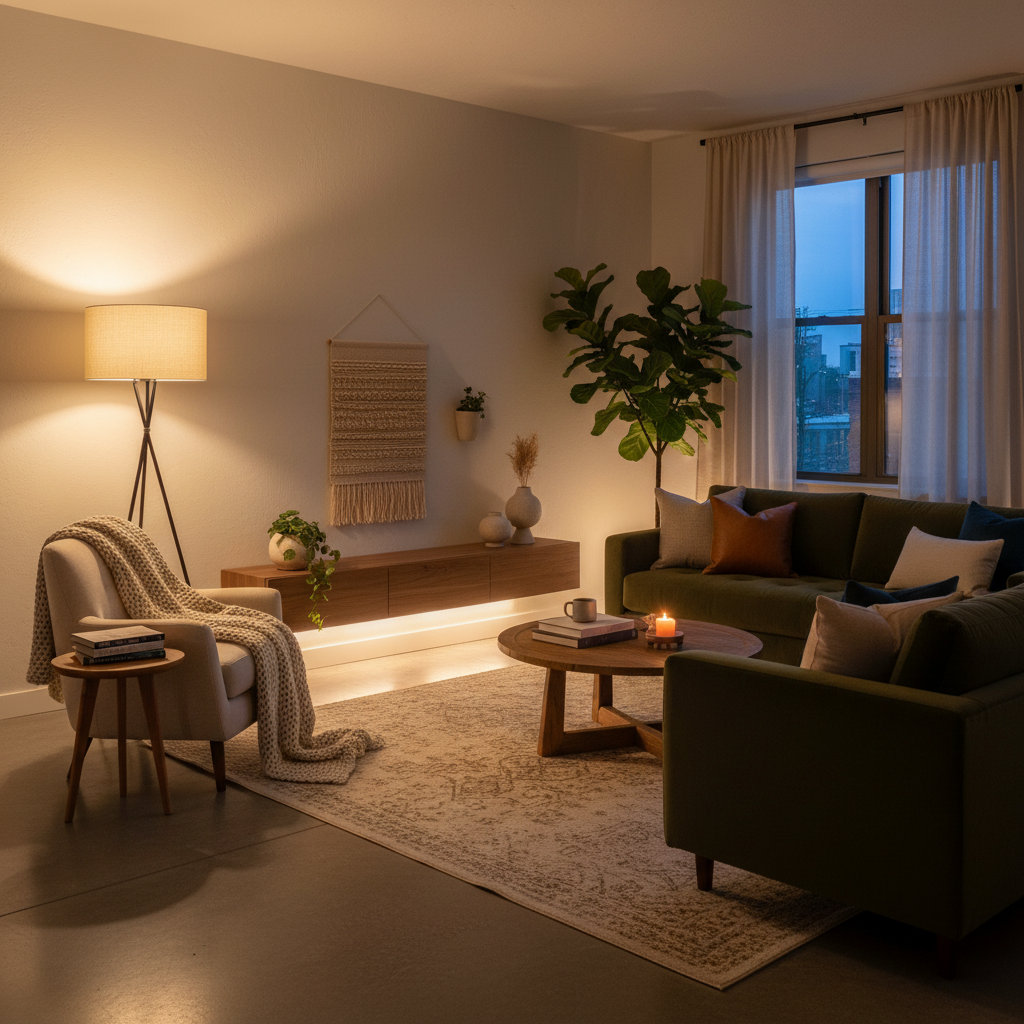
Hack #1: Master the Art of Layering (The Foundation of Luxe Lighting)
Before you buy a single bulb, you need to understand the number one rule of expensive-looking lighting: layering. Professional designers never rely on a single light source. They mix and match to create depth, mood, and function. Thinking in layers is free and it’s the absolute foundation for making your apartment look intentionally designed, not just accidentally lit. Forget the ‘big light’ in the center of the ceiling. We’re building a vibe from the ground up.
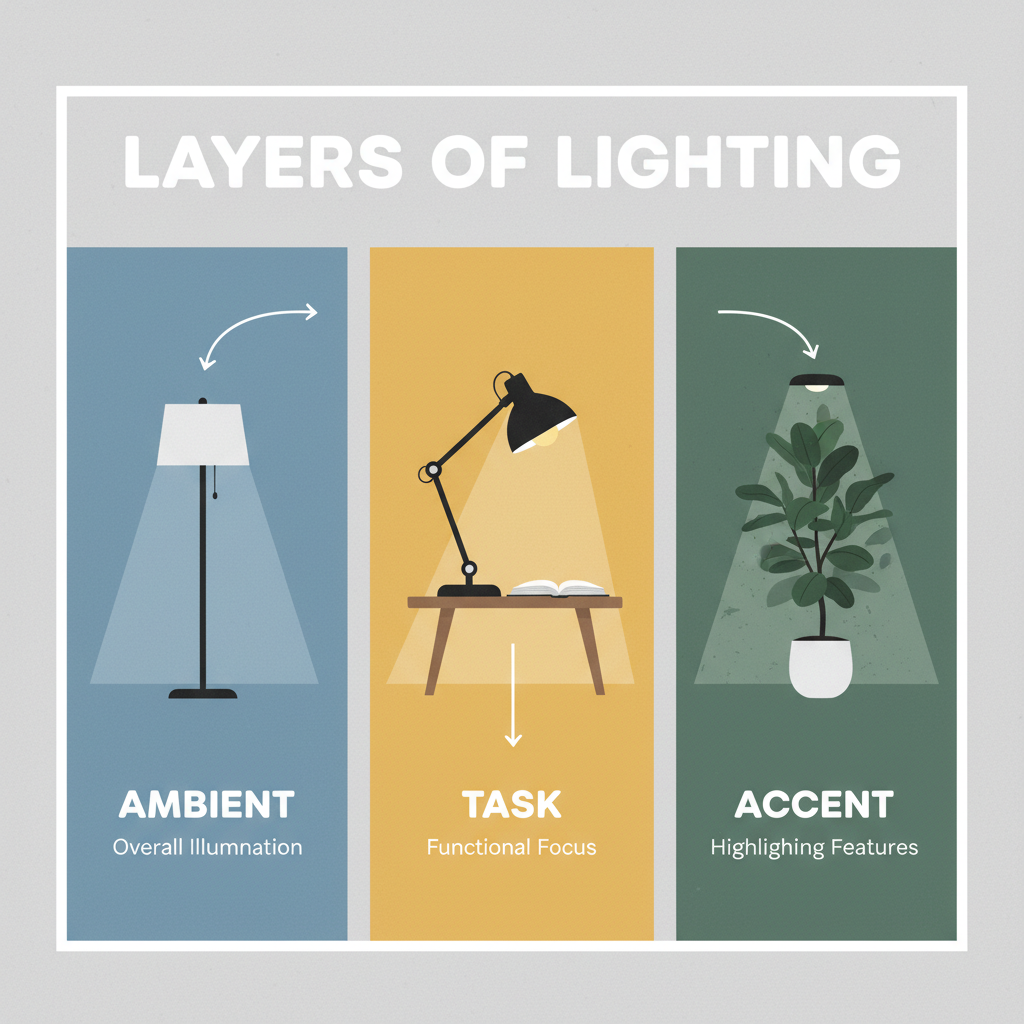
The Three Layers You Need to Know:
- Ambient Light: This is your base layer, the overall illumination of the room. Instead of that harsh overhead fixture, think softer. A couple of well-placed floor lamps or table lamps can provide a much warmer, more inviting glow. This is your general ‘I can see and not trip over things’ light.
- Task Light: This is focused, functional light for getting stuff done. Think a reading lamp by your favorite chair, a desk lamp where you work, or under-cabinet lights for chopping veggies. It’s practical, but it also adds another point of interest and depth to the room.
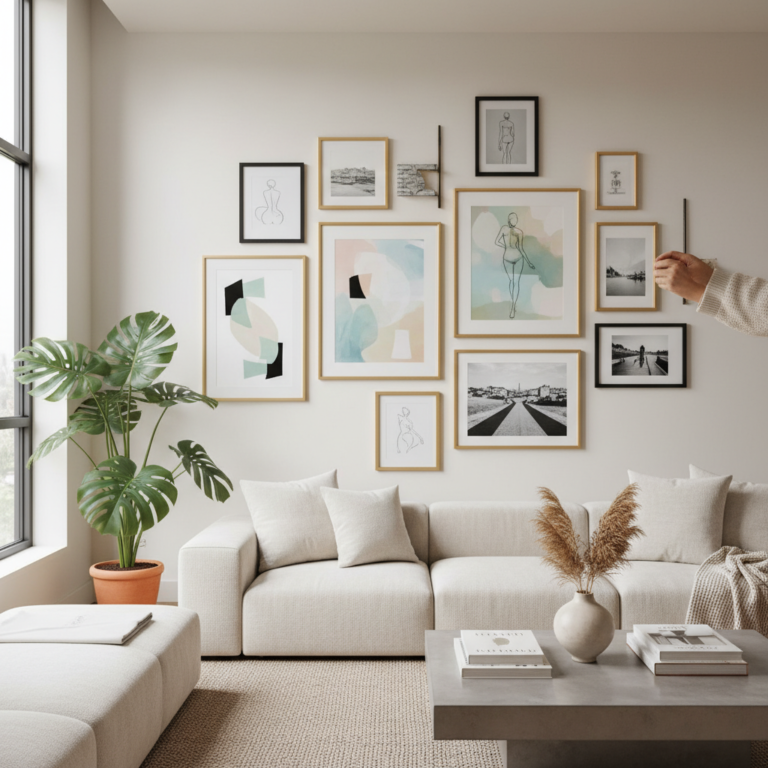
- Accent Light: This is the fun part. This is the drama. Accent lighting is used to highlight specific features—a piece of art, a cool plant, a textured wall. It’s the ‘special effect’ lighting that says, ‘Look at this cool thing.’ A small, cheap spotlight aimed at a gallery wall is a perfect example.
By combining these three types, you create a rich, dynamic environment. The interplay of light and shadow makes your space feel custom and thoughtfully curated. The best part? You can start by simply rearranging the lamps you already own.
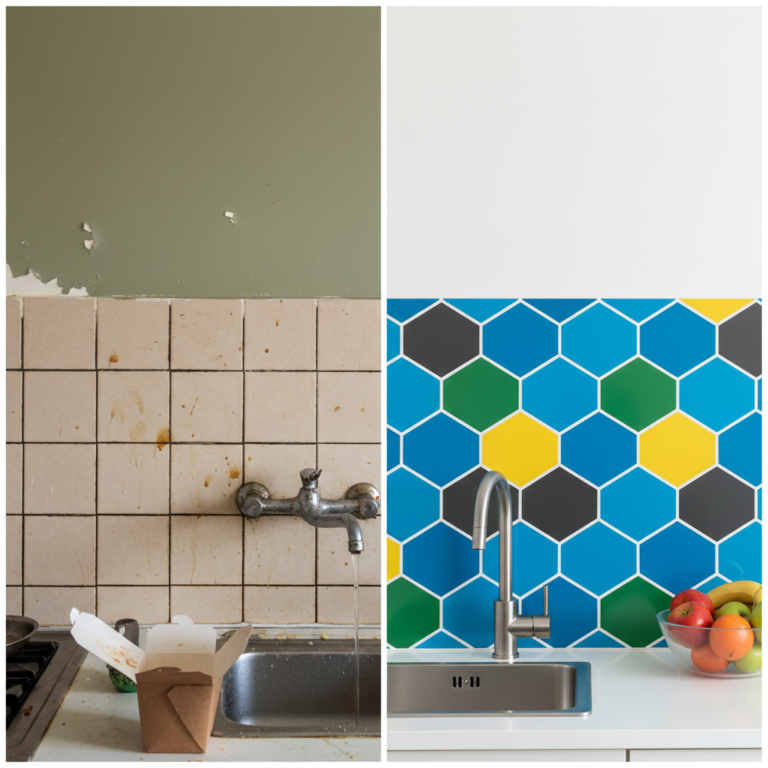
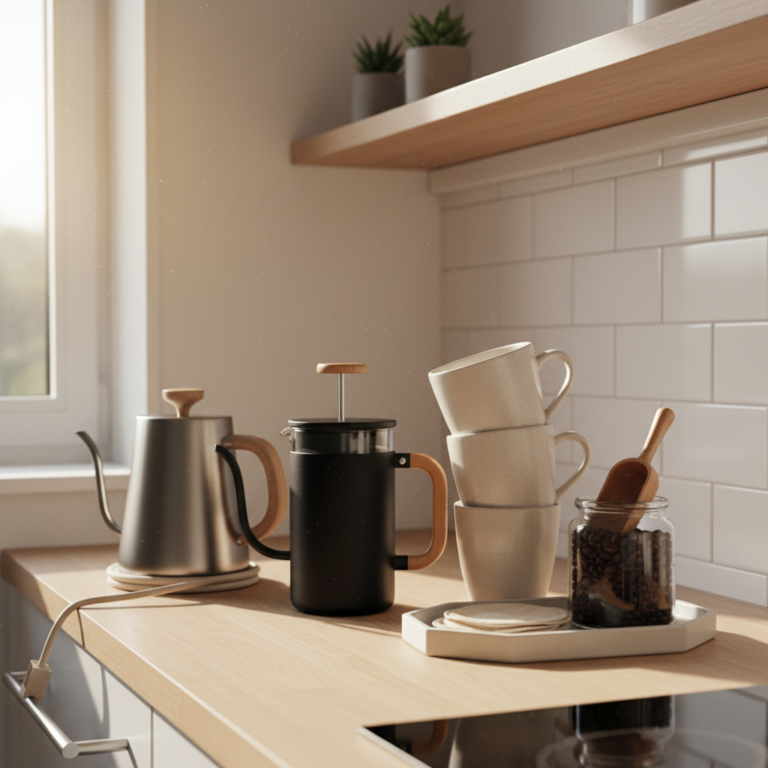
Hack #2: The Under-Cabinet Puck Light Trick for a ‘Custom Kitchen’ Vibe
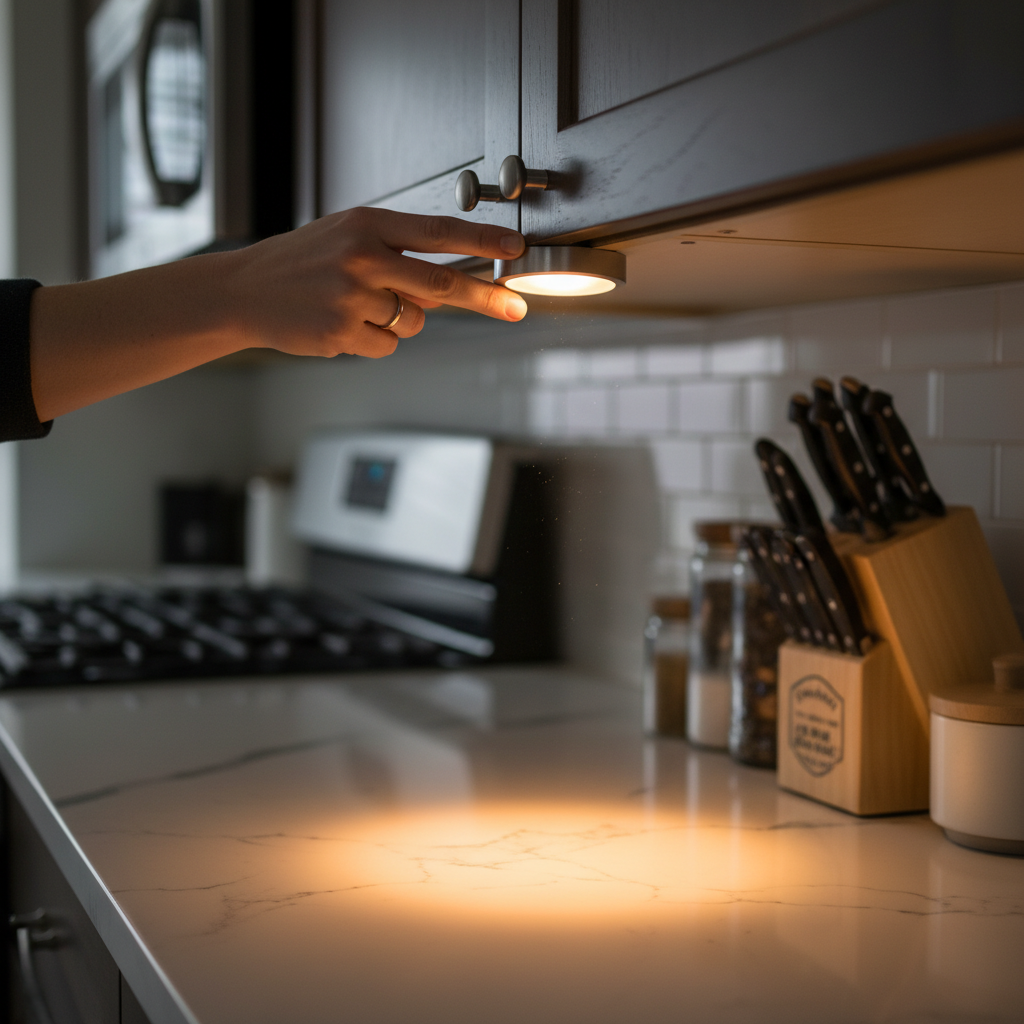
Nothing screams ‘builder-grade basic’ like a dark, shadowy kitchen countertop. Professionally installed under-cabinet lighting is a game-changer, but it costs a fortune. The hack? Battery-powered, remote-controlled LED puck lights. This is maybe the highest-impact, lowest-effort upgrade you can make to your kitchen or any dark shelving area. For about $20, you can get a result that looks like you spent hundreds.
Step-by-Step Installation (It’s Almost Too Easy):
- Get Your Gear: Buy a multi-pack of battery-operated LED puck lights with a remote control. Look for ones that let you adjust the brightness and color temperature (warm white is usually best for a luxe feel).
- Prep the Surface: Grab an alcohol wipe or a damp cloth and clean the dusty underside of your cabinets. You need a clean surface for the adhesive to stick properly.
- Peel and Stick: Most puck lights come with a 3M adhesive backing. Just peel it off, press the light firmly in place for about 30 seconds, and you’re done. Space them out evenly, usually one every 18-24 inches.
- Control Your Glow: Use the remote to turn them on and off, dim them, and set timers. It feels incredibly fancy and makes your kitchen prep a thousand times better.
This simple addition not only makes your kitchen more functional but also adds a layer of task lighting that makes the whole space feel more expensive and complete.
| Lighting Solution | Typical Cost | Effort Level |
|---|---|---|
| DIY Puck Lights | $20 – $40 (for a set of 3-6) | Low (10 minutes, no tools) |
| Professional Hardwired Lighting | $300 – $700+ | High (Requires an electrician) |
Hack #3: The ‘Magic Light Trick’ for Sconces Without an Electrician
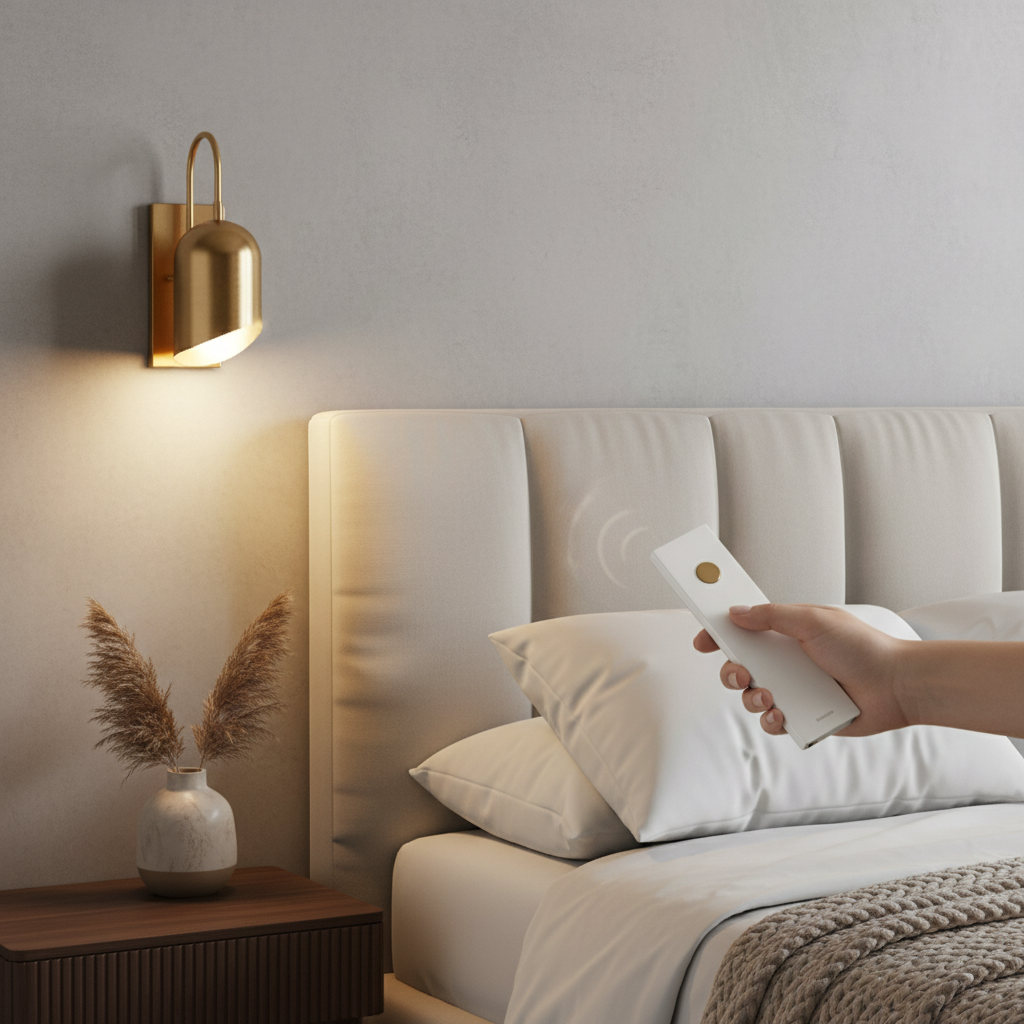
Wall sconces are the secret weapon of high-end design. They add symmetry, architectural interest, and a soft, beautiful glow, especially when flanking a bed, a bathroom mirror, or a console table. The problem? They require wiring, cutting into walls, and hiring an electrician—a total non-starter for renters and a huge expense for homeowners. The solution is what’s known as the ‘Magic Light Trick’.
The rule is simple: If you can’t wire it, fake it. Use a battery-powered light inside a real fixture.
You’re combining the high-end look of a real sconce with the low-cost, no-commitment ease of a puck light. It’s brilliant.
How to Pull Off the Magic Light Trick:
- Source Your Sconces: Find a pair of wall sconces you love. The key is to find ones where the bulb would be mostly hidden, like those with a fabric shade or a metal dome. You can find them for cheap at thrift stores, on Amazon, Wayfair, or even IKEA. You don’t care about the electrical components.
- Mount Them Up: Since you’re not wiring anything, you can mount these puppies anywhere. Use heavy-duty Command Strips for a damage-free option or use the included mounting hardware if you don’t mind a couple of small holes.
- Add the ‘Bulb’: Take one of your trusty LED puck lights (preferably a dimmable, remote-controlled one) and simply stick it inside the sconce where the lightbulb would normally screw in.
- Light It Up: Point your remote, and voilà. You have sophisticated, ambient wall lighting with zero electrical work and for a fraction of the cost. People will be blown away, and no one will know your secret.
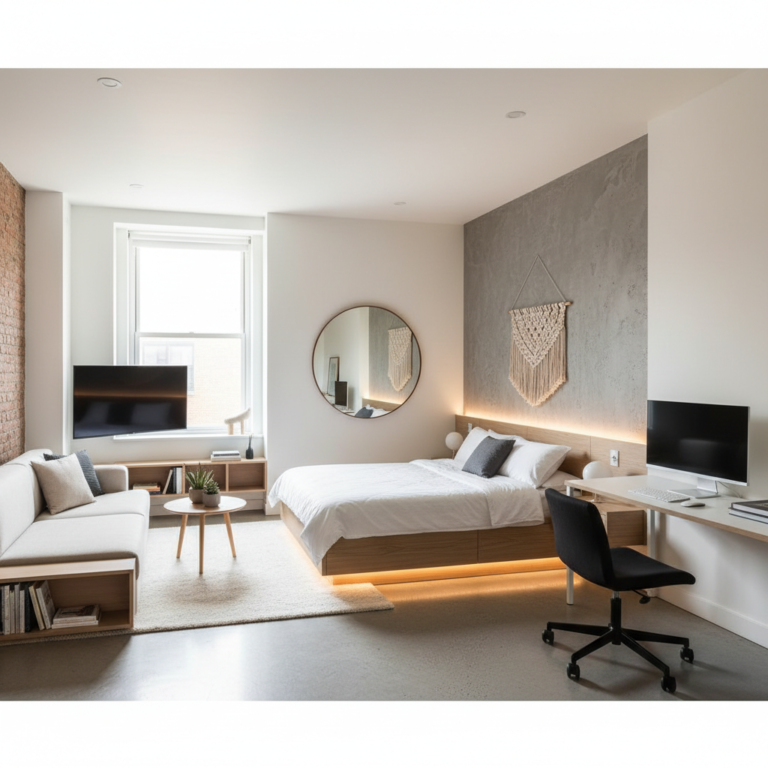
Hack #4: Uplighting – The $15 Secret to Making Rooms Feel Taller
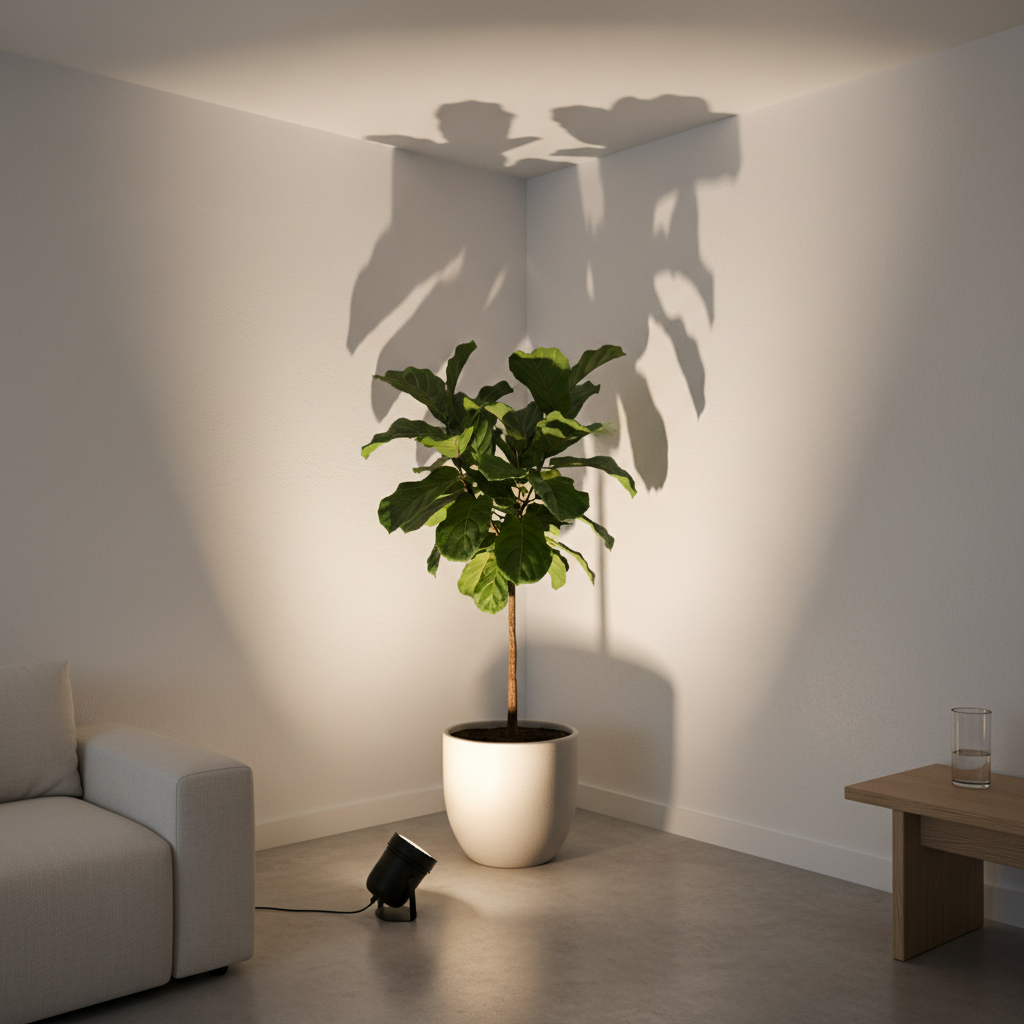
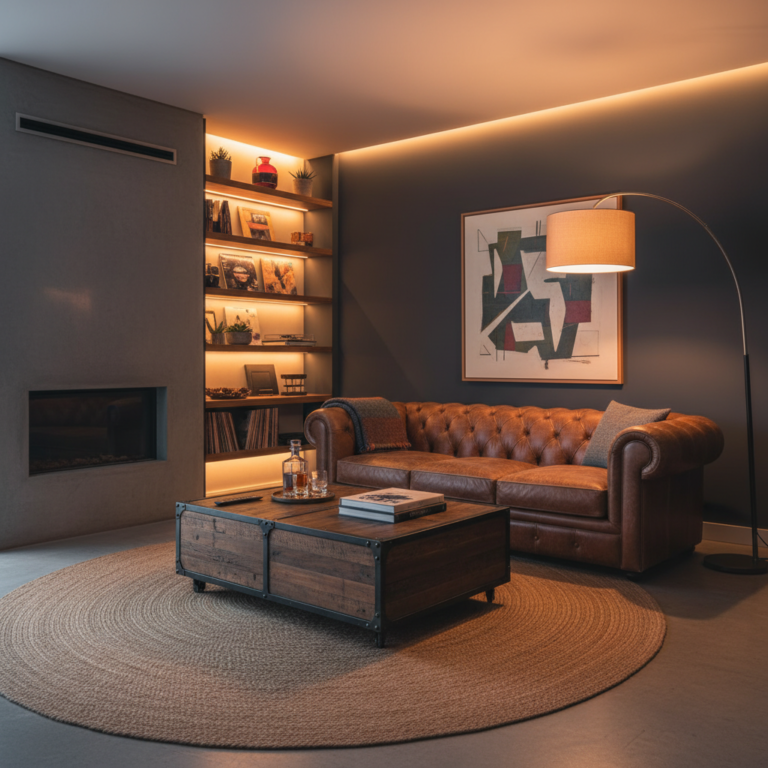
This is a trick straight out of the theatrical design playbook. Uplighting is exactly what it sounds like: placing a light source on or near the floor and aiming it upwards. Why does this look so expensive? Because it creates instant drama and height. By casting light and shadows up the wall, it draws the eye vertically, making your ceilings feel miles away. It also feels custom and intentional, like you hired a lighting designer to highlight your home’s best features (even if that feature is just a plain corner).
The Easiest Way to Add Drama:
- Get a Can Light: Go to any hardware store like Home Depot or Lowe’s and buy a simple, cheap canister uplight. They often cost as little as $15. It’s essentially a metal can with a socket and a plug.
- Find the Perfect Spot: The best places for uplighting are behind a large floor plant (this creates incredible, leafy shadows), behind a big piece of furniture like a statement chair, or tucked into an empty corner.
- Plug and Play: Aim the light, plug it in, and watch the corner of your room transform from a dead zone into a dramatic focal point.
Level-Up Your Hack:
Want to make it feel even more integrated and high-tech? Plug your $15 can light into a $10 smart plug. Now you can control your fancy new accent lighting with your phone or voice assistant. ‘Hey Google, set the mood.’ Now that’s luxury.
Hack #5: Ditch the ‘Big Light’ – Diffuse for a Softer, Richer Glow
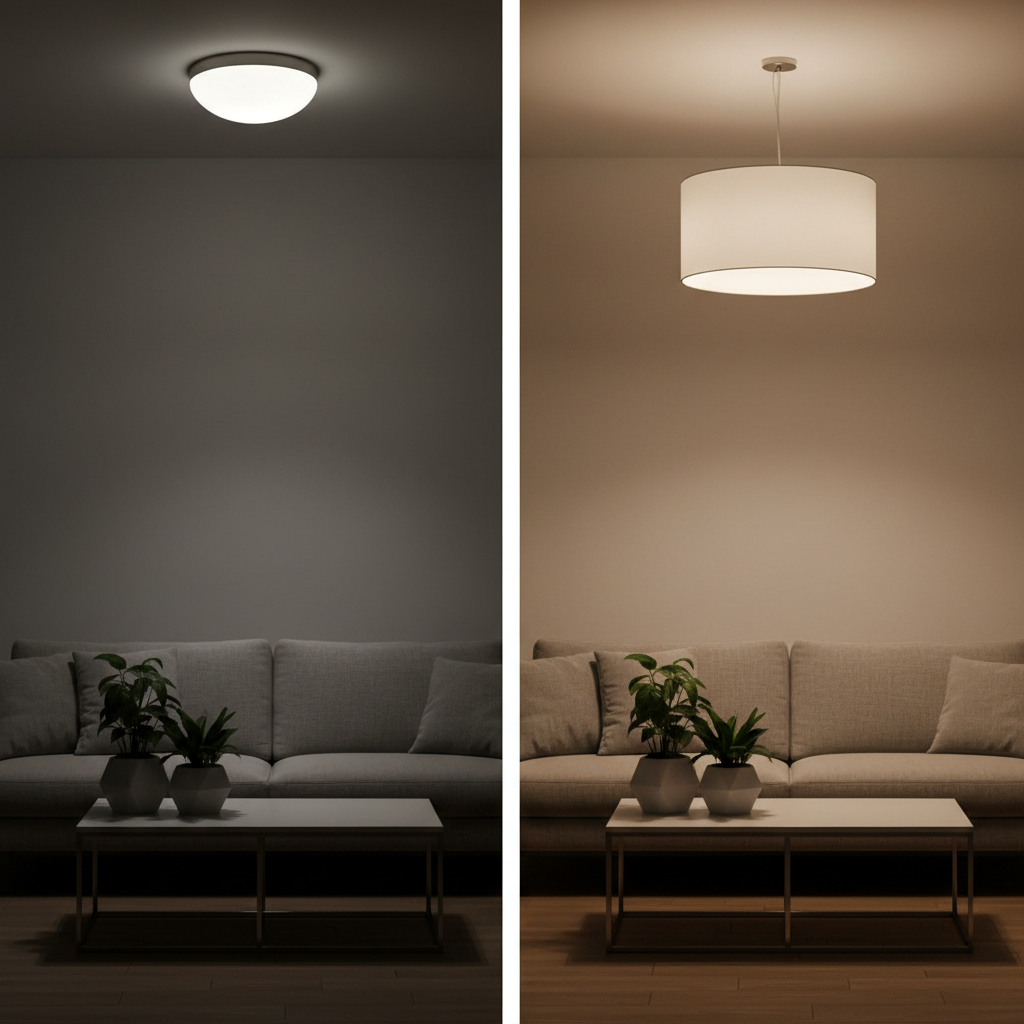
Every renter knows the pain of the ‘boob light’—that generic, flush-mount glass dome fixture that casts a glare worthy of a 7-Eleven. This single, harsh overhead light source is the enemy of ambiance. It flattens everything in the room and makes your space look cheap. The solution is to diffuse, diffuse, diffuse.
Two Ways to Soften the Glare:
- The Shade Swap: This is a renter-friendly game-changer. You can often easily unscrew the ugly glass part of your overhead fixture. Take it down and replace it with something better. A large, lightweight paper lantern (like the classic IKEA REGOLIT) or a clip-on drum shade can be rigged to fit over the existing fixture, instantly turning that harsh glare into a soft, room-filling glow. It’s a 30-minute project that makes a world of difference.
- Embrace the Lampshade: This sounds obvious, but it’s critical. Never, ever have a bare bulb showing in a lamp. A lampshade’s job is not just to look pretty; its primary function is to shape and soften light. A good shade directs light up and down while casting a warm, diffused horizontal glow. You can find amazing, cheap shades at thrift stores and discount home goods stores. Don’t be afraid to buy a cheap lamp with a great shape and swap out the ugly shade for something more stylish.
By eliminating harsh, direct light sources and replacing them with soft, diffused ones, you create an environment that feels calm, inviting, and unquestionably more upscale.
Conclusion
Creating a space that looks expensive has very little to do with how much money you spend, and everything to do with how smart you are with your choices. Lighting is your most powerful tool for transformation. By layering your light, faking high-end fixtures with puck lights, adding drama with uplighting, and diffusing harsh glares, you’re not just lighting a room—you’re crafting an atmosphere. You’re telling a story. You’re taking control of your environment and making it work for you. So pick one of these hacks this weekend. Spend $20 and 20 minutes. We guarantee that when you flip that switch, you’ll see your apartment in a whole new, much more luxurious, light.