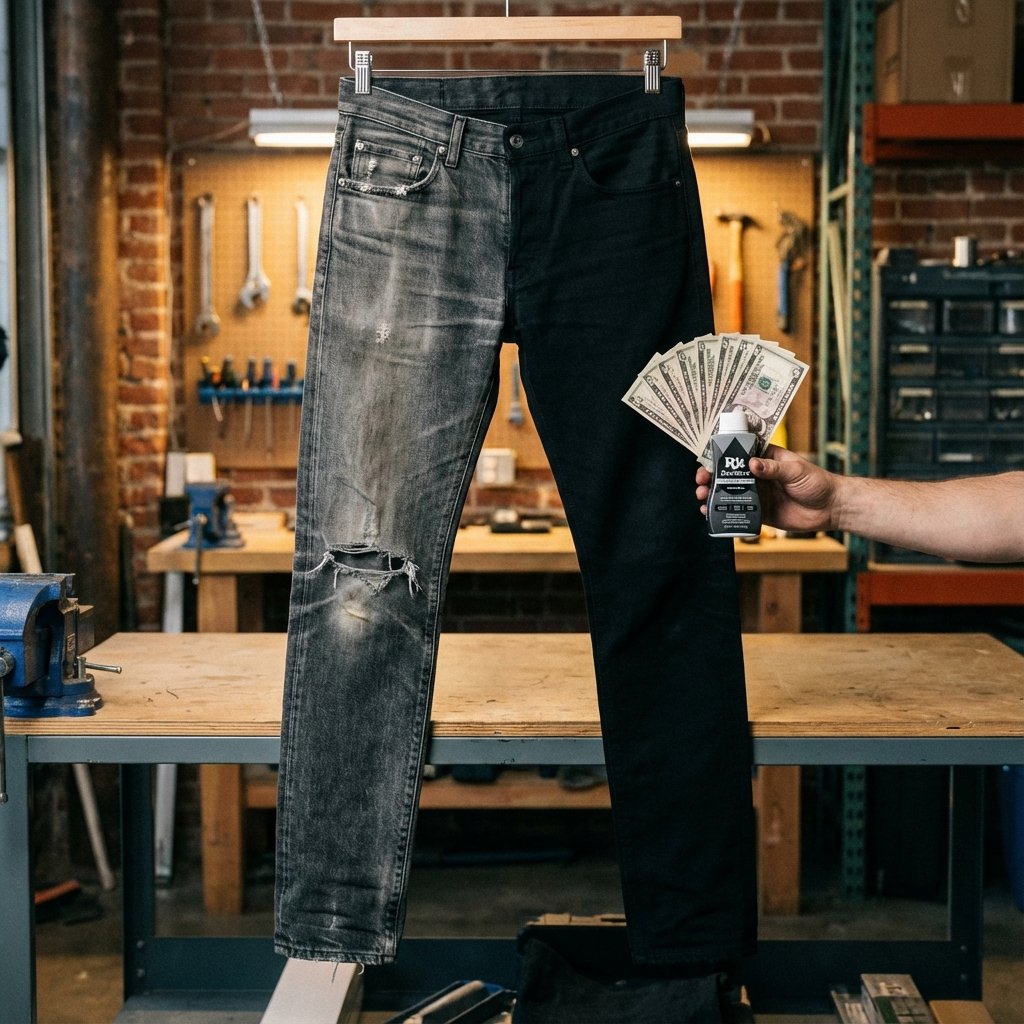
Make Old Clothes Look New: The $5 Hack for Faded Black Jeans
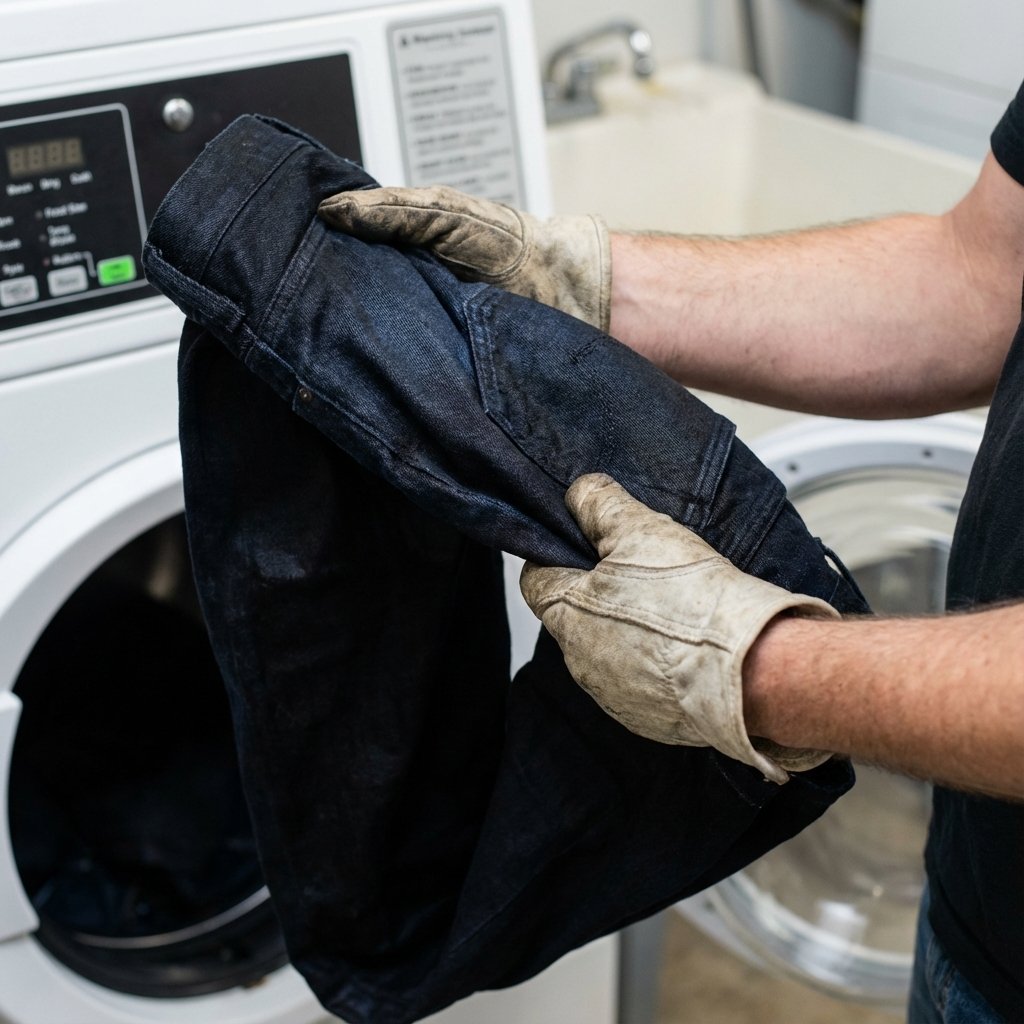
Let’s get real. You know that gut-punch feeling when you pull your favorite black jeans out of the laundry and they’re not black anymore? They’re… charcoal. Sad, washed-out, dusty gray. The jeans that fit perfectly and made you feel like a rockstar are now relegated to ‘house pants’ status. The default move? Sigh, toss ’em, and drop another $50, $80, or even $100+ on a new pair. That cycle is a wallet-killer. But what if I told you that for less than the price of a fancy coffee, you could resurrect those jeans and make them look brand new? We’re not talking about some complicated, arts-and-crafts nightmare. We’re talking about a straight-up, powerful, under-$5 hack that puts you back in control of your wardrobe and your money. Forget fast fashion. It’s time to get smart, get your hands dirty (don’t worry, we’ll use gloves), and learn the one skill that will save you hundreds of dollars a year.
The Gear: What You Need for the $5 Jean Revival
Alright, let’s gear up. The beauty of this hack is its simplicity. You don’t need a science lab or expensive equipment. Most of this stuff you either have already or can grab for pocket change. This isn’t about spending money to save money; it’s about being resourceful.
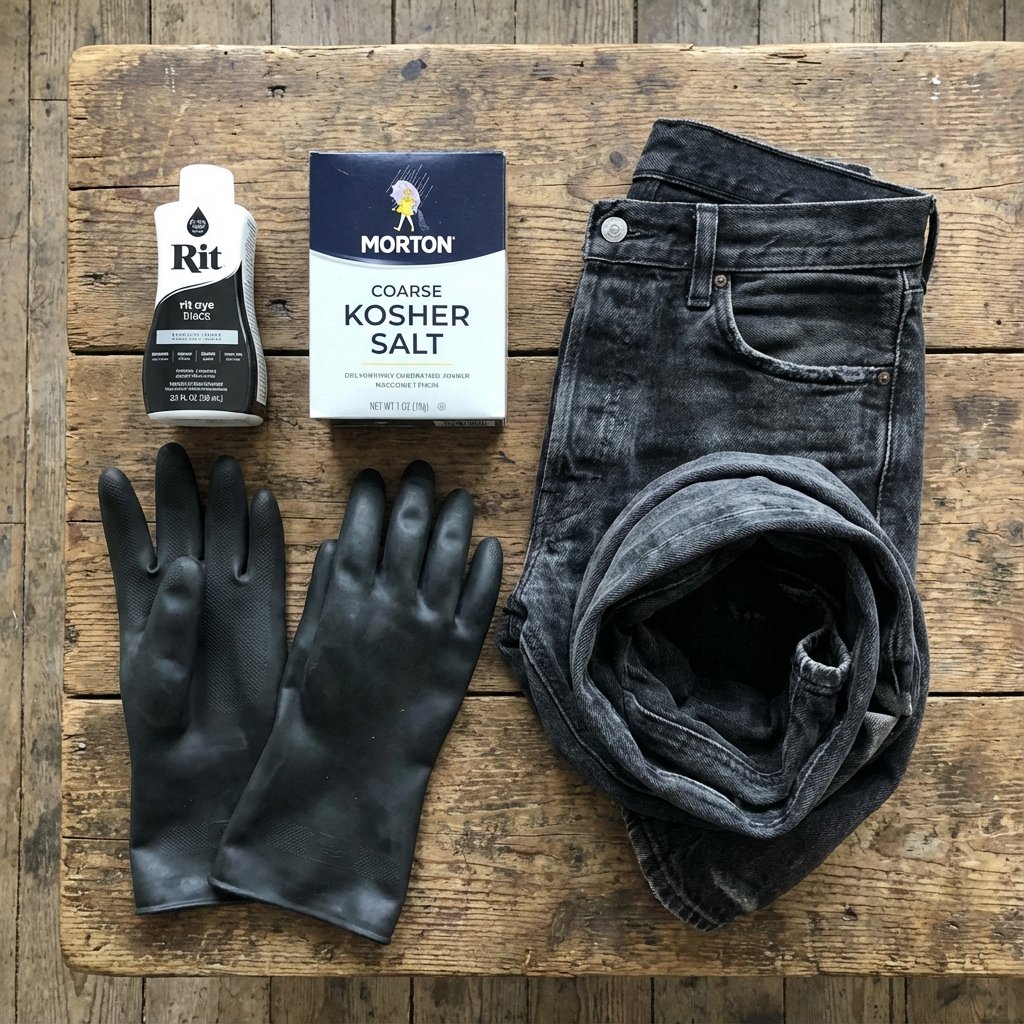
Your Arsenal:
- Black Fabric Dye: This is your magic potion. The hero of the story. Brands like Rit All-Purpose Dye are legendary, cheap (usually $3-$4), and available everywhere from grocery stores to craft shops. Get the liquid kind if you can; it’s less messy.
- Table Salt: Yep, just regular salt from your kitchen. You’ll need about a cup. Salt acts as a mordant, which is a fancy word for something that helps the dye grab onto the fabric and lock in the color. It makes the black blacker and last longer.
- Rubber Gloves: Non-negotiable. Unless you want to explain your goth-inspired semi-permanent hand tattoos at work, wear gloves. The cheap dishwashing kind are perfect.
- A Bucket, Tub, or Stainless Steel Sink: You need a vessel for your dye bath. A 5-gallon plastic bucket is ideal. You can also use a clean utility sink or even your bathtub (just be prepared to scrub it with bleach cleaner afterward to avoid stains). Avoid porcelain sinks, as they can stain.
- Something to Stir With: An old metal spoon, a paint stirrer, or any long utensil you don’t care about.
- Old Towels/Tarps: Dye splashes. It’s a fact of life. Protect your floors and any surfaces you don’t want to accidentally redecorate.
That’s it. We’re talking a total investment of around $5. You’re not just buying dye; you’re buying a skill that will pay for itself the very first time you use it.
The Breakdown: Your Step-by-Step Dyeing Playbook
This is where the magic happens. Don’t be intimidated. If you can make a pot of coffee, you can do this. Follow these steps exactly, and you’ll get a deep, even, professional-looking result every single time.
-
Prep Your Station & Your Jeans
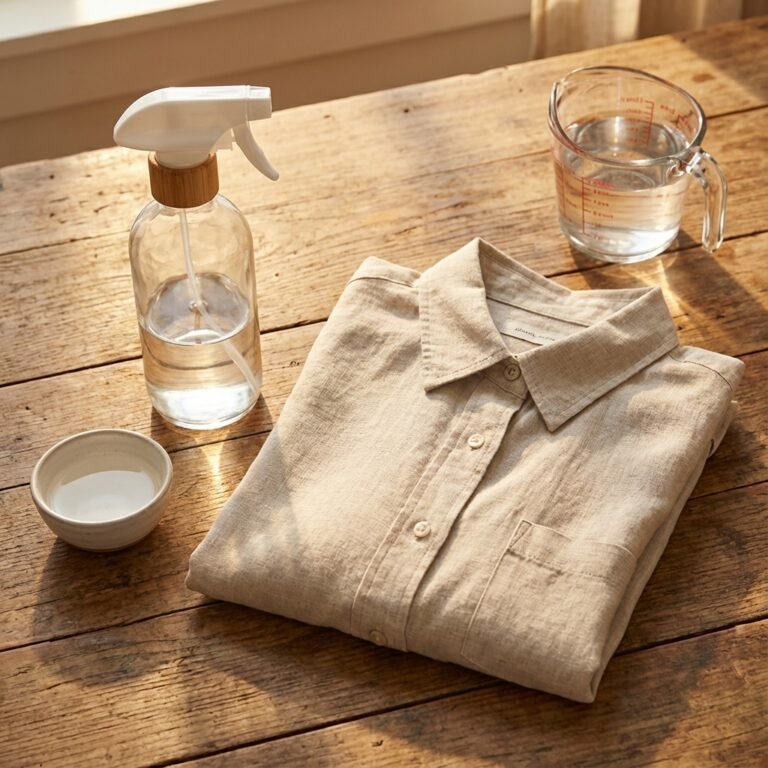
First, lay down your old towels or tarp. Get your bucket, salt, and dye ready. Now, for the most important prep step: wash your jeans. Use a regular wash cycle, but DO NOT use fabric softener. Fabric softener leaves a residue that repels dye, leading to a splotchy, amateur finish. You want the fabric clean and ready to drink up that color. The jeans should be damp when they go into the dye bath.
-
Mix the Magic Potion
Fill your bucket or sink with HOT water. How hot? As hot as you can get from your tap. You need about 3 gallons of water for one pair of jeans. Shake your dye bottle vigorously and pour it in. For a deep, rich black, use at least half the bottle, maybe the whole thing for heavier denim. Now, dissolve 1 cup of salt in a bit of hot water and add it to the bath. Stir everything together until it’s completely mixed.
-
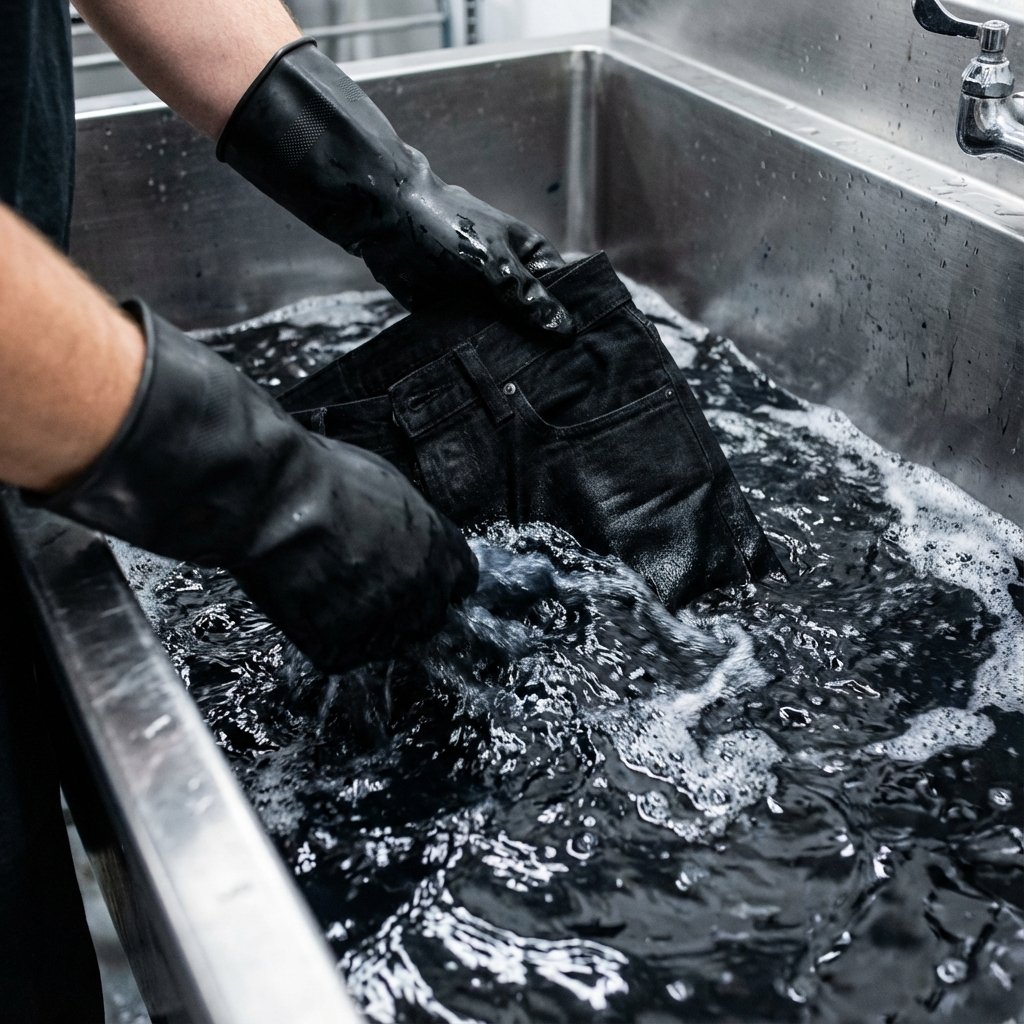
The Dye Bath
Smooth out your damp jeans and submerge them completely in the dye bath. Use your stirring stick to push them down and swish them around to make sure every inch is saturated. This is not a ‘set it and forget it’ operation.
The secret to an even, professional-looking color is constant agitation for the first 10-15 minutes. Don’t just dump and run. Keep those jeans moving. This prevents dark spots and ensures the dye takes evenly across seams and pockets.
-
The Waiting Game
After the initial stirring, let the jeans soak for at least 30 minutes, but for a really deep black, go for a full hour. Give them a good stir every 10-15 minutes to keep things consistent.
-
The Rinse Cycle
This is the most critical part for not staining your whole life black later. Wearing your gloves, pull the jeans out of the dye bath (wring out the excess). Move them to a different sink or use a hose outside. Start rinsing with warm water, gradually making it cooler. You’ll see a lot of dye run out. Keep rinsing until the water runs clear. It might feel like forever, but be patient. This is what separates the pros from the rookies.
-
Wash & Dry
Once the water runs clear, run the jeans through a warm wash cycle in your washing machine BY THEMSELVES with a bit of detergent. After the wash, you can either tumble dry them on high heat or hang them to dry. The heat helps to set the color. And that’s it. You’re done.
The Math: DIY Dye Job vs. Buying New
Okay, let’s talk numbers. This is where the frugal hack really shines. Feeling good about saving the planet by upcycling is great, but seeing the cold, hard cash you’re keeping in your pocket is even better. We’re talking serious savings that add up fast.
| Item / Action | Cost Breakdown | Annual Savings Potential |
|---|---|---|
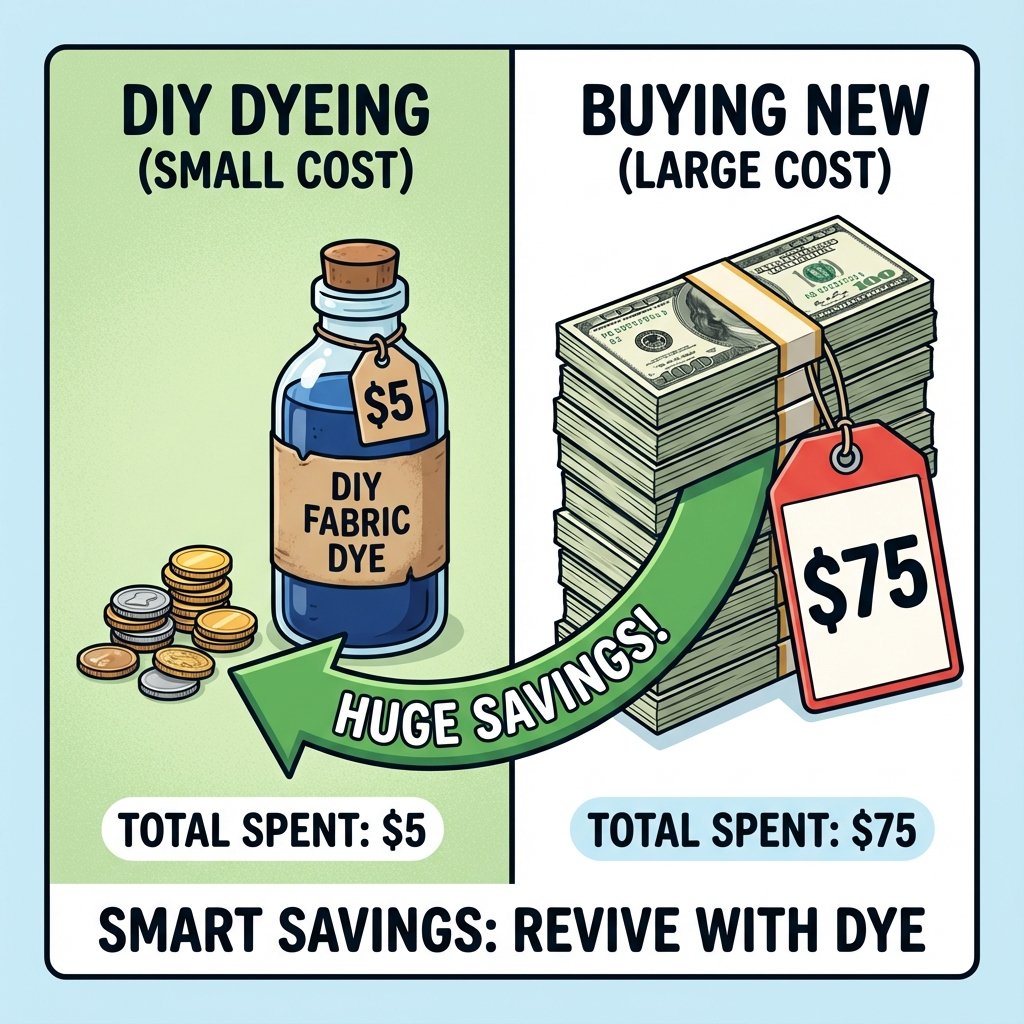
| The DIY Dye Hack | Rit Dye (~$4.00) + Salt (~$0.50) + Gloves (reusable) = ~$4.50 | N/A |
| New ‘Fast Fashion’ Jeans | A single pair from a store like H&M or Old Navy = ~$40.00 | You save ~$35.50 per pair |
| New ‘Mid-Range’ Jeans | A single pair from a brand like Levi’s or Gap = ~$75.00 | You save ~$70.50 per pair |
| New ‘Designer’ Jeans | A single pair from a premium brand = $150.00+ | You save $145.50+ per pair |
Look at that table. You’re spending less than $5 to get a result that saves you anywhere from $35 to over $145. Let’s say you rescue just three pairs of your favorite mid-range jeans in a year instead of replacing them. That’s over $210 back in your bank account. That’s a utility bill, a load of groceries, or a serious boost to your savings goal. This isn’t just a craft project; it’s a financial strategy.
Pro-Level Tips to Lock In That Color (And Avoid Disaster)
You’ve mastered the basics. Now let’s level up. These are the tricks that ensure your hard work lasts and you don’t run into common pitfalls.
- Check the Tag: This dye hack works best on natural fibers like cotton, linen, and rayon. Most jeans are high in cotton, so you’re good. If your jeans have a high percentage of polyester or spandex (over 35%), the dye might not take as well, resulting in a less intense color.
- Use a Fixative: For an extra layer of color security, you can buy something called Rit ColorStay Dye Fixative. You use it after dyeing and before the final wash. It’s an extra couple of bucks, but it locks in the color like a vault, seriously reducing bleeding in future washes.
- The First Few Washes are Solo Missions: For the first 2-3 washes after dyeing, wash your resurrected jeans by themselves. A little bit of excess dye might still rinse out, and you don’t want it turning your other clothes a gloomy gray.
- Always Use Cold Water: After the initial setting wash, switch to washing your black jeans in cold water exclusively. Cold water prevents fading and keeps the color dark and rich for much longer. Turn them inside out, too, for less friction.
Warning: The Wrong Dye for the Job
Don’t just grab any box. If your jeans are more than 35% synthetic (polyester, acrylic, acetate), you need a dye specifically for synthetics, like Rit DyeMore. Using the standard all-purpose dye on synthetic-heavy fabric will lead to disappointment and a weak, uneven color. Always read the fabric content label on your clothes first!
Beyond Jeans: What Else Can You Rescue?
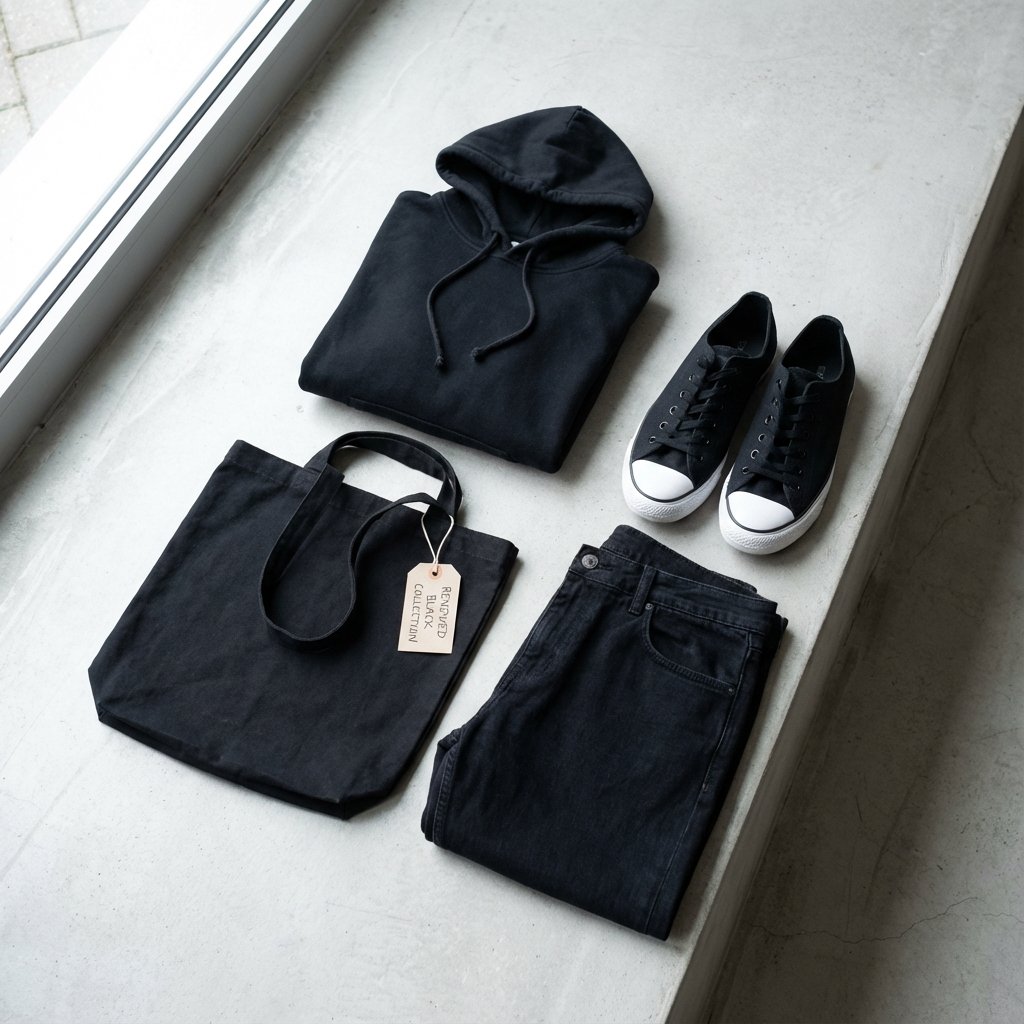
Once you realize how easy this is, you’ll start looking at your entire wardrobe differently. That faded black hoodie? That graying concert t-shirt you love? Those canvas sneakers that look a little sad? They’re all candidates for revival. This $5 bottle of dye is not a one-trick pony.
Your Upcycling Hit List:
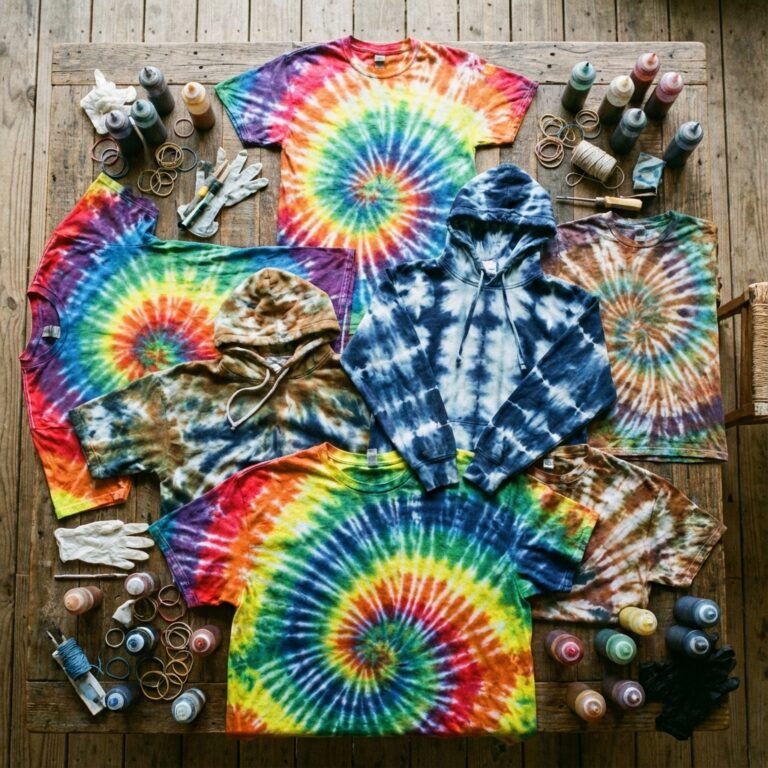
- Faded Cotton T-Shirts & Hoodies: Bring your favorite band tees and cozy sweatshirts back to life.
- Canvas Shoes: Got a pair of Converse or Vans that have seen better days? A quick dye bath can make them look box-fresh.
- Cotton Tote Bags: Revive those freebie tote bags into something that looks sleek and stylish.
- Dish Towels & Cloth Napkins: If you have stained or faded linens, dyeing them a uniform black can give them a second life as chic, minimalist kitchen accessories.
The principle is the same: if it’s made mostly of natural fibers, you can dye it. You’ve just unlocked a skill that transforms you from a passive consumer into an active creator. You’re not just saving jeans; you’re saving t-shirts, hoodies, and bags, multiplying your savings with every item you rescue from the donation pile.
Conclusion
There you have it. The power to make old clothes look brand new was in your hands all along, and it costs less than a latte. You’ve turned a $5 investment into over $200 in annual savings, kept your favorite clothes out of a landfill, and learned a valuable, practical skill. This is what being street-smart with your money is all about. It’s about seeing value where others see trash and taking control. Stop letting corporations tell you when your clothes are ‘done’. You’re in control now. Go raid your closet, grab that $5 dye, and start making your wardrobe work for you, not the other way around.