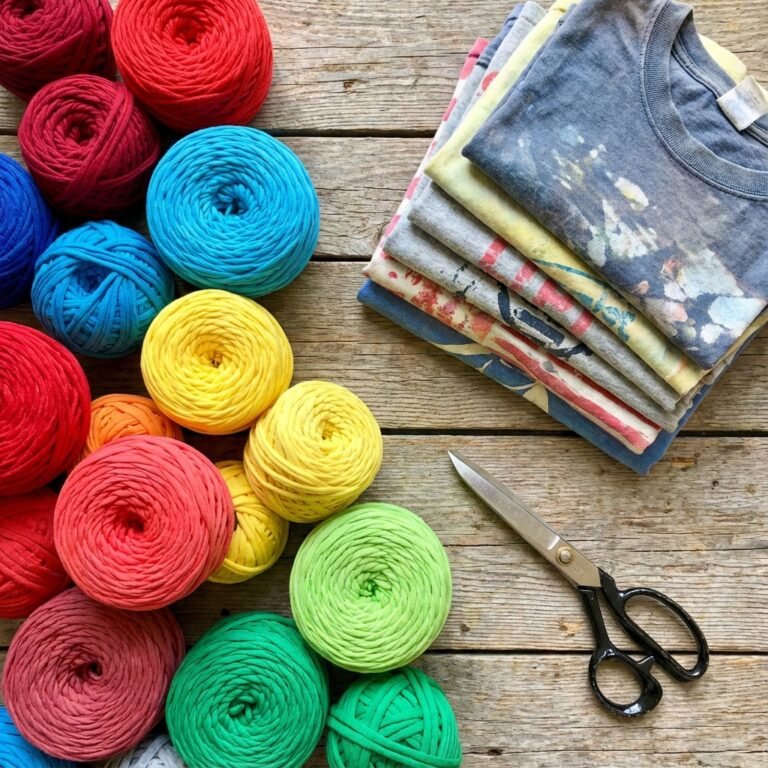
Learn To Sew For Cheap: 5 Easy Projects Using Fabric Scraps
Let’s get one thing straight: you don’t need a fat wallet to be creative. If you’ve ever looked at sewing and thought, ‘That looks expensive,’ you’re not wrong. Buying brand-new fabric, pricey patterns, and a top-of-the-line machine can cost you hundreds. But that’s the sucker’s way. The street-smart way? You use what you already have. We’re talking about that bag of fabric scraps you’ve been hoarding—the leftovers from old projects, the hem of some jeans you cut off, even a shirt that’s too stained to wear but has some good fabric left. That’s not trash; that’s treasure. It’s your ticket to learning a valuable skill for practically free. In this guide, we’re ditching the expensive fabric store. We’re going to turn your ‘useless’ scraps into five awesome, practical projects that will save you money and could even make you some. Get ready to fire up that machine (or just a needle and thread) and turn your clutter into cash.
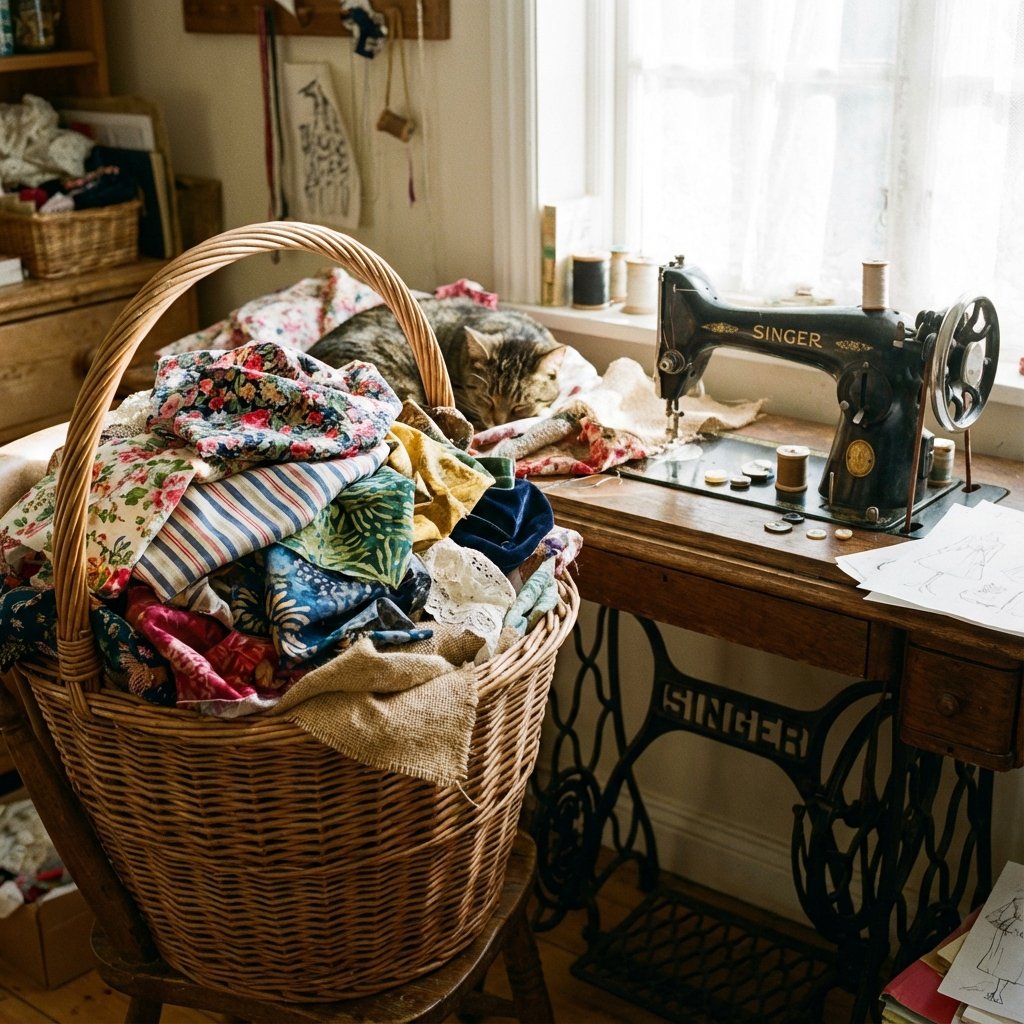
The Setup: Getting Your Gear for Next to Nothing
Before you can stitch, you need the right tools. But ‘right’ doesn’t mean ‘new’ or ‘expensive.’ It means functional. Forget the shiny objects at the craft store; we’re on a mission to build your sewing kit on a dime.
Hand Sewing vs. Machine Sewing
First, the big question: do you need a machine? Absolutely not. Every project in this guide can be done by hand. A simple needle and thread is how sewing has been done for centuries. It’s slower, sure, but it gives you incredible control and costs less than a cup of coffee. If you want to go the machine route, don’t you dare buy new. Here’s the hustle:
- Facebook Marketplace & Buy Nothing Groups: This is your goldmine. People are constantly upgrading or decluttering. You can find older, heavy-duty machines that work better than new plastic ones for $20-50, or even for free.
- Thrift Stores & Yard Sales: It’s a treasure hunt. Look for older Kenmore or Singer models. They’re built like tanks. Plug it in and test it if they let you. Even if it needs a small tune-up, it’s still cheaper than a new machine.
- Ask Around: Post on social media or ask family. You’d be surprised how many people have a machine collecting dust in a closet that they’d be happy to give you.
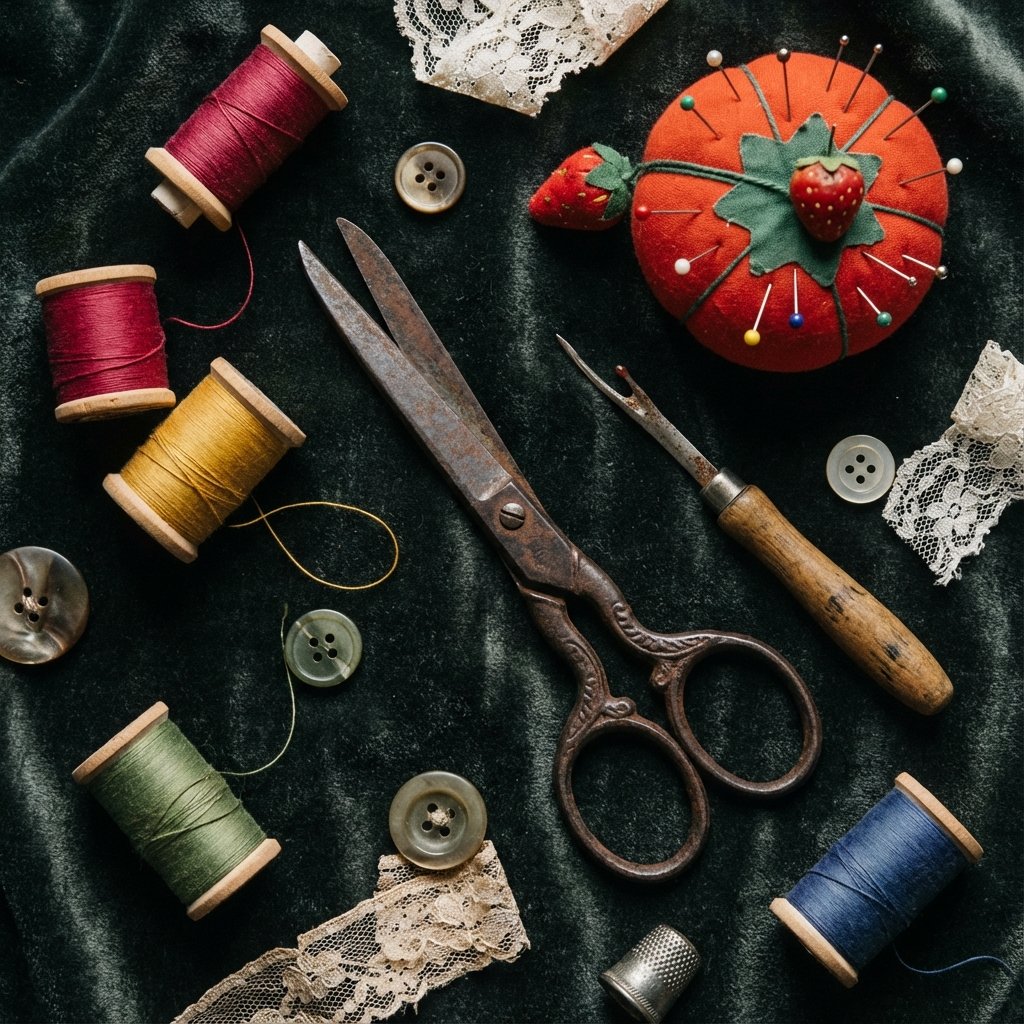
Building Your Toolkit on a Budget
You need more than just a machine or needle. Here’s your cheapskate’s shopping list:
- Thread: A basic starter kit with black, white, and a few primary colors is all you need. Thrift stores often have bags of random spools for a few bucks.
- Scissors: This is the one place to be picky. You need a pair of fabric-only scissors. Hide them from everyone in your house. A decent pair isn’t super expensive, but you can also find them at thrift stores. Just check for rust and nicks.
- Pins & Pincushion: You’ll need pins to hold fabric together. We’re going to make a pincushion in one of the projects, so for now, a small magnetic dish or even a bar of soap will do the trick.
- Seam Ripper: You will make mistakes. This little tool is your best friend. It’s cheap, so just buy one.
- Iron: You already have one. Use it. Pressing your fabric is a non-negotiable step that makes you look like a pro, even when you’re not.
Project #1: Reusable ‘Unpaper’ Towels
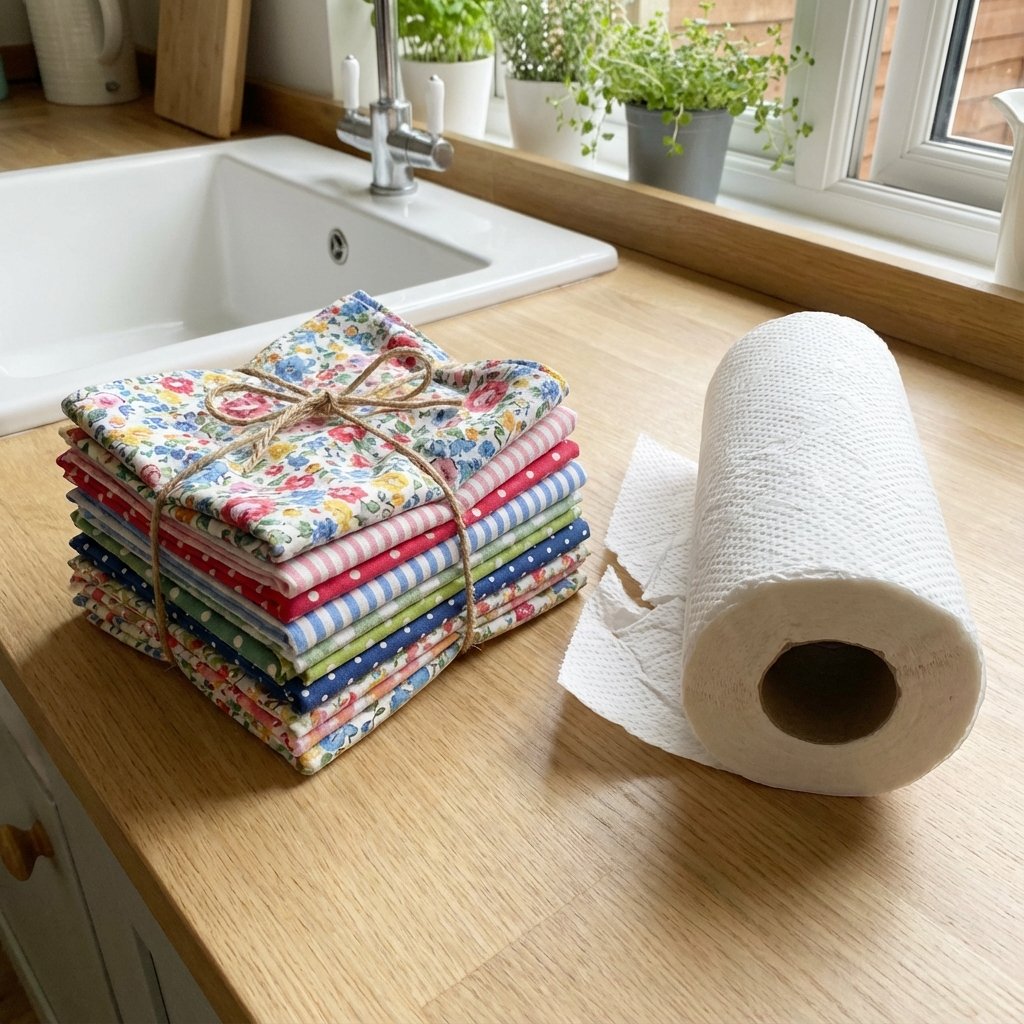
Ready for your first win? We’re starting with something that will immediately save you money. Stop buying disposable paper towels. You’re literally throwing money in the trash. These reusable fabric towels are perfect for cleaning up spills, wiping counters, or even as napkins. They’re a beginner’s dream project because they’re just straight lines.
Step-by-Step Instructions:
- Gather Your Scraps: You’ll need two types of fabric for each towel. For the top, use cotton scraps (old shirts, quilting leftovers). For the back, you need something absorbent. An old terry cloth towel, flannel pajamas, or even an old sweatshirt works perfectly.
- Cut Your Squares: Decide on a size. A 10×10 inch square is a good starting point. Cut one square from your cotton fabric and one from your absorbent fabric for each towel you want to make. Don’t stress if they’re not perfect.
- Pin ‘Em: Place the two squares together with the ‘pretty’ sides facing each other. The ‘ugly’ sides should be facing out. Pin around the edges to hold them in place.
- Sew Your Seam: Using your machine or a simple backstitch by hand, sew around the edge of the square, about half an inch in from the edge. IMPORTANT: Leave a small gap of about 3 inches open on one side. Don’t sew it completely shut!
- Clip and Turn: Trim the corners of the square (be careful not to cut your stitches!). This helps make the corners sharp. Now, reach into the 3-inch gap you left and turn the entire towel right-side out. Use a pencil or a chopstick to gently poke the corners out so they’re nice and square.
- Press and Topstitch: Iron your towel flat, making sure the edges are crisp. Tuck the raw edges of the 3-inch opening inside and press it flat. Now, sew a final stitch all the way around the very edge of the towel (about 1/4 inch in). This is called ‘topstitching.’ It closes the gap and gives your towel a clean, professional finish.
That’s it. You just made something useful and saved money. Make a whole stack of them.
| Item | Store-Bought Cost (12-pack) | DIY Cost (Using Scraps) |
|---|---|---|
| Fancy Reusable Paper Towels | $25 – $40 | $0 – $2 (for thread) |
| Disposable Paper Towels (Annual) | $100 – $200+ | N/A |
| Your Savings | Massive. You’re basically printing money. | |
Project #2: Scrappy Coasters & Mug Rugs
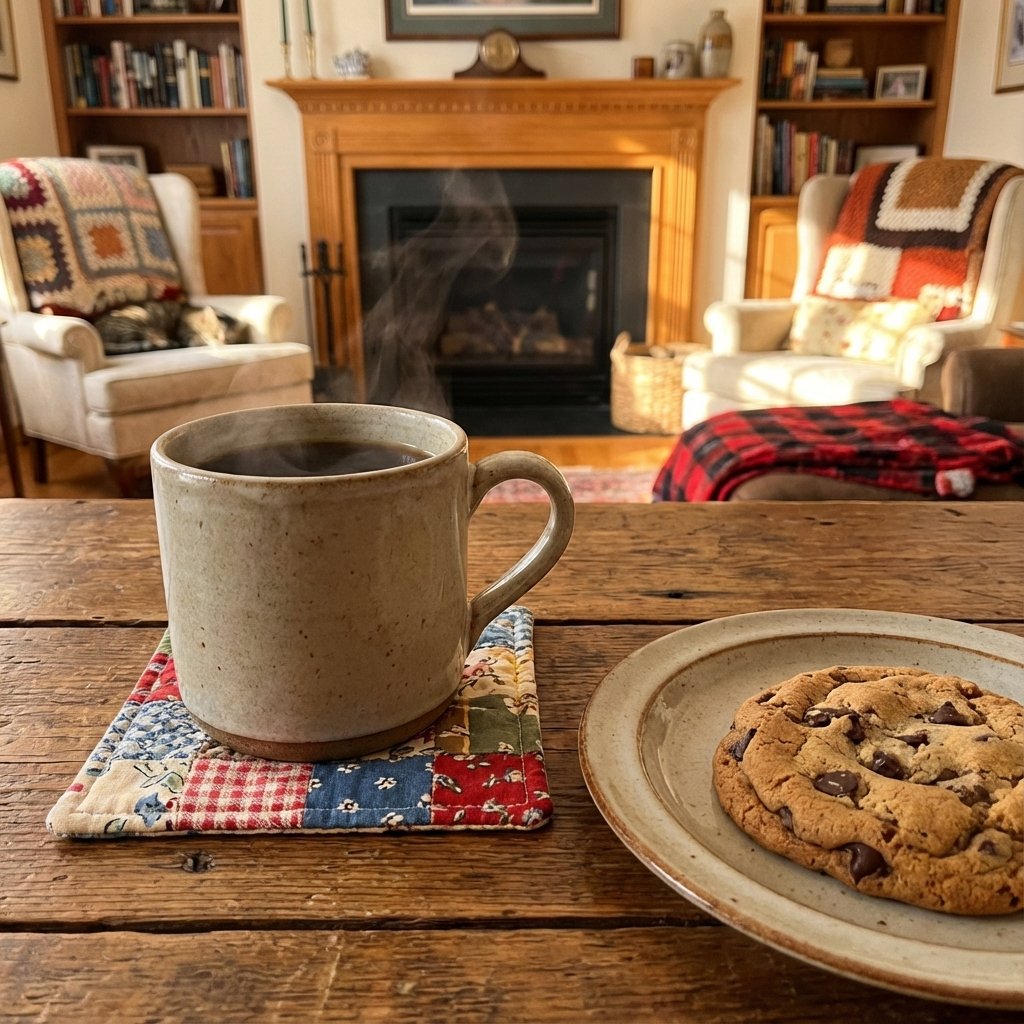
Coasters are a fantastic scrap-busting project because they require tiny pieces of fabric. You can sell these easily at craft fairs or bundle them up as a thoughtful, handmade gift. A ‘mug rug’ is just a slightly larger coaster with enough room for a cookie. It’s the perfect way to feel a little fancy for zero cost.
Step-by-Step Instructions:
- Create Your Patchwork Top: Take your smallest scraps and sew them together in any random pattern until you have a piece that’s slightly larger than your desired coaster size (e.g., 5×5 inches for a 4×4 inch coaster). This is your chance to get creative. Press all the seams flat with your iron.
- Cut Your Layers: Once you have your patchwork top, you need two more layers: batting and backing. For batting (the fluffy inside part), use a scrap of fleece, an old felted sweater, or another piece of terry cloth. For the backing, use a single piece of cotton fabric. Cut your patchwork top, batting, and backing fabric into the exact same size square (e.g., 4.5 x 4.5 inches).
- Layer and Pin: Make a sandwich. Place the backing fabric pretty-side down. Put the batting on top of it. Finally, place your patchwork top pretty-side up. Pin all three layers together.
- Quilt (Optional but Recommended): To keep the layers from shifting, sew a few straight lines across the coaster. You can do a simple ‘X’ from corner to corner or sew a grid pattern. This is a super simple form of quilting.
- Finish the Edges: You have two options here. The easy way: use pinking shears (scissors with a zig-zag edge) to trim around the entire coaster. This prevents fraying and gives it a cute, rustic look. The more advanced way: create and sew on a binding. For a beginner, the pinking shears method is fast and effective.
Boom. In less than 20 minutes, you have a custom coaster. Make a set of four and tie them together with a ribbon for a gift that looks like it came from an expensive boutique.
Project #3: Simple Drawstring Gift Bags
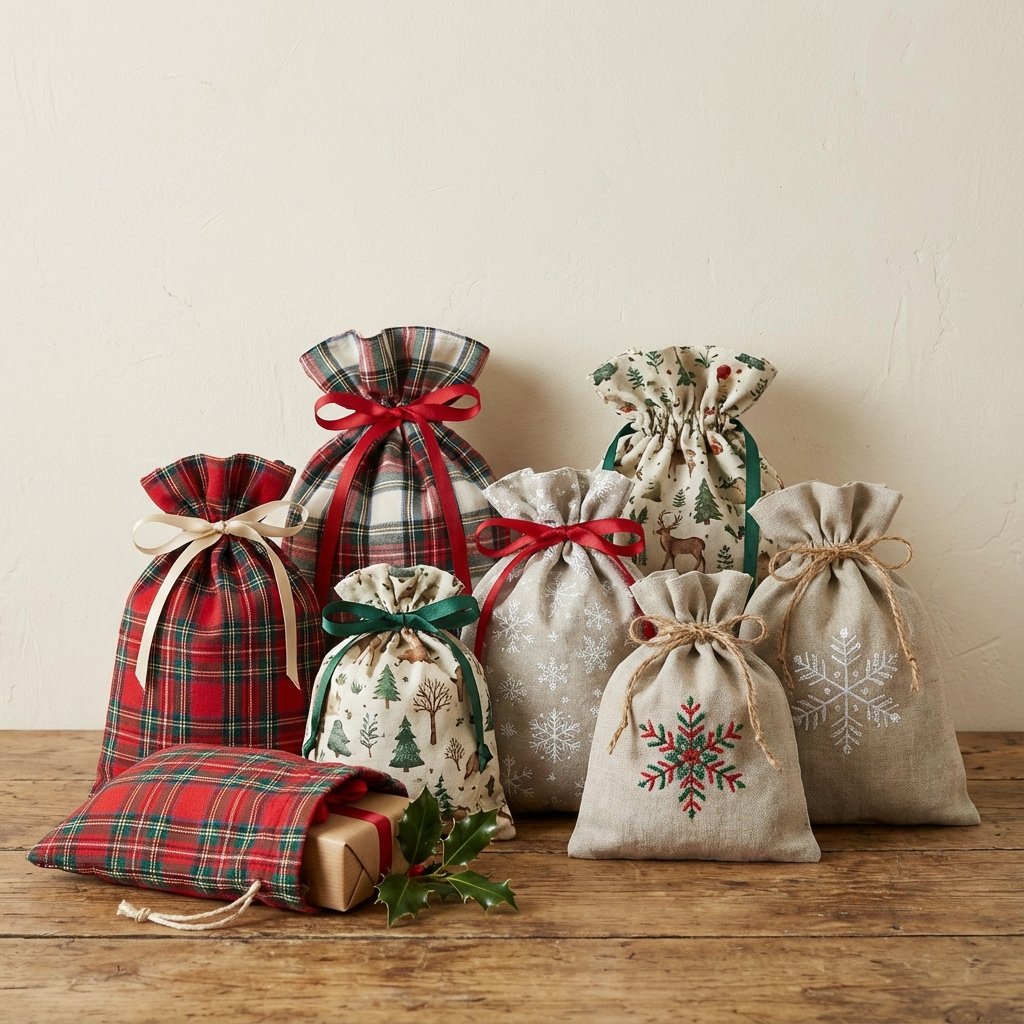
Stop spending $5 on a gift bag that’s going to be immediately thrown in the trash. Reusable fabric gift bags are eco-friendly, look way more personal, and you can make them in any size for literally any gift. This is a huge money-saver, especially around the holidays.
Step-by-Step Instructions:
- Cut Your Fabric: Cut one rectangle of fabric. The width should be the desired width of your bag plus 1 inch. The height should be the desired height plus about 2.5 inches. For a small jewelry bag, a 7×13 inch rectangle is a good start.
- Finish the Top Edge: On the two short sides of the rectangle, fold the edge over by 1/4 inch and press with an iron. Fold it over again by about 1/2 inch to hide the raw edge, and press again. Sew a straight line along this folded edge on both short sides. This creates a clean top for your bag.
- Create the Casing: Now, fold the top edge down by about 1.5 inches and press. This will be the channel, or ‘casing,’ for your drawstring. Sew a line close to the bottom edge of this fold, all the way across. Then, sew another line about 1/2 inch above that one. You should now have a channel running across the top of your fabric.
- Sew the Bag: Fold the rectangle in half, with the pretty sides facing each other, so the two top edges you just sewed line up. Pin the side and bottom edges together.
- Stitch It Up: Sew down the long side and across the bottom of the bag. Be careful *not* to sew your drawstring casing shut! Stop sewing just below the channel.
- Turn and Thread: Turn the bag right-side out and press it. Now, take a piece of ribbon, cord, or even a shoelace. Attach a safety pin to one end and use it to thread the ribbon through one side of the casing and back through the other. Tie the ends together. Done! You have a professional-looking drawstring bag.
From Scraps to Stacks: Turning Your New Skill into a Side Hustle
You didn’t just learn to make stuff; you learned how to create products. Every project in this guide can be sold. Don’t underestimate the market for handmade, eco-friendly goods. People pay good money for this stuff.
Pricing Your Work
Don’t just guess. A common formula is: (Cost of Supplies + Your Time) x 2 = Wholesale Price. Then, Wholesale Price x 2 = Retail Price. Since your fabric scraps are free, your main cost is thread and your time. Don’t sell yourself short. Your time is valuable. Even at $15/hour, a set of four coasters that took you an hour to make could be priced at $15-20 easily.
Where to Sell Your Goods
- Etsy: The most obvious choice for handmade goods. Fees can be a pain, so price accordingly. Good photos are non-negotiable.
- Local Craft Fairs: Renting a table can be an investment ($50-$150), but you can make that back quickly. Bundle items into gift sets (e.g., a set of coasters and matching unpaper towels).
- Facebook Marketplace: Perfect for local sales with no fees. Take clear, well-lit pictures and offer porch pickup.
- Friends and Family: Start by showing off what you’ve made. Your first customers are often in your inner circle.
Realistic Earning Potential
This isn’t a get-rich-quick scheme. It’s a ‘make-your-hobby-pay-for-itself-and-then-some’ scheme. Selling a few sets of coasters or gift bags a week could realistically net you an extra $50 – $100 a month. During the holiday season, that could jump to $300+ if you focus on giftable items like the drawstring bags. It’s the perfect low-risk side hustle because your initial investment was practically zero.
Scam Warning: The ‘Wholesale Supplier’ Rip-off
If you start selling, you might get messages from people claiming to be wholesale suppliers or boutique owners wanting a huge order. They’ll often ask you to pay a ‘deposit’ or buy materials through their special link. This is a scam. A legitimate business will never ask you to pay them to get a sale. Always use secure payment methods like PayPal Goods & Services or an Etsy transaction. Trust your gut.
Conclusion
Look at you. You took a pile of what most people consider trash and turned it into useful, beautiful, and even profitable items. You’ve learned that the biggest barrier to a new skill isn’t money—it’s resourcefulness. Sewing isn’t about having the fanciest machine; it’s about knowing how to put two pieces of fabric together to make something new. You now have five solid projects under your belt that can save you real money on everyday items and gifts. More than that, you have the foundation of a skill that can empower you, whether it’s mending your own clothes to make them last longer or starting a side hustle that adds a few hundred bucks to your bank account each month. So go dig out that bag of scraps. The only thing it’s costing you is space. It’s time to make something of it.