Host a Spooky Boozy Halloween Bash on a Dollar Store Budget
Listen up. You see those glossy magazine spreads of perfect Halloween parties and think, ‘I could never afford that.’ That’s exactly what they want you to think. The party industry is a machine designed to make you feel like you need to drop hundreds of dollars on single-use decorations and overpriced booze to have a good time. I’m here to tell you that’s a lie.
You can throw a legendary, spooky, and seriously boozy Halloween bash that your friends will rave about for years, and you can do it all on a dollar store budget. This isn’t about being cheap; it’s about being smart. It’s about the hustle. It’s about walking into that dollar store with a plan and walking out with the raw materials for an epic night. Forget everything you think you know about budget parties. We’re about to transform $1 items into a high-impact, unforgettable experience. Ready to become the ultimate frugal party hacker? Let’s get to work.
The Game Plan: Your Dollar Store Battle Map
You don’t win a war without a strategy, and you don’t conquer the dollar store without a battle map. Walking in blind is a rookie mistake that leads to a cart full of junk you don’t need. Your mission is to get in, get the high-value goods, and get out before you get distracted by seasonal candy. Before you even step foot in the store, you need to know the rules of engagement.
The Golden Rules of Dollar Store Hacking
- Go for materials, not finished products. That flimsy pre-made ‘Spooky’ sign? Skip it. That bag of plastic spiders, pack of cheesecloth, and can of black spray paint? Gold. You’re looking for potential. Your job is to elevate the cheap stuff.
- Check for quality where it counts. Glassware, serving platters, and candle holders are often surprisingly good quality. Flimsy paper decorations or weird-smelling plastics are a hard pass. Squeeze it, tap it, check the seams. Don’t get played by something that will fall apart before the party even starts.
- Have a color scheme. This is the secret to making cheap stuff look chic. Sticking to 2-3 colors (like black, white, and orange, or maybe a more gothic purple and silver) makes everything look intentional and cohesive. It’s the difference between ‘dollar store’ and ‘designer’.
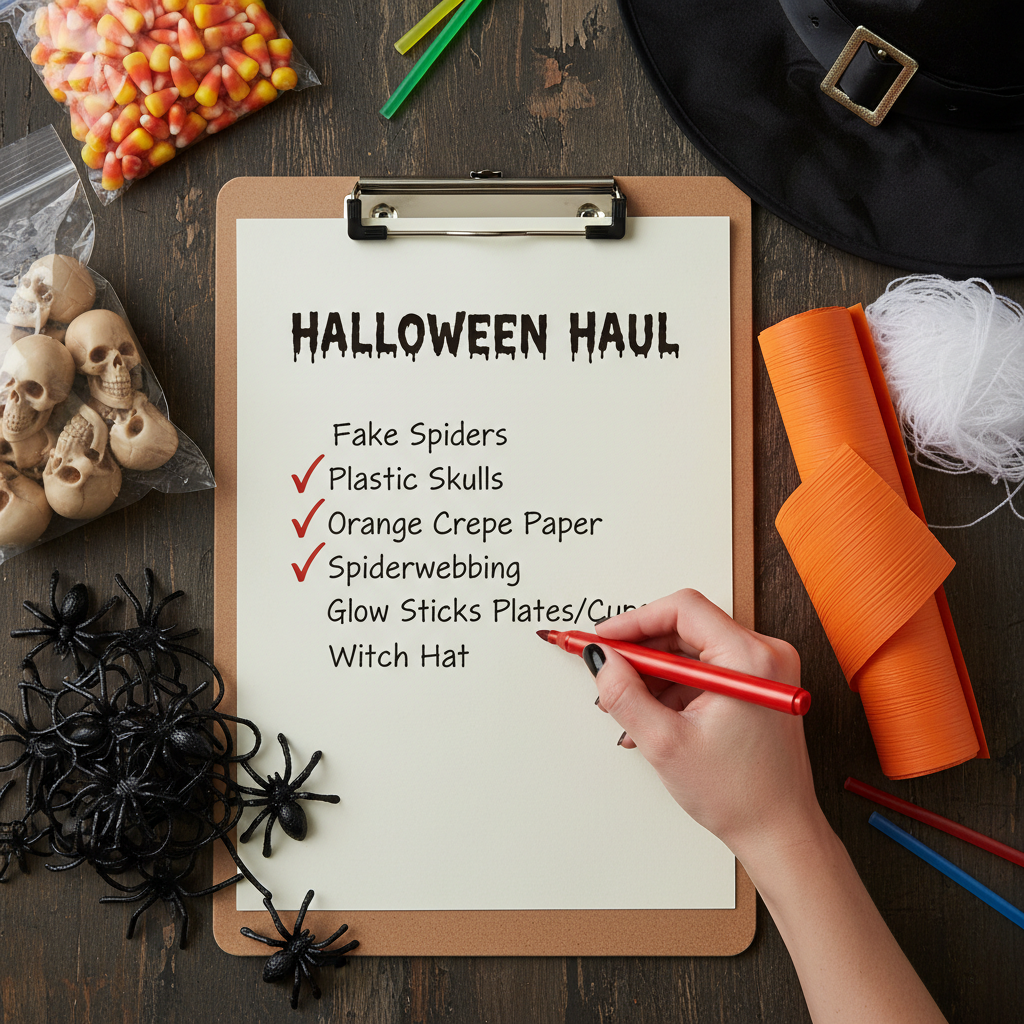
Your Pre-Party Hit List
This is your shopping list. Don’t deviate. This is what you need to build your party from the ground up:
- Decor Basics: Black and orange crepe paper, fake spider webs, plastic spiders/rats, cheesecloth (for that spooky draped look), black balloons, and white candles (LED or real).
- Paint & Craft: Matte black and metallic gold/silver spray paint. A hot glue gun is your best friend.
- Tableware: Clear glass plates, wine glasses, and tumblers. They always look better than plastic. If you must use disposable, get solid black plates and cups. Grab some plain black or orange napkins.
- Booze & Mixers Foundation: Basic glassware (martini, highball), cocktail shakers (sometimes you find them!), and fun-shaped ice cube trays (skulls, bones).
- Snack Arsenal: Serving platters and bowls (stick to clear glass or solid white/black), basic pantry items like pretzels, crackers, and anything you can easily theme up.
The Decor Hustle: Max Impact, Minimum Cash
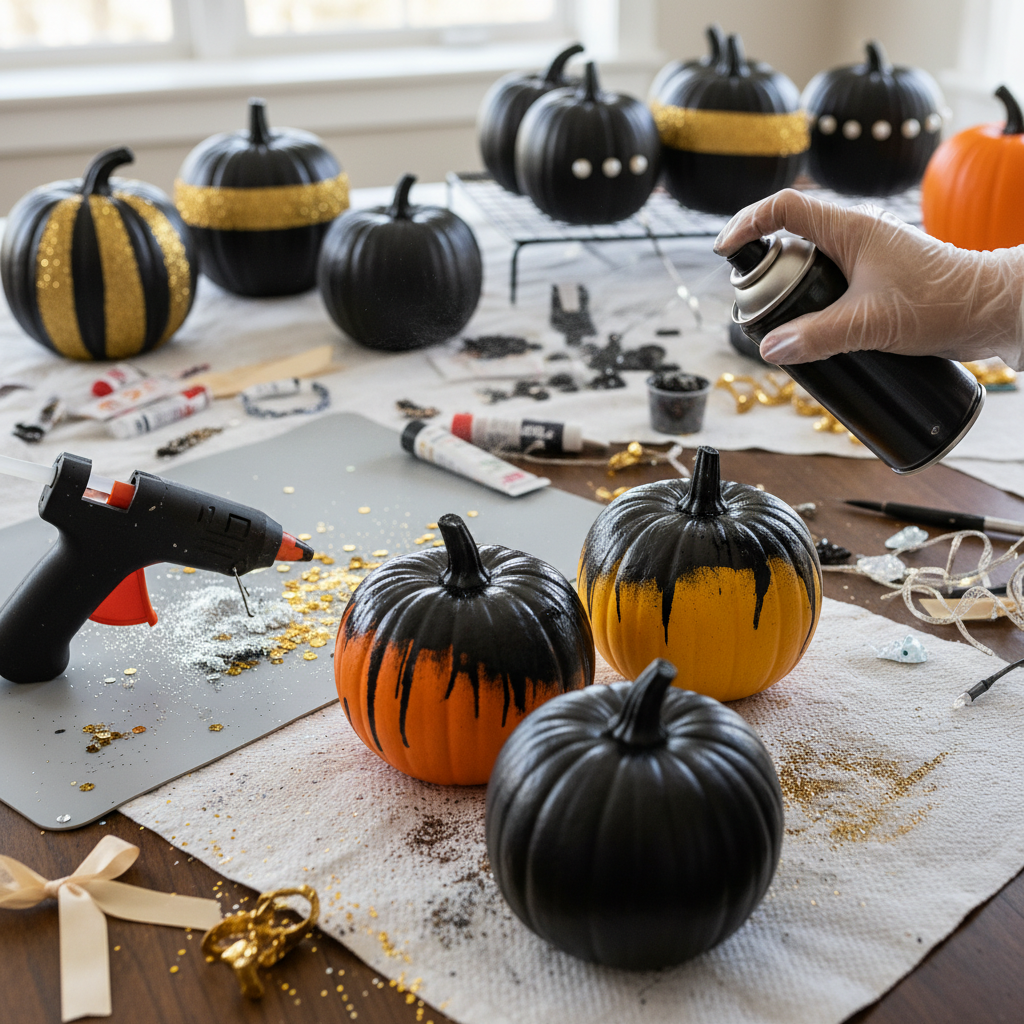
This is where the magic happens. We’re taking that pile of $1 items and turning them into decor that looks like it came from a high-end boutique. It’s all about transformation. Grab your spray paint and hot glue gun—it’s time to hustle.
Project 1: The Chic & Creepy Centerpiece
- Buy a few plastic skulls, some fake black roses, and a plain glass vase or platter.
- Spray paint the skulls with matte black paint. Let them dry completely.
- While they dry, arrange the fake black roses on the platter or in the vase.
- Once dry, carefully place the matte black skulls among the roses. For extra drama, get some of that ‘spider web’ fluff and stretch it thinly over the whole arrangement. Instant gothic elegance.
Project 2: Ghoulish Glowing Ghosts
- Grab a pack of white balloons and a roll of cheesecloth. You’ll also need a black permanent marker.
- Blow up a few balloons to different sizes.
- Drape a square of cheesecloth over each balloon. Let it hang down unevenly.
- Use the marker to draw two simple, ghostly eyes on the cheesecloth where the face would be.
- Hang them from the ceiling or trees with fishing line. They’ll sway in the breeze and look incredibly eerie, especially in low light.
Project 3: Blood-Drip Candles
- You need two types of candles: plain white pillar candles and one red taper candle.
- Light the red candle.
- Carefully tilt the red candle and let the hot red wax drip down the sides of the white pillar candles.
- Create heavy ‘drips’ near the top and let them run down. It looks like dripping blood and is way more effective than buying pre-made novelty candles.
Key Rule: Lighting is everything. Turn off the harsh overhead lights. Use lamps, candles (safely!), and strings of orange lights to create shadows and a spooky atmosphere. Good lighting can make even the simplest decorations look a hundred times better.
The Boozy Brews: Craft Cocktails on the Cheap

A ‘boozy bash’ needs booze, but you don’t need top-shelf liquor to make killer cocktails. The secret is presentation and smart ingredient choices. We’re making one big-batch punch and one signature cocktail that are easy on the wallet but big on flavor and spooky vibes.
The ‘Toxic Tonic’ Punch (Big Batch)
This glowing green punch is a showstopper and can be made with or without alcohol to please everyone.
- Ingredients: 2 liters of lemon-lime soda, 1 large can of pineapple juice, 1 bottle of Green Berry Rush Hawaiian Punch, 1 bottle of cheap vodka or white rum (optional), Gummy worms or plastic spiders for garnish.
- Instructions:
- In a large punch bowl, combine the soda, pineapple juice, and Hawaiian Punch. Stir well.
- If you’re making it boozy, pour in the vodka or rum to your desired strength. Start with 2 cups and taste.
- Drape gummy worms over the side of the bowl and float some plastic spiders on top.
- For a smoky effect, carefully add a small piece of dry ice right before guests arrive. (Handle with gloves!)
- Ingredients: Cheap vodka, cranberry juice, a splash of black raspberry liqueur (like Chambord, or a cheaper alternative), and a cherry for garnish.
- Instructions:
- In a cocktail shaker filled with ice, combine 2 oz vodka and 4 oz cranberry juice.
- Shake well until chilled.
- Strain into a dollar store martini glass.
- Gently pour about half an ounce of the raspberry liqueur down the inside of the glass. It will sink to the bottom, creating a cool, layered ‘bleeding’ effect.
- Garnish with a single cherry dropped into the bottom of the glass.
The ‘Vampire’s Kiss’ Cocktail (Single Serve)
This one looks fancy and tastes amazing, but the ingredients are dirt cheap.
The Frightful Feasts: Snacks That Don’t Scare Your Wallet
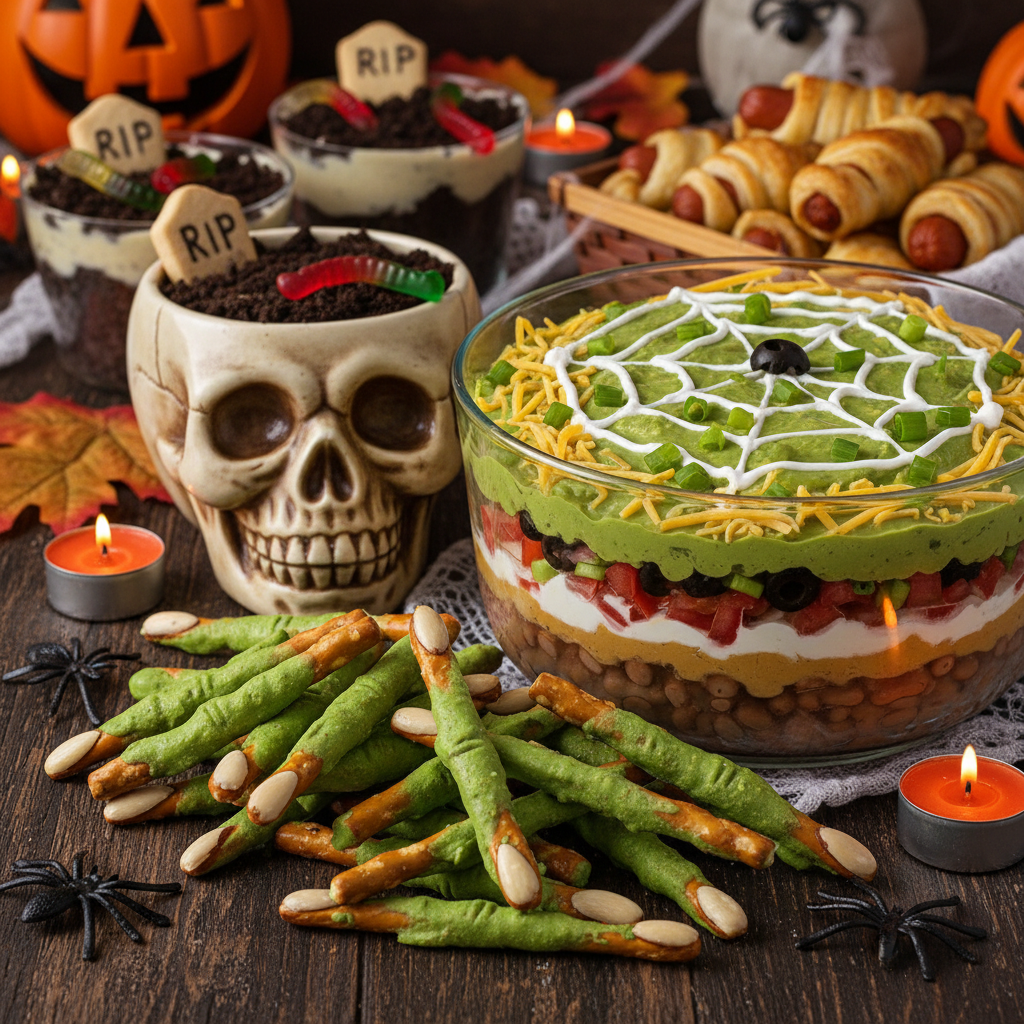
Nobody expects a five-course meal at a Halloween party. They want fun, themed snacks they can grab while holding a drink. Your mission is to make simple, cheap food look spooky and delicious. It’s all about presentation.
Mummy Dogs
A classic for a reason. They’re cheap, easy, and everyone loves them.
- Ingredients: A pack of hot dogs, a can of refrigerated crescent roll dough. Ketchup or mustard for eyes.
- The Hack: Unroll the crescent dough and cut it into thin strips. Wrap the strips around each hot dog like a mummy’s bandages, leaving a small gap for the face. Bake according to the dough package directions. Use two dots of mustard for eyes after they come out of the oven.
Witch Finger Pretzels
Sweet, salty, and super creepy.
- Ingredients: A bag of pretzel rods, a bag of white chocolate melting wafers, a few drops of green food coloring, and sliced almonds.
- The Hack: Melt the white chocolate. Stir in a few drops of green food coloring until you get a sickly witch-green color. Dip each pretzel rod into the green chocolate, leaving a bit of the bottom uncovered to hold. Place them on wax paper. Before the chocolate sets, press a sliced almond onto the tip to look like a fingernail. Let them harden.
Spider Web Dip
The ultimate low-effort, high-impact snack.
- Ingredients: Your favorite dip (7-layer dip, bean dip, or even just guacamole), and some sour cream.
- The Hack: Spread your main dip in a shallow pie plate. Put a small amount of sour cream in a plastic sandwich bag and snip off a tiny corner. Pipe the sour cream in concentric circles on top of the dip. Take a toothpick and drag it from the center circle to the outer edge to create the spider web effect. Serve with tortilla chips. Done.
The Cost Breakdown: Dollar Store vs. Party Store
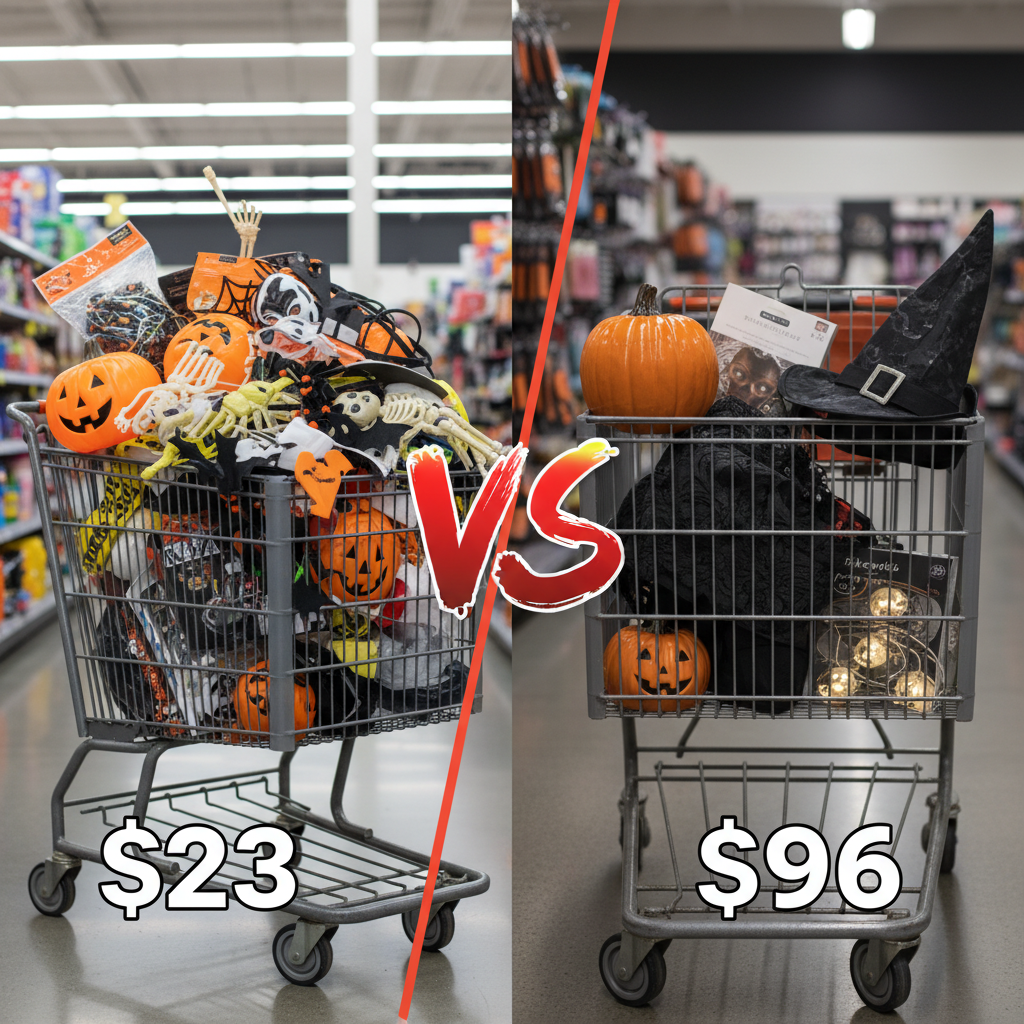
Still not convinced you can save a fortune? Let’s run the numbers. Here’s a realistic look at what you’d spend on basic supplies for a party of 15 people at a typical party supply superstore versus your new favorite spot, the dollar store. The difference isn’t just a few bucks; it’s a total game-changer.
| Party Item (for 15 guests) | Typical Party Store Price | Dollar Store Hacker Price |
|---|---|---|
| 16 Large Plates | $8.99 (Themed paper) | $2.50 (Two 8-packs of solid black) |
| 16 Drink Cups | $7.99 (Themed plastic) | $4.00 (15 glass tumblers at $1.25 each is $18.75, but you keep them. For disposable, $2.50) |
| 32 Napkins | $5.99 (Themed) | $1.25 (Solid orange) |
| Large Serving Platter | $14.99 (Themed plastic) | $1.25 (Clear glass or solid white ceramic) |
| Wall Decorations (Banners/Cutouts) | $12.99 | $3.75 (Crepe paper, cheesecloth, balloons) |
| Table Centerpiece | $19.99 (Pre-made light-up decor) | $5.00 (Vase, fake flowers, plastic skulls) |
| Spooky Lighting (String lights) | $24.99 | $5.00 (Two strings of orange lights) |
| TOTAL COST | $95.93 + tax | $23.00 + tax (disposable) / $38.75 + tax (real glass) |
The math doesn’t lie. You’re saving over $70 on just the absolute basics. That’s $70 you can put toward better booze, more food, or, you know, your rent. By being smart and putting in a little DIY effort, you slash your budget and end up with a party that looks more creative and personal anyway. That’s not just saving money; that’s winning.
Conclusion
So there you have it. The complete playbook for hosting a Halloween party that’s heavy on the spooky, heavy on the boozy, and light on your bank account. We’ve proven that a killer party isn’t about the money you spend; it’s about the creativity you bring. It’s about seeing the potential in a $1 plastic skull and turning it into a piece of gothic art.
You now have the strategy, the recipes, and the decor hacks to pull this off. Your friends won’t know you did it on a dime—they’ll just know they had an amazing time. So get out there, hit the dollar store with confidence, and prepare to throw the most talked-about Halloween bash of the year. You’re not just a host; you’re a frugal hacker. Now go own it.