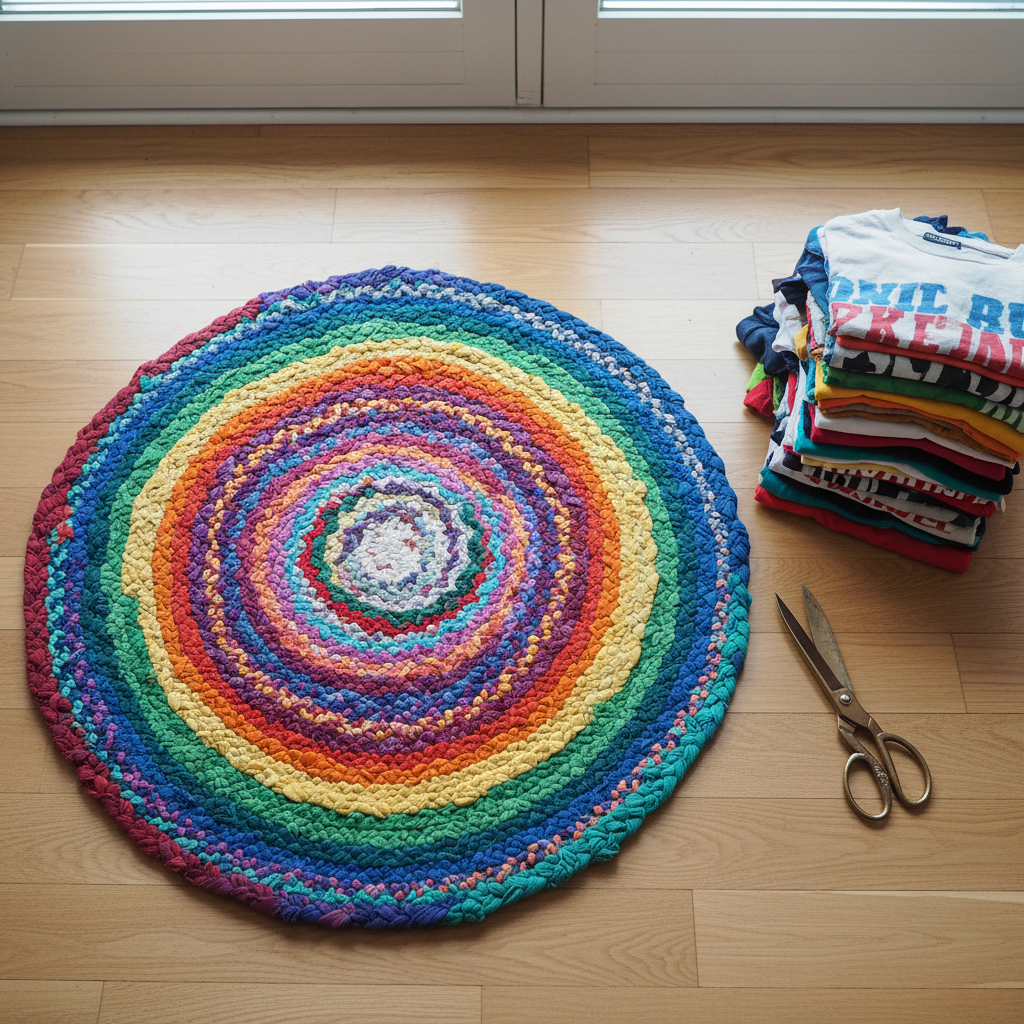
Don’t Toss Old Tees! Turn Them Into a Chic Rug With This No-Sew Hack
Look in your closet. Go ahead, I’ll wait. See that pile of old t-shirts? The ones from that 5k you ran five years ago, the concert tee that doesn’t fit anymore, the ones with tiny stains you swear no one can see. You’re holding onto a goldmine of potential. Most people see clutter; we see cash saved and a killer piece of home decor. Forget dropping $100 or more on a trendy rug from a big-box store. We’re about to turn that textile trash into treasure with a ridiculously easy, no-sew hack. This isn’t just about being crafty; it’s about being smart. It’s about taking what you already own and transforming it into something valuable, functional, and seriously stylish. Get ready to upgrade your space, shrink your carbon footprint, and keep your money right where it belongs: in your pocket.
The Gear You Need (And Probably Already Have)
Before you think this is some complicated craft project that’ll have you running to the store, let’s kill that myth right now. The beauty of this hack is its simplicity. You’re not buying a bunch of junk you’ll only use once. You’re using basic tools to unlock the value in stuff you were going to toss anyway. This is peak frugal innovation.
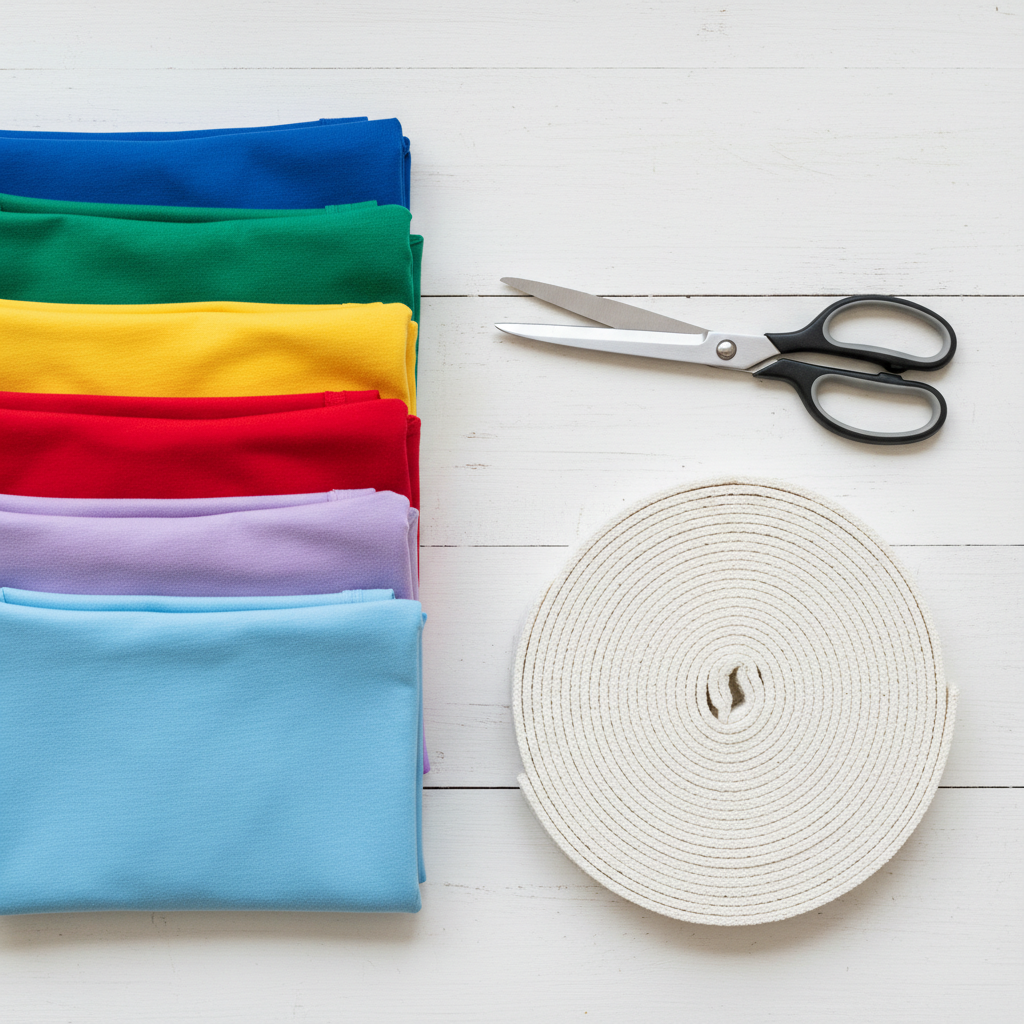
Your No-Sew Rug Toolkit:
- Old T-Shirts: The star of the show. Aim for at least 10-15 adult-sized shirts for a decent-sized welcome mat (around 2’x3′). Cotton or cotton-blends work best because they’re soft and have a little stretch. Don’t worry about small logos or graphics; they’ll get lost in the texture and add to the unique look. The more colorful, the better!
- Sharp Scissors: Don’t mess around with those dull kitchen scissors. A good pair of fabric scissors will make this process a thousand times faster and easier. This is the one tool worth investing in if you don’t have one, and you’ll use it for countless other money-saving projects.
- A Non-Slip Rug Mat: This is your secret weapon. It’s a rubbery mat with a grid of holes, usually used to keep other rugs from sliding around. You can find it cheap at dollar stores, home improvement stores, or online. This is the foundation of your no-sew rug, and it’s what makes the whole thing possible. Get one in the size you want your final rug to be.
That’s it. Seriously. No thread, no needles, no sewing machine that you have to bribe a friend to help you operate. Just three simple things standing between you and a brand-new rug.
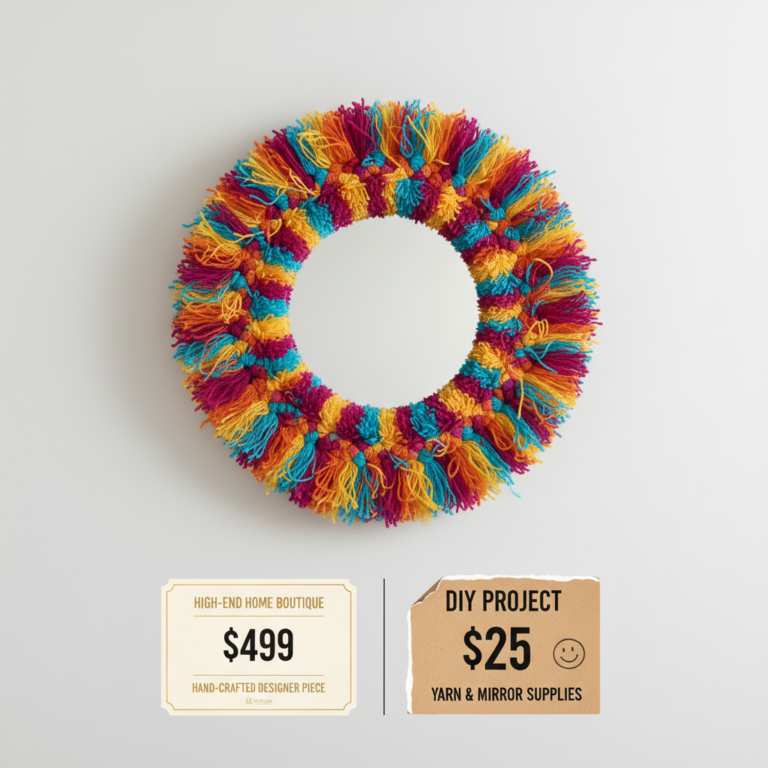
The Bottom Line: DIY vs. Store-Bought
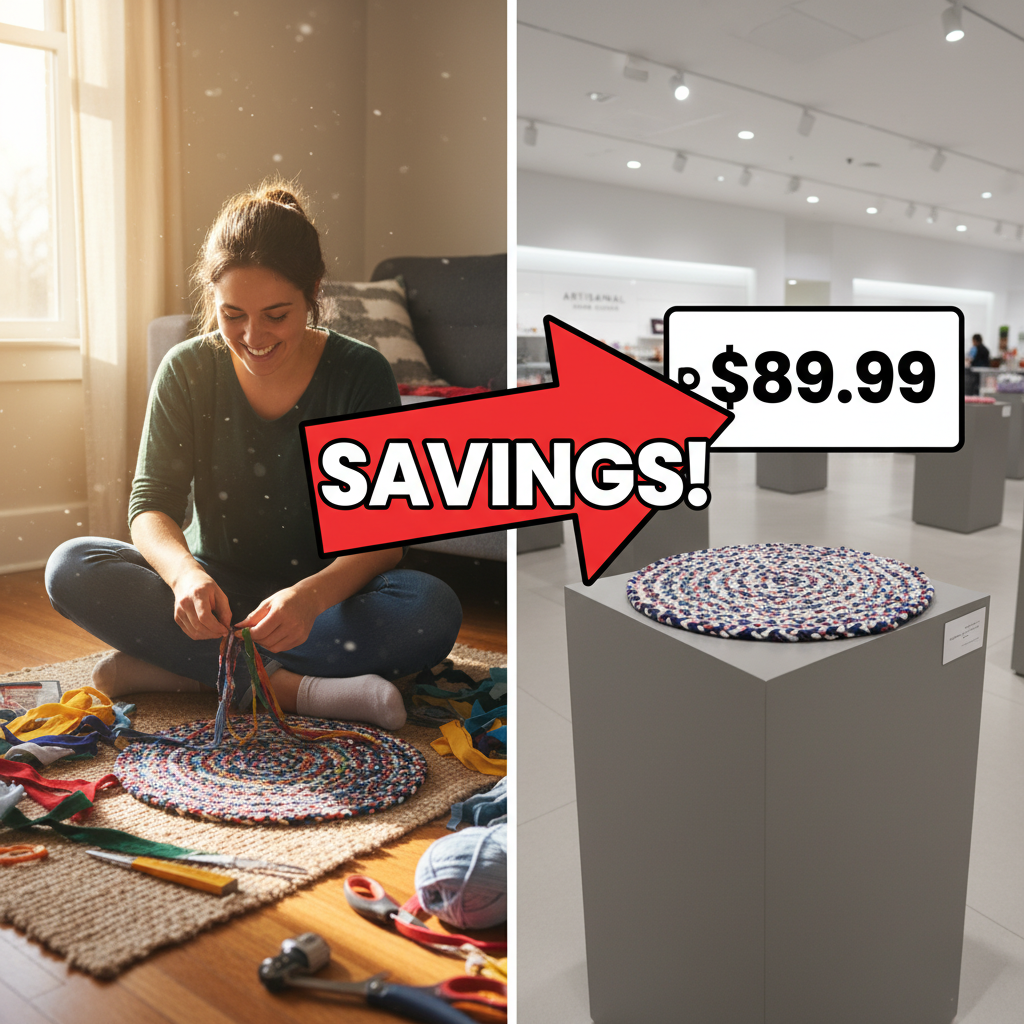
Let’s talk numbers, because that’s where this hack really shines. We’re all about getting maximum value for minimum cost. A cool, textured rug from a popular home goods store can set you back a surprising amount. We’re putting that cost head-to-head with our DIY version to show you the cold, hard cash you’re saving.
| Item | DIY Cost | Store-Bought Cost |
|---|---|---|
| Small Accent Rug (approx. 2′ x 3′) | Your Time + Minimal Supplies | $50 – $150+ |
| Old T-Shirts | $0 (You already own them!) | N/A |
| Non-Slip Rug Mat | $5 – $10 | N/A |
| Fabric Scissors | $0 – $15 (If you need a new pair) | N/A |
| TOTAL COST | $5 – $25 | $50 – $150+ |
| TOTAL SAVINGS | Up to $145 or more! | |
The math doesn’t lie. You’re looking at a savings of over 90% in some cases. That $145 you didn’t spend on a rug? That’s your grocery bill for the week, a payment on your credit card, or seed money for your next side hustle. Every time you choose to DIY with what you have, you’re making a powerful financial decision. This isn’t just a rug; it’s a statement that you’re in control of your money.
The Step-by-Step Hack: From T-Shirt to Treasure

Alright, it’s go-time. Put on some music, clear a space on your floor, and let’s get to it. Follow these steps, and you’ll have a rug before you know it. No frustration, no complicated patterns, just simple, satisfying work.
- Prep Your Materials: First, wash and dry all your t-shirts. You want to work with clean fabric. Once they’re ready, lay a shirt flat on your cutting surface. Cut off the bottom hem and the top part right under the armpits. You should be left with a simple fabric tube.
- Create Your ‘T-Shirt Yarn’: This is the most crucial step. Take your fabric tube and cut it into strips, about 1 to 1.5 inches wide. Here’s the trick: Don’t cut all the way through! Leave about an inch of fabric connected at one seam. When you’re done, it will look like a fringe. Now, open it up and lay it flat. You’ll see the uncut seam. Cut diagonally from the bottom of the first slit to the top of the second slit, and so on. This will create one long, continuous strip of fabric. It sounds more complicated than it is—once you do one, you’ll be a pro. Repeat for all your shirts. Gently pull on your long strips; they’ll curl in on themselves and become soft ‘yarn’. Roll them into balls to keep things tidy.
- The ‘No-Sew’ Weaving Magic: Unroll your non-slip rug mat. This is your loom. Take one end of a t-shirt yarn strip and push it down through a hole in the mat, then back up through the very next hole. Pull about an inch or two of the tail through. Now, take the long end of the yarn and tie a simple, single knot around the rubber grid between the two holes. That’s it! Your first piece is anchored.
- Fill the Grid: Continue this process. Push the yarn down a hole, up the next, and tie a simple knot. You can go row by row, or you can work in a spiral from the outside in. There’s no wrong way to do it. As you add more strips, push them together to create a dense, plush pile. When you get to the end of a strip, just tie it off and start a new one in the next hole. Tuck the tails underneath.
- Finishing Touches: Once your entire mat is covered, flip it over. You’ll see all the little tails from your starting and ending knots. Trim them down to about half an inch so the bottom of the rug is relatively flat. Flip it back over, run your hands through the pile to fluff it up, and you’re done. You just made a rug.
Level Up: Customization Hacks
You’ve mastered the basic rug. Now let’s make it yours. A store-bought rug is generic; your DIY rug is a canvas. Here’s how to add your own signature style and make something that looks truly high-end.
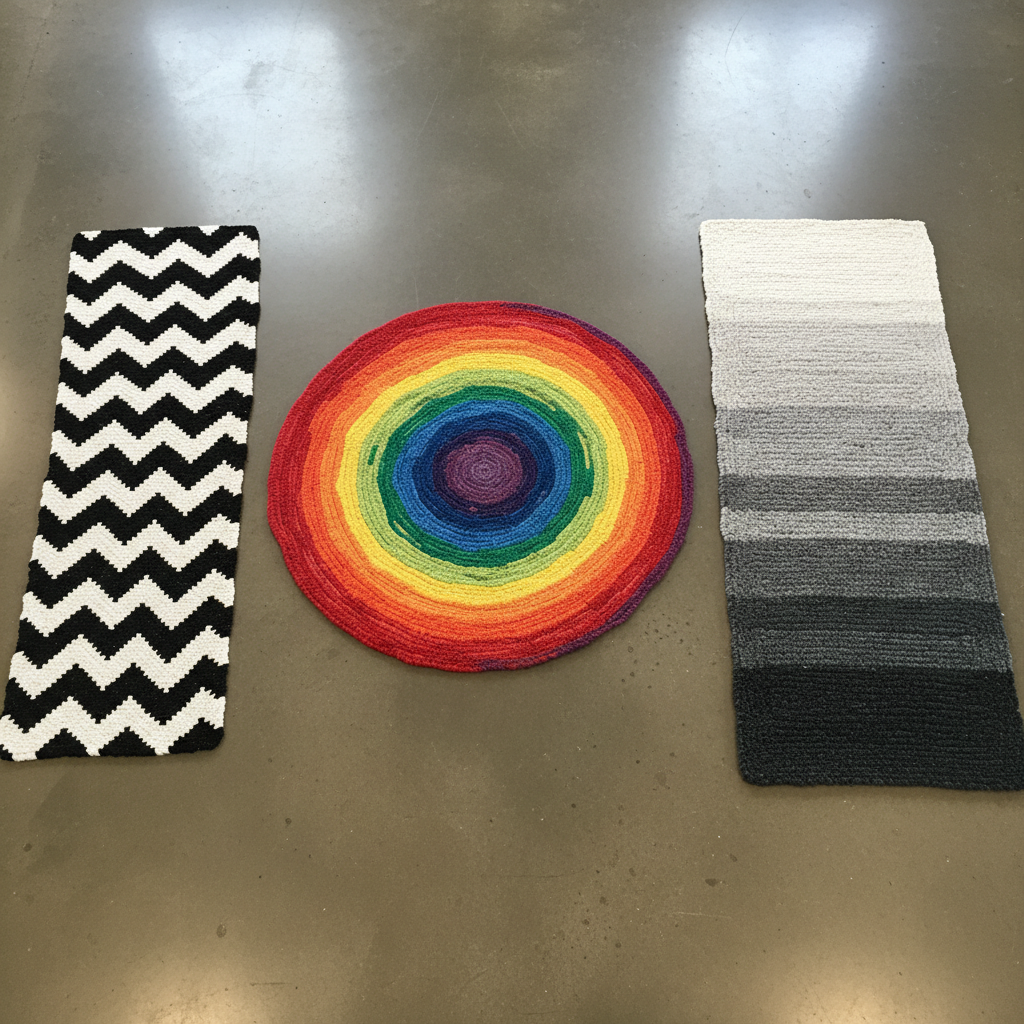
Design Your Masterpiece
- Play with Color: Don’t just throw random shirts together (unless that’s your vibe!). Plan your colors. Create bold stripes by doing several rows of one color before switching to another. Make a chevron pattern by weaving diagonally. Try an ombré effect by starting with a dark color on the outside and gradually moving to lighter shades in the center.
- Mix Textures: Who said you have to stick to t-shirts? Mix in strips from old sweatshirts, flannel pajama pants, or even denim for a variety of textures. This can add incredible depth and a rustic, high-end feel to your finished piece.
- Shape Shifter: Your rug doesn’t have to be a rectangle. Non-slip mats can be easily cut with standard scissors. Want a round rug for your entryway? A long runner for the hallway? A cloud shape for a kid’s room? Just cut the mat to your desired shape before you start weaving. The possibilities are endless.
- Go Big or Go Home: If you want a large area rug, you can connect multiple smaller mats together. Simply overlap the edges by one row of holes and use a sturdy strip of t-shirt yarn to lace them together like a shoelace before you begin the main weaving process.
The Side Hustle Angle: Flip Your Rugs for Cash
Now that you’re a rug-making machine, why stop at one? People pay good money for unique, handmade, and eco-friendly home goods. What started as a frugal hack can easily become a legit side hustle. The market for sustainable products is booming, and your story—turning old tees into treasure—is a powerful selling point.
Where to Sell:
- Etsy: The go-to platform for handmade goods. Take great photos, tell your upcycling story in the description, and price competitively.
- Facebook Marketplace: Perfect for local sales with no shipping fees. People are always looking for unique decor.
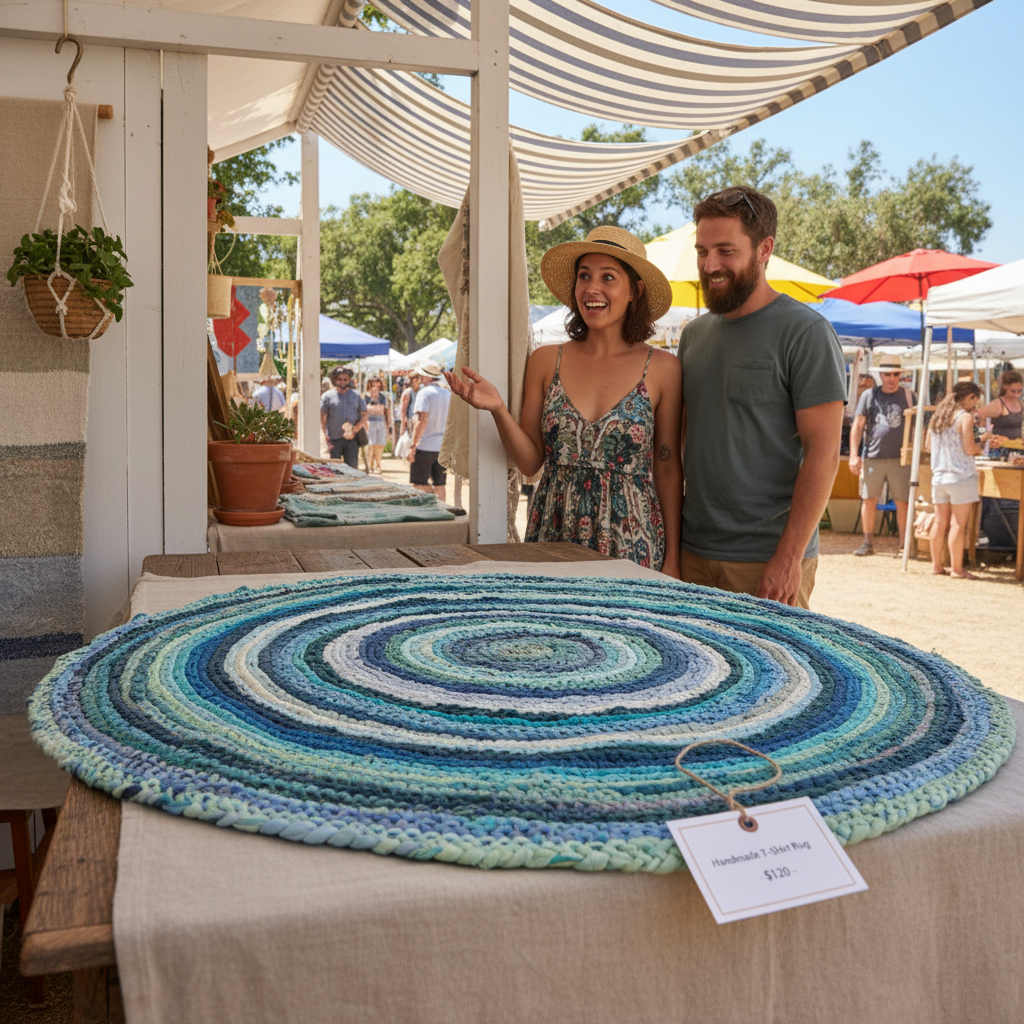
- Local Craft Fairs & Farmers Markets: Get a booth and sell directly to your community. The tactile nature of these rugs makes them great for in-person sales.
The Earning Potential:
Let’s be realistic. You won’t get rich overnight, but you can absolutely make a respectable profit. The key is valuing your time and craftsmanship.
| Item | Your Cost | Potential Selling Price | Potential Profit |
|---|---|---|---|
| Small Welcome Mat (2’x3′) | ~$10 (for the rug mat) | $40 – $60 | $30 – $50 per rug |
| Medium Area Rug (3’x5′) | ~$25 (for larger mat/mats) | $80 – $120 | $55 – $95 per rug |
| Custom Runner / Shaped Rug | ~$20 (for materials) | $75 – $150+ (custom work commands higher prices) | $55 – $130+ per rug |
Scam Warning: Be wary of anyone online promising to sell your crafts for you for a large upfront fee or demanding you buy their ‘exclusive’ startup kit. The real hustle is simple: you make a great product, you list it on established platforms, and you sell it directly. Don’t let anyone complicate it or take a cut you don’t need to give.
Start by sourcing free t-shirts from friends, family, or neighborhood groups. The lower your material cost, the higher your profit margin. Sell just two medium-sized rugs a month, and you could be pocketing an extra $100-$200 for something you enjoy doing.
Conclusion
You did it. You took a pile of forgotten fabric and turned it into something beautiful, functional, and valuable. Whether you’re admiring your new rug in your entryway or listing your first creation for sale online, you’ve done more than just a craft project. You’ve actively rejected waste, saved a chunk of change, and empowered yourself with a new skill. That’s the core of frugal living—it’s not about deprivation, it’s about ingenuity. So next time you see clutter, don’t just see a mess. See the potential. Now go grab those scissors. You’ve got value to unlock.