Don’t Lose Your Deposit: The Renter’s Move-Out Checklist Landlords Hate
Listen up. That security deposit your landlord is holding? It’s not their bonus fund. It’s your money. Your hard-earned cash that they’re just ‘holding onto.’ And let’s be real, too many of them count on you being too busy, too tired, or too uninformed to fight for it. They expect you to just accept bogus charges for ‘cleaning’ or ‘repairs’ and walk away defeated. Not today. Today, you stop being a victim and start being a strategist. This isn’t just a checklist; this is a battle plan. This is the exact playbook landlords hate because it arms you with proof, knowledge, and the confidence to get back what’s rightfully yours. It’s time to play the game smarter and walk out of that apartment with your full deposit in your pocket.
The Game Plan Starts on Day One: Your Move-In Arsenal
The Game Plan Starts on Day One: Your Move-In Arsenal
You can’t win the war at the end if you lose the first battle. Getting your deposit back starts the second you get your keys. Most renters just sign the move-in condition form and toss it in a drawer. Big mistake. That piece of paper is your single most important weapon. Your landlord is counting on you to be lazy here. Don’t be.
Document Everything Like a Crime Scene Investigator
You need to go overboard. Think of yourself as a detective building a case. Your smartphone is your best friend. Here’s how you build an airtight alibi for any pre-existing damage:
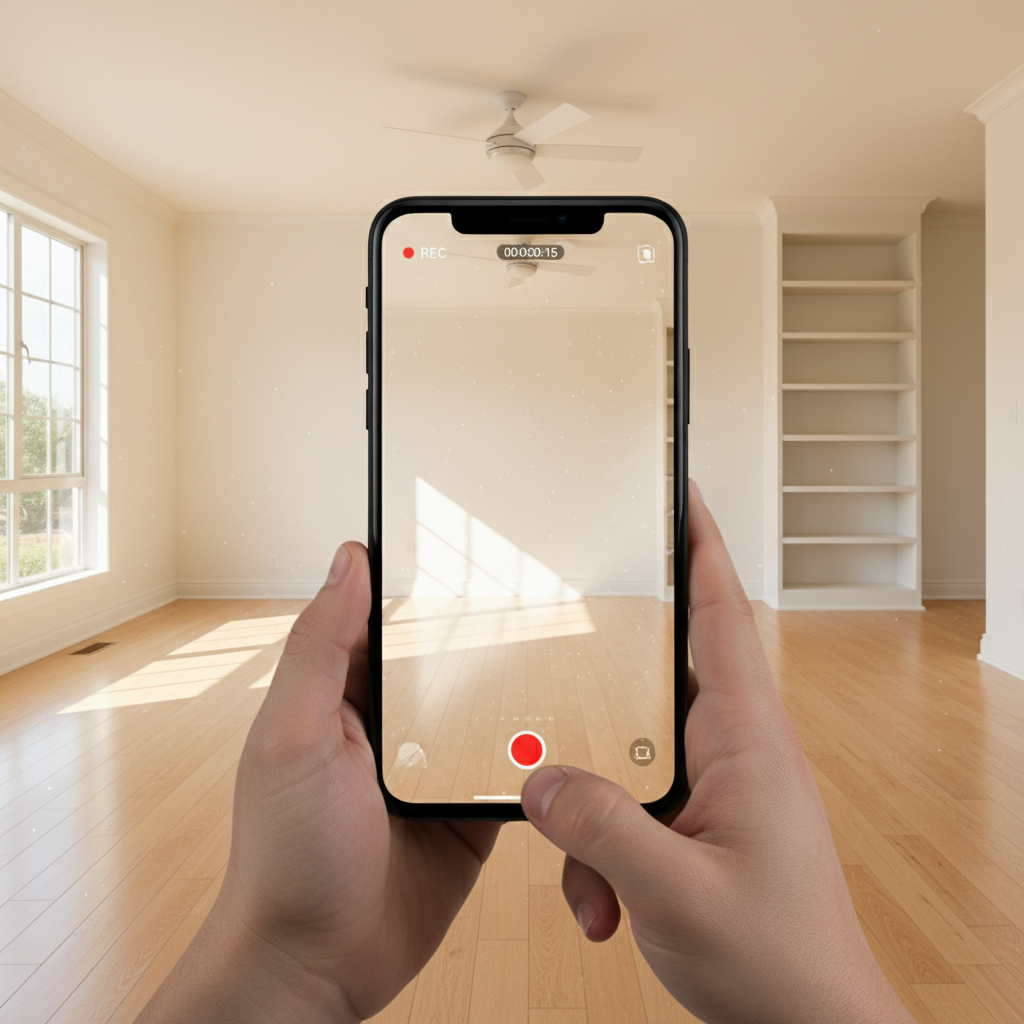
- Video Walk-Through: Before you move a single box in, do a slow, detailed video tour of the entire unit. Narrate what you see. ‘Friday, August 1st, 2 PM. Living room. Large scuff mark on the north wall. Carpet stain next to the window.’ Open every cabinet, turn on every faucet, flush every toilet, and test every appliance on camera. Email this video to yourself and your landlord so it’s timestamped.
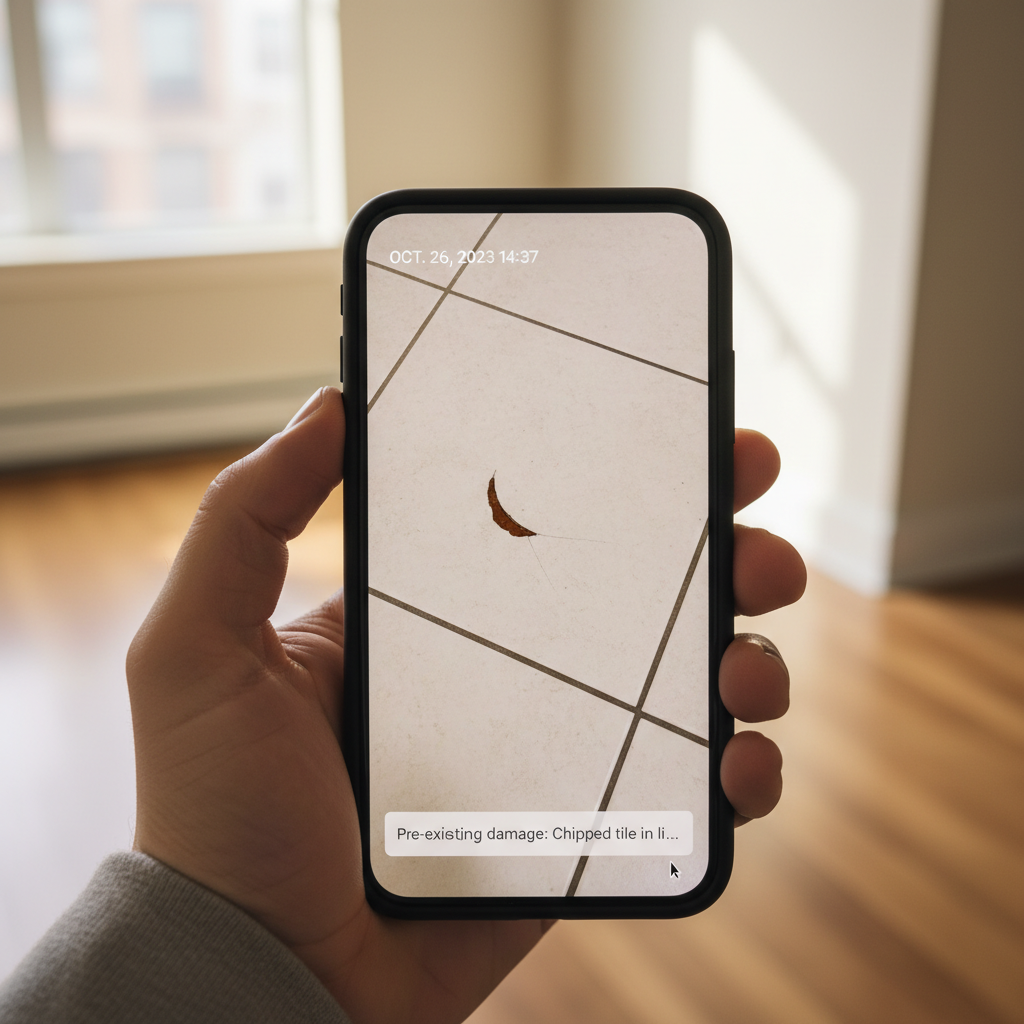
- Photo Overkill: After the video, take detailed, high-resolution photos. Get close-ups of every single scratch, dent, crack, stain, or imperfection you can find. For scale, place a coin next to the damage in the photo. Use an app like ‘Timestamp Camera’ to embed the date and time directly onto the image. This is undeniable proof.
- The Condition Form is Your Bible: Be ridiculously specific on the official form. Don’t just write ‘scratched floor.’ Write ‘Three-inch-long, deep scratch in hardwood floor next to the kitchen entryway.’ Don’t say ‘stained carpet.’ Say ‘Fist-sized, dark circular stain on the carpet in the second bedroom closet.’ Make a copy of the signed form for your records before you hand it over.
This isn’t just about noting damage; it’s about creating a mountain of evidence that proves you didn’t cause it. When you move out a year later and they try to charge you $300 for ‘floor damage,’ you pull out your timestamped move-in photo and shut them down. Game over.
The Deep Clean Playbook: Leave No Trace
The Deep Clean Playbook: Leave No Trace
Landlords love to hit you with exorbitant ‘cleaning fees.’ A $50 cleaning job suddenly becomes a $400 deduction from your deposit. Why? Because they can. Your job is to leave the place so clean they have absolutely no excuse. This is about effort, not necessarily money. Forget expensive services; it’s time for some serious elbow grease.
The Landlord Inspection Hit List
Focus on the areas they always check. This is your cleaning checklist:
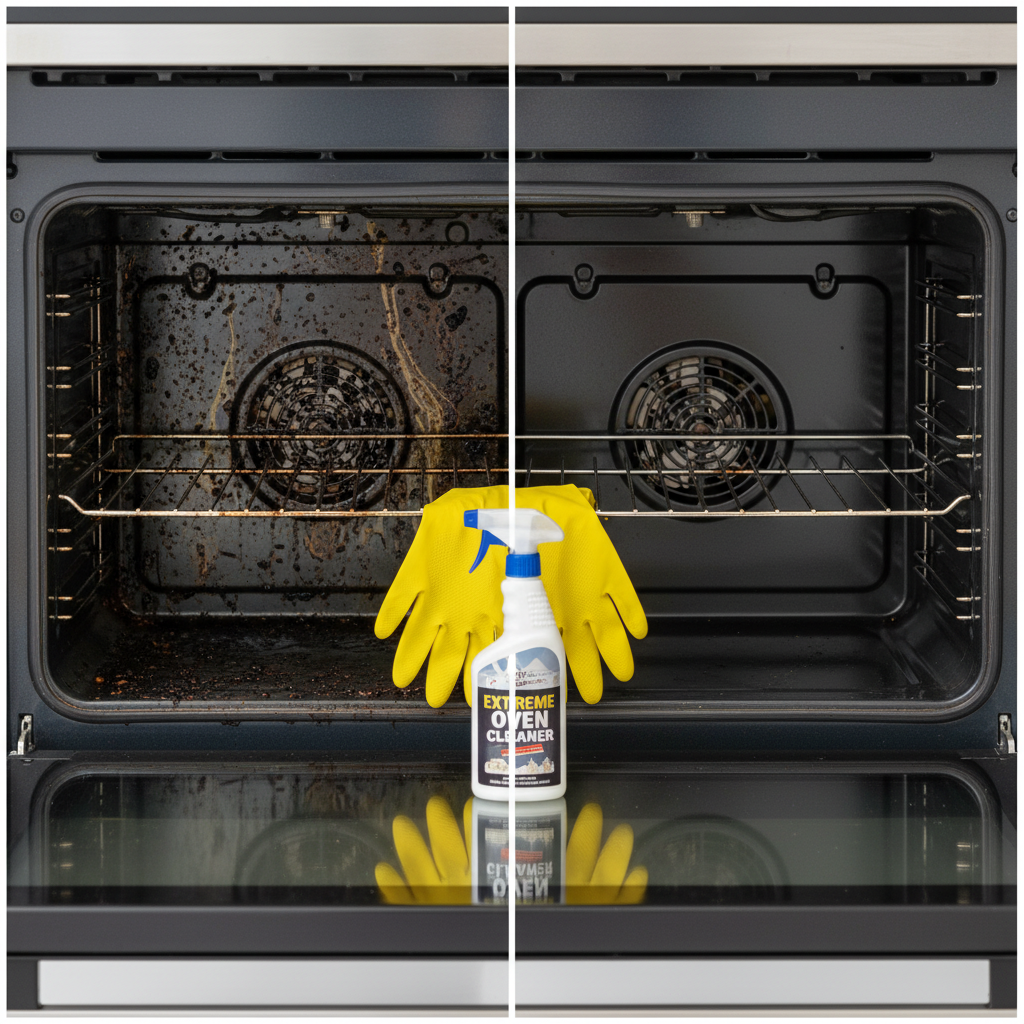
- The Kitchen Gauntlet: This is ground zero for deductions. The oven is non-negotiable. It needs to be spotless. Use a heavy-duty oven cleaner (with ventilation!) or the self-clean function if you have one. Degrease the stovetop, the range hood, and the filter. Pull the fridge out and clean behind and underneath it. Wipe down the inside of every single cabinet and drawer. Don’t forget the dishwasher filter and the sink disposal splash guard.
- Bathroom Grime: Scrub the grout in the shower and on the floor. A mix of baking soda and vinegar or a dedicated grout cleaner works wonders. Make the toilet, sink, and tub shine. Clean the mirror so it’s streak-free. Don’t forget the exhaust fan cover—it’s a dust magnet.
- Walls and Baseboards: These are secret killers. Wipe down every baseboard in the unit. They collect more dust and scuffs than you think. For marks on the walls, a Magic Eraser is your best friend, but test it on a small, hidden spot first to make sure it doesn’t damage the paint.
- Floors and Windows: Don’t just vacuum; shampoo the carpets if needed (you can rent a machine for cheap). For hard floors, use the appropriate cleaner. Clean the inside of the windows and, more importantly, the dusty window tracks and sills.
The goal is to return the unit to the state you received it in, minus normal wear and tear. A spotless apartment makes it very hard for a landlord to justify charging you for a single thing.
Patch & Repair: The $10 Fixes That Save You $200
Patch & Repair: The $10 Fixes That Save You $200
You’re not a professional contractor, but you don’t need to be. Small, easy fixes can save you hundreds. A landlord will charge you a premium for their handyman to do something that takes you five minutes and costs less than a cup of coffee. It’s time to learn some basic DIY skills.
Common Deductions and Their Frugal Fixes
Before you hand back the keys, do a final sweep for these common money-traps:
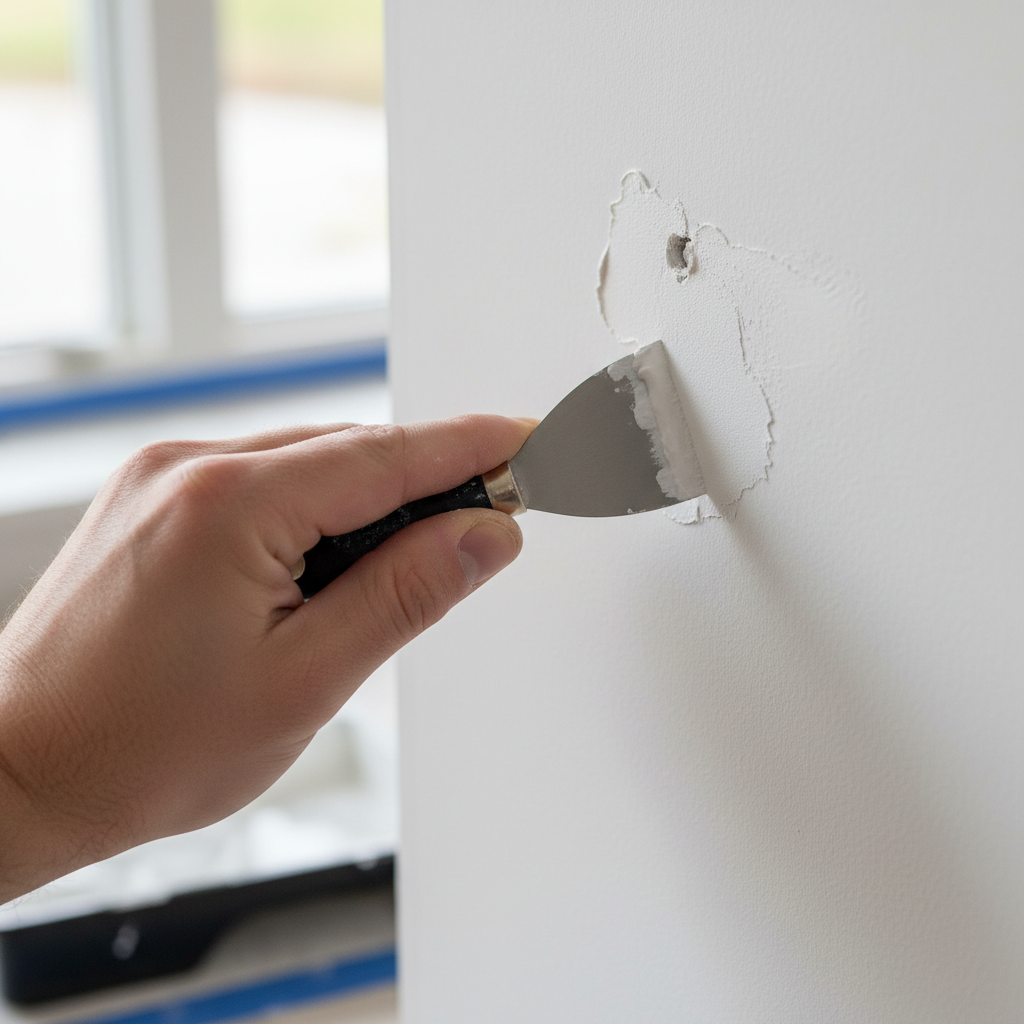
- Nail Holes: The number one offender. Don’t let them charge you $50 to ‘patch and paint.’ Buy a small tub of spackle and a putty knife. A tiny dab, a quick scrape to make it flush, and you’re done. If you have the original paint, a small touch-up makes it disappear. If not, a clean patch is still better than an open hole.
- Burnt-Out Light Bulbs: Check every single light fixture, including the oven and fridge. A light bulb costs a dollar. A landlord’s ‘maintenance fee’ to replace one can be $25. It’s a no-brainer.
- Dirty/Missing Drip Pans: On an electric stove, the drip pans under the coils get nasty. Instead of scrubbing for an hour, just buy a new set. It costs about $15 and makes the whole stove look brand new.
- Smoke Detector Batteries: If it’s beeping, replace the battery. It’s a safety issue and an easy thing for them to charge you for.
Look at the math. It speaks for itself. The difference between taking 30 minutes to do it yourself and letting the landlord handle it is staggering.
| The Issue | Your DIY Cost | Potential Landlord Charge |
|---|---|---|
| 10 Nail Holes | $8 (Spackle & Putty Knife) | $75 – $150 |
| 3 Burnt-Out Light Bulbs | $5 | $30 – $60 |
| Greasy Stove Drip Pans | $15 (New Set) | $50 |
| Clogged Sink Drain | $10 (Drain Snake/Cleaner) | $100+ (Plumber Call) |
The Final Walk-Through: Your Evidence Locker
The Final Walk-Through: Your Evidence Locker
You’ve cleaned, you’ve patched, and the apartment is empty. This is the final showdown. You need to manage the final walk-through like a pro. Your goal is to get the landlord to agree, on the spot, that the place looks great. If you can’t do it with them, you do it yourself and create your own final record.
Running the Play
Ideally, you should insist on doing the final walk-through with the landlord or property manager present. This is your chance to address any issues in real-time. Here’s how to handle it:
- Be Present and Prepared: Never, ever just drop the keys off. Schedule a specific time. Bring your move-in checklist and all your move-in photos/videos on your phone.
- Lead the Tour: Don’t wait for them to point things out. You lead the inspection. ‘As you can see, the kitchen has been fully cleaned, including inside the oven. And if you’ll refer to the move-in sheet, you’ll see the scratch by the door was noted upon arrival.’ You control the narrative.
- Get it in Writing: If they agree the place is in good shape, ask them to sign a document stating that the apartment was returned in satisfactory condition and that the full deposit will be returned. Most won’t, but asking shows you mean business.
If they refuse to do a walk-through with you, don’t worry. Do it yourself. Create one final, comprehensive video tour of the empty, clean apartment. This is your ‘after’ picture to your move-in ‘before’ picture. Narrate it, showing the clean oven, the spackled holes, and the pristine floors. End the video by placing the keys on the counter and locking the door behind you for the last time. Email it to yourself and the landlord immediately.
Key Walk-Through Script:
“Hi [Landlord’s Name], thanks for meeting me. I have my move-in condition report right here. As we walk through, you’ll see everything has been cleaned and returned to its original state, accounting for normal wear and tear. The nail holes have been filled, and as you can see, the oven is spotless. Is there anything you see that you believe is beyond normal wear and tear that wasn’t noted on the move-in report?”
The Follow-Up: Secure the Bag
The Follow-Up: Secure the Bag
You’ve moved out. The job isn’t done. Now you have to make sure the check actually arrives. Landlords often count on the chaos of moving to make you forget. Stay on top of it.
Know Your Rights and the Timeline
Every state has laws dictating how long a landlord has to return your deposit or provide an itemized list of deductions. It’s usually between 14 and 60 days. Look up your specific state’s security deposit law. This is non-negotiable knowledge. If the landlord misses this deadline, in some states, you’re entitled to double or even triple your deposit back. Mark the deadline on your calendar.
When They Play Games: The Demand Letter
If the deadline passes, or if you receive a list of bogus deductions, don’t just get angry. Get formal. It’s time to send a demand letter. This is a formal letter that shows you are serious and are prepared to escalate the issue, potentially to small claims court. It often scares them into paying up because a court battle is a hassle they don’t want.
Sample Demand Letter Snippet:
“Dear [Landlord’s Name],
This letter is in regard to the security deposit of $1,500 for the property located at [Your Old Address], for the lease term [Start Date] to [End Date].Under [Your State’s Law, e.g., California Civil Code § 1950.5], a landlord is required to return the security deposit within [Number of Days] days after a tenant has vacated the premises. As of today, [Today’s Date], it has been [Number of Days Since You Moved] days, and I have not received my deposit or an itemized statement of deductions.
Please send the full refund of $1,500 to my new address below within 10 business days. If I do not receive it, I am prepared to pursue my legal options in small claims court, where I will seek the full deposit plus statutory damages as allowed by law.”
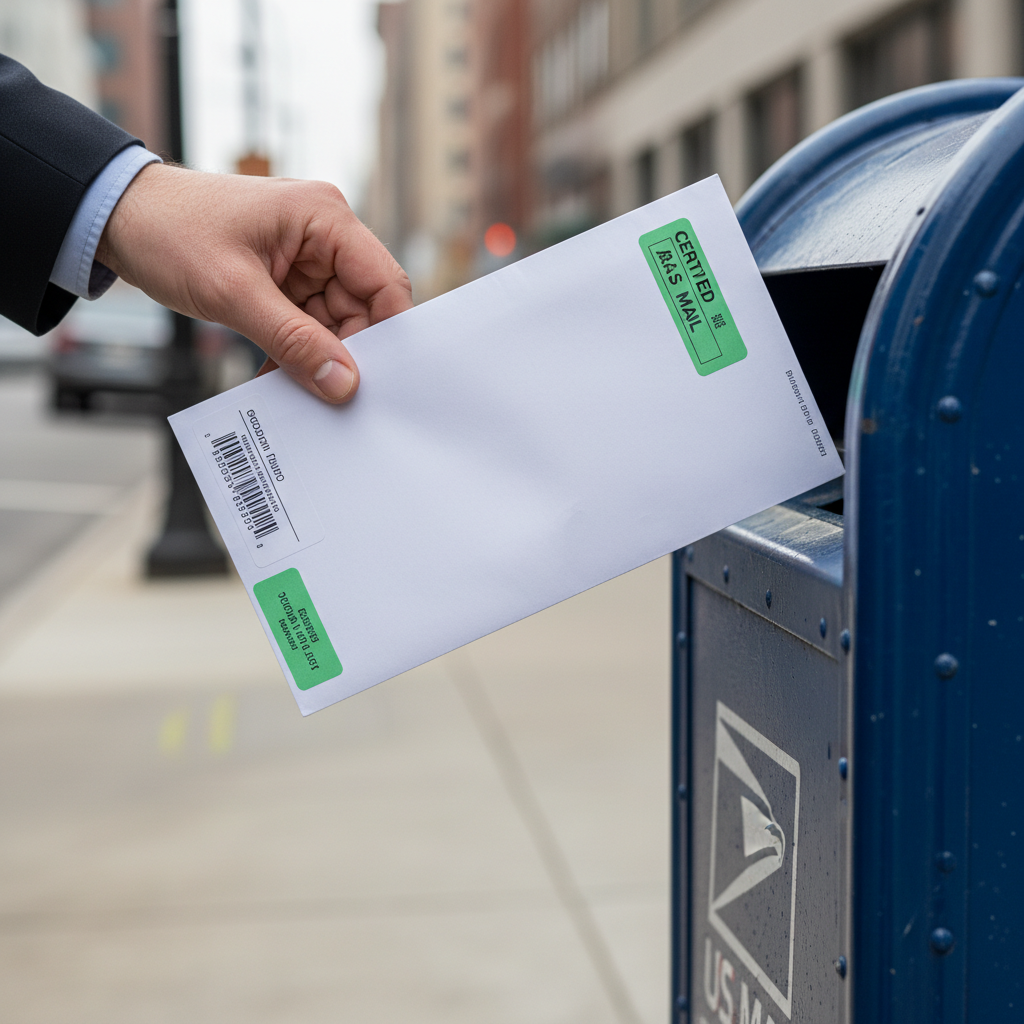
Send this letter via certified mail with a return receipt. It’s official, it’s tracked, and it proves they received it. It’s the ultimate power move.
Scam Warning: ‘Normal Wear and Tear’ vs. ‘Damage’
Understand the difference. Faded paint, minor scuffs on the wall, and worn-out carpet are ‘normal wear and tear’—you CANNOT be charged for these. A giant hole in the wall, a broken window, or a pet-stained carpet is ‘damage’—you CAN be charged for this. Landlords will try to bill you for wear and tear. Don’t let them. Your evidence from move-in is your proof.
Conclusion
Getting your security deposit back isn’t about luck; it’s about strategy. It’s about treating your rental like an investment from day one to the final day. By documenting everything, cleaning meticulously, handling minor repairs yourself, and knowing your rights, you shift the power dynamic. You are no longer at the mercy of a landlord’s whims. You have proof, you have a paper trail, and you have a plan. That $1,000, $2,000, or more isn’t just a deposit; it’s your moving fund, your emergency savings, your next big hustle investment. It’s your money. Now go get it.