How to Clean Velvet Furniture at Home: The $2 Magic Ingredient
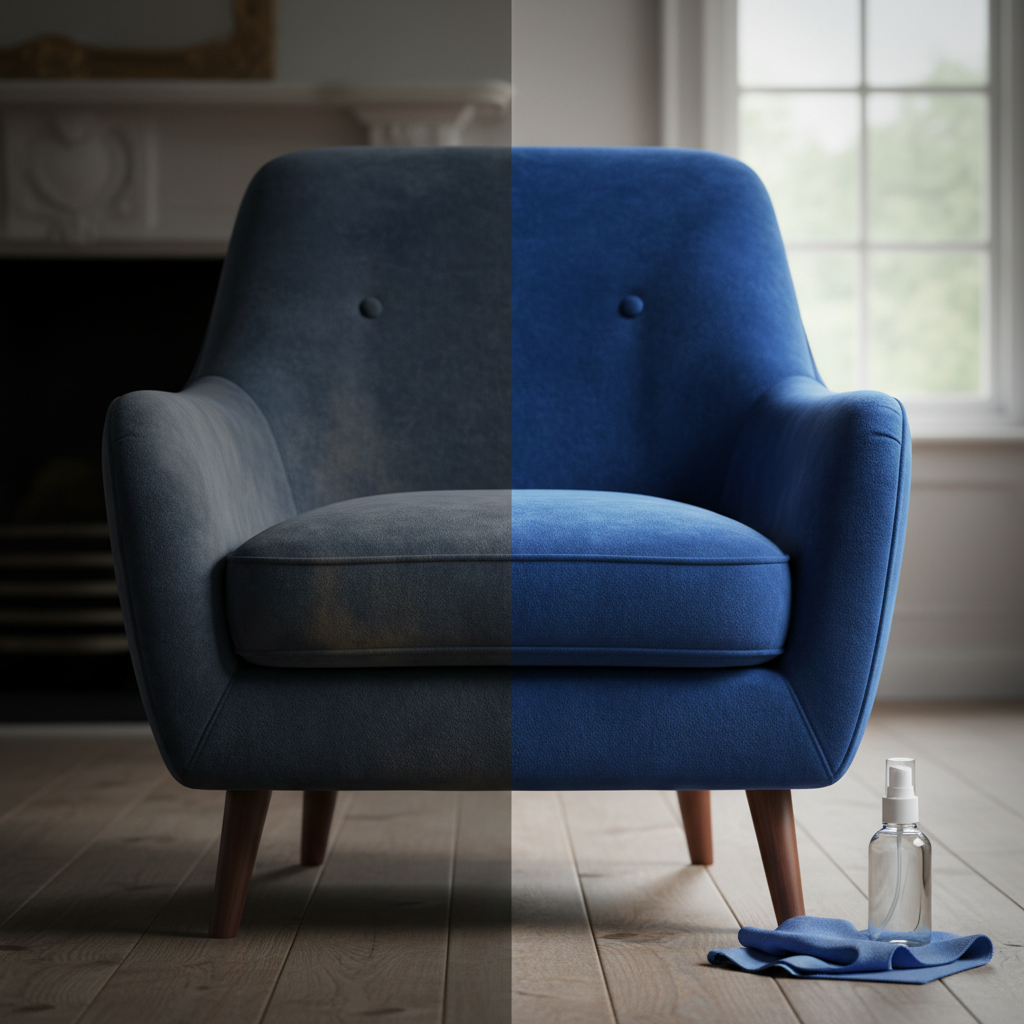
That velvet couch. It’s the star of your living room, right? Luxe, comfy, and a total statement piece. But the second someone gets near it with a glass of red wine or a slice of pizza, you break into a cold sweat. You’ve heard the horror stories. One wrong move and it’s stained forever. Or you’re staring down a $300 bill from a professional cleaner. Forget that. That’s the old way of thinking.
I’m here to tell you that the pros are charging you a fortune for a secret you can master yourself. We’re about to pull back the curtain on the velvet cleaning game with a magic ingredient that’s probably already in your kitchen, costing you less than $2. This isn’t just about cleaning; it’s about taking back control. It’s about having nice things without the ‘nice things’ price tag. Get ready to learn the ultimate frugal hack that will keep your velvet looking brand new, save you a ton of cash, and make you feel like the boss of your own home.
Why Pro Cleaners Don’t Want You to Know This Hack
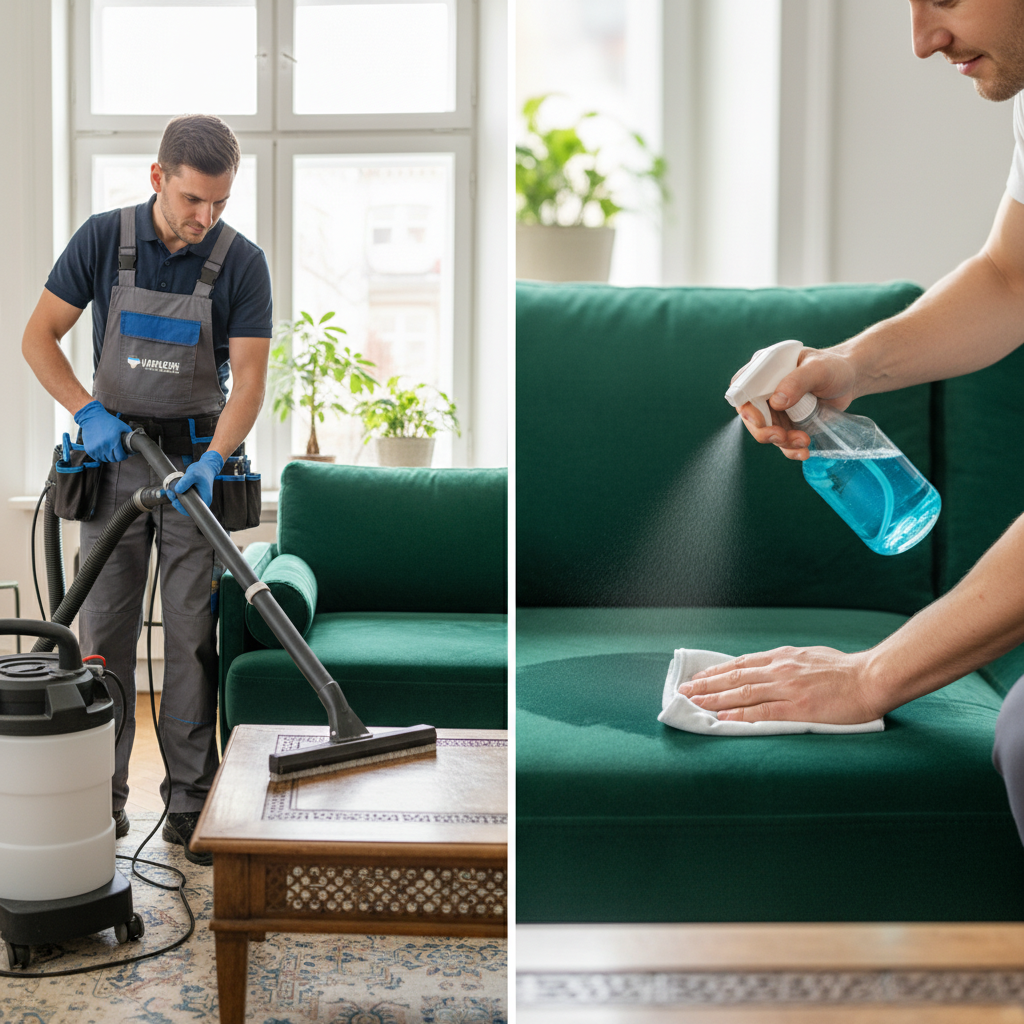
Let’s get real. The professional cleaning industry is a multi-billion dollar machine. They thrive on the idea that certain tasks are too delicate, too complex, or too risky for the average person. Velvet is their poster child. They sell you on ‘specialized solvents’ and ‘industrial-grade equipment,’ but what are you really paying for? Mostly labor and a massive markup.
A typical visit for one sofa can run anywhere from $150 to over $300. For a single stain? You might still get hit with a $100 minimum charge. They bank on your fear of messing up your expensive furniture. But here’s the street-smart truth: for most common household spills—food, drinks, dirt, pet messes—their powerful, chemical-heavy approach is often overkill. In fact, harsh chemicals can sometimes strip the color or damage the delicate pile of the velvet. The method we’re about to break down uses a gentle, pH-neutral solution that lifts the stain without attacking the fabric. It’s effective, it’s safe for most modern velvets (we’ll get to testing, don’t worry), and it cuts them completely out of the equation. You’re not just cleaning a couch; you’re cutting out a costly middleman.
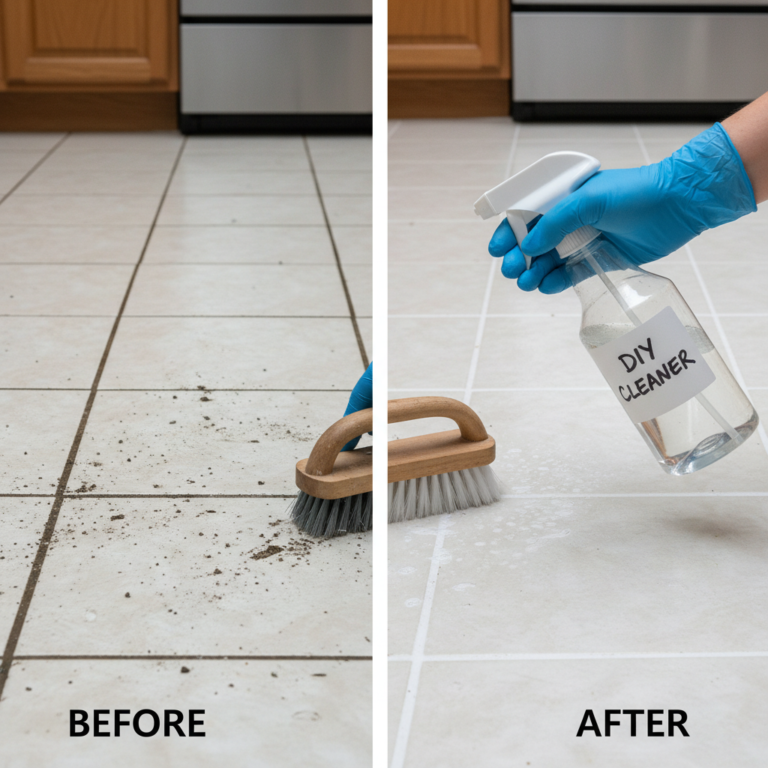
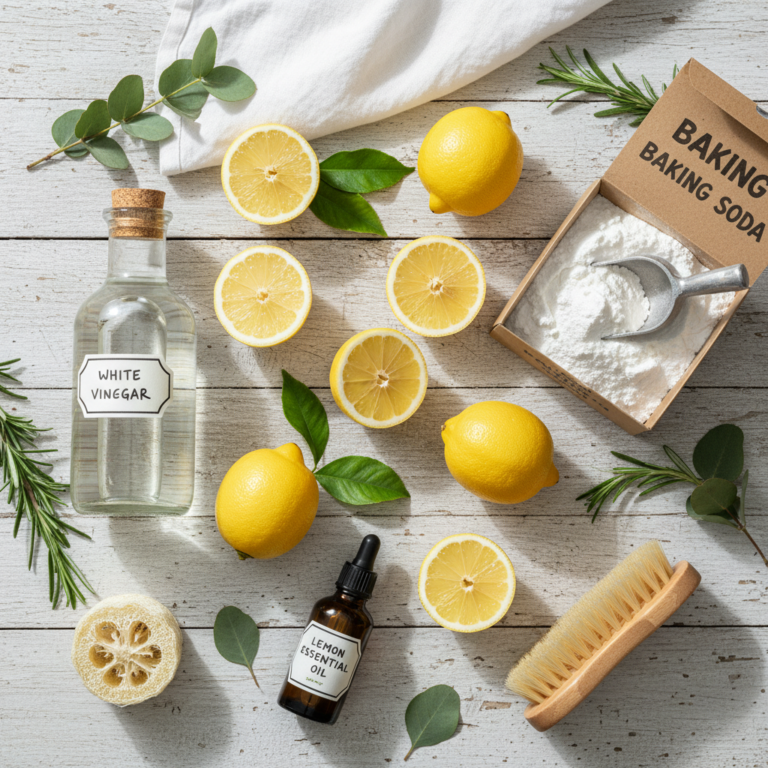
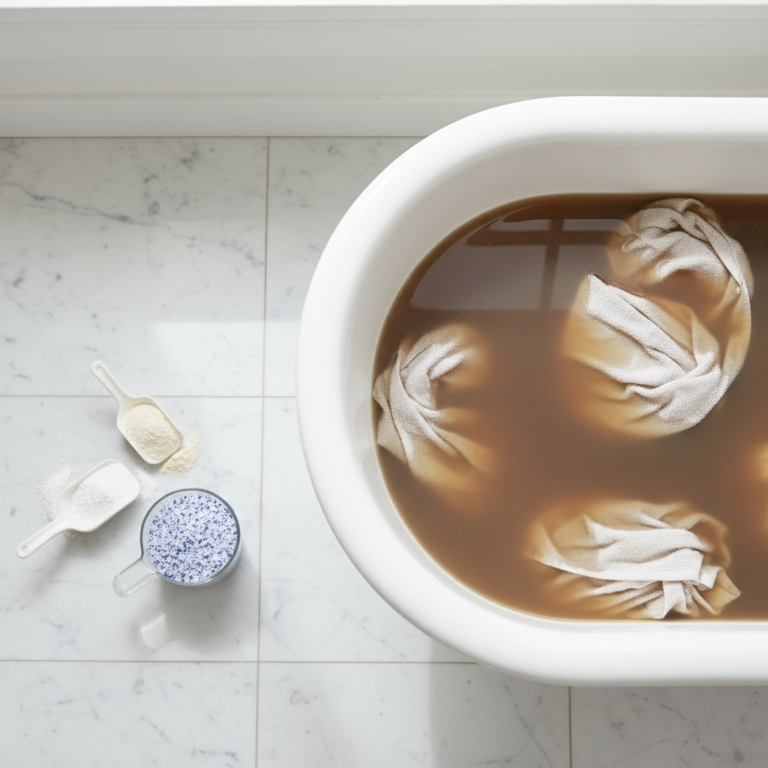
The Arsenal: Your $2 Magic Ingredient & Tools
Alright, time to gear up. Forget fancy, overpriced kits. Your mission, should you choose to accept it, involves a trip to your kitchen sink and maybe the dollar store. This is about working smarter, not spending harder.
The $2 Magic Ingredient Revealed
The secret weapon? A simple, yet devastatingly effective, cleaning solution you mix yourself. Here’s the recipe for this liquid gold:
- 2 cups of lukewarm water: Don’t use hot water, as it can sometimes set stains.
- 1 teaspoon of clear dish soap: Brand doesn’t matter, but it MUST be clear. Dyes in colored soaps can potentially transfer to your fabric. This is your degreaser and stain lifter.
- Optional – 1 tablespoon of white vinegar: For tougher, smellier stains (looking at you, pet owners), a splash of white vinegar can help neutralize odors and break down tougher grime. But for a basic clean, soap and water is your go-to.
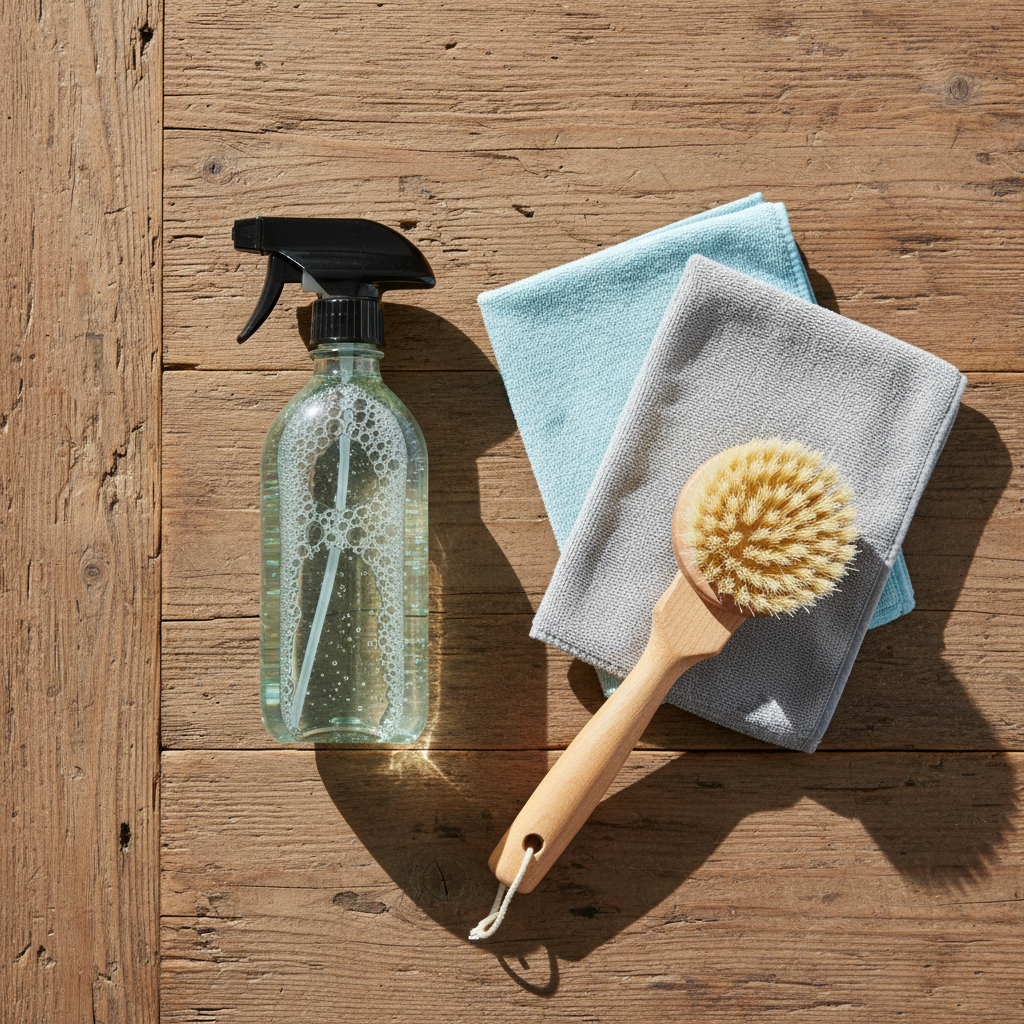
Your Essential Toolkit
You need a few key items to execute this mission flawlessly. You probably have them all already.
- A Spray Bottle: This is for application. You want a fine mist, not a firehose. A cheap one from a dollar store or a repurposed (and thoroughly cleaned!) bottle works perfectly. Cost: ~$1.25.
- Two or Three White Microfiber Cloths: Key word: WHITE. Again, no color transfer risk. Microfiber is brilliant because it’s super absorbent and non-abrasive, so it won’t damage the velvet pile.
- A Soft-Bristled Brush: This is for the final step to restore the velvet’s texture. A baby brush, a soft-bristled clothes brush, or even a new, soft-bristled toothbrush will do the trick. Cost: ~$1.00 if you need to buy one.
That’s it. That’s your entire professional-grade kit for under $3 if you have to buy everything new. See? You’re already winning.
The Step-by-Step Playbook: Cleaning Velvet Like a Boss
This is where the magic happens. Follow these steps precisely, and you’ll get pro-level results. Don’t rush it. The key to success with velvet is a gentle, methodical approach. Let’s do this.
- Step 1: The Prep Work (Don’t Skip This!)
Before you even think about getting the fabric wet, you need to remove all the surface-level dirt, dust, and crumbs. Grab your vacuum cleaner and use the upholstery attachment. Gently vacuum the entire piece of furniture, moving in the direction of the velvet’s nap (the way the fibers naturally lie). This prevents you from just turning dry dirt into wet mud. - Step 2: The Golden Rule – ALWAYS Spot Test
I’m not playing. Find an inconspicuous spot on your furniture—the back of a cushion, a spot on the skirt near the floor, anywhere that’s not visible. Apply a tiny amount of your cleaning solution with a cloth, blot it gently, and let it dry completely.
Key Rule: If you see any color transfer onto your cloth or any change in the fabric’s color or texture after it dries, STOP. Your velvet might require a specific solvent-based cleaner (dry cleaning). But for 90% of modern polyester or cotton velvets, you’ll be good to go.
- Step 3: Mix Your Magic Potion
Combine your lukewarm water and teaspoon of clear dish soap in your spray bottle. Shake it gently to mix, but don’t create a massive foam party inside the bottle. You want sudsy water, not a bubble bath. - Step 4: Application is Everything (Mist, Don’t Soak)
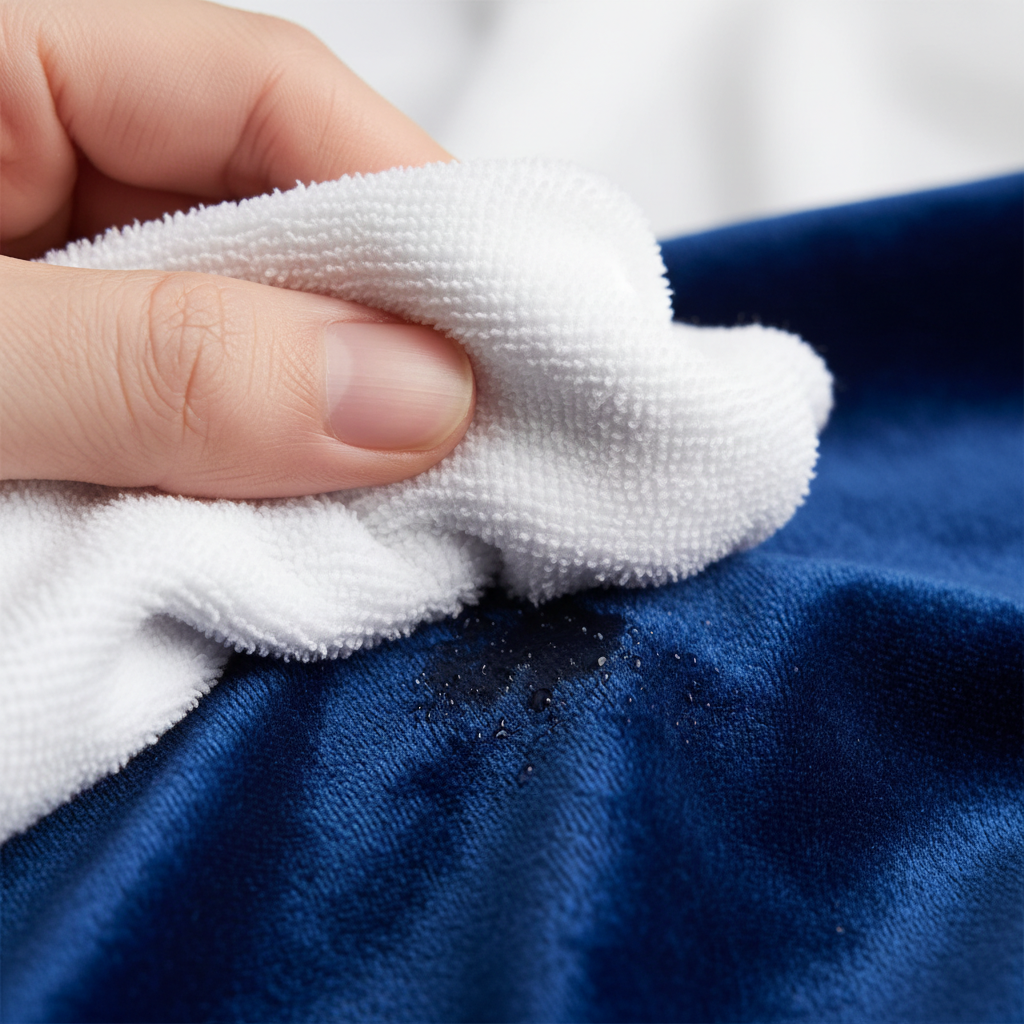
Lightly mist the stained area with your solution. I repeat, LIGHTLY. The goal is to dampen the stain, not to saturate the fabric and the padding underneath. Soaking it can lead to watermarks and can damage the cushion foam. Less is more. - Step 5: The Blotting Technique
Take one of your clean, white microfiber cloths. Gently blot the dampened stain. Don’t rub, scrub, or use a circular motion. That will crush the velvet’s pile and can spread the stain. Just press the cloth onto the area to absorb the moisture and lift the stain. You’ll see the stain transferring to the cloth. Use a clean section of the cloth for each blot. Repeat the misting and blotting process until the stain is gone. - Step 6: The Patience Phase – Let It Dry
Once the stain is lifted, let the area air dry completely. Don’t try to speed it up with a hairdryer, as the heat can damage the fibers. You can aim a fan at the area to improve air circulation, but patience is your best tool here. It might take a few hours. - Step 7: The Final Fluff-Up
After the spot is 100% dry, the fibers might look a little flat or crushed. This is normal. Take your soft-bristled brush and gently brush the area in the direction of the nap. This will lift the fibers and restore that signature plush, uniform look. It’s like magic.
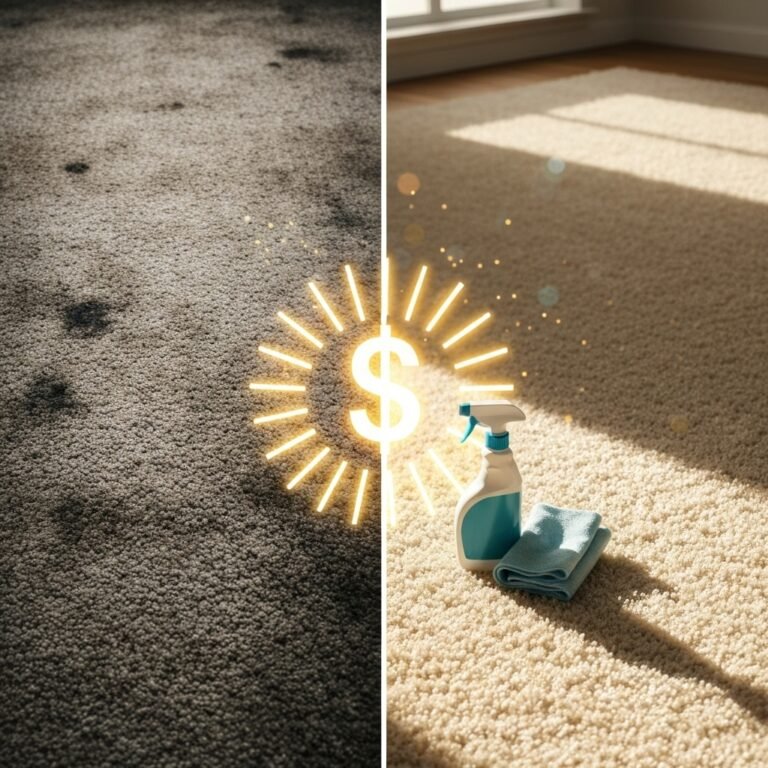
The Cost Breakdown: DIY vs. Pro Services
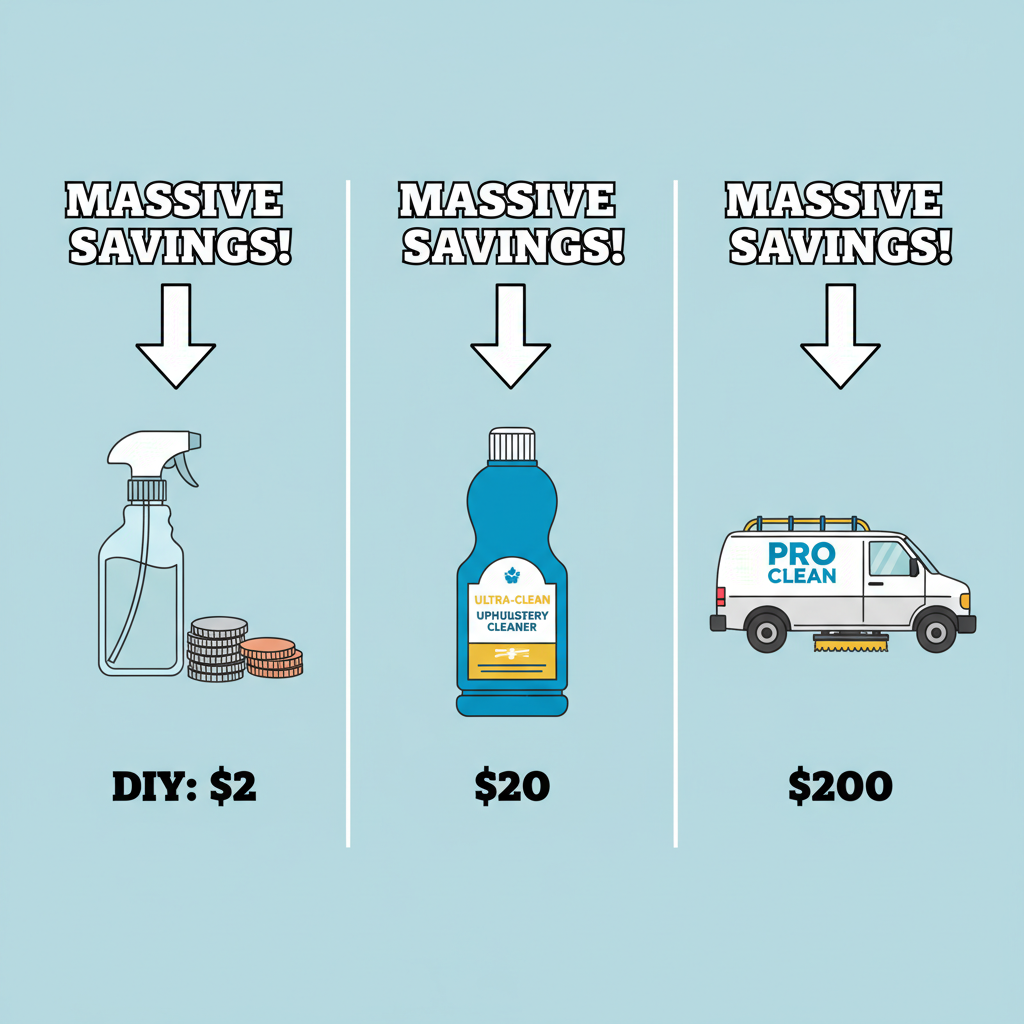
Still thinking about calling a pro? Let’s run the numbers. This is the part that really shows you the power of the frugal hustle. We’re not just talking about saving a few bucks; we’re talking about keeping hundreds of dollars in your pocket for a few minutes of work.
| Expense Category | Your DIY Method | Store-Bought Cleaner | Professional Service |
|---|---|---|---|
| Cleaning Solution | ~$0.25 (for a few cents of soap) | $15 – $25 per can | Included in Service |
| Tools & Supplies | ~$1.75 (if you buy a new bottle/brush) | Usually requires cloths you own | Included in Service |
| Time Investment | ~30 minutes of active work | ~30 minutes of active work | 2-4 hours (scheduling & service) |
| TOTAL COST (Per Cleaning) | ~$2.00 | $15 – $25 | $150 – $300+ |
| SAVINGS vs. PRO | ~$148 to $298+ | ~$135 to $285+ | $0 |
Look at that. For the price of a gumball, you’re achieving the same, if not better, results. That $298 you just saved? That’s your grocery bill for the week. That’s a huge chunk of a utility bill. That’s money you can put toward your debt snowball or your vacation fund. This is what frugal living is all about: identifying these insane markups and empowering yourself to beat the system.
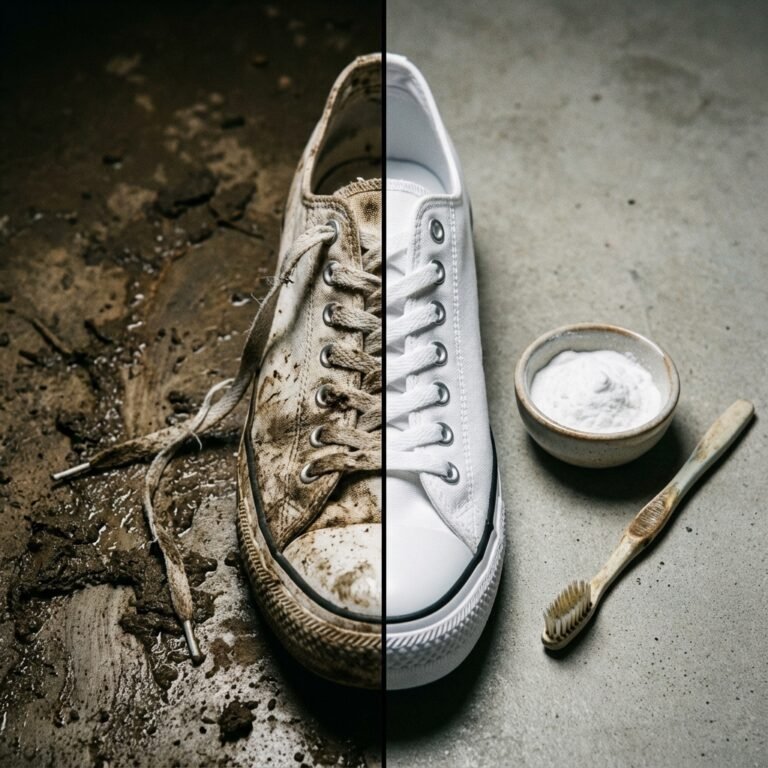
Troubleshooting & Pro Tips for Tough Stains

Okay, so you’ve mastered the basic clean. But what happens when you’re up against a tougher opponent? Don’t panic. Here are some advanced tactics and common pitfalls to avoid.
Handling the Heavy Hitters
- Grease or Oil Stains: Before you use the wet solution, try sprinkling a little cornstarch or baking soda on the stain. Let it sit for 15-20 minutes to absorb the oil, then vacuum it up. After that, proceed with the soap and water method. The powder does the heavy lifting first.
- Ink Stains: This is an emergency. Act fast. For a fresh ink stain, you can try blotting it with a cloth lightly dampened with rubbing alcohol. Blot, don’t rub. And DEFINITELY spot test this method first, as alcohol can be harsh on some fabrics.
- Old, Set-In Stains: These are the toughest. You might need to repeat the mist-and-blot process several times. Be patient. If it’s a very old, dark stain like wine, you may only be able to lighten it significantly rather than remove it completely, but it’s always worth the fight.
The ‘Do Not Ever’ List
Scam Warning: Be wary of any ‘miracle’ all-in-one velvet cleaning products you see in flashy social media ads. Many are just overpriced soaps or, worse, contain harsh solvents that can ruin your furniture. Stick to the basics that you control.
To keep your velvet pristine, avoid these common mistakes:
- NEVER use bleach-based cleaners. Ever. It will strip the color instantly.
- NEVER scrub with a coarse brush or sponge. You’ll create bald patches in the pile.
- NEVER soak the fabric. Watermarks are harder to get out than the original stain.
- NEVER use a hairdryer or direct heat to dry it. You risk shrinking or scorching the fibers.
Conclusion
There you have it. The velvet code has been cracked. No more fear, no more panic, and definitely no more outrageous cleaning bills. You just armed yourself with the knowledge to tackle stains head-on, using simple tools you already own. You looked at a $300 problem and solved it for less than the price of a lottery ticket. This is more than just a cleaning hack; it’s a mindset. It’s about realizing that you have the skills and the smarts to manage your home and your finances like a pro. You don’t need to pay a premium for everyday problems. So go ahead, enjoy that beautiful velvet furniture. Live on it, relax on it, and if a spill happens, just smile. You know exactly what to do.